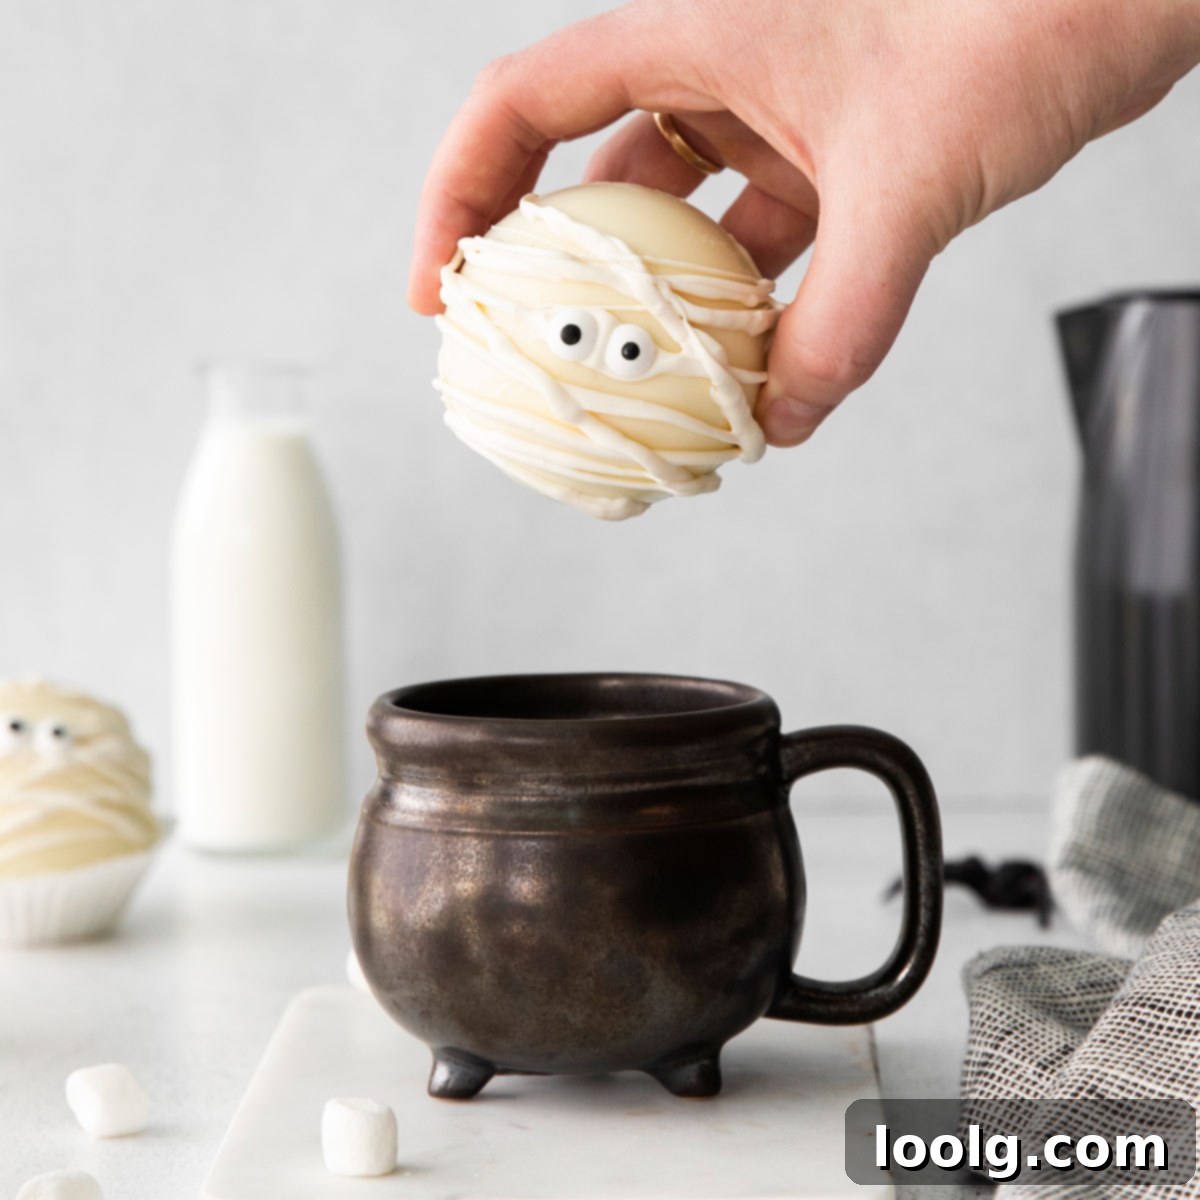
Mummy Hot Chocolate Bombs: The Ultimate Halloween Treat for a Spooky Sweet Celebration
Are you ready to conjure up some enchantment this Halloween? Forget the ordinary and dive into a world of delicious magic with these incredible Halloween Hot Chocolate Bombs! Specifically, we’re crafting charming mummy-themed delights that are as fun to make as they are to drink. These delightful white chocolate spheres come packed with luscious hot chocolate powder and fluffy marshmallows, ready to burst into a wonderfully warm and sweet concoction with just a dash of hot milk. It’s a little “hocus pocus” in a mug, guaranteed to bring smiles and shivers of excitement to kids and adults alike.
Imagine the scene: a chilly Halloween evening, spooky decorations abound, and then you unveil these adorable mummy spheres. Each one is a promise of warmth and delight. Simply drop a hot chocolate bomb into your favorite mug, pour in some steaming hot milk, and watch the magic unfold. As the chocolate sphere gracefully melts, it releases its hidden treasures, transforming your milk into a creamy, dreamy white hot chocolate. It’s an experience that’s sure to have everyone trembling with excitement, eager for that first delightful sip.
Last year, my Halloween spirit leaned towards the delightfully gory, resulting in popular creations like these Eyeball Cupcakes for Halloween and a spine-chilling Halloween Punch with Eyeballs. And they were truly spooky! Using lychees and blueberries for the “eyes” created a ghoulishly realistic effect that was a hit with brave party-goers.
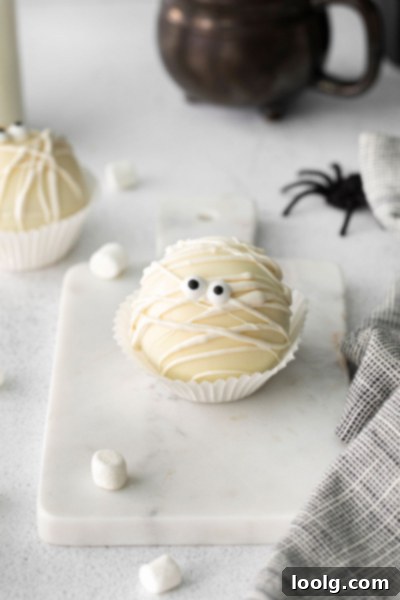
This year, however, I decided to take a more charming, yet still perfectly spooky, approach. The inspiration? These delightful mummy hot chocolate bombs and their equally adorable companions, these Ghost Meringues. While crafting hot chocolate bombs might initially seem daunting, I promise you, they are surprisingly quick and easy. In less than 30 minutes, you can create a batch of these enchanting treats. Once you get the hang of it, you might even find yourself inspired to make variations, perhaps these Vegan Hot Chocolate Bombs, as thoughtful and delicious Christmas gifts for your vegan friends!
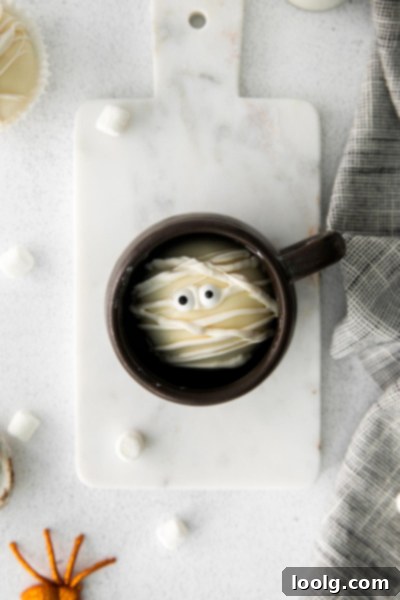
Why These Mummy Hot Chocolate Bombs Are a Must-Make
Beyond their undeniable cuteness, these hot chocolate bombs offer a unique blend of fun, flavor, and festivity. They’re an interactive treat that adds an element of surprise to your Halloween gathering. The transformation from a solid chocolate sphere to a steaming mug of cocoa is pure entertainment, especially for younger guests. Plus, making them at home means you can control the quality of ingredients, customize the sweetness, and even experiment with different flavors or fillings. They also make fantastic party favors or gifts!
Ingredients for Your Spooky Hot Chocolate Adventure
Crafting this spine-tinglingly good treat will surely warm up your Hallow’s Eve, whether you’re trick-or-treating or enjoying a cozy night in. Here’s a detailed look at what you’ll need to create these enchanting hot chocolate bombs:
Homemade White Hot Chocolate Mix
While store-bought mixes are an option, making your own ensures the freshest flavor and allows for customization. Here’s what goes into our simple yet delicious blend:
- Powdered Sugar: This fine sugar dissolves easily, ensuring a smooth, grit-free hot chocolate.
- Cocoa Powder: For a richer, deeper chocolate flavor, I highly recommend using Dutch-process cocoa powder. It has been treated with an alkali to neutralize its acidity, resulting in a darker color and milder, less bitter taste, which complements white chocolate beautifully.
- Finely Chopped White Chocolate: Adding actual white chocolate pieces to the mix enhances the creamy texture and rich flavor of your hot chocolate. Make sure it’s chopped finely so it melts smoothly within the bomb.
- Mini Marshmallows: The quintessential hot chocolate topping! These will be hidden inside the bomb, ready to float to the top as it melts.
For the Hot Chocolate Bombs Themselves
- White Chocolate Bark or Tempered White Chocolate: This is the foundation of your bombs.
- White chocolate bark (candy melts) is generally the easier option for beginners. It melts smoothly, sets quickly, and doesn’t require tempering, making the process much simpler.
- If you prefer to use high-quality actual white chocolate, it’s crucial to temper it. Tempering chocolate ensures a smooth, glossy finish, prevents blooming (white streaks), and gives the chocolate a satisfying snap. Simply melting white chocolate without tempering can result in a dull, soft, or streaky finish. I’ve included detailed tempering directions below if you choose this route.
- Hot Chocolate Powder: You’ll use the homemade mix outlined above. Using homemade powder is not only quick and easy but also means you likely have the ingredients on hand. Of course, a high-quality store-bought hot chocolate mix can be substituted if you’re short on time.
- Candy Eyes: These are essential for our adorable mummy effect! You can usually find them at most craft stores or in the baking aisle of larger supermarkets. If you don’t have any, mini chocolate chips can serve as a simple, less processed alternative for the eyes, offering a slightly different, but still charming, look.
Understanding and How to Temper White Chocolate
Tempering chocolate is a process of heating and cooling chocolate to specific temperatures to stabilize the cocoa butter crystals. This results in shiny, firm chocolate that snaps when broken and resists melting at room temperature. It’s a key step for professional-looking chocolate creations. If you’re using high-quality white chocolate (not candy melts), follow these steps:
- First, **chop 2 pounds (907 grams) of white chocolate** into small, uniform pieces. Consistency in size helps with even melting.
- Next, **place two-thirds (21.2 ounces or 604 grams) of the chopped chocolate** into the top bowl of a double boiler.
- **Heat the chocolate gently over hot, but not boiling, water.** The steam from the water will gradually melt the chocolate. Stir constantly with a clean spatula to ensure even melting and prevent scorching. Continue heating until the chocolate reaches a temperature of **110 °F–115 °F (43 °C–46 °C)**. Use a reliable thermometer for accuracy.
- Once it reaches the target temperature, **remove the top pan from the heat** (and off the double boiler). Place it on a towel to absorb any moisture. Allow the chocolate to cool gradually, stirring occasionally, until it reaches **95 °F–100 °F (35 °C–37.7 °C)**.
- Finally, **add the remaining one-third of the chopped chocolate** to the cooled chocolate. Stir continuously until all the added chocolate has melted and the mixture is smooth and homogeneous. This “seeds” the chocolate with stable crystals. Your tempered white chocolate is now ready to be used immediately for your hot chocolate bombs.
Any leftover tempered white chocolate can be wonderfully utilized in other festive treats, such as these White Chocolate Strawberry Ghosts – another charming Halloween project!
Crafting Your Mummy Hot Chocolate Bombs: Step-by-Step
Let’s get started on bringing these adorable mummies to life!
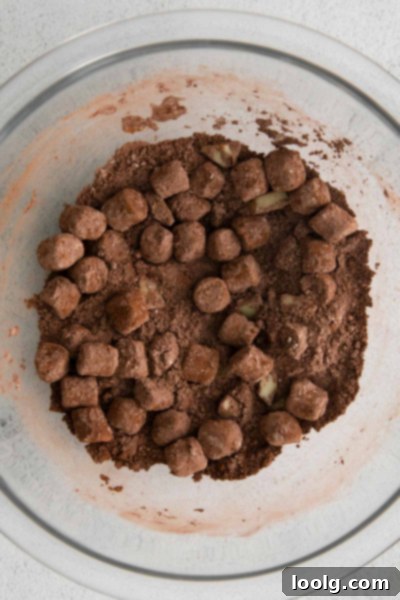
First, prepare your hot chocolate mix. Simply stir together all the ingredients for the homemade hot chocolate powder in a bowl, or combine them in a jar and shake vigorously until thoroughly mixed. Set this aside.
Next, it’s time to form the chocolate shells. Melt your white candy melts according to package instructions, or use your freshly tempered white chocolate. I find these silicone hot chocolate molds from Amazon to be excellent, but you can also find similar molds in most superstores like Walmart and Target, or at craft stores such as Hobby Lobby and Michael’s.
Spoon about 2 tablespoons of the melted chocolate into each half-sphere mold. Using the back of the spoon or a small brush, carefully spread the chocolate evenly up the sides of the mold, ensuring the entire half-sphere is covered with a thick, opaque layer. If you feel the layer is too thin and might break easily, you can apply a second coat after chilling the first coat for about 10 minutes. Place the molds in the fridge to chill for about 10-15 minutes, allowing the chocolate to harden completely.
Once hardened, gently remove the chocolate spheres from the molds. To avoid leaving unsightly fingerprints on your pristine white chocolate shells, I highly recommend wearing disposable plastic gloves. If the rims of your half-spheres are a bit uneven, a quick trick is to gently heat a small non-stick pan over very low heat. Briefly place the rim of a chocolate half-sphere on the warm pan for just a second or two, just enough to slightly melt and even out the edge. This creates a perfect sealing surface.
Now, it’s time for the filling! Take half of your chocolate spheres and fill each one with approximately 2 tablespoons of your prepared hot chocolate powder and a generous handful of mini marshmallows. You can also add other fun fillings like sprinkles, crushed peppermint, or even a mini chocolate bar piece.
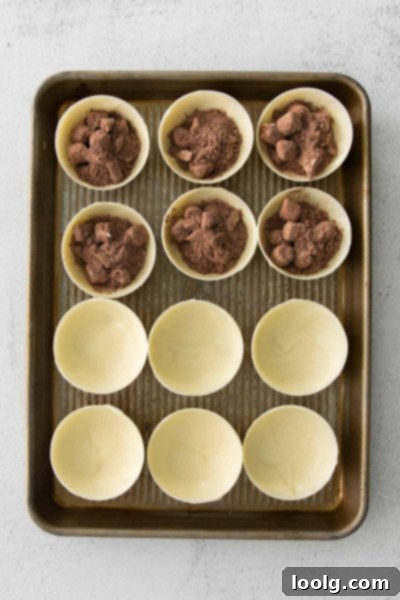
To seal the bombs, take another empty half-sphere and, as before, gently melt its rim on the warm skillet for a couple of seconds. Carefully press this melted rim onto a filled half-sphere, twisting slightly to create a secure seal. The melted chocolate will act as an adhesive, binding the two halves together to form a perfect sphere. Repeat this process until all your hot chocolate bombs are assembled.
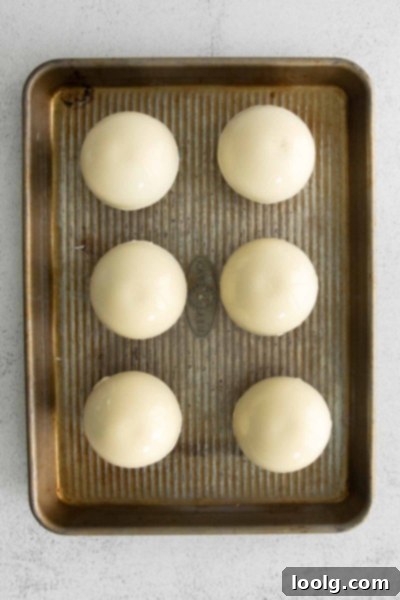
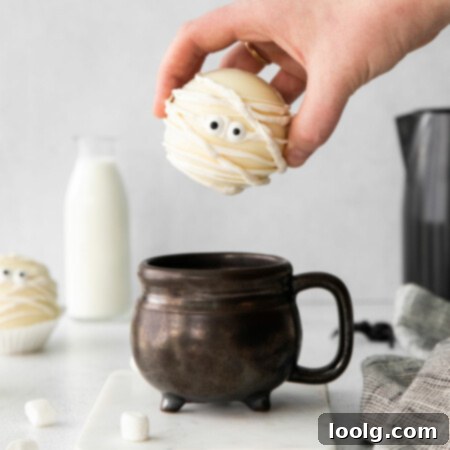
The final, fun step is decoration! Remelt any remaining white chocolate or candy melts. Transfer it to a piping bag or a plastic bag with a tiny corner snipped off. Drizzle the melted chocolate artistically over the sealed bombs to create a “mummy” wrapped effect. While the drizzle is still wet, attach two candy eyes or mini chocolate chips to give your mummies their charmingly spooky gaze.
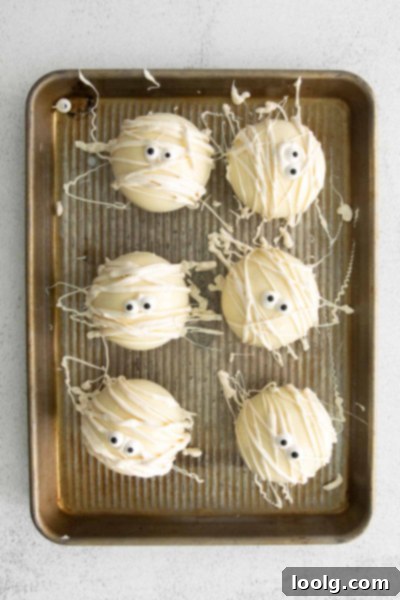
Allow these little mummies to set completely before serving or storing. You can pop them back into the fridge for 5-10 minutes to speed this up. Once set, these Halloween hot chocolate bombs can be stored in an airtight container in the fridge for up to one week, making them absolutely perfect for preparing ahead of time for your Halloween party or as delightful gifts.
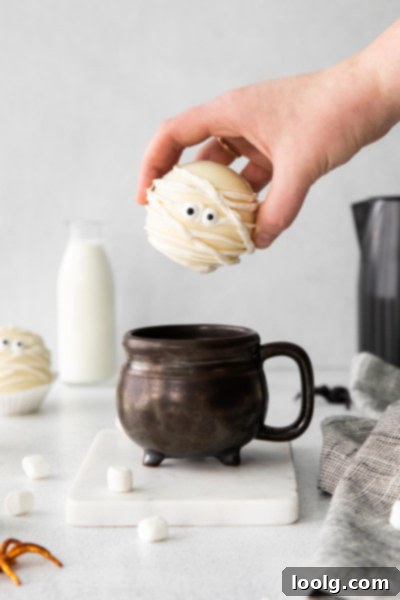
How to Make the Mummies Magically Disappear (Into Delicious Hot Chocolate)
The moment of truth! This is where the real magic happens and the enchantment truly comes to life. Serving these hot chocolate bombs is an event in itself:
- Carefully place one of your charming mummy hot chocolate bombs into a sturdy mug.
- Next, slowly pour 1 to 1.5 cups (240ml-355ml) of steaming hot milk over the bomb. For an extra rich and decadent hot chocolate, start with less milk and add more to thin it down to your preferred consistency.
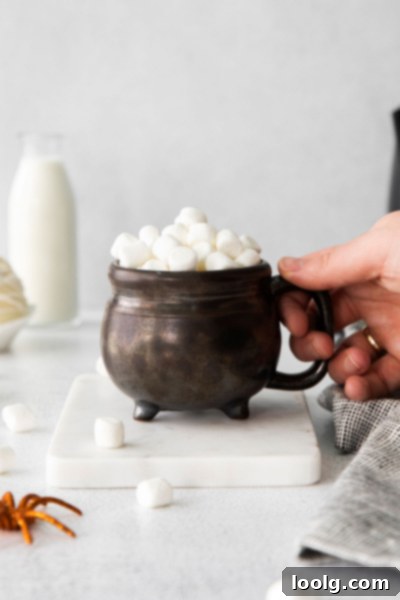
- Watch in awe as the hot milk melts the chocolate shell, releasing the hidden hot chocolate powder and marshmallows. Stir gently to help dissolve everything and combine. Say “abracadabra,” and just like that, you’ve got a magically delicious and warm mug of white hot chocolate ready to enjoy!
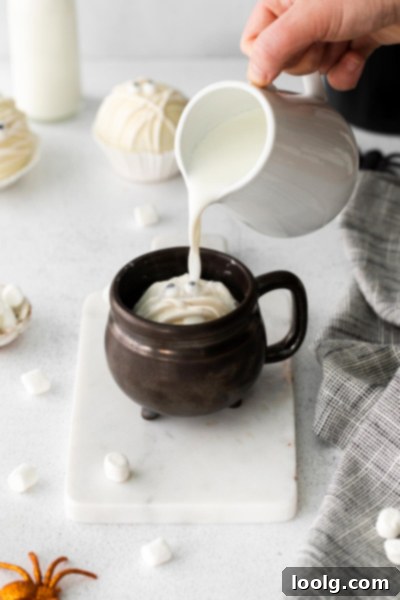
While the steps might seem detailed, the actual process is straightforward and incredibly rewarding. The sheer joy and wonder these treats bring are unmatched. You’ll definitely want to snap some pictures of these enchanting creations before they disappear into a delicious drink. And I absolutely want to see them – don’t forget to tag me!
Troubleshooting & Tips for Perfect Bombs
- **Chocolate Shells Breaking:** If your shells are too thin, they might crack easily. Ensure you apply a thick, even coat of chocolate to the molds. Chilling them thoroughly also helps.
- **Uneven Rims:** The warm skillet trick is your best friend here! It creates a perfectly flat edge for sealing.
- **Fingerprints:** Disposable food-safe gloves are a game-changer for handling the delicate chocolate shells without leaving marks.
- **Sealing Issues:** If the bombs don’t seal properly, try reheating one rim slightly longer on the pan to ensure enough melted chocolate to create a strong bond. You can also use a tiny bit of melted chocolate as “glue” if needed.
- **Variations:** Get creative! Use dark or milk chocolate for different bomb flavors. Add a pinch of cinnamon or a drop of peppermint extract to your hot chocolate mix. Experiment with food coloring for vibrant shells (especially if using white candy melts).
- **Gifting:** Package these bombs individually in clear cellophane bags with a festive ribbon for charming Halloween gifts!
More Spooktacular Halloween Treats to Try
If you’re still craving more spooky and sweet ideas for your Halloween celebrations, give these fantastic recipes a try. They are sure to add more fun and fright to your festivities!
- These Witch Fingers are truly fantastic! These shortbread cookies, complete with almond nails and a dollop of strawberry jam for a gruesome “bloody” effect, are bloody delicious and eerily realistic. They can even be made 100% whole wheat for a slightly healthier twist!
- For larger crowds or a truly show-stopping centerpiece, this Halloween Cake with Eyeballs is an absolute must. It may be almost too scary to eat, which just means more for you!
- Looking for another adorable yet creepy treat? These Spider Cupcakes for Halloween are perfect for adding a touch of arachnid charm to your dessert table.
- For a quick, easy, and healthy option, whip up these Healthy Halloween Monster Mouths. They’re simple to assemble and a guilt-free spooky snack.
- Don’t forget the warm drinks! Beyond these bombs, I also have some other great seasonal beverages, like this comforting Pumpkin Hot Chocolate, a soothing Vanilla Nutmeg Almond Milk Steamer, or this indulgent Protein Nutella Hot Chocolate. They’re all terrific for enjoying during the autumn season.
- And to truly get in the groove for making all your spooky treats this Halloween, try starting your day with a refreshing Pumpkin Smoothie or a delightful Pumpkin Cold Brew with Sweet Cream.
Happy Halloween, everyone! I sincerely hope you enjoy making and savoring these delightful and spooky Halloween Hot Chocolate Bombs. If you make them, please snap a pic and tag #fooddoodlesrecipes so that I can easily find and admire your wonderful creations. Your efforts inspire me!
Halloween Hot Chocolate Bombs
Ingredients
For the hot chocolate powder:
- 1/4 cup (40 grams) powdered sugar
- 2 tablespoons (15 grams) unsweetened cocoa powder (I prefer Dutch-process)
- 1/4 cup (22 grams) finely chopped white chocolate
- 1/2 cup (30 grams) mini marshmallows
For the bombs:
- 2 pounds (907 grams) white chocolate bark or tempered white chocolate
- the above hot chocolate powder or 2/3 cup store-bought hot chocolate powder + 1/2 cup mini marshmallows
For decoration:
- candy eyes and more white chocolate or bark
To serve:
- 1-1 1/2 cups (240ml-355ml) very hot milk
Instructions
For the hot chocolate powder:
-
Stir all the hot chocolate powder ingredients together or put them in a jar and shake until totally combined.
To make the hot chocolate bombs:
-
Melt the white chocolate bark (use the package instructions). If using true white chocolate, follow the tempering steps provided earlier in the article for a professional finish.
-
Scoop about 2 tablespoons of the melted chocolate into each of your silicone half-sphere molds. For larger molds, you may need a bit more.
-
Using the back of the spoon or a small pastry brush, ensure that the entire inner surface of each half-sphere is well covered with a thick, even layer of chocolate. If your chocolate consistency is quite thick, one coat might suffice. For thinner chocolate, or if you desire extra durability, apply a second coat after chilling the first for about 10 minutes in the fridge.
-
Transfer the chocolate-filled molds to the refrigerator for about 10-15 minutes, or until the chocolate is completely set and firm.
-
Once the chocolate has hardened completely, carefully remove the half-spheres from the mold. To prevent fingerprints, I highly recommend wearing food-safe disposable gloves. If any of your rims appear slightly uneven, gently heat a small non-stick pan over very low heat. Briefly place the rim of a chocolate half-sphere on the warm pan for just one or two seconds to lightly melt and smooth out the edge.
-
Fill one half of each chocolate sphere with approximately 2 tablespoons of your prepared hot chocolate powder and a generous helping of mini marshmallows. Get creative with other fillings too!
-
If you haven’t already, gently warm a small non-stick pan over medium-low heat. Place the rim of an empty chocolate dome on the pan for just 2-3 seconds, or until you can see it begin to melt slightly.
-
Carefully place the melted rim of the empty half onto a filled half-sphere and press gently, twisting slightly to ensure a good seal. The melted chocolate will act as an adhesive.
-
Repeat this process with the remaining half spheres until all your hot chocolate bombs are sealed.
To decorate:
-
Remelt any remaining white chocolate bark or tempered chocolate. Transfer it into a small plastic bag and snip a very tiny piece off one corner to create a fine piping hole.
-
Drizzle the melted white chocolate over the filled hot chocolate bombs in a criss-cross or zigzag pattern to create a mummy-like effect.
-
While the chocolate drizzle is still wet and pliable, immediately add two candy eyes to each bomb. Gently press them into place.
-
Refrigerate the completed bombs for 5-10 minutes to allow the decorations to set firmly. Once set, store your delightful Halloween Hot Chocolate Bombs in an airtight container in the fridge for up to 1 week.
To serve:
-
Place one hot chocolate bomb into your chosen mug. Pour 1 to 1.5 cups (240ml-355ml) of very hot milk over the hot chocolate bomb. For a truly rich experience, start with 1 cup of milk. As the chocolate shell melts, gently stir to fully dissolve the contents and combine with the milk. Add more hot milk if desired to achieve your preferred consistency and strength. Enjoy your magical mummy hot chocolate!
