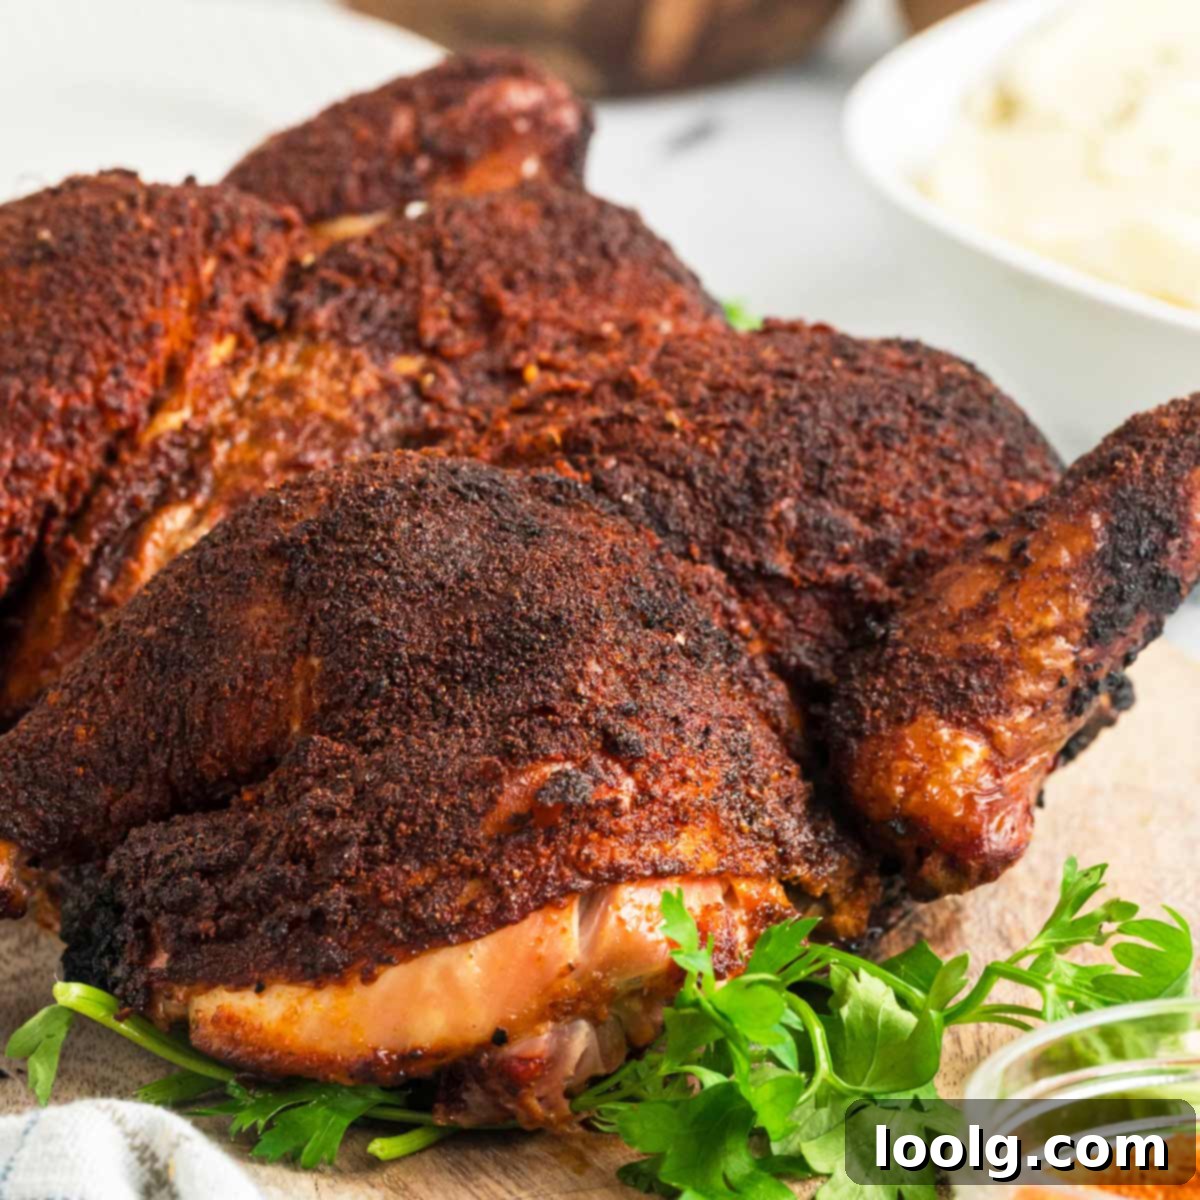
Smoked Spatchcock Chicken: Unlock Unbeatable Flavor and Juiciness for Your Next Cookout
Prepare to elevate your grilling and smoking game with this incredible smoked spatchcock chicken recipe. Imagine a chicken that’s not just smoky and flavorful, but also incredibly juicy and cooked to absolute perfection. This method achieves exactly that by flattening the chicken, ensuring uniform cooking and a faster overall process. Combined with a thoughtfully crafted yet simple spice rub, this recipe guarantees a delicious meal without unnecessary complexity. For those following a paleo diet, a simple substitution of coconut sugar for brown sugar makes this succulent bird a perfect fit.
What is Spatchcocking? A Technique for Culinary Excellence
You might be wondering, “What exactly is spatchcocking?” It’s a culinary technique that involves preparing a whole chicken by removing its backbone. This seemingly small alteration allows the chicken to lay completely flat. This flattening is crucial because it exposes more of the chicken’s surface area to the heat, whether you’re roasting, grilling, or smoking. The result is a bird that cooks more consistently and efficiently than a traditionally roasted whole chicken.
While simpler cuts like Smoked Chicken Quarters are straightforward to season and smoke, a whole chicken benefits immensely from the spatchcocking method. It ensures that every part of the bird, from the thickest breast to the darkest thigh, cooks thoroughly and evenly. This prevents common issues like overcooked breast meat and undercooked dark meat, leading to a consistently tender and juicy result across the entire chicken.
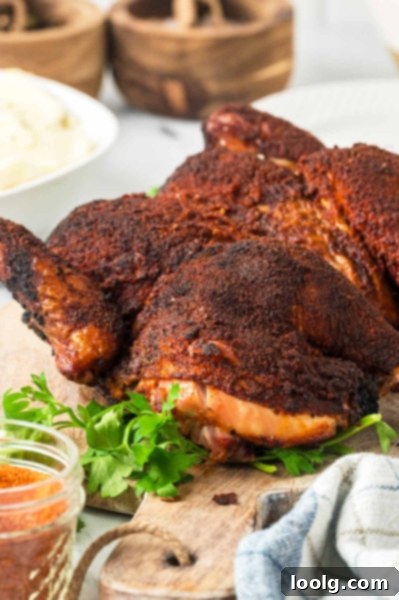
The Origins of “Spatchcock”
The term “spatchcock” carries a bit of historical charm. It is believed to originate from Old English, combining “spaec” (meaning “to split”) and “cocc” (meaning “cock,” referring to a young chicken or fowl). The word made its first appearance in written records during the 16th century, primarily describing the specific method of preparing a chicken by removing its backbone and flattening it for quicker cooking, particularly for grilling or broiling. This historical context highlights that the desire for faster, more even cooking of poultry is a practice that dates back centuries.
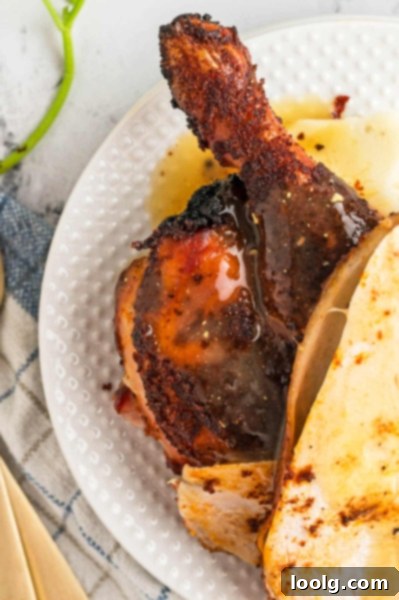
Why Spatchcock Your Chicken? The Many Benefits
Spatchcocking is much more than just a technique; it’s a game-changer for preparing poultry, especially when it comes to smoking, roasting, or grilling. This relatively simple process, achievable with a sharp knife or kitchen shears and a bit of confidence, offers several significant advantages:
- Even Cooking: The primary benefit is vastly improved heat distribution. By flattening the chicken, all parts of the bird are exposed to the heat source more uniformly. This means the delicate breast meat, which typically cooks faster, and the denser dark meat (thighs and drumsticks), which requires more time, cook at a more balanced rate. You’ll say goodbye to dry breast meat and undercooked thighs, welcoming a consistently tender result.
- Faster Cooking Time: With a flatter profile, the chicken cooks considerably quicker. This is ideal when you’re pressed for time or preparing a meal for a large gathering. A whole chicken that might take hours to roast traditionally can be ready much sooner when spatchcocked, freeing up time for other aspects of your meal preparation.
- Crispier Skin: Flattening the bird allows air to circulate more freely around the skin, particularly the back. This increased air exposure, combined with the dry rub, helps render the fat more effectively, leading to exceptionally crispy, golden-brown skin – a hallmark of perfectly cooked chicken.
- Easier Flavor Infusion: The increased surface area also means more room for your delicious spice rub to penetrate the meat, enhancing the flavor throughout the entire bird.
- More Manageable: A flattened chicken is easier to handle on a smoker or grill. It fits better on most cooking surfaces and is simpler to carve once cooked.
For those new to handling a whole bird, the idea of spatchcocking might seem daunting. Don’t worry, it’s simpler than it looks! Wearing kitchen gloves can provide a helpful barrier if you’re sensitive to handling raw poultry. And if you’re planning this for a get-together, don’t forget this delightful Healthy Chocolate Cake for dessert – it’s a crowd-pleaser and can easily be made less “healthy” if preferred! Pair it with a refreshing Arnold Palmer Drink for a perfect summer party combination.
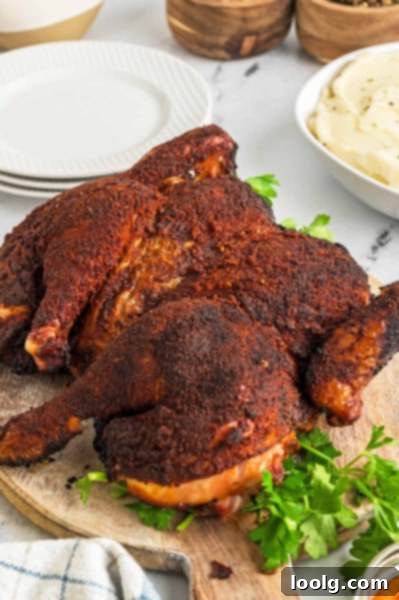
Mastering the Spatchcock Technique
The detailed recipe box at the end of this article provides comprehensive, step-by-step instructions for spatchcocking a chicken. However, here’s a quick overview of the essential steps to give you a clear understanding of this transformative method:
- Position the Chicken: Lay the whole chicken, breast-side down, on a sturdy cutting board. The backbone will be facing upwards.
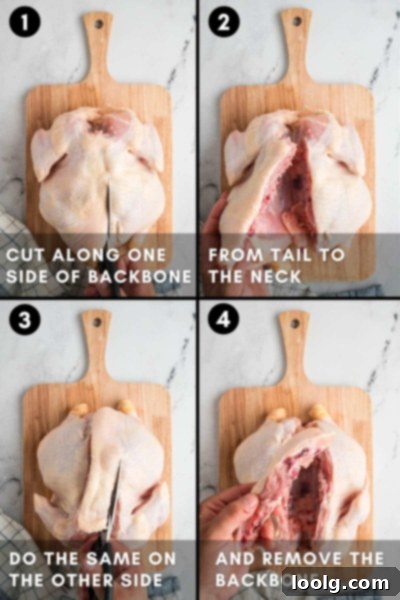
- Remove the Backbone: Using sharp kitchen shears (these are generally easier and safer than a knife for this task), cut along one side of the backbone, from the tail end up to the neck cavity. Repeat this cut along the other side of the backbone. Once both cuts are made, remove the backbone. You can discard it or save it for making flavorful chicken stock.
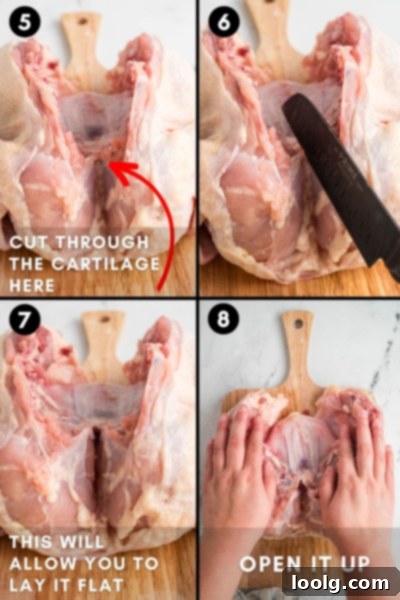
- Flatten the Bird: Flip the chicken over so it’s breast-side up. Using the heel of your hand, firmly press down on the breastbone. You should hear a satisfying crack as the bone flattens. This action ensures the chicken lies completely flat, ready for even cooking.
Once you’ve mastered these basic steps, you’ll find spatchcocking to be an invaluable skill for any poultry dish.
Essential Tips for Perfectly Smoked Spatchcock Chicken
Achieving a truly outstanding smoked spatchcock chicken goes beyond just the basic technique. Follow these expert tips for a consistently delicious and perfectly cooked bird:
- Sharp Tools are Key: Always use a very sharp knife or, even better, high-quality kitchen shears when cutting through the chicken’s backbone. This makes the process much safer and easier.
- Thaw Completely: Ensure your chicken is fully thawed before placing it in the smoker. Partially frozen chicken will cook unevenly and can prolong smoking times dramatically, potentially leading to a dry result.
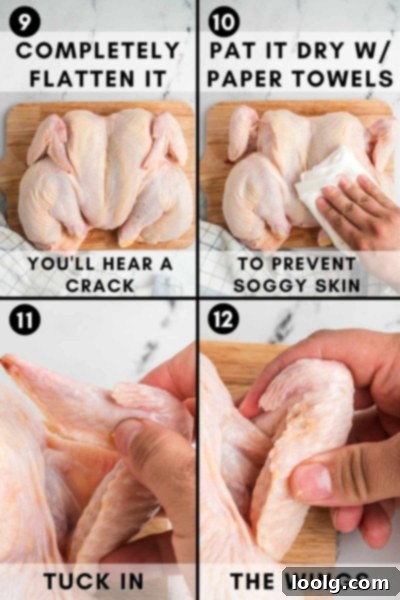
- Pat Dry for Crispy Skin: Before applying any spice rub, thoroughly pat the chicken dry with paper towels. Excess moisture on the skin is the enemy of crispiness and can prevent your delicious rub from adhering properly. A dry surface promotes browning and a superior crispy texture.
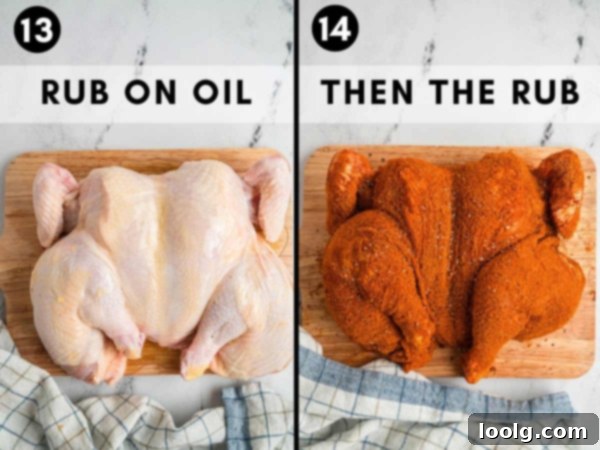
- Season Generously and Thoroughly: Don’t just sprinkle the rub on top. Get it into all the nooks and crannies, under the skin (especially over the breast and thighs), and even on the underside of the chicken. This ensures maximum flavor penetration throughout the meat.
- Tuck Wing Tips: To prevent the delicate wing tips from charring or burning during the long smoking process, tuck them neatly behind the chicken’s shoulders. This also helps the chicken maintain a compact, appealing shape.
- Avoid Overcrowding the Smoker: Give your chicken plenty of space in the smoker. Overcrowding restricts airflow, leading to uneven cooking and a drop in smoker temperature. Cook in batches if necessary.
- Cook to Temperature, Not Time: This is perhaps the most critical tip for any meat smoking. While estimated times are provided, always rely on an instant-read meat thermometer to determine doneness. Chicken is safe when it reaches 165 °F (74 °C).
- Maintain Smoker Temperature: Avoid opening the smoker lid too frequently. Every time you open it, precious heat and smoke escape, prolonging the cooking process and affecting the final result.
- No Need to Flip: Thanks to the spatchcocking method and the indirect heat of the smoker, there’s no need to flip the chicken while it’s cooking. It will cook evenly on both sides as it lays flat.
- Resting is Essential: Once cooked, remove the chicken from the smoker and let it rest, uncovered, for at least 10-15 minutes before carving. This crucial step allows the juices to redistribute throughout the meat, ensuring every slice is incredibly tender and succulent. Cutting into it too soon will result in juices running out and a drier chicken.
Crafting the Perfect Smoked Chicken Rub
While I generally favor simple seasonings for everyday meals, this smoked chicken rub is designed to deliver a potent burst of flavor without being overwhelming. It strikes a perfect balance, even with a touch more heat than usual, ensuring it’s still kid-friendly. Sometimes, I even set a small amount aside to sprinkle on my child’s beloved broccoli – speaking of which, here’s how long to boil broccoli to avoid a mushy mess!
This dry rub is truly one of the best for smoked chicken, offering an ultra-flavorful and versatile blend that can also enhance other meats. It consists of:
- Brown Sugar: Adds a beautiful touch of sweetness that caramelizes slightly during smoking, contributing to a gorgeous golden-brown skin and a hint of molasses flavor.
- Coarse Sea Salt: Provides the essential savory base, drawing out moisture from the chicken’s surface for crispier skin and deeply seasoning the meat.
- Sweet Paprika: Delivers a vibrant color and a mild, slightly sweet, peppery flavor that forms the aromatic backbone of the rub.
- Granulated Garlic: Offers a consistent, pungent garlic flavor that infuses deeply into the chicken, without the risk of burning fresh garlic.
- Black Pepper: Adds a classic, sharp, and earthy heat that complements the other spices.
- Cayenne Pepper: Provides that delightful kick of heat. Adjust the amount to your preference – use less for a milder flavor or a bit more for those who love a spicy punch.
The synergy of these ingredients creates a rub that is both aromatic and deeply flavorful, ensuring your smoked chicken will emerge from the smoker with a tantalizing golden-brown crust and a taste that will have everyone asking for seconds.
Choosing the Best Wood for Smoking Chicken
The type of wood you choose for smoking plays a critical role in the final flavor profile of your chicken. The best wood complements the poultry without overpowering its natural taste. Here are some popular and highly recommended choices:
- Mild & Fruity Woods: Apple, Cherry, and Pecan are excellent choices for chicken. They impart a gentle, sweet, and fruity smoke flavor that beautifully enhances the chicken without being too aggressive. Cherry also gives the chicken a lovely reddish hue.
- Medium Intensity Woods: Maple offers a subtle, sweet, and mild smoke, while Hickory provides a classic, stronger smoky flavor that’s still well-suited for poultry when used judiciously.
- Stronger Woods (Use with Caution or Blend): Mesquite delivers a very bold, earthy, and intense smoke flavor. While delicious, it can quickly overpower chicken if used exclusively or in large quantities. For a more balanced taste and complex depth of flavor, consider combining stronger woods like hickory or mesquite with milder, fruity options such as cherry, apple, or pecan. This blending technique allows you to achieve that desired smoky intensity without losing the delicate nuances of the chicken.
Experiment with different woods and combinations to discover your personal favorite. You can use wood chips, chunks, or pellets depending on your smoker type.
How Long Does It Take to Smoke Spatchcock Chicken?
As emphasized earlier, the golden rule of cooking meat, especially when smoking, is to **always cook to internal temperature, not just by time**. This ensures food safety and optimal doneness. For this smoked chicken recipe, we employ a two-stage smoking process for best results:
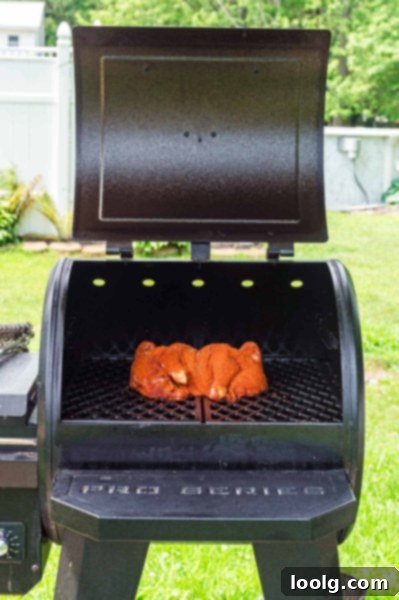
- Initial Low & Slow Smoke: Preheat your smoker to a consistent 225 °F (107 °C). Smoke the spatchcocked chicken at this lower temperature for approximately 45 minutes. This initial phase allows the chicken to absorb plenty of smoky flavor without drying out.
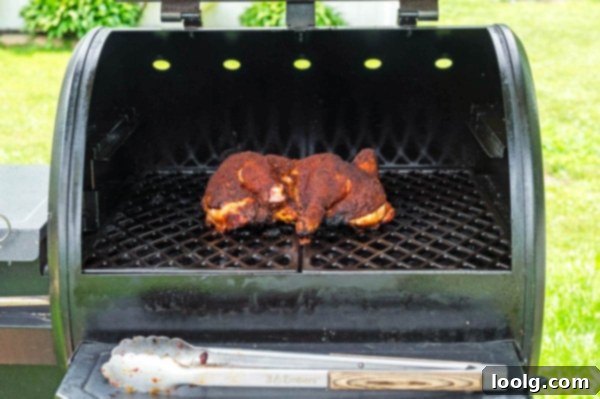
- Finishing High Heat Cook: After the initial smoke, increase the smoker’s temperature to 425 °F (218 °C). Continue to smoke the chicken for another 40 to 50 minutes, or until it reaches the target internal temperature. It’s crucial not to remove the chicken while the temperature is increasing; let it adjust in the smoker. Also, there’s no need to flip the chicken during this process.
Checking for Doneness: Chicken is considered safe to eat when its internal temperature reaches 165 °F (74 °C). This temperature ensures that any harmful bacteria are eliminated and the chicken is thoroughly cooked. To accurately check the temperature, insert an instant-read thermometer into the thickest part of the thigh, making sure the probe does not touch any bone, which can give an inaccurate reading. Also check the thickest part of the breast.
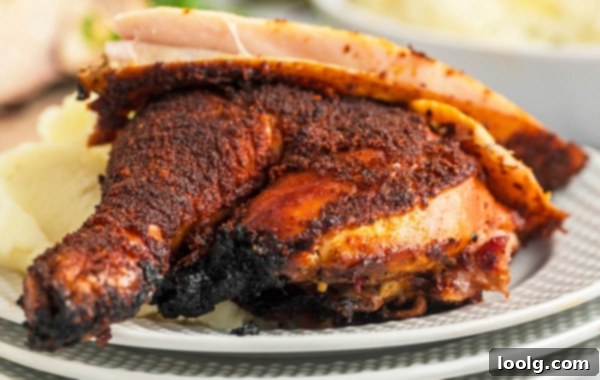
Once both the breast and thigh register 165 °F (74 °C), the chicken is ready to be removed from the smoker. Place it on a cutting board or platter and let it rest, uncovered, for 15 minutes. This resting period is vital; it allows the muscle fibers to relax and reabsorb the flavorful juices, resulting in a much more tender and moist chicken when sliced. Skipping this step can lead to a drier bird as the juices will simply run out when you cut into it.
Proper Storage for Leftover Smoked Chicken
If you have any delicious smoked spatchcock chicken leftovers, proper storage is key to maintaining its quality and safety:
- Refrigeration: Allow the cooked chicken to cool completely (this usually takes about an hour, but no more than two hours at room temperature) before storing. Once cool, transfer the chicken to an airtight container or a resealable plastic bag. Store it in the refrigerator for up to 3 to 4 days.
- Freezing: For longer storage, freeze the chicken. After it has cooled completely, wrap individual portions or the whole chicken tightly in plastic wrap, then place it in a freezer-safe container or heavy-duty freezer bag. It can be stored in the freezer for up to 3 months.
- Thawing: The safest way to thaw frozen chicken is overnight in the refrigerator. Never thaw chicken at room temperature on the counter, as this can encourage rapid bacterial growth. Once chicken has been thawed, it should never be re-frozen.
Quick Food Safety Tips for Thawing Meat
Safe thawing practices are crucial to prevent foodborne illness. Always adhere to these guidelines when thawing any meat, especially chicken:
- Refrigerator Thawing is Best: Plan ahead and thaw chicken in the refrigerator. A small whole chicken (around 4 pounds) can take at least 6 to 8 hours, or even longer for larger birds. This slow, cold thaw keeps the chicken out of the “danger zone” where bacteria multiply rapidly.
- Never Thaw on the Counter: Leaving chicken on the kitchen counter to thaw allows the outer layers to reach unsafe temperatures while the inside is still frozen. This creates a prime environment for bacteria to breed.
- Observe the Two-Hour Rule: No meat, raw or cooked, should be left at room temperature for more than 2 hours. If the ambient temperature is above 90°F (32°C), this time limit drops to 1 hour.
- Avoid Slow Cookers for Thawing: Do not attempt to thaw chicken in a slow cooker or crockpot. These appliances do not heat the food quickly enough to safely pass through the bacterial danger zone.
- Cold Water Thawing (Fast Method): If you need to thaw chicken quickly, place it in a leak-proof plastic bag and submerge it in a bowl or sink of *cold* water. Change the water every 30 minutes to ensure it remains cold. Do not use hot water; anything warmer than 110 °F (43 °C) is considered dangerous, as bacteria can multiply quickly. Chicken thawed this way should be cooked immediately.
More Delicious Smoker Recipes to Try
If you’ve fallen in love with the magic of your smoker, there are plenty more delicious recipes waiting for you to discover. Expand your smoky repertoire with these fantastic options:
- For a truly luxurious meal, try my Smoked Ribeye Recipe.
- Elevate your backyard BBQ with tasty Smoked Burgers.
- Or, indulge in one of my personal favorites, the rich and savory Smoked Corned Beef Brisket.
What to Serve with Your Smoked Spatchcock Chicken
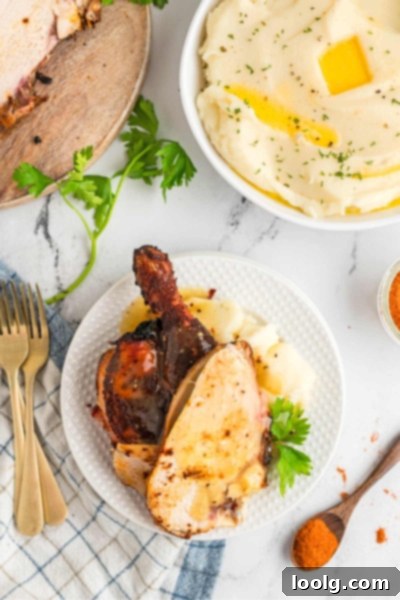
A perfectly smoked chicken deserves equally delicious side dishes to complete the meal. Here are some fantastic pairings:
- Air Fryer Baked Potatoes: Crispy on the outside, fluffy on the inside, and so easy to make.
- Red Skinned Mashed Potatoes: Creamy, flavorful, and a comforting classic.
- Italian Tomato Salad: A fresh, vibrant, and light salad to balance the rich chicken.
- Green Goddess Salad: A creamy, herbaceous salad that adds a gourmet touch.
- Polish Cucumber Salad: Refreshing and tangy, perfect for cutting through the richness of smoked meat.
We truly hope you enjoy making and savoring this incredible smoked spatchcock chicken. If you give it a try, please let us know how it turned out in the comments below! Happy smoking!
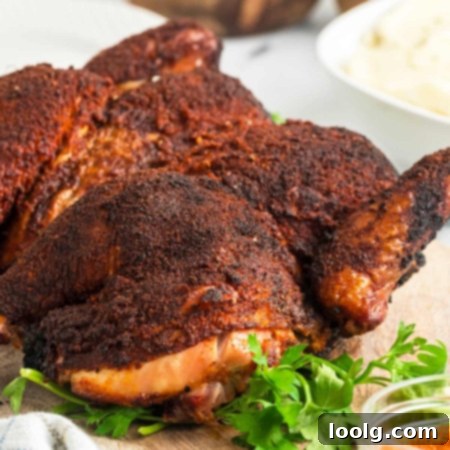
Smoked Spatchcock Chicken
Ingredients
For the dry rub:
- 2 tablespoons (24 g) brown sugar (coconut sugar for paleo)
- 2 tablespoons (36 g) coarse sea salt
- 1 tablespoon (7 g) sweet paprika
- 1 tablespoon granulated garlic
- 1 1/2 teaspoons black pepper
- 1 teaspoon cayenne pepper
For the chicken:
- 4 pound (1.81 kg) whole chicken
- 2 tablespoons (28 g) olive oil
Instructions
-
Combine all dry rub ingredients in a small bowl and set aside.
-
Prepare your smoker for indirect heat according to the manufacturer’s instructions. We recommend using hickory, pecan, maple, apple, or cherry wood for best results. Set the smoker temperature to 225 °F (107 °C).
-
If your chicken comes with giblets inside the cavity, remove them and either discard or save them for making stock.
-
Place the whole chicken, breast side down, on a large, clean cutting board. The backbone will be visible running down the center. Using sturdy kitchen shears, carefully cut along one side of the backbone, from the tail end all the way up to the neck cavity.
-
Repeat the cut along the other side of the backbone. Once both cuts are made, remove the backbone entirely. Discard it or reserve it for future broths or stocks. Also, trim away any other undesirable bits, such as excess fat or loose red blobs, that you won’t be eating.
-
Next, use a sharp knife or the tips of your kitchen shears to make a small incision through the tough cartilage situated right in the middle of the breastbone. This crucial step will allow the chicken to lie completely flat.
-
Flip the chicken over so the breast side is facing up. Firmly press down on the breastbone using the heel of your palm. You should hear a distinct crack as the bone flattens. Adjust the legs to lie evenly to the sides. The chicken should now be lying totally flat on your cutting board.
-
To prevent the wing tips from burning during the long smoking process, tuck them snugly behind the shoulders of the chicken.
-
Thoroughly pat the chicken dry with paper towels. This step is essential for achieving wonderfully crispy skin.
-
Evenly rub the entire chicken, both front and back, with olive oil. Be sure to get some oil underneath the skin over the breast, legs, and thigh meat. The olive oil acts as a binder, helping the dry rub adhere better to the chicken.
-
Reserve roughly half of your prepared dry rub for the very top of the chicken, which you’ll apply last. With the remaining half, generously rub the chicken in all the areas you just oiled, starting by working the rub between the skin and the meat. You can also add a bit of rub to the bottom of the chicken (where it was cut open), focusing only on the meaty parts you intend to eat, not the bony sections.
-
Finally, apply the reserved half of the dry rub to the top side of the chicken. Applying the top rub last helps prevent it from lumping together or rubbing off while you’re handling and positioning the chicken.
-
Carefully place the seasoned chicken, breast-side up, on the preheated smoker grates over indirect heat. Ensure it is as flat and evenly spread out as possible to promote consistent cooking.
-
Smoke the chicken at 225 °F (107 °C) for 45 minutes. After this initial smoke, increase the smoker temperature to 425 °F (218 °C). It is important to leave the chicken undisturbed in the smoker while the temperature rises. There is no need to flip the chicken.
-
Continue smoking at the higher temperature for an additional 40-50 minutes, or until the internal temperature of both the thickest part of the breast and the thickest part of the thigh (avoiding the bone) reaches 165 °F (74° C). Remember, always smoke to temperature rather than relying solely on time.
-
Once the chicken reaches the safe internal temperature, carefully remove it from the smoker. Transfer it to a cutting board and let it rest, uncovered, for 15 minutes before slicing. This critical resting period allows the juices to redistribute throughout the meat, resulting in a significantly more tender and juicy chicken.
-
Any leftover chicken should be allowed to cool completely before being stored in an airtight container in the refrigerator for up to 3 days.
