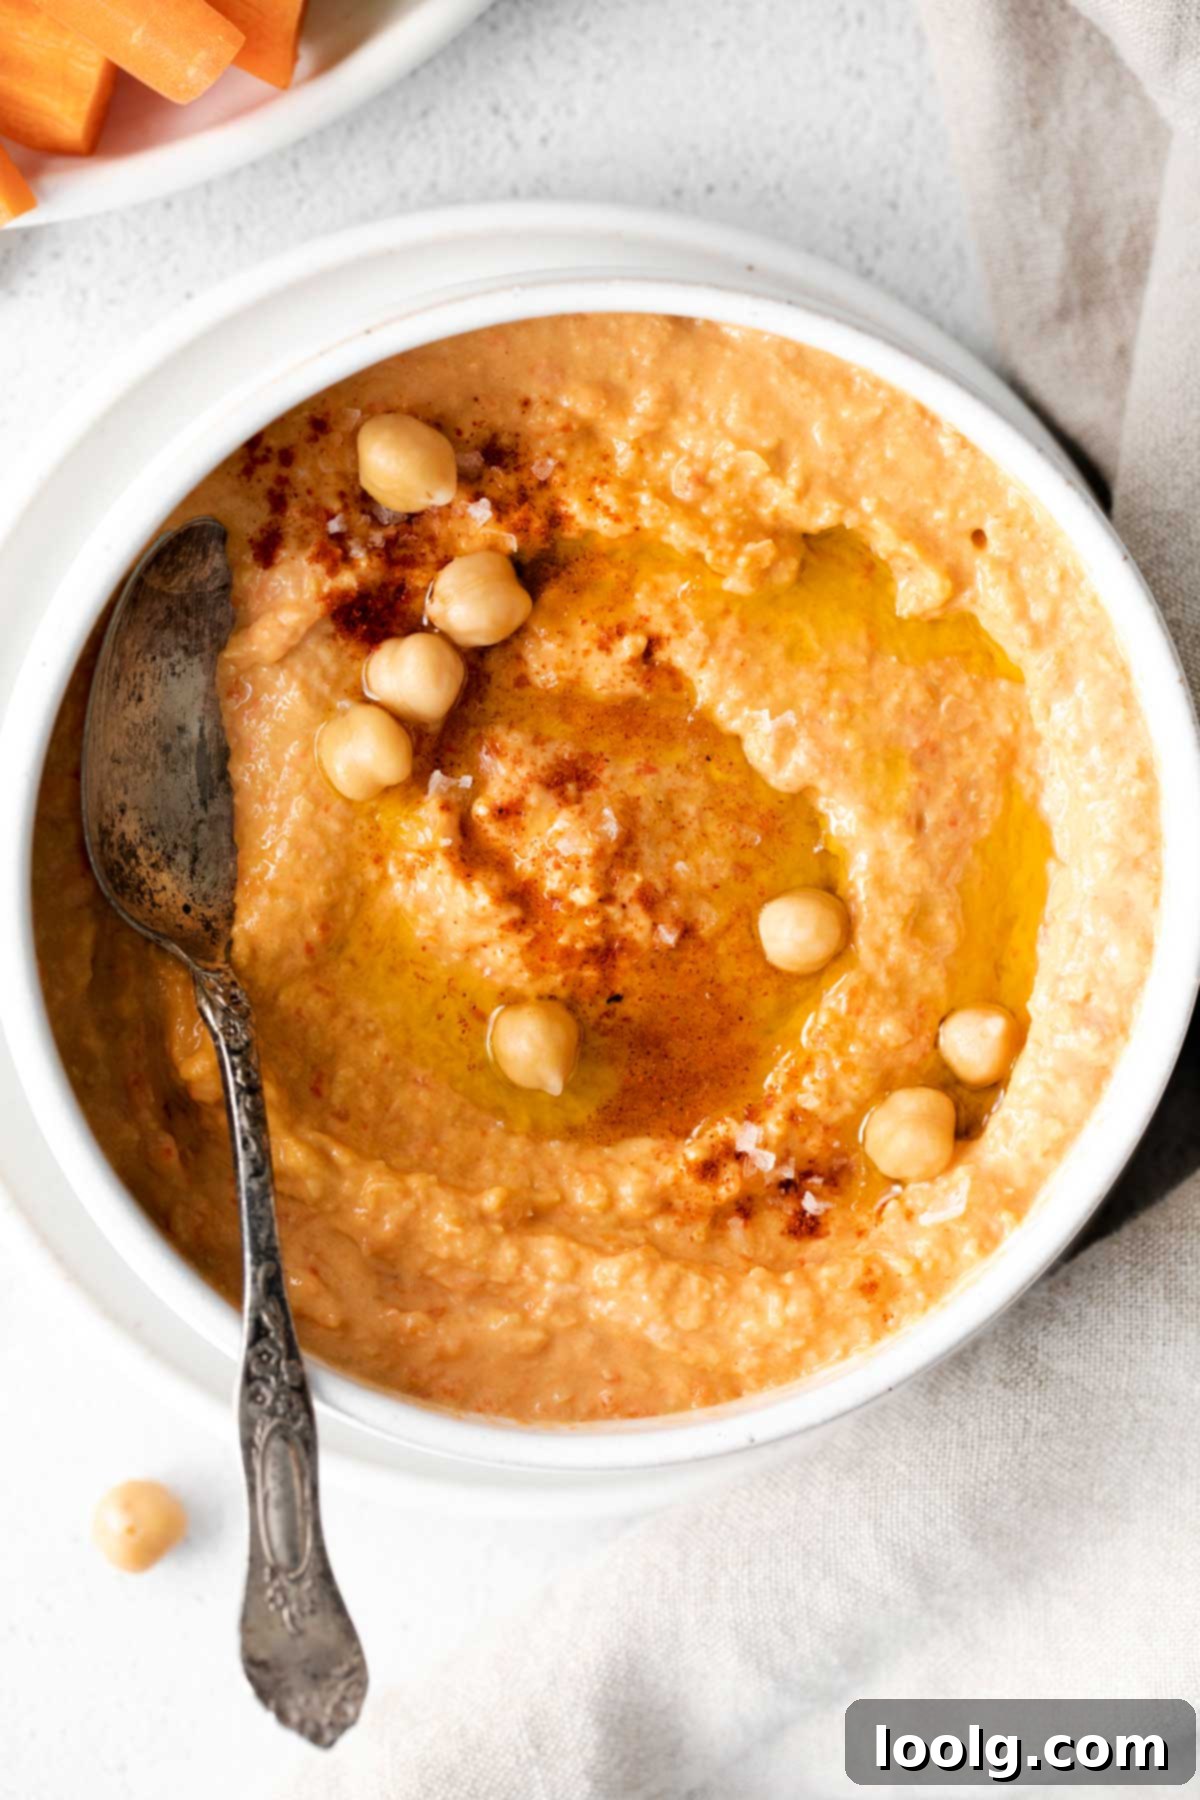
Homemade Roasted Red Pepper Hummus: Your Ultimate Healthy, Creamy, and Flavorful Dip Recipe
Welcome to the world of vibrant flavors and wholesome goodness with this incredibly easy recipe for Roasted Red Pepper Hummus. This chickpea-based delight is not just a snack; it’s a versatile, protein- and fiber-rich powerhouse perfect for light lunches, impressive party dips, or simply elevating your everyday meals. Crafted with creamy, earthy tahini, sweet roasted red bell peppers, fragrant garlic, and a bright squeeze of lemon, this hummus is naturally vegan, vegetarian, and gluten-free. Best of all, it comes together in mere minutes, promising a smooth, robust, and utterly satisfying experience.
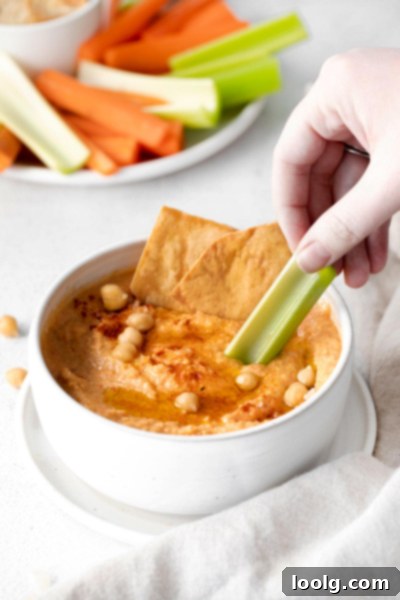
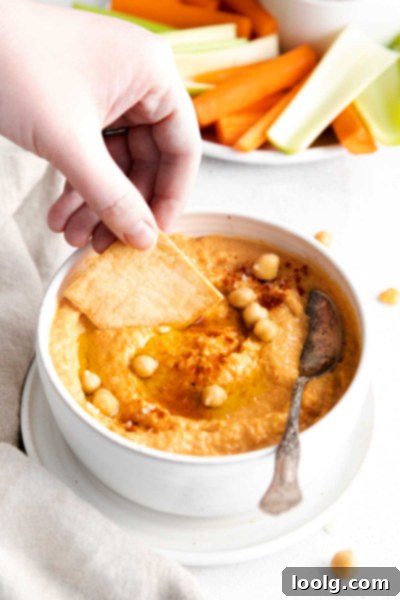
If you’ve yet to discover the joy of homemade hummus, you’re truly missing out on an ultra-healthy and delicious staple. Its velvety smooth texture and the robust, subtly smoky sweetness from roasted bell peppers make it an ideal companion for a variety of dippers. Imagine pairing it with crisp crackers, an assortment of fresh-cut raw vegetables, or generously slathered onto slices of your favorite Overnight Sourdough Bread. The possibilities are endless, and the health benefits are abundant.
While this particular recipe highlights the exquisite flavor of roasted red peppers, hummus is wonderfully adaptable. Should peppers not be your preference, or if you simply wish to explore, countless other flavor variations exist. However, it’s worth noting that the red peppers in this recipe are roasted, not spicy. This roasting process is crucial; it caramelizes the natural sugars in the peppers, intensifying their sweetness and infusing the hummus with savory, smoky undertones that elevate the dip far beyond basic expectations.
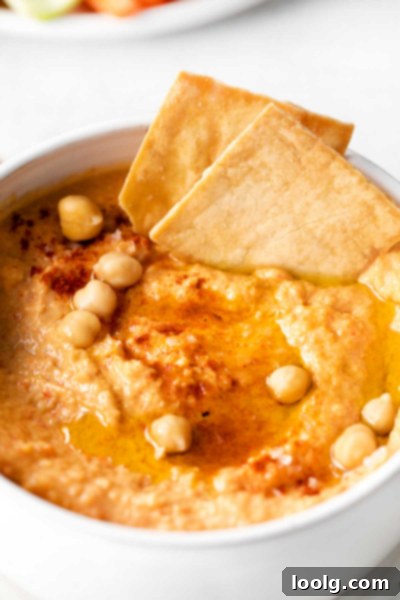
The Essential Ingredients for Perfect Red Pepper Hummus
Creating this delicious dip requires just a handful of fresh and simple ingredients, each playing a vital role in achieving its signature flavor and texture. Here’s what you’ll need:
- Red Bell Peppers: The star of the show! Roasting them transforms their flavor, adding depth and sweetness.
- Tahini: A rich, sesame-seed paste that provides the classic creamy texture and earthy undertones foundational to authentic hummus.
- Water: Helps achieve the desired smooth consistency, often added gradually to control thickness.
- Freshly Squeezed Lemon Juice: Brightens the flavors and adds a tangy zest, cutting through the richness.
- Garlic: Infuses the hummus with its aromatic, pungent kick, balancing the sweet and savory notes.
- Chickpeas: The base of the hummus, providing protein, fiber, and that wonderfully creamy body. Canned are convenient, but dried can be prepared from scratch for an even richer result.
- Olive Oil: Essential for a luxurious, silky texture and a touch of fruity flavor. High-quality extra virgin olive oil makes a noticeable difference.
- Salt and Pepper: To taste, crucial for enhancing and balancing all the individual flavors.
Mastering the Art of Roasting Red Peppers at Home
Roasting your own red bell peppers might seem like an extra step, but it’s incredibly rewarding and unlocks a depth of flavor that jarred peppers simply can’t match. Here’s a detailed guide:
- Prepare for Broiling: Place your red bell peppers on a sturdy baking sheet. Position the baking sheet about 6 inches (15 cm) away from your broiler element. This distance is key to achieving a good char without burning the entire pepper too quickly.
- Charring for Flavor: Turn your broiler to its highest setting. Cook the peppers, rotating them frequently, until their skin is completely black and visibly charred on all sides. This usually takes about 2 to 3 minutes per side, totaling 8-12 minutes. Stay vigilant and watch them closely – broilers can be intense, and you want to char, not incinerate!
- Steam to Soften: Immediately after charring, transfer the hot peppers into a heat-safe Ziploc bag or a bowl covered tightly with plastic wrap. Seal the bag or cover the bowl and allow the peppers to steam for at least 10-15 minutes. This steaming process softens the flesh and makes the charred skin incredibly easy to peel off.
- Peel and Prepare: Once cooled enough to handle, carefully peel the skin from the peppers. Discard the skin, along with the stems and seeds. The roasted flesh should be tender and sweet.
- Chop and Reserve: Chop the roasted red pepper flesh into manageable pieces. Set these aside; they are now ready to be incorporated into your hummus.
Time-Saving Tip: If you’re short on time or prefer a quicker method, you can certainly use jarred roasted red peppers. Substitute approximately ⅓ cup (about 75-80 grams) of well-drained jarred peppers for the two fresh ones. Just be sure to thoroughly drain any liquid from the jar to prevent your hummus from becoming watery and losing its rich consistency.
Crafting Your Creamy Roasted Red Pepper Hummus
Now that your peppers are perfectly roasted, it’s time to transform all these wonderful ingredients into a luscious hummus. A food processor is your best friend here:
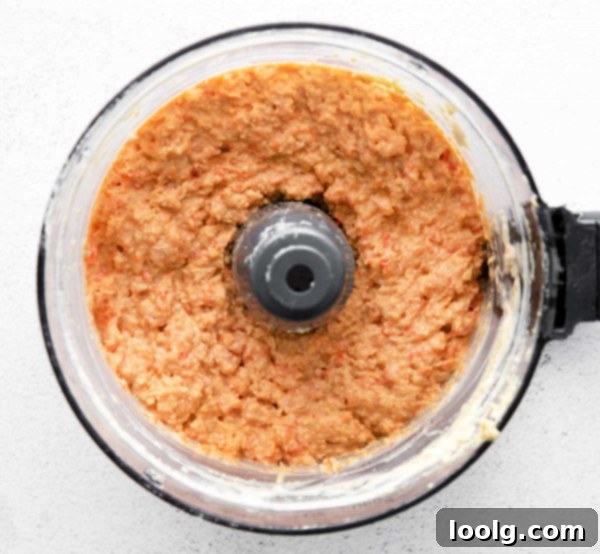
- Start with Tahini and Water: In the bowl of your food processor, combine the tahini and water. Pulse for about 30 seconds to a minute until the mixture is smooth and creamy. This step is essential for a light and airy tahini base, preventing a pasty or gritty hummus.
- Add Main Ingredients: Incorporate the fresh lemon juice, minced garlic, drained chickpeas, and your prepared roasted red peppers into the food processor. Pulse the mixture until all ingredients are finely minced and starting to combine. This initial pulsing helps break down the chickpeas and peppers before emulsification.
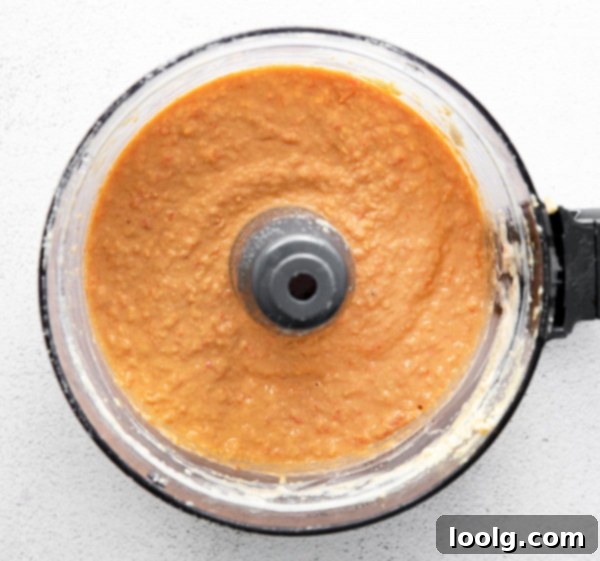
- Achieve Dreamy Smoothness: With the food processor running, slowly and steadily drizzle in the olive oil. Continue processing until the mixture reaches your desired texture – whether you prefer it silky smooth or with a slight rustic chunkiness. Don’t be afraid to process for several minutes, scraping down the sides of the bowl occasionally, to achieve that ultra-creamy consistency. If it’s too thick, add a tablespoon of cold water at a time until perfect.
- Season and Serve: Taste your hummus and season generously with salt and freshly ground black pepper. Adjust seasonings as needed. Your homemade Roasted Red Pepper Hummus is now ready to be savored!
Storage Guidelines for Freshness and Food Safety
Proper storage is crucial to maintain the quality and safety of your delicious homemade hummus. Here’s what you need to know:
Refrigeration: Homemade hummus should be stored in an airtight container in the refrigerator for up to 3 to 4 days. If you’re using store-bought hummus, once opened, it generally remains good for up to 6 to 7 days in the fridge, always following the package instructions.
Room Temperature Warning: According to the FDA, hummus should not be left at room temperature for more than four hours. This is because bacteria and microbes can multiply rapidly at unsafe temperatures, potentially producing heat-resistant toxins. Therefore, if you accidentally leave your hummus on the counter overnight, it’s safer to discard it. Even reheating it cannot eliminate these dangerous toxins.
Serving for a Crowd: When preparing hummus for a gathering, always keep it refrigerated until your guests arrive. Any leftovers should be promptly returned to the fridge to ensure freshness and safety.
Can You Freeze Hummus? Absolutely!
Freezing hummus is an excellent way to extend its shelf life and enjoy your homemade creation even longer. It’s a convenient option for meal prepping or having a healthy snack ready at a moment’s notice. Here’s how to do it effectively:
Freezing Process: Transfer your hummus into an airtight, freezer-safe container. To prevent freezer burn and make thawing easier, you can add a thin layer of olive oil on top before sealing. Don’t fill the container completely to the brim; leave a little headspace for expansion during freezing. Label the container with the date. Frozen hummus will maintain its quality for about 6 to 8 months.
Texture Considerations: While freezing is a great option, it’s generally best to consume hummus sooner rather than later for optimal texture. After about 4 months in the freezer, the texture can become slightly grainy. Hummus is prized for its smooth, appealing consistency, so to enjoy it at its best, I personally aim to eat frozen batches within three months.
Thawing and Enjoying: To thaw, simply transfer the frozen hummus to the refrigerator overnight. Once thawed, give it a good stir. If the texture still feels a bit too thick or dense, you can revive it by adding a tablespoon of cold water or a drizzle of olive oil and stirring until it reaches your desired creaminess. Then, it’s ready to enjoy as if freshly made!
What Exactly is Hummus? A Culinary Journey
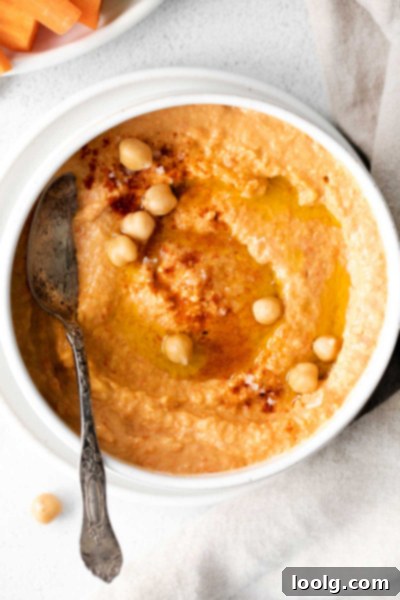
Hummus is a culinary gem, a super nutritious spread or dip that has captivated palates worldwide. Traditionally, it’s crafted from mashed chickpeas, blended harmoniously with olive oil, fresh lemon juice, tahini (a rich sesame seed paste), and aromatic garlic. The result is a smooth, creamy concoction that can stand deliciously on its own, simply seasoned, or be endlessly customized with various flavorings.
The origins of hummus are thought to trace back to ancient Egypt, from where it journeyed across the Middle East and eventually found a home in Greece. Its remarkable nutritional profile and delightful taste quickly led it to become a beloved staple of the Mediterranean diet, cherished for its simplicity and health benefits.
Beyond the Dip: Creative Ways to Enjoy Hummus
While hummus shines as a healthy snack or appetizer, its versatility extends far beyond basic dipping. Its creamy texture and savory flavor make it an excellent addition to countless meals:
- Classic Dipping: Pair it with crunchy items like these Sourdough Crackers, warm pita bread, or a selection of fresh-cut vegetables such as carrots, celery sticks, cucumber slices, and cauliflower florets. It’s the perfect party snack that caters to almost every dietary preference.
- Sandwiches and Wraps: Elevate your lunch by using hummus as a vibrant spread. Grab two slices of your favorite bread or a soft tortilla, slather on a generous layer of hummus, and pile on your preferred sandwich toppings like fresh tomatoes, crisp lettuce, thinly sliced red onions, or even some grilled vegetables.
- Pairings with Mediterranean Staples: It’s exceptional alongside falafel for a complete meal or with creamy avocado for an added healthy fat boost.
- Sauces and Dressings: Whisk hummus with a little extra lemon juice or water to create a creamy dressing for salads, or a wonderful sauce for pasta dishes. It can even be a savory topping for tofu scrambles, grilled chicken, or beef steaks, adding a rich, earthy dimension to your protein.
Incorporating hummus into your daily diet is an effortless way to infuse everyday meals with extra nutrition, flavor, and pure yumminess.
Understanding Tahini: The Secret to Creamy Hummus
Tahini is a fundamental ingredient in authentic hummus, imparting its characteristic creaminess and earthy, slightly nutty flavor. But what exactly is this versatile condiment?
What it is: Tahini is a Middle Eastern paste made from toasted, ground sesame seeds. It can be enjoyed on its own as a dip or used as a key component in dishes like hummus and baba ganoush.
How it’s Made: The process typically involves soaking sesame seeds in water, then crushing them to separate the bran from the kernels. The kernels are then re-soaked in saltwater, which causes the heavier bran to sink, allowing the floating kernels to be skimmed off. These kernels are then toasted (enhancing their flavor) and finely ground into an oily, smooth paste.
Storage: Due to its high oil content, some manufacturers recommend refrigerating tahini to prevent spoilage and maintain freshness, while others suggest room temperature storage, as refrigeration can make the paste thicker and harder to serve. You’ll most commonly find tahini on dry shelves in grocery stores rather than in the refrigerated section.
Where to Find It: Tahini has become increasingly accessible and can be found in most major grocery stores, often alongside other nut butters or in the international foods aisle. It’s also readily available through online retailers. Look for varieties made solely from sesame seeds, ideally unhulled for more nutrients, or hulled for a smoother, milder taste.
Excellent Substitutes for Tahini in Hummus
If you have a sesame allergy, can’t find tahini, or simply want to experiment, you can still make delicious hummus. Here are some of the best alternatives:
- Cashew Butter: This is arguably the best substitute. Cashew butter has a mild, neutral flavor and a creamy texture very similar to tahini, making it an excellent stand-in that won’t significantly alter the hummus’s overall taste.
- Sunflower Seed Butter: An ideal option for those with nut allergies. Sunflower seed butter offers a slightly bolder, nuttier flavor than cashew butter but still blends beautifully into hummus, providing a similar consistency.
- Peanut Butter + Olive Oil: If you don’t have nut allergies and can’t find cashew or sunflower butter, a combination of natural peanut butter and olive oil can work. The key is to use natural, unsweetened peanut butter; traditional varieties like Jif or Skippy would be too sweet for savory hummus.
To substitute: For every ¼ cup of tahini, use ⅛ cup of natural peanut butter and ⅛ cup of extra olive oil. This ratio helps to mimic the texture and richness of tahini. For those who love making things from scratch, check out this guide on how to make homemade peanut butter.
Remember, the goal is to maintain the creamy texture and savory profile, so opt for unsweetened, natural alternatives whenever possible.
Preparing Chickpeas from Scratch for the Ultimate Creaminess
While canned chickpeas are incredibly convenient and work perfectly well for hummus, preparing them from dried chickpeas can yield an even creamier and fresher result. Here’s how to do it:
- Soaking: Place your dried chickpeas in a large pot and cover them with at least 2 inches (5 cm) of water. Allow them to soak for a minimum of 6 hours, or ideally, overnight. Soaking helps rehydrate the chickpeas and significantly reduces cooking time.
- Cooking: After soaking, drain and thoroughly rinse the chickpeas. Return them to the stockpot and cover them again with about 2 inches of fresh water. Bring the water to a rolling boil.
- Simmer to Tenderness: Once boiling, reduce the heat to a gentle simmer. Cook uncovered for approximately 45 minutes to 1 hour, or until the chickpeas are very tender. Be careful not to overcook them to the point of mushiness, as this can affect the final texture of your hummus.
- Drain and Proceed: Once tender, drain the chickpeas well. They are now ready to be used in your food processor according to the hummus-making instructions.
Pro Tip for Ultra-Creamy Hummus: For an exceptionally smooth and restaurant-quality hummus, consider adding ¼ teaspoon of baking soda to the cooking water when simmering the chickpeas. Baking soda helps break down the skins, resulting in a silkier texture. You might notice the skins becoming looser; if a truly silky smooth hummus is your goal, you can even peel the skins off the chickpeas after cooking before processing them. This extra step, while a bit time-consuming, yields phenomenal results.
For everyday convenience, I often opt for good quality cooked chickpeas as they are a fantastic time and energy saver, making homemade hummus incredibly accessible.
Exploring Alternatives: If chickpeas aren’t what you’re craving, why not try this Red Lentil Hummus for a different spin? And if you’re stocking up on canned chickpeas, grab an extra can to whip up some delightful Crispy Air Fryer Chickpeas for another healthy snack!
Exciting Variations to Customize Your Hummus
Hummus is a dream for culinary creativity, making it an ideal healthy snack that you can easily “jazz up” to suit any preference or occasion. While our roasted red pepper version is fantastic, here are more ideas to inspire your next batch:
- Simple & Classic: Enjoy hummus plain, perhaps with a generous drizzle of high-quality olive oil and a sprinkling of toasted pine nuts, garnished with fresh parsley for a timeless appeal.
- Mediterranean Delights: For a vibrant, visually appealing, and authentic Mediterranean twist, stir in finely diced sundried tomatoes, chopped Kalamata olives, or fresh chives. A scattering of bright pomegranate seeds can also add a delightful pop of color and subtle sweetness.
- Spicy Kicks: If you love a bit of heat, incorporate your favorite warming spices. Add a pinch of cayenne pepper, a dash of smoked paprika (which also enhances the smoky notes from the roasted peppers), finely sliced jalapeños, or a sprinkle of crushed red pepper flakes.
- Herbaceous Freshness: Fresh herbs can dramatically change the profile of your hummus. Blend in fresh parsley, dill, basil, cilantro, or mint for a fragrant and invigorating flavor.
- Seasonal & Unique Additions: Consider incorporating other roasted vegetables like sweet potato or butternut squash for a richer, sweeter hummus. Artichoke hearts, spinach, or even avocado can be blended in for unique textures and flavors.
When I’m seeking simplicity with maximum flavor, I stick to the classic combination of garlic, lemon, olive oil, and a touch of fresh parsley. It’s a consistently great-tasting, wholesome snack.
For even more innovative ways to use hummus beyond a creamy dip, explore this collection of recipes for fantastic ideas. And don’t forget another excellent chickpea-based recipe: Roasted Chickpeas!
The Remarkable Health Benefits of Hummus
Hummus is more than just a delicious dip; it’s a nutritional powerhouse that offers a wealth of health benefits, making it an excellent addition to any diet:
- Rich in Healthy Fats from Tahini: Tahini, made from sesame seeds, is packed with beneficial omega-3 fatty acids, calcium, and protein, giving your hummus a strong nutritional foundation. The olive oil also contributes monounsaturated fats, known for heart health.
- Naturally Low in Saturated Fat: Hummus is inherently low in saturated fat, and the fats present are predominantly unsaturated, making it an ideal component of a heart-healthy, low-fat dietary regimen.
- Excellent Source of Plant-Based Protein: Chickpeas are a fantastic source of plant-based protein, which is crucial for muscle repair, growth, and satiety. This makes hummus a great option for vegetarians, vegans, or anyone looking to reduce their meat intake.
- High in Dietary Fiber: Loaded with dietary fiber from chickpeas, hummus aids in digestive health, promotes regularity, and helps maintain healthy blood sugar levels. Fiber also contributes significantly to feelings of fullness, helping to stave off hunger.
- Abundant in Vitamins and Minerals: Hummus provides a good array of essential nutrients, including antioxidant vitamins (like Vitamin E from olive oil), magnesium (important for nerve and muscle function), and potassium (vital for blood pressure regulation).
- Low in Sugar: Compared to many popular snack items that are often laden with added sugars, hummus is relatively low in sugar, offering a healthier alternative for curbing cravings. Its protein and fiber content also make it incredibly effective at promoting satiety, helping you feel full and satisfied for longer.
- Easy to Integrate: Its versatility and delicious taste make hummus incredibly easy to integrate into your daily diet, whether as a snack, spread, or ingredient in more elaborate dishes.
More Easy & Wholesome Snack Ideas
Afternoons often call for a satisfying and wholesome snack. If you love this hummus, here are some of my other go-to favorites that are both easy to make and incredibly delicious:
- Cream Cheese Quesadillas
- Mango Habanero Salsa
- Snacks for Toddlers (Great for all ages!)
- Frozen Chicken Wings in Air Fryer
- Crispy Baked Broccoli Sriracha Spring Rolls
I truly hope you enjoy making and savoring this Roasted Red Pepper Hummus recipe! Your feedback means a lot to me. If you whip up a batch and share your culinary creations on social media, please give me a shoutout by tagging #fooddoodlesrecipes. I’d absolutely love to see them and celebrate your delicious efforts!
Roasted Red Pepper Hummus
Ingredients
- 2 large red bell peppers
- ¼ cup tahini
- 2 tablespoons water
- 2 tablespoons freshly squeezed lemon juice
- 1 clove garlic minced
- 1 15 ounce can chickpeas
- ¼ cup olive oil
- Salt and pepper to taste
Instructions
-
Place the red bell peppers on a sheet pan and place them about 6” away from the broiler. Turn the broiler to high and cook the peppers until they are black and charred on all sides– about 2 minutes per side. Make sure to watch them– you don’t want them to catch on fire!
-
As soon as you char the peppers, place them in a ziploc bag and allow them to steam for at least ten minutes.
-
Gently peel the charred skin away from the flesh of the peppers and discard it, along with the seeds and stem.
-
Chop the flesh of the pepper and set it aside until ready to use.
-
Add the tahini and water to the bowl of a food processor and pulse until the tahini is smooth and creamy– about 30 seconds.
-
Add the lemon juice, garlic, chickpeas, and bell pepper and continue to pulse until the chickpeas are finely minced– about 1 minute.
-
With the processor on, slowly drizzle in the olive oil and continue processing until the mixture is your desired texture.
-
Season with salt and pepper to taste and enjoy. Store in an airtight container in the fridge for up to five days.
