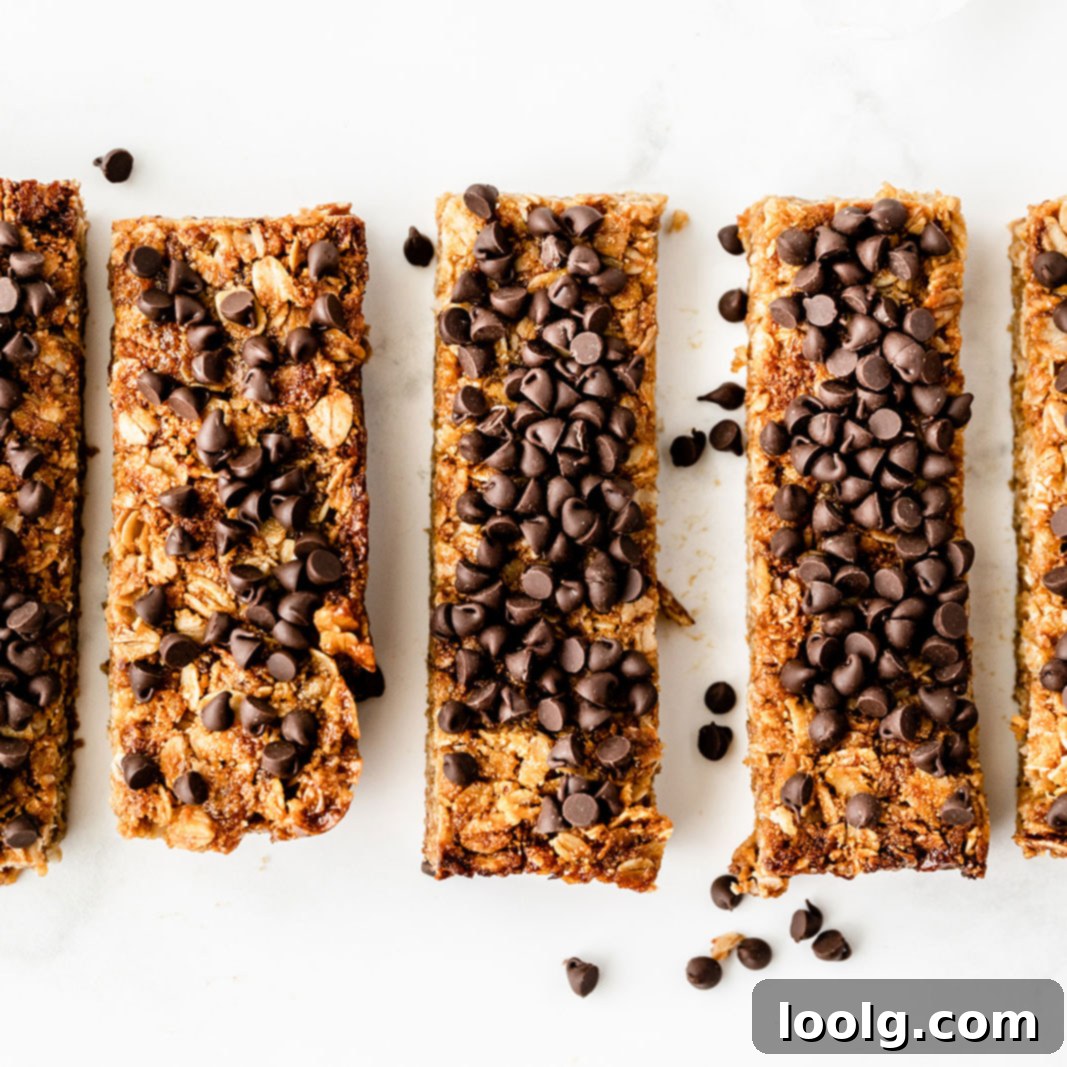
Homemade Nut-Free Granola Bars: Your Go-To School-Safe, Gluten-Free, and Vegan Snack
Finding the perfect snack that is both delicious and caters to various dietary needs can be a challenge. These homemade nut-free granola bars are designed to be just that! They are incredibly versatile, ideal for packed lunches, quick on-the-go fuel, or even a satisfying treat tucked away in your bag. Best of all, they are naturally dairy-free, can be easily made gluten-free and vegan, and don’t require any specialty ingredients you’d struggle to find. This recipe has been years in the making, and we firmly believe it delivers the ultimate baked granola bar experience.
While we appreciate the simplicity of no-bake options like our popular Coconut Chocolate Chip Granola Bars or delightful Banana Granola Bars, they often fall short in terms of portability. Many no-bake recipes require refrigeration or struggle to maintain their shape when transported, making them less than ideal for school lunchboxes or long car rides. This recipe, however, stands out for its robust structure, offering a texture that’s neither excessively soft nor overly crunchy. It strikes a delightful balance, providing a perfectly chewy and satisfying bite that holds up beautifully at room temperature.
Say goodbye to flimsy, messy granola bars that crumble at the slightest touch. This recipe ensures a sturdy, yet enjoyable, bar that travels exceptionally well. The only real “problem” you might encounter is just how incredibly addictive they are! Be warned, once you taste these, you might find yourself reaching for “just one more” more often than you’d like. They are truly that good.
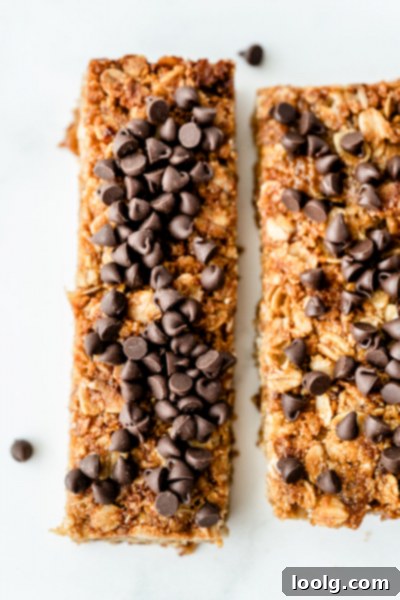
Why These Nut-Free Granola Bars Are a Game Changer
Unlike some overly “healthy” granola bars that can taste bland or resemble cardboard, these bars lean towards the indulgent side without being overly sweet. They are packed with flavor and a satisfying texture that makes them feel like a genuine treat. While they might be dangerously delicious, they are also incredibly wholesome and made with ingredients you can trust. These are the kind of snacks you’ll be proud to share, or perhaps, keep all to yourself if your self-control wavers!
The Ideal School-Safe Snack
For parents navigating the complexities of school nut-allergy policies, these nut-free granola bars are an absolute godsend. They are meticulously crafted to be peanut-free, tree nut-free, and even seed-free, ensuring they are a safe and delicious option for almost any lunchbox. Providing peace of mind, these bars eliminate the worry of accidental cross-contamination or allergen exposure, making them a top choice for school snacks. If you’re looking for more nut-free alternatives, don’t forget to check out this fantastic Nut Free Trail Mix.
For those fortunate enough not to contend with nut allergies at school, other excellent options exist, such as Cashew Chocolate Chip Cookie Larabars, delightful Apple Pie Larabar Bites, and energizing Peanut Butter Cookie Dough Energy Bites. However, for universal appeal and safety, our nut-free version remains unparalleled.
Many commercially available nut-free granola bars, or even homemade recipes, often rely on sunflower seed butter as a substitute for peanut butter or other nut spreads. While these can be good options, our recipe simplifies things by entirely avoiding the need for such specialized ingredients. You won’t have to hunt down specific nut-butter alternatives; all you need are common pantry staples, making this recipe accessible and convenient for everyone, whether you have children or not. If you’re a true granola bar enthusiast, prepare to be amazed – these genuinely are the best I’ve ever tasted!
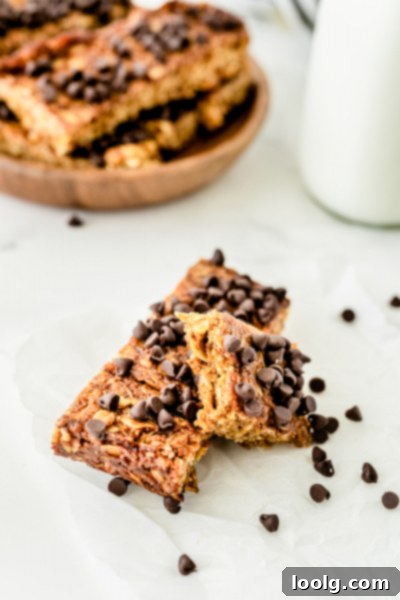
Naturally Dairy-Free and Easily Adaptable
A fantastic feature of these granola bars is their natural dairy-free composition, thanks to the use of coconut oil. Coconut oil provides the necessary fat and binding properties without any dairy. While you might be tempted to substitute butter, it’s important to note that butter is not a direct replacement for coconut oil in this recipe. Coconut oil is 100% fat, whereas butter is typically 80-82% fat, with the remaining percentage being water and milk solids. This seemingly small 20% difference can significantly impact the texture and structure of baked goods, often leading to a crumbly or dry result.
If you absolutely need a substitute for coconut oil and prefer to avoid dairy, we recommend using another neutral-tasting liquid oil. Options like light olive oil (ensure it’s truly light and not extra virgin, which can impart a strong flavor), canola oil, or grapeseed oil would likely yield excellent results, maintaining the desired texture and flavor profile. These alternatives offer a similar fat content and liquid consistency, ensuring your granola bars remain perfectly bound and delicious.
We’re constantly exploring new flavor combinations! We’ve already tried a cinnamon and raisin variation that was just as delightful as these chocolate chip granola bars. For another delicious cinnamon-oat treat, be sure to try our Raw Oatmeal Raisin Cookie Dough Bars!
The Art of Adding Chocolate Chips
One of the unique aspects of this recipe involves how the chocolate chips are incorporated. Rather than mixing them directly into the unbaked granola mixture, they are sprinkled on top *after* baking. This method is crucial because the bars require firm pressing with a flat object, like a glass or bowl, immediately after they come out of the oven to compact them and ensure they hold together perfectly. If you were to press down on a mixture containing melted chocolate chips, you’d end up with a sticky, melted mess rather than beautifully formed bars.
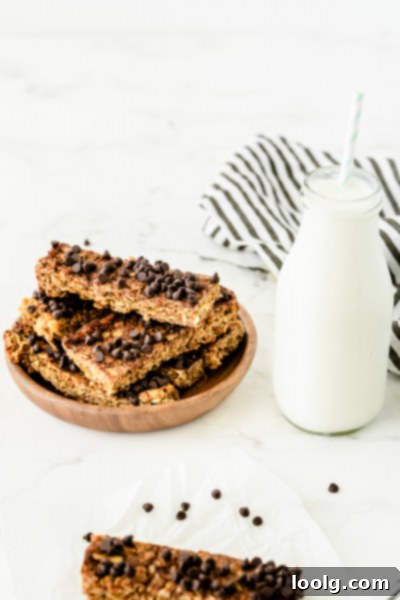
After pressing the bars, you allow them to cool slightly before cutting them. You have a couple of options for adding the chocolate chips: either before or after cutting. Adding them before cutting can result in a more uniform distribution and better adhesion, as the residual warmth helps them stick. However, this might also lead to chocolate-smeared edges on your knife and, consequently, on the sides of your bars. While this doesn’t affect the taste, it might not look as neat, which is usually only a concern if you’re serving them to guests or photographing them.
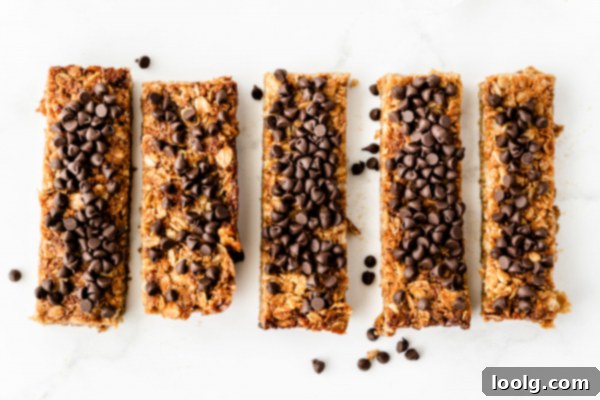
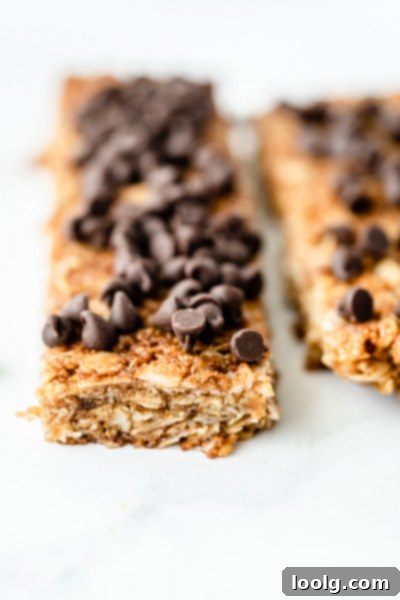
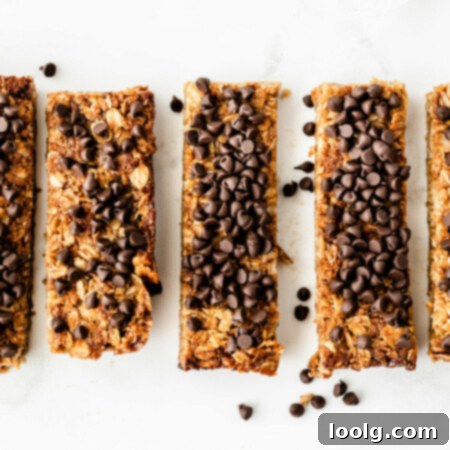
For a pristine, professional appearance, as seen in our photos, it’s best to add the chocolate chips after the bars have been cut. To ensure they adhere properly, let them melt just a tiny bit on the bottom before pressing them lightly onto the bars. If the bars have cooled too much and the chips aren’t sticking, you can briefly pop the cut bars back into a warm oven for a minute or two to soften the surface slightly, then press the chips on.
Important Considerations for Perfect Granola Bars
Achieving the perfect granola bar texture and stability can be quite precise. Granola bar recipes are often less forgiving than other baked goods, meaning that ingredient substitutions or changes to ratios can significantly affect how well they hold together. For the best possible results, we highly recommend sticking to the recipe as closely as possible. However, we understand that questions arise, so we’ve addressed the most common potential queries below to guide you through any necessary adjustments.
Can I use something other than oats?
Oats are fundamental to the structure and texture of these granola bars. Their unique ability to absorb moisture and bind ingredients together is unmatched by other flakes. Flakes like quinoa or rice, for example, have different absorption rates and less inherent stickiness, which would likely result in bars that are either too dry and crumbly or too wet and loose. For this reason, we strongly advise against substituting oats with other types of flakes to ensure your granola bars maintain their desired chewiness and hold their shape.
Can I omit or use something in place of the crisp rice cereal?
The crisp rice cereal plays a crucial role in providing a delightful lightness and subtle crunch to the granola bars, balancing the chewiness of the oats. It also contributes to the overall structure by absorbing some of the wet mixture. Omitting it would throw off the liquid-to-dry ingredient ratio, making the mixture too wet and less likely to set properly. As with oats, finding an exact substitute that mimics its absorption and textural properties is challenging. Any substitution would likely alter how well the bars hold together. Therefore, if crisp rice cereal is absolutely unavailable, omitting it might be preferable to attempting an unpredictable substitution, though it will affect the final texture.
What can I use instead of oat flour?
Oat flour acts as a fine binder in this recipe, helping to create a cohesive structure that keeps the bars from falling apart. It absorbs moisture effectively and contributes to the soft, chewy texture. A direct substitute for oat flour is genuinely hard to find. Some recipes might suggest coconut flour, but coconut flour is far more absorbent than oat flour, meaning it would likely result in a much drier, more brittle, and potentially crumbly granola bar. Unless you’re an experienced baker comfortable with significant recipe adjustments, we don’t recommend this substitution. Don’t let oat flour deter you, though – it’s incredibly easy to make at home!
How do I make oat flour?
Making your own oat flour is remarkably simple and ensures you have the freshest ingredient for your granola bars. You’ll need either quick oats or rolled oats (avoid instant or steel-cut oats, as they won’t yield the same fine texture). The process involves grinding them into a very fine, powdery consistency using one of the following methods:
- Food Processor: If you have a large food processor, you’ll likely need to grind a slightly larger quantity of oats than specifically called for in this recipe to ensure the blades can effectively process them into a fine flour. Aim for enough oats to cover the blade entirely. While it might not achieve the absolute finest grind compared to other methods, it will still work perfectly for these granola bars.
- High-Powered Blender (e.g., Blendtec or Vitamix): These blenders excel at creating super-fine flour. The “nut-butter jar” or smaller container attachments are particularly effective for smaller quantities.
- Electric Coffee Grinder: This is often my preferred method for small batches, as it produces an incredibly fine and powdery oat flour in a matter of seconds (around 5 seconds per batch). For this recipe, you might need to process the oats in two separate batches due to the typical size of coffee grinders.
No matter which method you choose, ensure the oat flour is as fine as possible for optimal binding and texture. If you end up with extra oat flour, it’s a versatile ingredient! It’s excellent for making our reader-favorite banana pancakes (a perfect way to use up overripe bananas!) or these delicious apple season treats like gluten-free apple crisp (made with just oats and oat flour!) and this delightful Swedish apple pie.
What can I use instead of brown sugar or coconut sugar?
Both brown sugar and coconut sugar contribute not only sweetness but also moisture and a soft, slightly chewy texture to these granola bars. Brown sugar, in particular, contains molasses which aids in binding and keeps baked goods moist. I’ve tested this recipe with coconut sugar, and while the bars were still delicious and transportable, they were noticeably more fragile compared to those made with brown sugar. This is because coconut sugar has a different moisture content and crystal structure than brown sugar. Using white granulated sugar would likely yield a similar result to coconut sugar, possibly even more brittle and drier, as it lacks the molasses found in brown sugar that helps with moisture retention and chewiness. For the best binding and texture, brown sugar is highly recommended.
Can I reduce / omit the sweetener?
Unfortunately, no. The sweeteners (honey/brown rice syrup and sugar) are not just for taste; they are crucial binding agents in this recipe. They contribute significantly to the bars’ ability to hold their shape and achieve that desired chewy texture. Reducing or omitting them would severely compromise the structural integrity of the bars, leading to a crumbly mess that won’t stick together. We highly advise against altering the sweetener quantities.
Do they taste like honey?
Yes, you will definitely detect the flavor of honey in these granola bars, but it’s a pleasant, complementary note rather than an overwhelming “honey-flavored” product. To ensure easy incorporation and proper mixing with the other wet ingredients, we recommend using a runny variety of honey. Attempting to mix creamed or firmer honey with coconut oil can be quite challenging and may result in an uneven mixture. If your raw honey has crystallized, simply warm it gently until it becomes liquid before combining it with the other wet ingredients to ensure a smooth, homogenous mixture.
Can I use something in place of the coconut oil?
As discussed previously, coconut oil is a key ingredient, and its unique composition (100% fat) makes direct substitution tricky. Butter, for instance, contains approximately 80-82% fat, with the remainder being water and milk solids. This 20% difference is substantial in baking and significantly affects the final texture and structure. If we were, for example, substituting coconut oil for butter, we might suggest reducing the coconut oil slightly and adding a bit of water to compensate. However, substituting butter for coconut oil in this recipe is less straightforward due to the need for a specific fat content and emulsifying properties. While you could attempt to use 7 tablespoons of butter, the outcome is uncertain and not something we can guarantee. For a butter-based option, you might consider trying other recipes like these Homemade Chewy Granola Bars that already call for it.
Alternatively, if you prefer to stick with an oil, other neutral-tasting liquid oils are a safer bet. Canola oil, grapeseed oil, or even a very light olive oil (if you don’t mind a subtle olive flavor) would likely work well as they offer a similar fat profile and liquid consistency to melted coconut oil, ensuring the bars remain moist and well-bound.
Can I reduce the oil?
Absolutely not. The coconut oil in this recipe is not just a flavor enhancer; it’s a vital structural component. It acts as a primary binder, coating the dry ingredients and allowing them to adhere to each other, forming a cohesive bar. Reducing the oil content would severely compromise the binding properties, resulting in dry, crumbly bars that simply won’t hold together. Maintaining the specified amount is crucial for the success of this recipe.
Can you taste the coconut oil?
The presence of coconut flavor depends entirely on the type of coconut oil you use. If you opt for unrefined (virgin) coconut oil, you will certainly detect a distinct coconut taste in your granola bars. For those who prefer a neutral flavor profile without any coconut notes, we highly recommend using refined coconut oil. Refined coconut oil undergoes a process that removes most of its flavor and aroma, making it a perfect neutral fat for baking and ensuring the other delicious flavors of your granola bars shine through.
How can I turn these into vegan granola bars?
To transform these delicious nut-free granola bars into a completely vegan treat, the only necessary substitution is replacing the honey with brown rice syrup. Brown rice syrup is an excellent vegan alternative that provides similar binding and sweetening properties to honey, ensuring the bars hold together beautifully. We experimented with maple syrup as a vegan sweetener, but the results were unfortunately disappointing. Maple syrup has a different sugar composition and higher water content than honey or brown rice syrup, which led to dry and crumbly bars that lacked the desired structural integrity, despite tasting good. For a successful vegan adaptation, stick to brown rice syrup.
How can I make them gluten-free?
Crafting gluten-free granola bars requires careful attention to ingredients. First and foremost, you must use certified gluten-free oats. While oats are naturally gluten-free, they are often processed in facilities that also handle wheat, barley, or rye, leading to cross-contamination. Look for labels explicitly stating “certified gluten-free” to ensure safety, which are readily available in most grocery stores and health food sections. Additionally, you’ll need oat flour, which you can easily make at home from your certified gluten-free oats as described above.
The crisp rice cereal also needs to be gluten-free. Many common brands, such as Rice Krispies in the US, contain malt flavoring derived from barley, making them unsuitable for a gluten-free diet. We highly recommend brands like the Sprouted Brown Rice Crisps Cereal from One Degree Organic Foods, which uses naturally gluten-free ingredients and is not processed in a facility that uses wheat. However, note that while it uses GF ingredients, it may not be officially certified gluten-free, so always check packaging carefully. Another excellent option, if you can find it, is Organic Crispy Brown Rice Cereal from Erewhon, which is certified gluten-free. Always double-check ingredient labels for any hidden gluten-containing ingredients and facility warnings, especially if you have severe gluten sensitivities or Celiac disease.
Can I omit the vanilla?
While vanilla extract primarily contributes flavor, it also adds a small amount of liquid to the wet mixture, which is important for the overall texture and consistency of the bars. If you choose to omit the vanilla, we recommend replacing it with an equal amount of water. This ensures the liquid balance in the recipe is maintained, preventing the bars from becoming too dry. Alternatively, for a unique flavor twist, you could try using half almond extract and half water – that combination sounds absolutely amazing!
That concludes our comprehensive guide to creating these irresistible nut-free granola bars. We’ve covered everything from ingredient choices and substitutions to troubleshooting tips, ensuring you have all the information needed for baking success. We genuinely hope you enjoy making and devouring these perfect homemade snacks. If you give this recipe a try, we’d absolutely love to hear your thoughts and see your creations! Don’t hesitate to share your feedback. 🙂
Nut-free Granola Bars (gluten-free, vegan options)
Ingredients
- 4 1/3 cups (400 grams) rolled oats (use GF oats for a GF version)
- 1 cup crispy rice cereal (like Rice Krispies or Erewhon Crispy Brown Rice Cereal for gluten-free)
- 3/4 cup + 2 tablespoons (95 grams) oat flour (please weigh it! It’s easy to pack it down too much oat flour) (use GF oat flour for a GF version)
- 1/4 cup (50 grams) brown sugar or coconut sugar (see post for more notes on coconut sugar)
- 1 teaspoon baking soda
- 1 teaspoon salt
- 3/4 cup + 2 tablespoons (285 grams) honey or brown rice syrup for vegan
- 7 tablespoons (98 grams) coconut oil, melted (I prefer refined for no coconut taste)
- 2 1/2 teaspoons vanilla extract
- 1 cup mini semi-sweet chocolate chips for the top (use vegan / dairy-free chocolate chips, if needed)
Instructions
-
Preheat the oven to 350 °F. Line a 9″x13″ pan with parchment paper.
-
In a large bowl, stir together the dry ingredients (oats through salt).
-
In a medium bowl, stir together the wet ingredients (honey, oil and vanilla) until combined. Pour over the dry ingredient mix. Mix until totally combined.
-
Press the mixture very firmly into the prepared pan.
-
Bake for 23 minutes or until the top has lightly browned.
-
Remove from oven and use a glass, bowl, or something with a flat bottom to press down the granola bars and to compact them more.
-
The chips stick better if you add them now before cutting. The bars will have chocolate on their edges from using a chocolate-smeared knife but unless you’re serving these to company or taking photos of them, I don’t see why that’d matter. If you want them to be super neat, like in the photos, you need to add the chips after cutting. See below.
-
Let cool in the pan for 15 minutes.
-
Remove the bars from the pan (using the parchment paper) and cut them into bars. Add your chocolate chips if you haven’t already. I let them melt a tiny bit on the bottom of the chips and press down lightly on the chips. That helps them stick better. If your chips aren’t melting at all, stick the bars back in the oven quickly until they’re a little warm so the chips will stick.
-
Let cool completely. Once the chocolate has hardened, store in an airtight container for up to 5 days.
