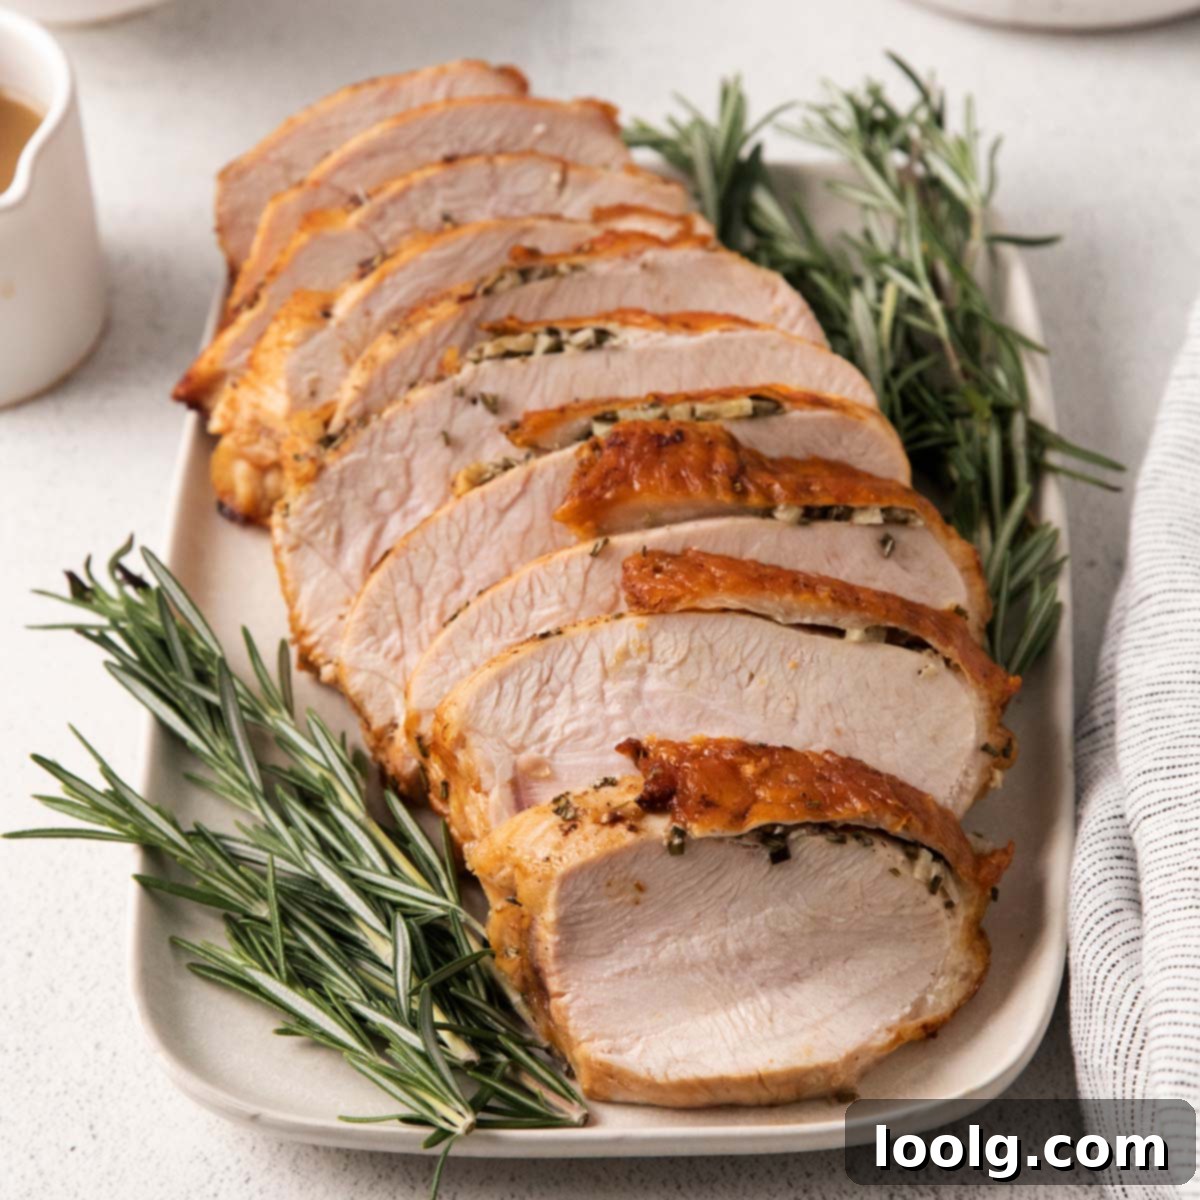
The Ultimate Guide to Juicy & Crispy Air Fryer Turkey Breast: Your Quick & Easy Recipe
Welcome to the quickest and easiest way to achieve a truly spectacular turkey breast! This Air Fryer Turkey Breast recipe promises a moist, succulent interior, beautifully golden-brown skin, and that irresistible crispy, buttery finish – all in a fraction of the time a conventional oven would require. Infused with a flavorful herbed-butter rub, this dish is incredibly juicy and packed with taste, ready to grace your table in less than an hour. It’s perfect for both special occasions and elevating your everyday meals.
Whether you’re planning an intimate Thanksgiving gathering, a festive holiday feast, or simply looking to add a delicious, healthy protein to your weeknight rotation, this air-fried turkey breast is an absolute game-changer. Its unparalleled convenience and consistently delicious results make it a household favorite.
Cooking a perfectly seasoned turkey breast in an air fryer is remarkably simple, offering a gourmet meal with minimal effort and significantly less cleanup. If you’ve enjoyed the ease of dishes like this Instant Pot Turkey Breast, you’ll be delighted by the air fryer’s efficiency and ability to deliver consistently moist and flavorful results.
Holiday meals are wonderful, but the accompanying stress is not. This air-fried turkey recipe eliminates that anxiety. The air fryer consistently proves itself to be an invaluable kitchen appliance, making everything easier to prepare, yielding juicier meats, and achieving that desirable crispy texture every single time. Imagine a beautifully cooked turkey breast, golden and tender, in under an hour – including prep time! This speed is simply not achievable with a traditional oven, freeing up precious oven space for all your other delectable sides and baked goods. 😉
But don’t reserve this magnificent dish just for the holidays. Turkey breasts are readily available year-round, making this incredible, quick-cooking meal a fantastic addition to your regular menu rotation. It’s a versatile protein that can be enjoyed in countless ways, from elegant dinners to casual family meals.
For those who prefer a different cooking method, why not explore this amazing Smoked Turkey Breast? The smoky flavor adds another dimension to this lean meat.
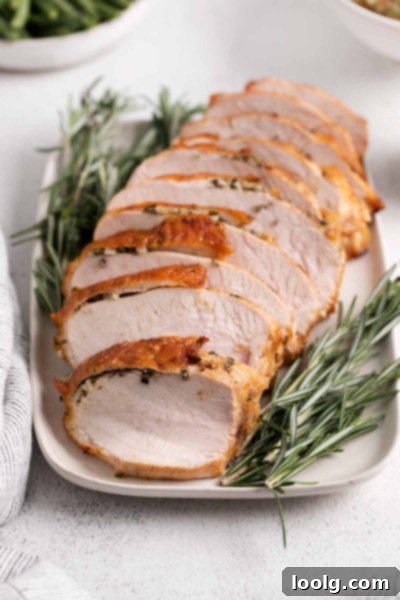
Key Ingredients for Your Perfect Air Fryer Turkey Breast
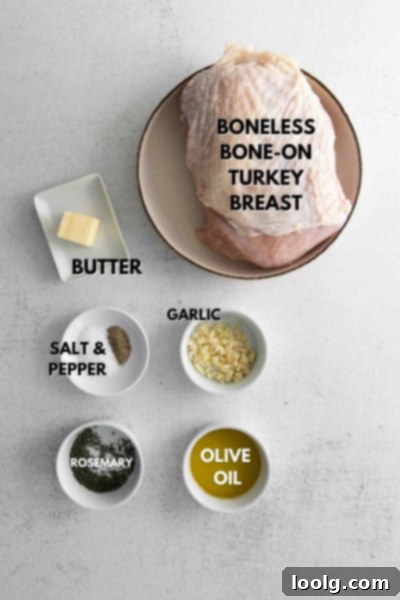
Crafting a moist and flavorful air fryer turkey breast requires just a few simple, high-quality ingredients. Here’s what you’ll need:
- Boneless, Skin-On Turkey Breast: This is the star of our show. Choosing boneless ensures faster and more even cooking, while the skin crisps up beautifully, sealing in moisture and flavor.
- Butter & Olive Oil: The dynamic duo! Butter adds richness and helps with browning, while olive oil ensures an extra crispy skin and contributes to a tender interior. This combination is key for both flavor and texture.
- Garlic: Freshly minced garlic infuses the turkey with a pungent, aromatic flavor that complements turkey perfectly.
- Fresh Rosemary: A classic herb pairing for turkey, fresh rosemary provides a fragrant, earthy note. You can also experiment with other fresh herbs.
- Kosher Salt: Essential for seasoning the meat thoroughly, kosher salt enhances all the other flavors.
- Black Pepper: Freshly ground black pepper adds a subtle kick and aromatic depth.
These ingredients, when combined in the herbed-butter rub, create an irresistible flavor profile that will make your air fryer turkey breast truly shine.
Step-by-Step Instructions: How to Cook Air Fryer Turkey Breast
Get ready for a straightforward cooking experience that yields impressive results. Follow these simple steps to prepare your incredibly tender and crispy air fryer turkey breast:
- Prepare the Air Fryer: Begin by lightly misting your air fryer basket with olive oil. This prevents sticking and helps ensure an even, golden-brown crust.
- Create the Herbed Butter Rub: In a small bowl, combine the softened butter, one tablespoon of olive oil, minced garlic, fresh rosemary, kosher salt, and black pepper. Mix thoroughly until all ingredients are well incorporated into a smooth paste. For a different flavor profile, this turkey rub recipe is also an excellent choice!
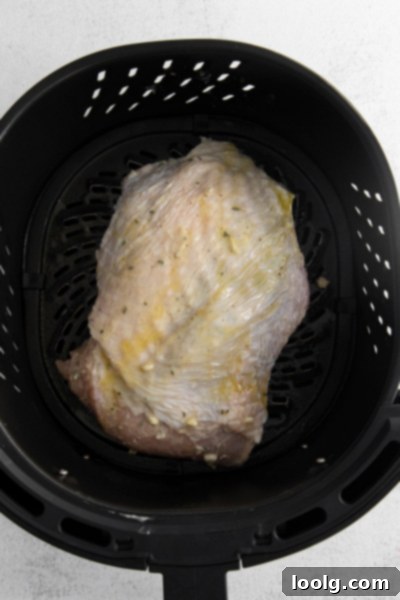
- Season the Turkey: Pat the turkey breast dry with paper towels. This crucial step helps the skin get extra crispy. Gently lift the skin away from the meat without detaching it completely. Take about three-quarters of your herbed-butter mixture and generously slather it evenly under the skin, directly onto the turkey meat. This ensures the meat itself is flavorful and moist.
- External Rub: Next, rub the remaining butter mixture all over the outside of the turkey skin.
- Final Olive Oil Drizzle: Drizzle the remaining tablespoon of olive oil over the seasoned turkey breast and gently rub it in. This adds another layer of moisture and aids in achieving that perfect crispy skin.
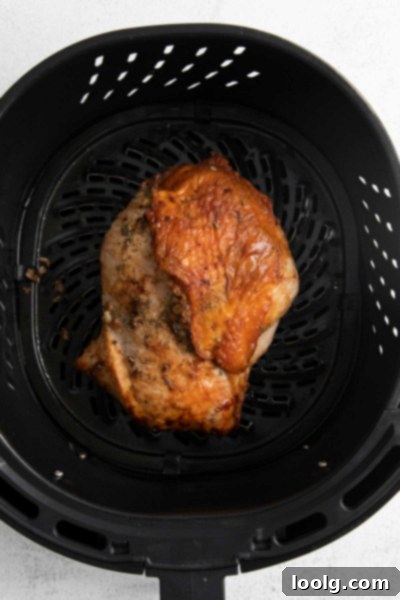
- Air Fryer Placement: Place the turkey breast into the prepared air fryer basket, ensuring the skin side is facing up. This orientation is essential for achieving that desirable crispy, golden skin.
- Cook to Perfection: Cook the turkey breast in the air fryer at 375 °F (190 °C) for approximately 30-35 minutes. Cooking time can vary depending on the size and thickness of your turkey breast and the specific model of your air fryer. The turkey is done when an instant-read thermometer inserted into the thickest part of the breast (without touching the bone, if applicable) registers 160 °F (71 °C).
- Resting Period: Once cooked, carefully remove the turkey breast from the air fryer and transfer it to a cutting board or platter. Tent it loosely with aluminum foil and allow it to rest for at least 10 minutes. This resting period is vital, as the internal temperature will continue to rise to a safe 165 °F (74°C), and more importantly, the juices will redistribute throughout the meat, resulting in an incredibly moist and tender turkey.
- Slice and Serve: After resting, slice the turkey breast against the grain and serve immediately. It pairs wonderfully with a side like this Roasted Yellow Squash!
With just 25 minutes of active prep and about 35 minutes of cook time, this air fryer turkey breast recipe will comfortably serve 6 people. You might even be lucky enough to have some delicious leftovers for a turkey sandwich or two! 😉
Expert Tips for the Best Air Fryer Turkey Breast
Achieving a perfectly cooked air fryer turkey breast is easy with a few simple tricks. Here are some detailed tips to ensure your turkey is moist, flavorful, and wonderfully crispy every time:
- Boneless vs. Bone-In Turkey Breast: For this recipe, I highly recommend using a boneless turkey breast. It cooks much more quickly and uniformly compared to a bone-in variety. If you opt for bone-in, be aware that cooking times will be longer and may require adjustments to ensure even cooking. Don’t want to use turkey breast? These Roasted Turkey Legs look absolutely fantastic too!
- The Power of Butter and Olive Oil: The combination of butter and olive oil is truly magical here. Butter provides rich flavor and helps the skin achieve a beautiful golden hue, while olive oil contributes to an extra-crispy texture and helps keep the meat incredibly moist. Using both is key for optimal results!
- Herb Customization: I’ve used garlic and rosemary for a classic and robust flavor profile. However, feel free to get creative and use any fresh herbs you prefer! Sage, thyme, oregano, or a blend of “poultry seasoning” herbs would all be delicious. Experiment to find your favorite combination.
- Fitting Your Air Fryer: Before you start, always measure your turkey breast to ensure it fits comfortably within your air fryer basket. A 4-pound boneless turkey breast is a fairly standard size and usually fits perfectly in a 5-quart air fryer basket. You don’t want the turkey to be crammed, as this will prevent proper air circulation and even cooking.
- Mind the Height: Beyond width, also check the height of your turkey breast relative to your air fryer’s capacity. Make sure the turkey isn’t too tall, which could lead to uneven cooking or scorching on top.
- The Essential Resting Period: Do NOT skip the resting step! If you carve the turkey breast too soon after cooking, all those precious juices will run out onto your cutting board, leaving you with dry, less flavorful meat. I strongly recommend transferring the cooked turkey to a platter, tenting it loosely with foil, and letting it rest for at least 10 minutes. This allows the juices to redistribute throughout the meat, ensuring every slice is incredibly tender and moist.
- Reaching the Correct Internal Temperature: The most reliable way to know your turkey is perfectly cooked and safe to eat is by checking its internal temperature. The thickest part of the turkey breast should reach 165 °F (74 °C). This ensures doneness without overcooking.
- Invest in an Instant-Read Thermometer: Cooking times can vary significantly based on the size and shape of your turkey breast, as well as your specific air fryer model. An inexpensive instant-read thermometer is your best friend here. It’s a small investment that guarantees perfectly cooked meat every time, not just for turkey, but for any meat dish.
- Thawing Frozen Turkey: If you’ve purchased a frozen turkey breast, remember to plan ahead! Transfer it to a tray or baking sheet and let it thaw slowly in the refrigerator overnight, or even for 24-48 hours depending on its size. Never attempt to cook a frozen or partially frozen turkey in the air fryer.
- Avoid Overcooking: We’ve all experienced dry, rubbery turkey, and the air fryer is no exception if you’re not careful. Overcooking is the primary culprit for dry meat. Always rely on your instant-read thermometer to tell you when it’s done. Combined with the crucial resting period, this will ensure your turkey remains juicy.
- Air Fryer Model Differences: Not all air fryers are created equal. Some models cook hotter or faster than others. It’s a good practice to start checking the internal temperature of your turkey breast a few minutes before the recommended cooking time, especially the first time you make this recipe in your specific appliance.
- Remove from Hot Basket: Once the turkey reaches the target temperature and is ready to rest, make sure to remove it from the hot air fryer basket. Leaving it in the hot basket will allow it to continue cooking, potentially leading to overcooked meat. Transfer it to a separate platter for resting.
Why Choose the Air Fryer for Your Turkey Breast?
The air fryer has revolutionized home cooking, and it’s particularly stellar for preparing turkey breast. Its popularity isn’t just a trend; it’s a testament to its efficiency and the incredible results it delivers. I personally love using my air fryer for a wide variety of recipes, from quick snacks like these Air Fryer Pizza Rolls to satisfying mains like this Air Fryer Teriyaki Chicken.
Its versatility even extends to desserts! You can whip up treats like these Air Fryer Chocolate Chip Cookies or these Air Fryer Brownies, proving it’s capable of so much more than just savory dishes.
But specifically for turkey breast, here’s why the air fryer is an unbeatable choice:
- Speed and Efficiency: An air fryer cooks food significantly faster than a conventional oven. Its compact size and powerful convection fan circulate hot air rapidly, leading to quicker cooking times and less energy consumption.
- Consistently Juicy & Crispy: This is where the air fryer truly shines. It excels at creating a beautifully crispy exterior while simultaneously locking in the moisture, resulting in a tender, juicy interior. This dual texture is often difficult to achieve with other cooking methods without careful monitoring.
- Healthier Cooking: Air frying requires far less oil than traditional deep frying, making it a healthier alternative. You get that satisfying crispy texture with just a light mist of oil.
- Reduced Mess: The contained cooking environment of an air fryer often means less splatter and a tidier kitchen compared to roasting in a large oven.
- Oven Space Freedom: Perhaps one of the biggest benefits, especially during holiday cooking, is freeing up your main oven. By cooking your turkey breast in the air fryer, your oven remains available for all your other baked delights, like this Healthy Chocolate Cake or a festive dessert like this Crustless Pumpkin Pie.
- Year-Round Convenience: The dramatically reduced cooking time means you can enjoy a delicious, wholesome turkey dinner on any weeknight throughout the year, not just for special occasions.
- Stress-Free Holiday Hosting: If you’re preparing this air-fried turkey breast for Thanksgiving or Christmas, it means you can let the air fryer handle the main course while you relax and spend quality time with your guests. No more hovering anxiously over the oven!
In essence, the air fryer offers a convenient, efficient, and consistently delicious way to prepare turkey breast that will impress without the fuss.
Understanding Turkey Internal Temperature for Food Safety
Ensuring your turkey breast is cooked to the correct internal temperature is paramount for food safety and optimal taste. Nobody wants undercooked meat, especially when serving it for a special dinner or to loved ones.
An instant-read thermometer is your most reliable tool for this. It’s a simple, inexpensive gadget that quickly and accurately measures the temperature of your food, making it invaluable for any type of meat dish.
The U.S. Department of Agriculture (USDA) recommends that all poultry, including turkey, be cooked to an internal temperature of 165 °F (74 °C). To get an accurate reading, insert the thermometer into the thickest part of the turkey breast, making sure not to touch any bones. If the thickest part has reached 165 °F (74 °C), you can be confident that the rest of the turkey is also thoroughly cooked and safe to enjoy.
Remember that the temperature will continue to rise by a few degrees during the resting period after the turkey is removed from the air fryer. So, pulling it out at 160 °F (71 °C) and letting it rest for 10 minutes will allow it to reach the safe 165 °F (74 °C) while keeping it exceptionally juicy.
What if I Don’t Have an Air Fryer? Oven Roasting Instructions
While the air fryer offers unmatched convenience and speed for this recipe, you can certainly cook this turkey breast in a conventional oven if you don’t have an air fryer. The key is adjusting temperatures and cooking times to achieve similar delicious results, though it will take longer.
To roast in the oven:
- Prepare the Turkey: Prepare the turkey breast exactly as directed in the recipe instructions, applying the herbed-butter rub both under and over the skin.
- Preheat Oven: Preheat your oven to 350 °F (176 °C). This moderate temperature allows the turkey to cook through without drying out too quickly.
- Roasting Time: Place the seasoned turkey breast in a shallow roasting pan or on a baking sheet. It will typically take about 1.5 to 2 hours to cook, depending on the size and thickness of your breast. The goal is to achieve a beautiful golden-brown exterior and an internal temperature of 165 °F (74 °C) in the thickest part.
- Tips for Oven Roasting:
- Lower Temperature (325°F/163°C): If you cook it at a slightly lower temperature like 325 °F (163 °C), it will take longer, usually around 15 minutes per pound. Be cautious, as prolonged cooking at lower temperatures can sometimes lead to a slightly drier result.
- Higher Temperature (375°F/190°C): Cooking at 375 °F (190 °C) in a conventional oven for turkey breast is generally too high. While it might crisp the skin quickly, it often leads to an overcooked, dry exterior and potentially an undercooked interior, or a very tough piece of meat. The air fryer, with its forced convection, can handle this higher temperature efficiently without drying, but a conventional oven often cannot for turkey breast.
- Basting: To help keep the turkey moist in the oven, you can baste it with pan juices or melted butter every 30-45 minutes.
- Foil Tent: If the skin starts to brown too quickly before the turkey is fully cooked, you can loosely tent it with aluminum foil to prevent burning.
- Always Use a Thermometer: Regardless of the method you choose, an internal temperature of 165 °F (74 °C) is the universal indicator of doneness.
Alternatively, for a completely different flavor, you could try The Best Smoked Turkey Recipe! It promises an amazing outcome.
Storing Leftovers: How to Keep Your Turkey Fresh
Having leftover turkey is one of the best parts of making a big meal! To ensure your cooked turkey remains safe and delicious, proper storage is essential.
Once your turkey breast has cooled completely (within two hours of cooking), transfer the sliced or shredded meat into an airtight container. Store it in the refrigerator for up to 3 to 4 days. Prompt refrigeration is key to preventing bacterial growth and maintaining freshness.
Freezing Leftover Turkey Breast for Future Meals
If you have a generous amount of leftover turkey breast, freezing is an excellent option to preserve it for longer. Properly frozen turkey can be enjoyed for months to come.
To freeze leftover cooked turkey meat, transfer it into a freezer-safe bag or an airtight container. Remove as much air as possible to prevent freezer burn. It can be stored in the freezer for up to 3 to 4 months. For an added layer of moisture and flavor, if you made gravy, sealing some with the turkey meat in the freezer bag can help keep it moist when reheated.
When you’re ready to use your frozen turkey, simply thaw it overnight in the refrigerator. For a quicker thaw, you can use the defrost setting on your microwave. Once thawed, reheat thoroughly until steaming hot throughout.
Why the Resting Period is Crucial Before Carving Your Turkey Breast
The resting period is arguably one of the most critical, yet often overlooked, steps in cooking any roast meat, and turkey breast is no exception. Skipping this step can drastically impact the juiciness and overall enjoyment of your meal.
Here’s why you absolutely need to let your turkey breast rest for at least 10 minutes:
- Juice Redistribution: During cooking, the muscle fibers in the turkey tighten and push the juices towards the center of the meat. If you cut into it immediately, these juices, which are under pressure, will simply gush out onto your cutting board. Resting allows the muscle fibers to relax, reabsorbing those delicious juices back into the meat. This ensures a far more succulent and tender turkey.
- Carryover Cooking: Even after being removed from the air fryer, the turkey will continue to cook due to residual heat, a phenomenon known as “carryover cooking.” During the resting period, the internal temperature of the turkey breast can rise an additional 5 to 10 degrees Fahrenheit. This is why we aim for 160°F (71°C) when we remove it from the air fryer; it will reach the safe 165°F (74°C) during this crucial resting time. This method guarantees safe consumption while preventing overcooking.
I suggest transferring the turkey breast to a platter and tenting it loosely with foil. This helps to retain some of the heat while allowing the magic of redistribution to happen. If you carve it straight out of the air fryer, those valuable juices will pool on the platter, leaving your turkey noticeably drier. So, for the juiciest, most flavorful turkey breast, do not skip this vital step!
How to Carve a Boneless and Bone-In Turkey Breast
Carving your turkey breast correctly ensures you get beautiful, even slices and maximizes the amount of usable meat. The method differs slightly depending on whether you have a boneless or bone-in breast.
Carving Boneless Turkey Breast:
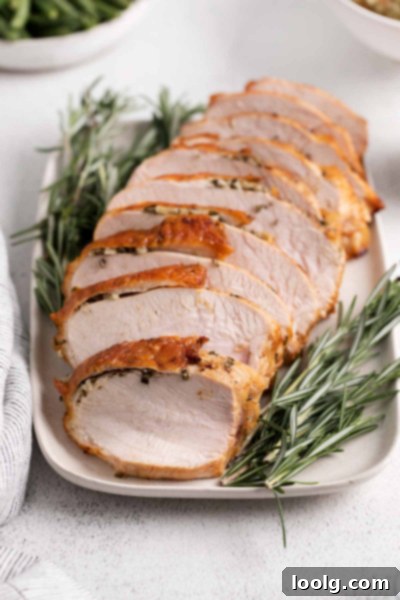
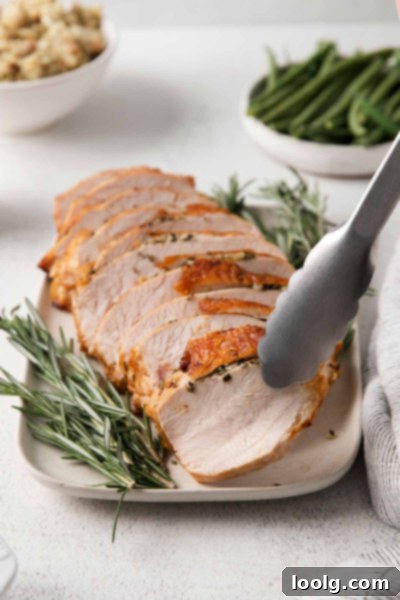
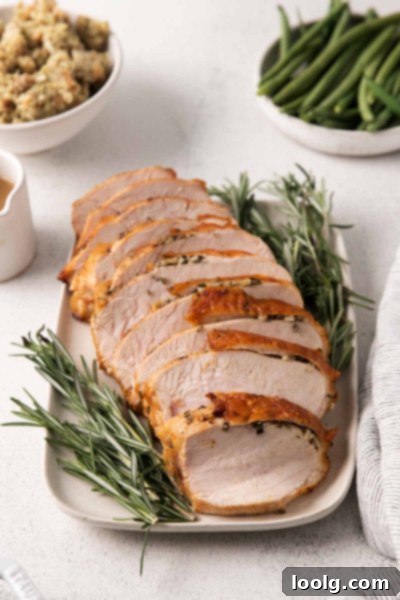
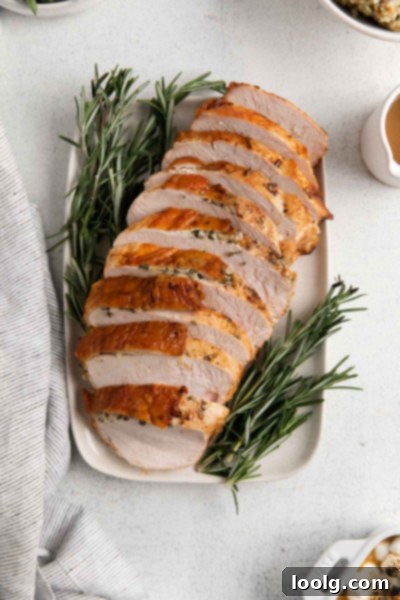
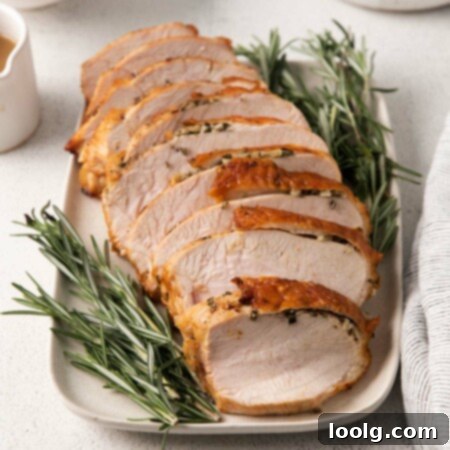
If you opted for a boneless turkey breast, you are in luck! This is by far the easiest to carve. After it has rested for the essential 10 minutes (to keep all those precious juices within the meat!), simply place it on a cutting board. Using a sharp knife, slice the breast against the grain into uniform pieces, about 1/2 to 3/4 inch thick. Arrange the slices on a serving platter and enjoy!
Carving Bone-In Turkey Breast:
If you used a bone-in turkey breast, the process requires a couple of extra steps to remove the meat from the bone before slicing.
- Locate the Breastbone: Place the turkey breast on a cutting board. Identify the breastbone, which runs down the center of the breast.
- Slice Along the Breastbone: Using a sharp carving knife or a serrated knife, make a deep cut along one side of the breastbone, from the top down to the rib cage. Keep the knife as close to the bone as possible.
- Follow the Rib Cage: Continue slicing, following the curve of the rib cage until the entire breast half is separated from the bone. If using a serrated knife, use gentle sawing strokes.
- Repeat on the Other Side: Flip the breast over and repeat the process for the other half.
- Slice the Meat: Once both breast halves are removed from the bones, place them skin-side up on the cutting board. Then, slice against the grain into desired thickness.
Serve your perfectly carved turkey breast with all your favorite sides!
Choosing the Best Turkey Breast for Air Frying
When selecting a turkey breast for your air fryer, you have a few options: bone-in, boneless, skin-on, or skinless. Your choice will impact cooking time and the final result. For this particular recipe, I highly recommend a skin-on, boneless turkey breast. Here’s why and how other variations compare:
- Boneless, Skin-On (Recommended): This is my top pick. You get the best of both worlds: the convenience of boneless for faster and more even cooking, and the flavor and crispiness from the skin. The skin not only becomes wonderfully golden and crispy but also helps to seal in the juices, ensuring a remarkably tender and moist interior with minimal effort and cooking time.
- Bone-In Turkey Breast: While perfectly doable, a bone-in turkey breast will take longer to cook and may require a slightly lower temperature or flipping. If you choose bone-in, consider preheating your air fryer to around 360 °F (182 °C). Cook it on one side for about 25 minutes, then flip it and cook for another 25 minutes, or until the internal temperature reaches 165 °F (74 °C).
- Size is Key: Crucially, make sure your bone-in turkey breast will actually fit in your air fryer basket! Some bone-in breasts can be quite large. For a standard 5-quart basket, I suggest staying within the 4- to 5-pound range to ensure it fits comfortably and cooks evenly.
- Skinless Turkey Breast: Cooking a skinless turkey breast in the air fryer is similar to cooking with the skin on, but you’ll miss out on that extra crispy texture and a layer of protection against drying out. The skin truly helps in keeping the turkey meat moist. If you opt for a skinless breast, I highly recommend spraying it with an oil mister every 15 minutes of cooking time. This extra effort will help to keep the meat from drying out and still provide a delicious result, though the texture won’t be as crispy as skin-on.
Ultimately, your choice depends on your preference for texture, cooking time, and willingness for a little extra care. For a foolproof, juicy, and crispy turkey breast, boneless and skin-on is the way to go!
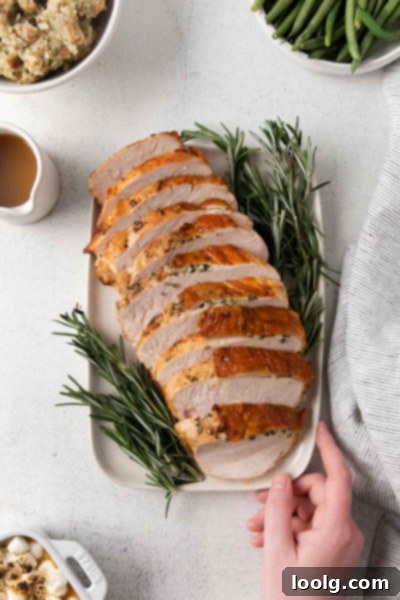
What to Serve with Your Delicious Air Fryer Turkey Breast
While this air fryer turkey breast is perfect for holiday feasts like Thanksgiving, its quick preparation makes it an ideal main course throughout the year. Turkey breasts are consistently available, allowing you to enjoy this versatile protein whenever you wish.
If you’re looking for fantastic side dishes to complete your turkey dinner, here are some of my personal favorites, designed to complement the rich flavors of the turkey. And I think this Gluten-free Stuffing would be an absolutely wonderful addition!
- Appetizers: For a delightful start, I adore these easy Goat Cheese Balls. They’re festive, incredibly simple to make with just six ingredients, and offer a creamy, tangy contrast.
- Salads & Soups: Whether you prefer a fresh salad or a comforting soup, I’ve got you covered.
- This vibrant Cranberry Sunflower Seed Salad offers a beautiful mix of textures and sweet-tart flavors.
- For a heartier option, try the Sweet Potato Goat Cheese Salad (or its simpler cousin, the Goat Cheese Salad), providing a lovely balance of earthy sweetness and creamy tang.
- A creamy Corn Chowder makes for a warm and comforting starter, perfectly harmonizing with the turkey.
- Hearty Sides:
- If mac and cheese is a must-have, this Sweet Potato Mac and Cheese offers a healthier twist. It cleverly sneaks in extra nutrition from sweet potatoes, but rest assured, no one will even notice the difference – it’s just pure creamy goodness!
- These Dairy-free Mashed Potatoes are a constant at my table. The expert tips within the recipe guarantee you’ll never end up with gummy potatoes again, only fluffy, perfectly seasoned mash.
- Breads: For any special meal, I love serving these Whole Wheat Dinner Rolls. They stay incredibly soft and fluffy for days, making them ideal for soaking up juices or crafting delicious turkey sandwiches later in the week.
- Fun & Healthy Option: For something truly adorable and healthy, especially around Thanksgiving, check out this charming Thanksgiving Turkey Fruit Plate! It’s a creative way to add fresh fruit to your spread.
That’s it! I genuinely hope you adore this Air Fryer Turkey Breast recipe. If you decide to make it or any other recipe you discover on the site, I would be absolutely thrilled to see your creations! Please snap a pic 📸 and tag #fooddoodlesrecipes 📣🤩 so I can easily find and admire them. Enjoy your perfectly cooked turkey!
Air Fryer Turkey Breast
Ingredients
- 1 4 pound (1814 grams) boneless skin-on turkey breast
- 2 tablespoons (28 grams) butter or olive oil
- 2 tablespoon olive oil divided
- 3 cloves garlic minced
- 4 teaspoons fresh rosemary minced
- 1 1/2 teaspoons kosher salt
- ½ teaspoon black pepper
Instructions
-
Spray the air fryer basket with olive oil.
-
Pat the turkey breast dry with a paper towel.
-
In a small bowl, mix together the butter, just one tablespoon of olive oil, garlic, rosemary, salt, and the pepper.
-
Gently lift the skin away from the meat. Rub about ¾ of the butter mix evenly under the skin so that it coats the meat.
-
Rub the remaining butter mixture over the outside of the turkey.
-
Then drizzle the turkey breast with the remaining tablespoon of olive oil and rub that all over the breast.
-
Put the turkey breast in the air fryer basket, with the skin side up.
-
Cook at 375 °F (190 °C) for 30-35 minutes or until it reaches an internal temperature of 160 °F (71 °C).
-
Take the turkey out of the air fryer and cover with foil.
-
Let it rest for 10 minutes, or until the temperature has reached 165 °F (74 °C).
-
Slice and serve!
-
Refrigerate cooled leftovers in an airtight container for up to 4 days.
