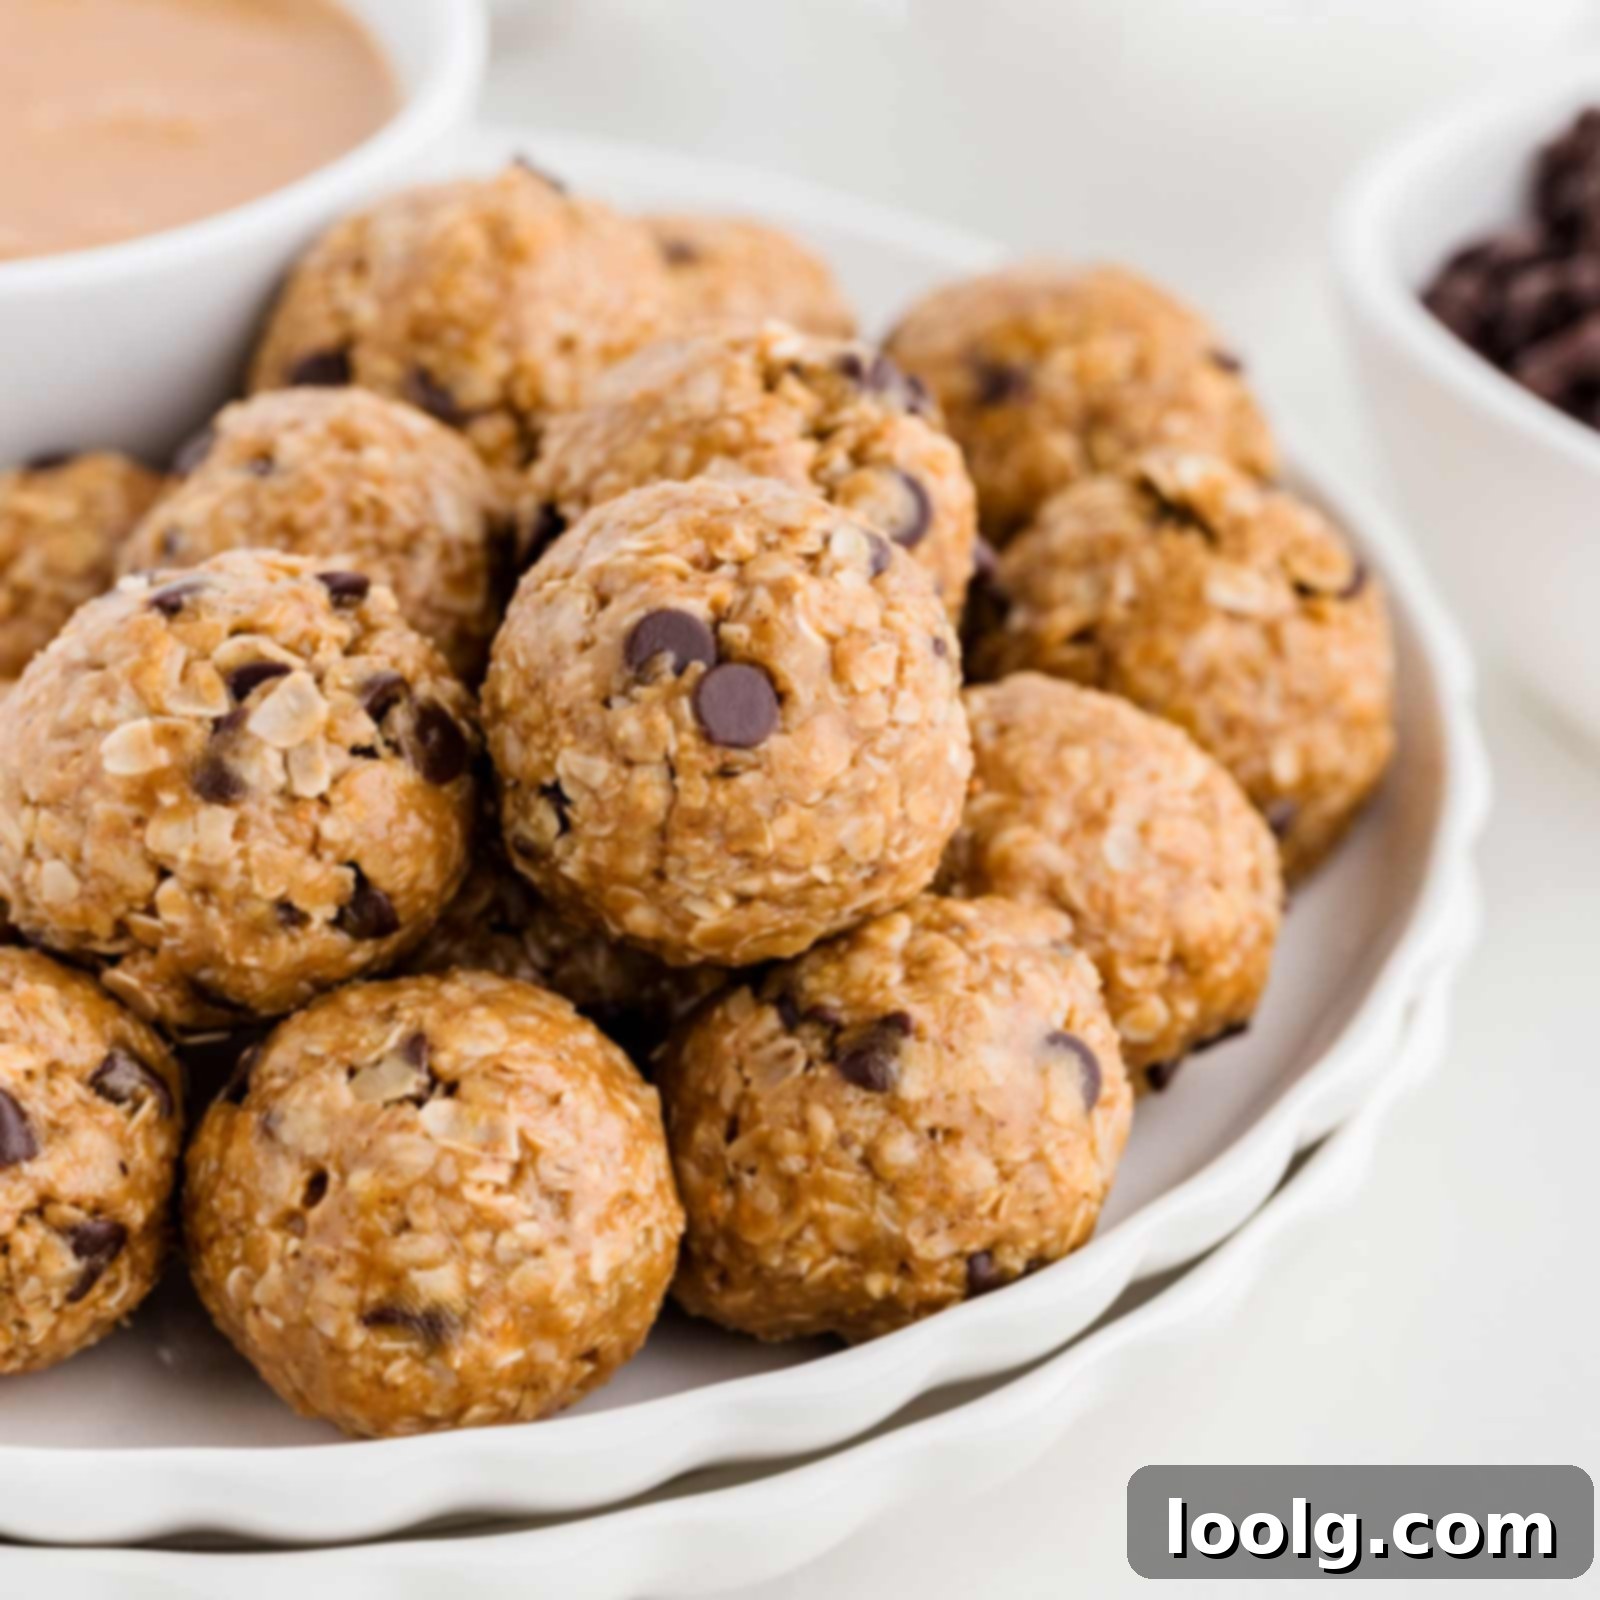
Delicious No-Bake Peanut Butter Oatmeal Balls: Your Go-To Healthy Energy Bites
These incredibly versatile peanut butter oatmeal balls are the ultimate solution for anyone needing a quick, wholesome, and delicious snack. Whether you’re looking for an effortless no-bake treat for those jam-packed days, a nutritious boost after a workout, or simply a sweet indulgence that also offers health benefits, these energy bites tick all the boxes. Crafted with just a few simple, wholesome ingredients, they come together in minutes, delivering a satisfying blend of chewy texture, rich nutty flavor, and subtle sweetness. What’s more, they are incredibly adaptable, easily made to be gluten-free, vegan, or even nut-free to suit various dietary needs.
This beloved recipe, originally shared in 2011, has been thoughtfully updated for 2025. This refreshed version features brand new, vibrant photos, revised and expanded text to provide even more helpful tips, and an exciting new variation specifically for those who prefer their energy balls without coconut. We’ve listened to feedback and refined this classic to make it even better!
Many readers expressed interest in a coconut-free option for these energy balls. Experimenting with the original formula, I discovered a variation that I now genuinely prefer! The absence of coconut allows the pure flavors of peanut butter and oats to shine through even more. However, if you’re a long-time fan of the original coconut-infused version, don’t worry – those instructions are still available in the recipe notes for your convenience.
For this updated, coconut-free recipe, I made a few key adjustments. The amount of honey was slightly reduced, going from 1/3 cup to 1/4 cup, creating a less intensely sweet profile. I also switched from 1 cup of rolled oats to 1 1/2 cups of quick oats, which significantly impacts the texture, making the balls softer and smoother. Of course, the shredded coconut was completely omitted to create the new variation.
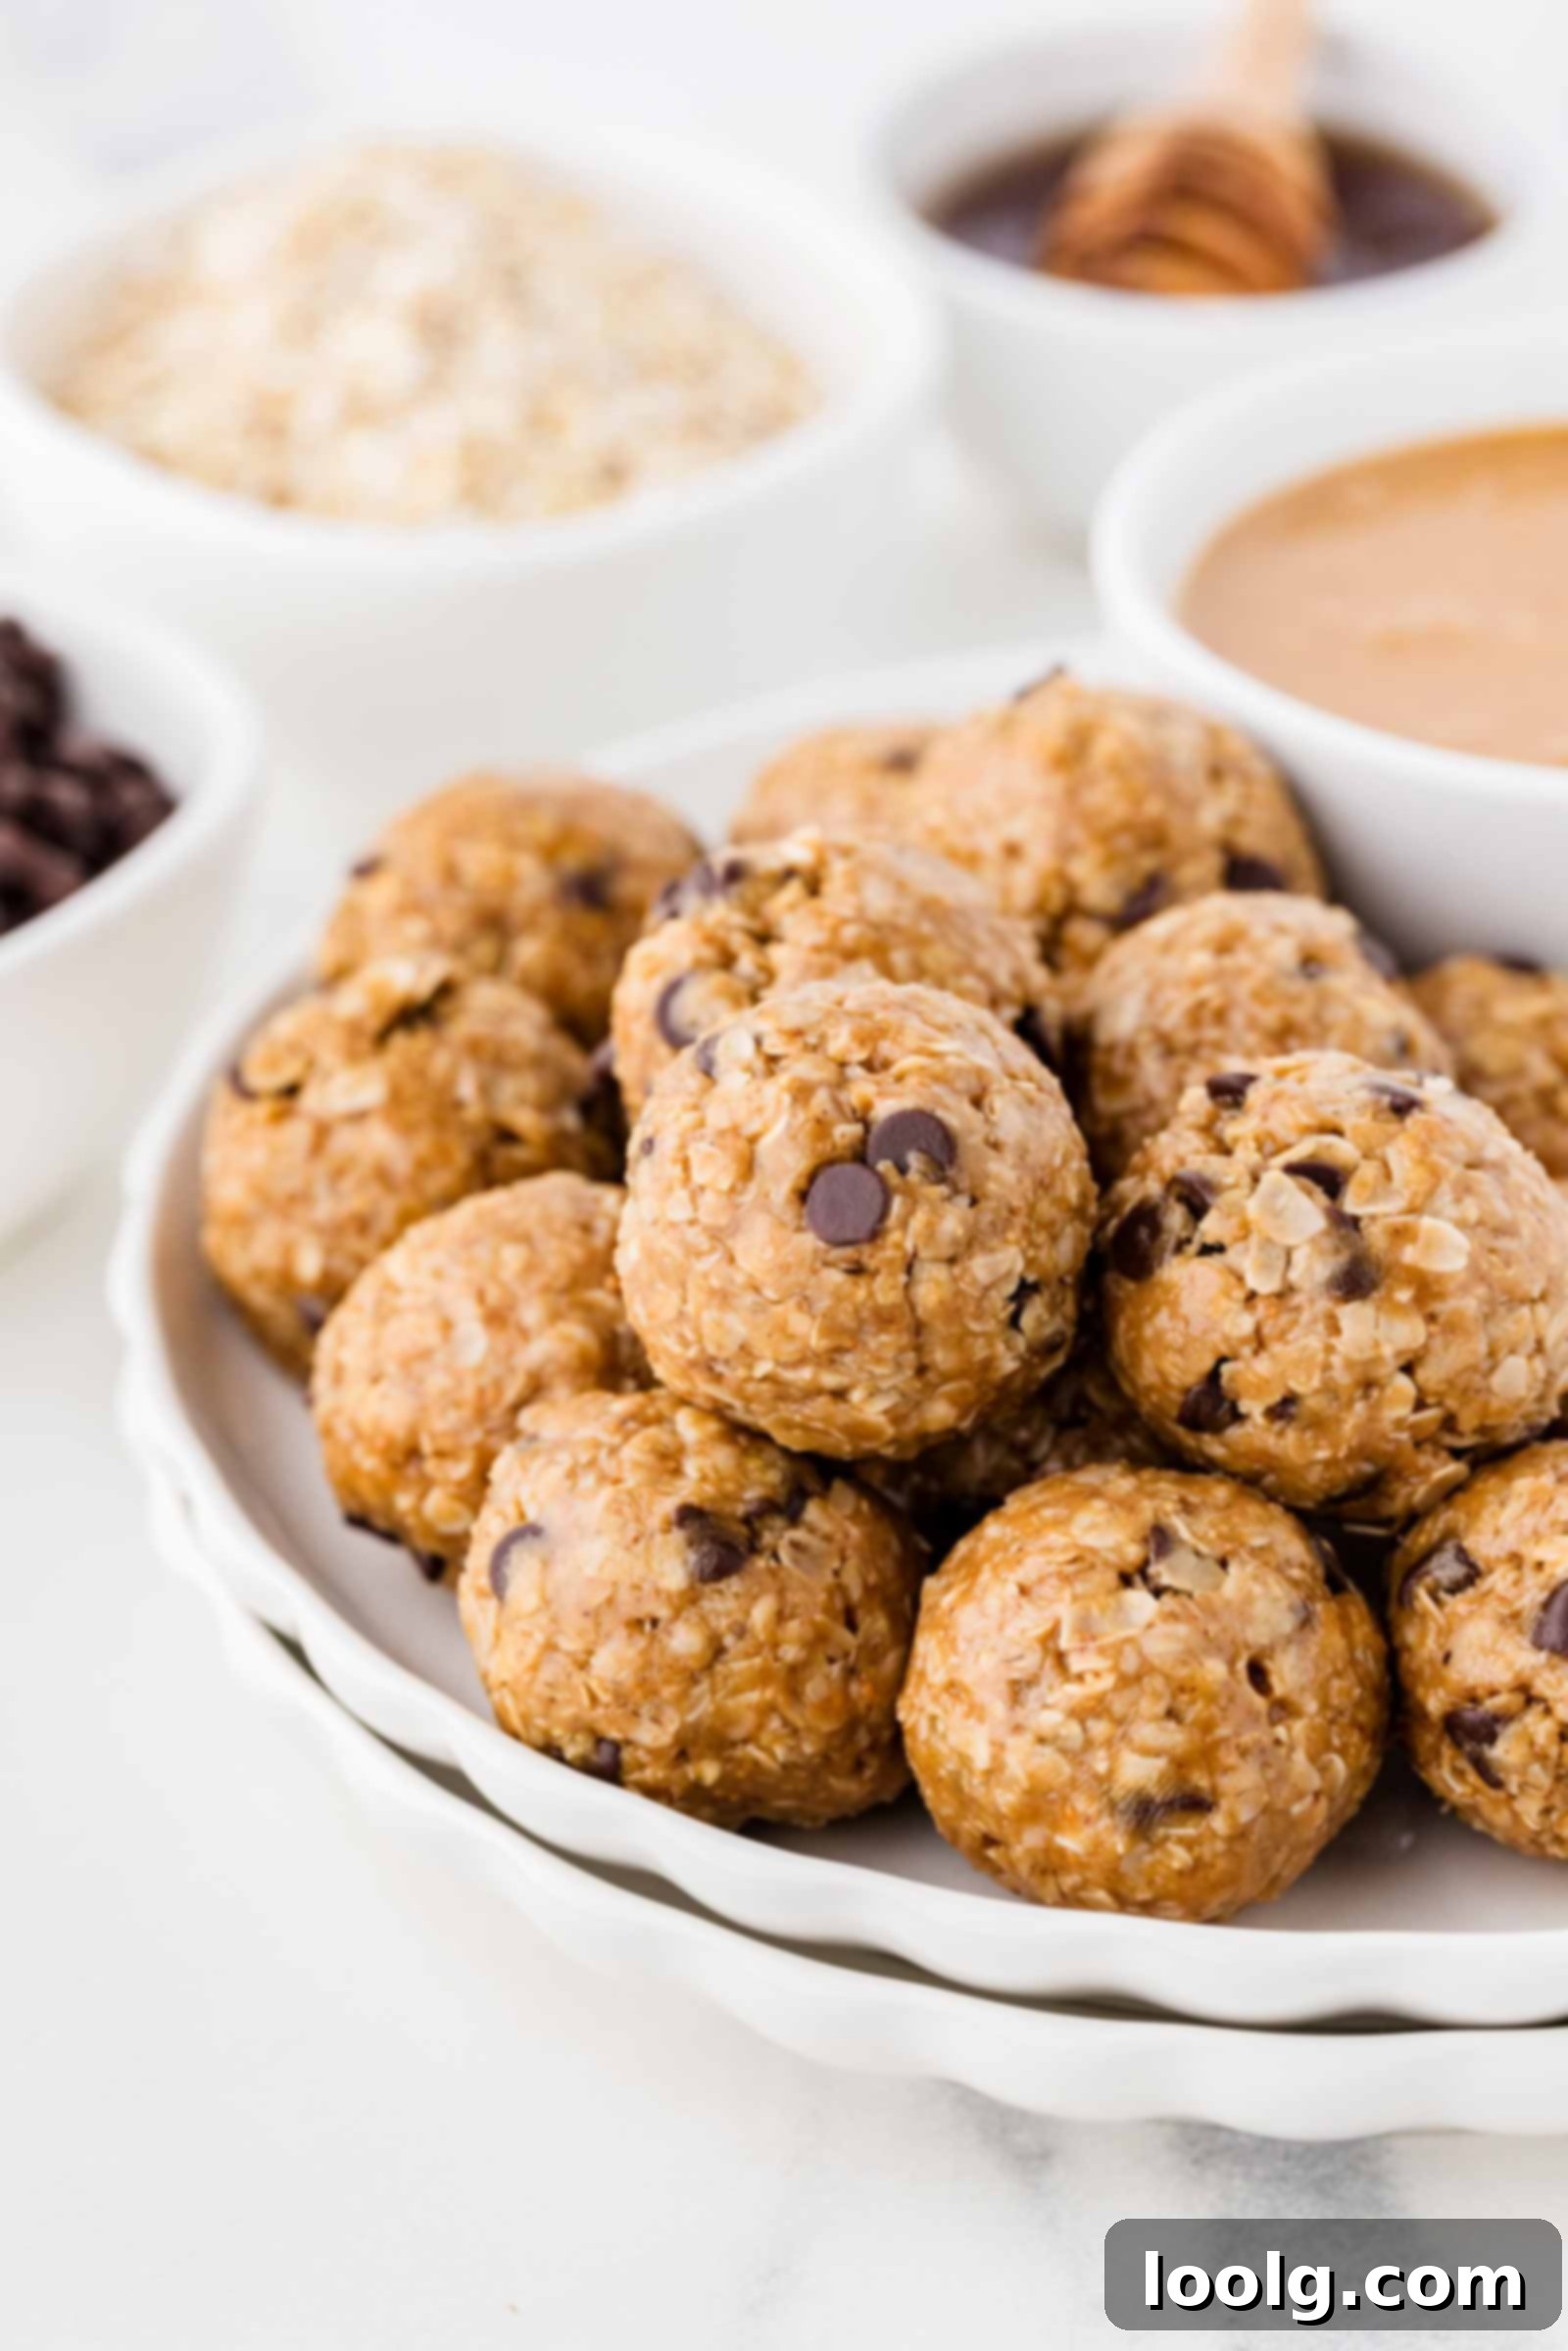
Why You’ll Love These Peanut Butter Oatmeal Energy Bites
There are countless reasons to fall in love with these simple yet delicious no-bake energy balls. They offer a perfect blend of convenience, nutrition, and irresistible flavor, making them a staple in any busy household:
- These oat and peanut butter balls are a lightning-fast and effortless no-bake snack. Forget turning on the oven or spending hours in the kitchen; these come together in mere minutes, making them ideal for last-minute cravings or meal prep.
- They are incredibly nutritious and remarkably filling. Each bite is packed with essential fiber from the oats and healthy fats from the peanut butter, providing sustained energy that keeps you feeling satisfied and prevents those mid-afternoon slumps.
- Made with only simple pantry ingredients, you won’t need to hunt for obscure or expensive items. Chances are, you already have everything you need right in your kitchen, simplifying your shopping and saving you time and money.
- These energy bites are perfect for both kids and adults alike. Their appealing taste and texture make them a fantastic addition to lunchboxes, a convenient pre-school or after-school snack, or a delightful afternoon pick-me-up for anyone.
- They are highly customizable to suit various dietary needs, easily made gluten-free with certified gluten-free oats, vegan by using maple syrup or brown rice syrup instead of honey, and even nut-free by substituting peanut butter with sunflower seed butter.
- Their portable nature makes them an excellent on-the-go option, whether you’re commuting, traveling, or just need a quick bite during a busy day. They hold their shape well and are mess-free.
Essential Ingredient Notes and Customization Tips
Creating the perfect batch of these no-bake energy balls starts with understanding your ingredients and how they contribute to the final taste and texture. Here’s a detailed look at the key components and how you can adapt them:
Peanut Butter: The Foundation of Flavor and Bind
For the best results, natural peanut butter works best. This refers to peanut butter made with just peanuts and maybe a touch of salt, where the oil naturally separates. Its runnier consistency helps bind the oats and sweetener together without needing extra liquid. If you opt for “regular” peanut butter brands like Jiff or Skippy, which often contain added sugars and oils, you might find it stiffer. In this case, you may need to adjust the amount of sweetener to taste, as these types of peanut butter are already sweeter. You can also thin them out slightly with a tiny bit of water or additional sweetener if the mixture is too dry. For those with nut allergies or who prefer a different flavor, almond butter or cashew butter are excellent substitutions, providing a similar creamy texture and healthy fats. To make these entirely nut-free, I highly recommend using homemade sunflower seed butter made from just sunflower seeds. It offers a wonderfully rich, slightly earthy flavor and the right consistency.
Oats: The Heart of the Energy Bite
Oats are the primary dry ingredient, providing fiber, chewiness, and structure. It’s crucial to select the right kind of oats. I’ll delve into the differences between rolled and quick oats below, but a golden rule for this recipe is: Do not use steel-cut oats! Steel-cut oats are much coarser and require significant cooking to soften, which is not suitable for a no-bake recipe. They will result in an unpleasantly hard and dry texture.
Sweetener: More Than Just Sweetness – It’s a Binder!
The choice of sweetener is vital not just for taste, but also for the binding properties of these energy balls. You can use honey, brown rice syrup, or maple syrup. My experience has shown that these balls, along with most other protein or energy balls, achieve the best texture with honey or brown rice syrup. Their naturally thick and sticky consistency acts as a superior binder, holding the mixture together much more effectively than thinner syrups. While I’ve been using maple syrup recently (due to a temporary dietary restriction from honey), and I still enjoy them, the honey or brown rice syrup versions consistently offer a slightly better, more cohesive texture. If using maple syrup, be aware that the balls might be a bit softer or require a tiny bit more oats to achieve the desired firmness.
Rolled Oats vs. Quick Oats: A Texture Deep Dive
The type of oats you select for your energy balls will significantly influence their final texture, mouthfeel, and how well they bind together. Understanding these differences can help you tailor the recipe to your personal preference.
-
Rolled Oats (Old-Fashioned Oats) – These are whole oat groats that have been steamed and then flattened into flakes. When used in no-bake recipes, they retain a more substantial form, providing a distinctly chewier texture and a more pronounced, rustic oat flavor. If you’re someone who enjoys a heartier bite and a more “rustic” homemade feel, rolled oats are an excellent choice. They offer more chew and structural integrity, which can be very satisfying and help you feel fuller for longer due to their slower digestion. That said, rolled oats often require a little extra moisture or binding agent to truly hold everything together securely, as their larger flakes don’t absorb liquid as readily as quick oats. They can also be a bit tougher to chew in their raw state. Personally, while the extended fullness is a definite advantage, I find these specific energy balls much more enjoyable and easier to eat when made with quick oats, as the texture is consistently softer, smoother, and less dense.
-
Quick Oats (Instant Oats) – These oats are essentially rolled oats that have been further processed: they are cut into smaller pieces and often steamed longer to allow them to cook much faster. Because of their finer texture, quick oats absorb liquid much more rapidly and thoroughly. This quality makes them ideal for no-bake energy balls, as they create a softer, smoother, and more cohesive texture. The smaller pieces blend seamlessly into the mixture, resulting in a less crumbly and easier-to-roll ball. They contribute to a more uniform consistency, which many find preferable for a snack that should melt in your mouth. For this particular updated recipe, quick oats are the recommended choice to achieve the desired soft and smooth texture.
In summary, if you prefer a smoother, softer bite that binds easily, go with quick oats. If you like a more pronounced chew and don’t mind a slightly more robust texture, rolled oats can be used but might require slight adjustments to the liquid content to ensure they hold together well.
How to Effortlessly Make These No-Bake Energy Bites
One of the most appealing aspects of this recipe is its sheer simplicity. You don’t need any special equipment, nor do you need to be a seasoned chef. Just a bowl, a spoon, and a few minutes are all it takes to whip up a batch of these wholesome treats.
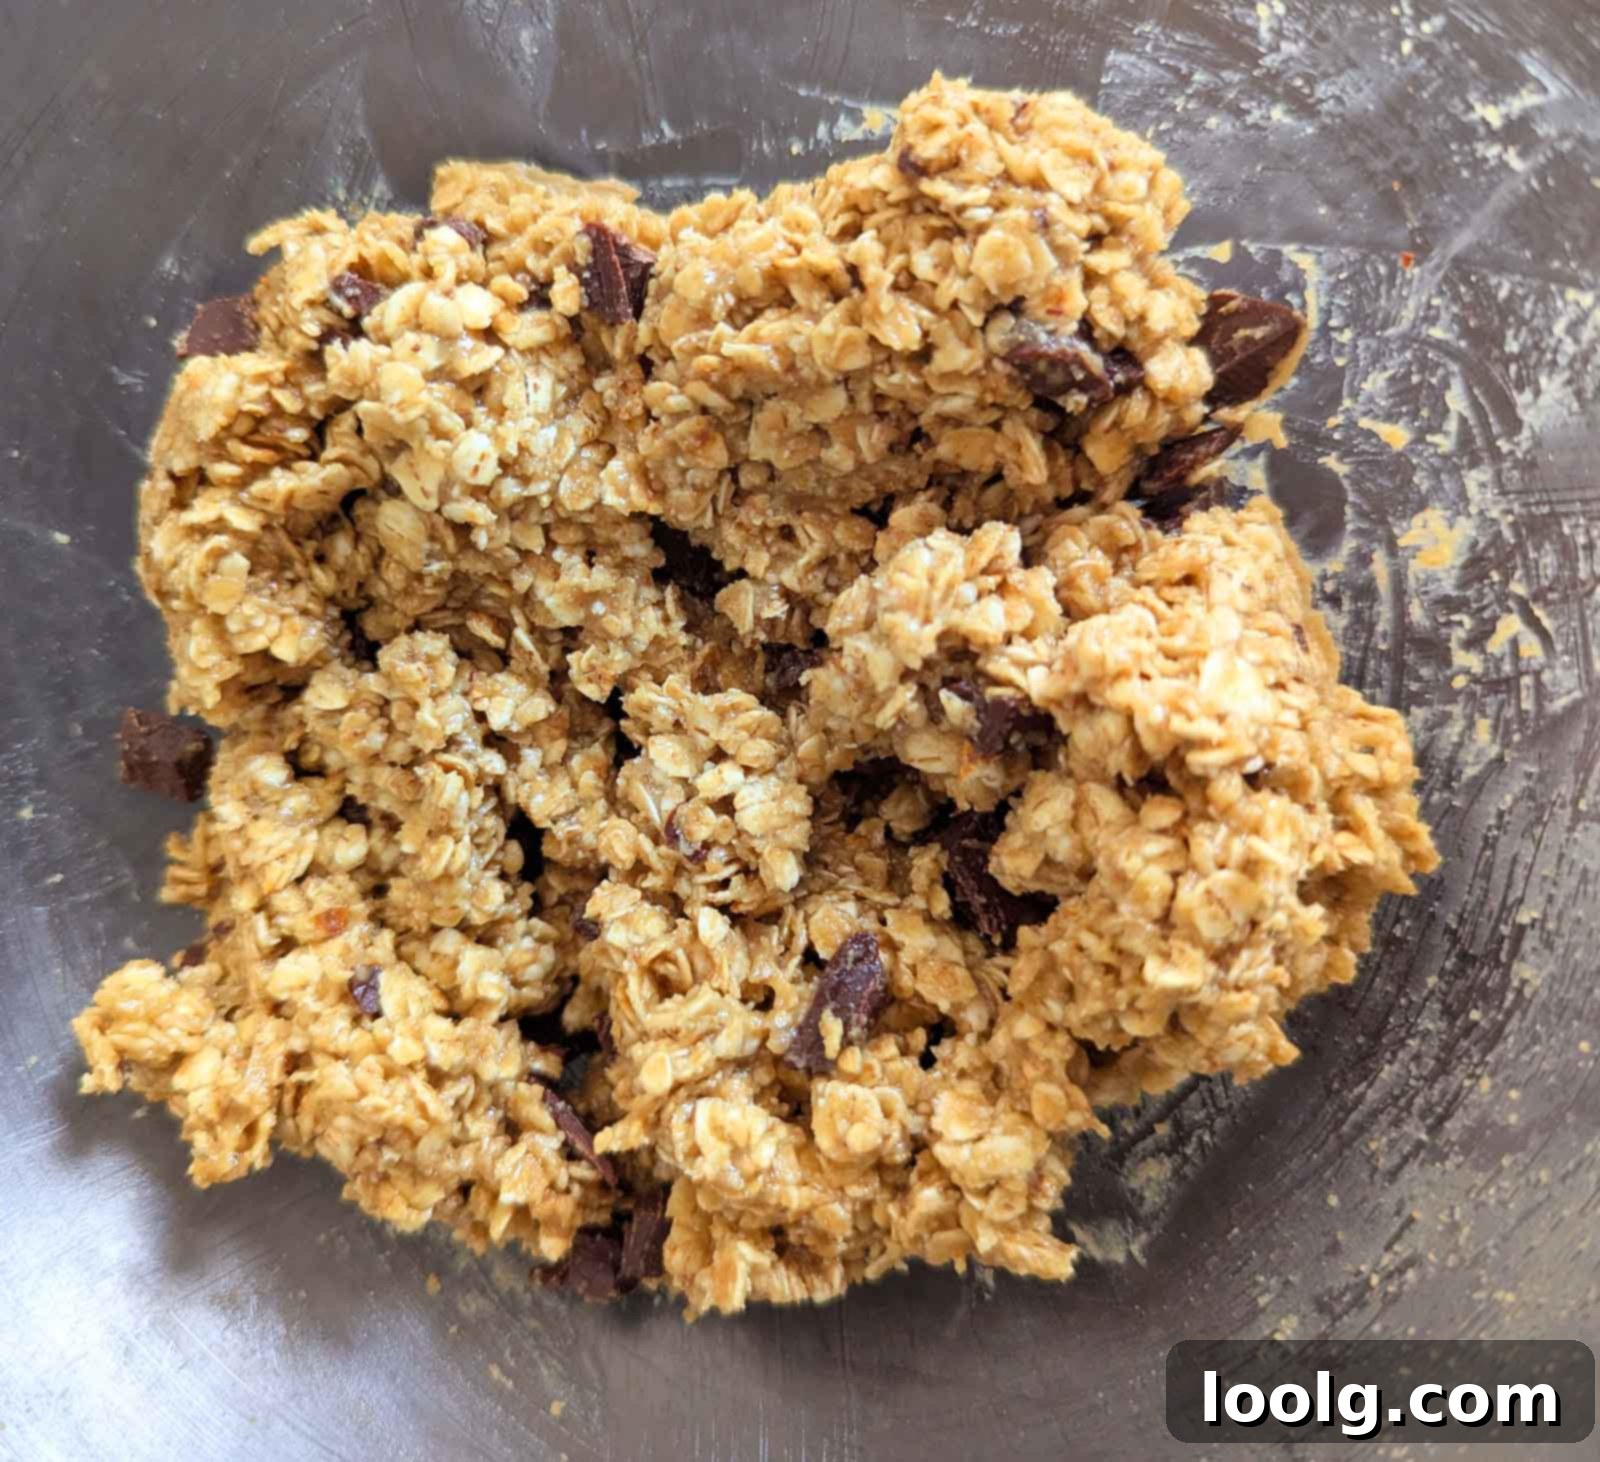
- **Combine the Wet Ingredients:** Start by adding all your chosen wet ingredients (peanut butter, sweetener, salt, and vanilla if using) into a large mixing bowl. Stir them together vigorously until they are thoroughly combined and create a smooth, homogenous mixture. This ensures an even distribution of flavor and helps create the sticky base for the oats.
- **Incorporate Dry Ingredients and Mix-ins:** Once the wet base is ready, add your quick oats and any optional mix-ins, such as mini chocolate chips. Fold them into the wet mixture until everything is well coated and evenly distributed.
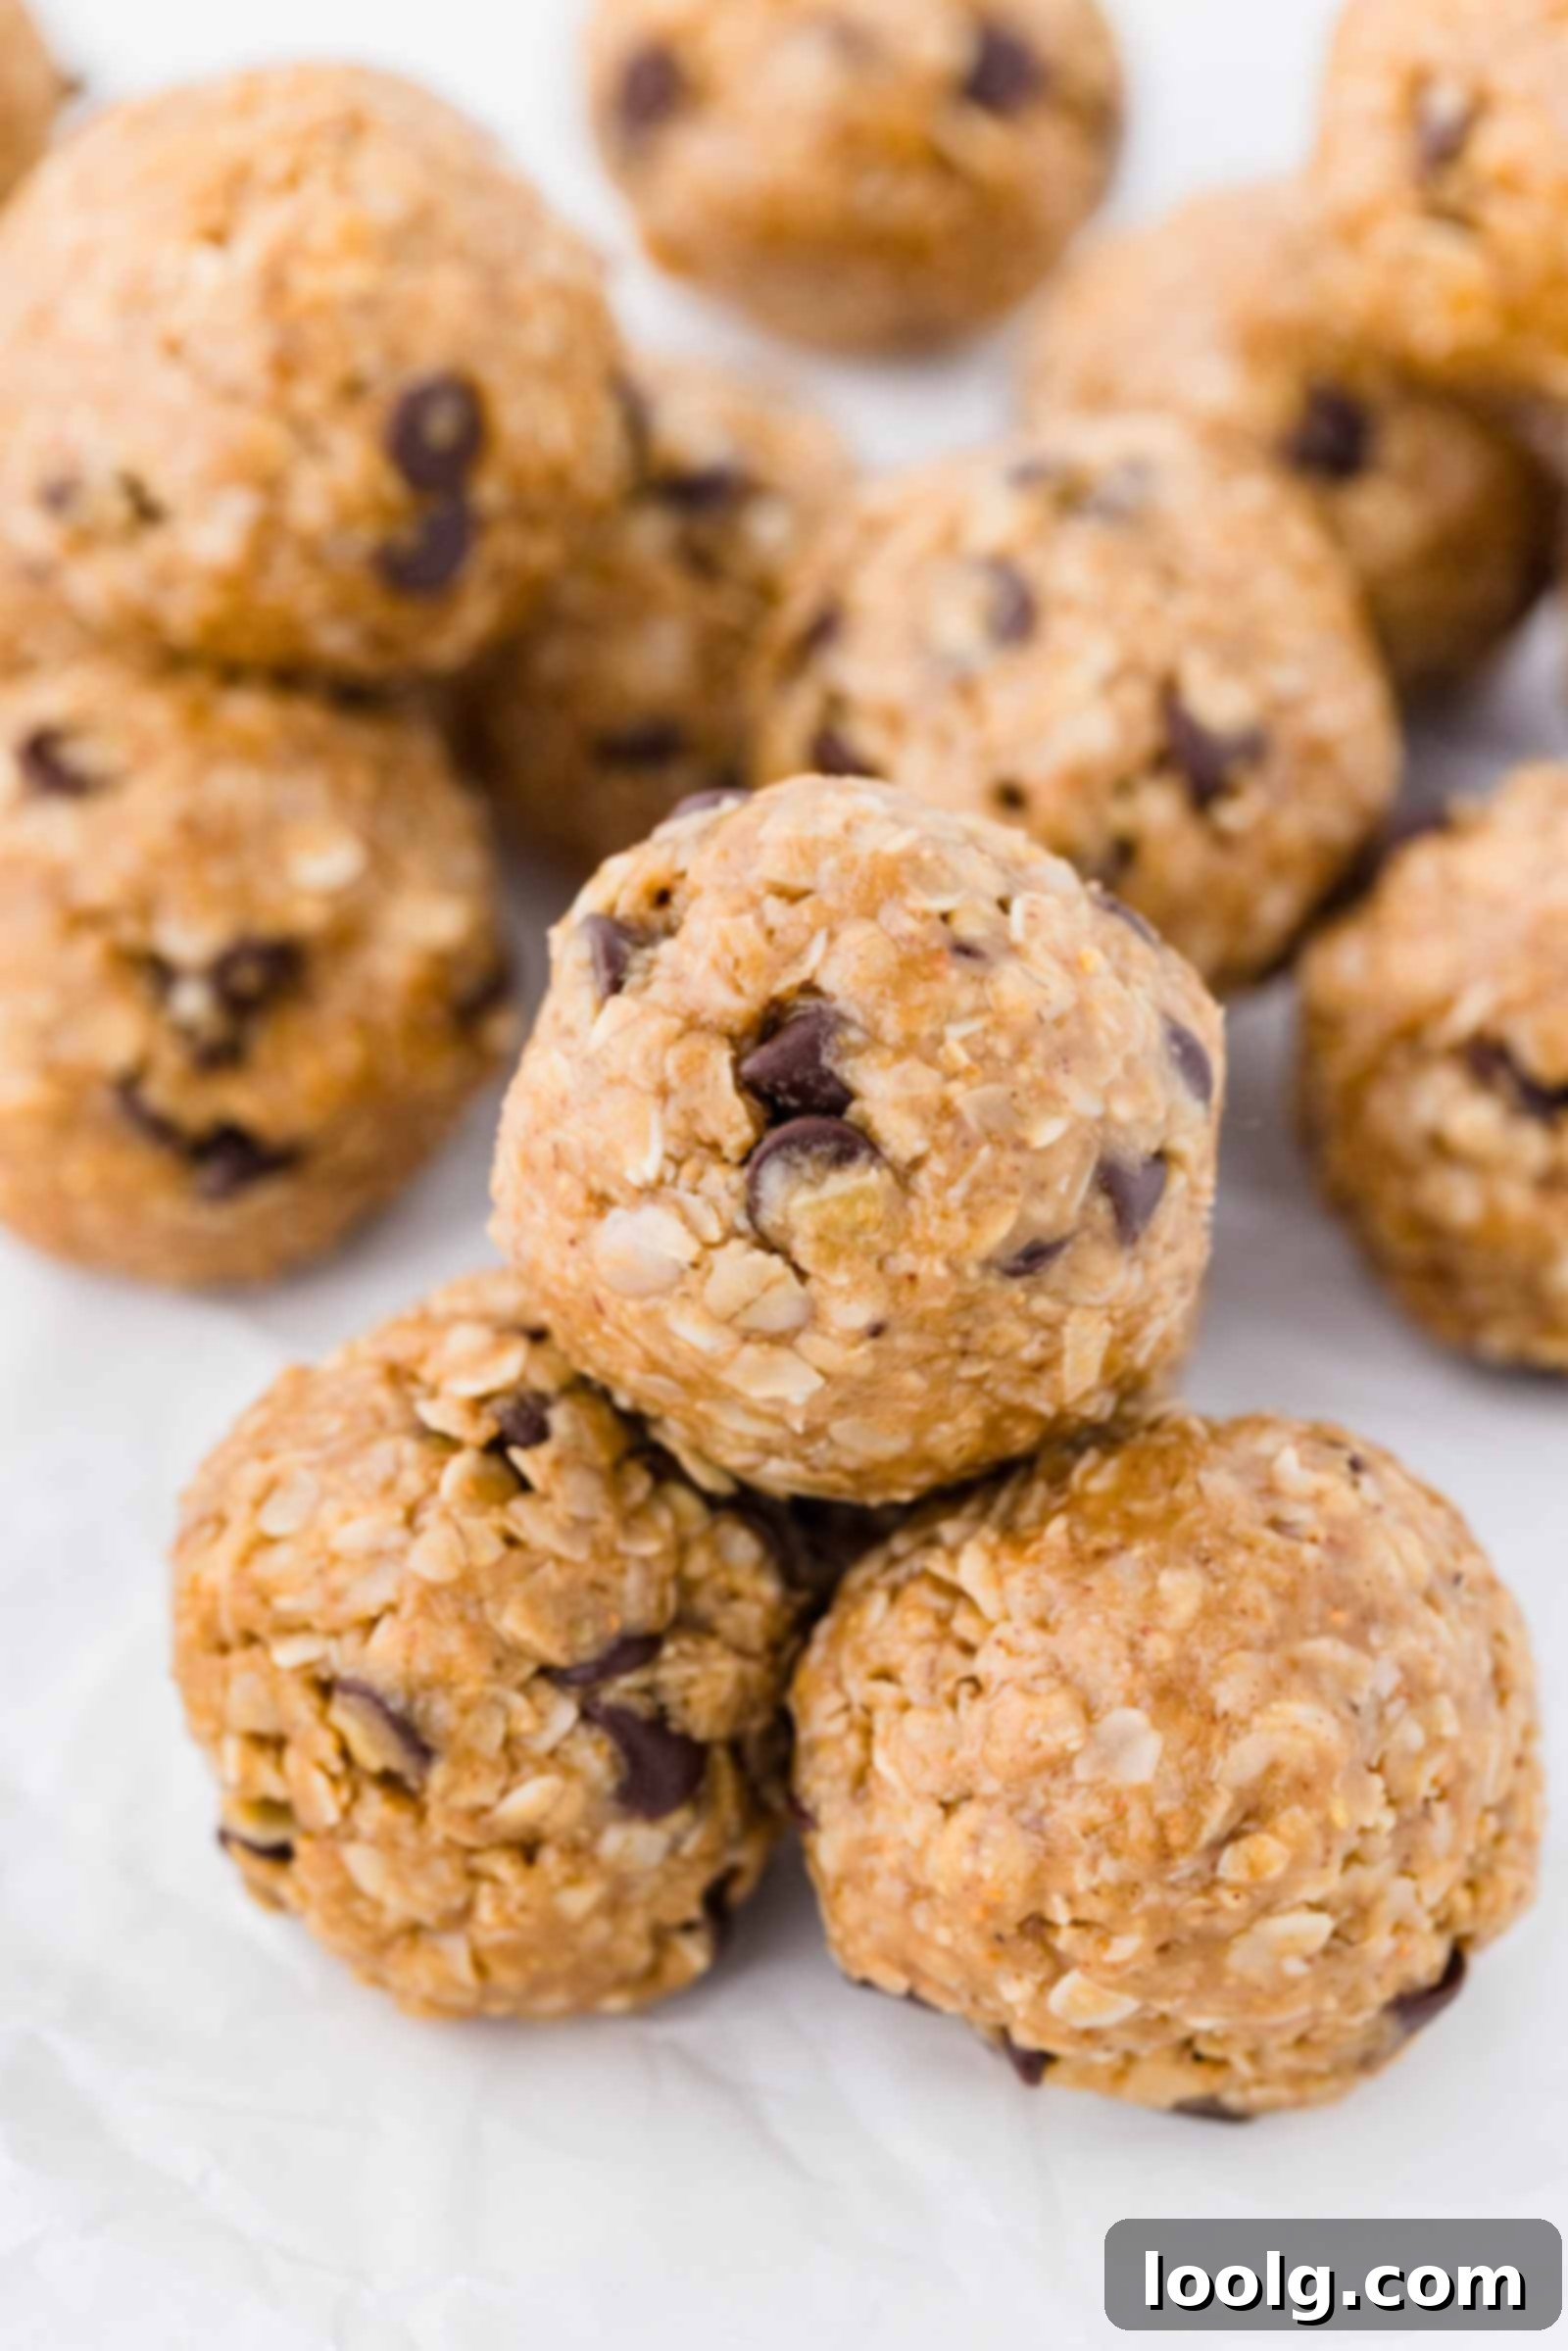
- **Roll into Balls:** Using your hands, scoop out small portions of the mixture and roll them into uniform, bite-sized balls. The easiest method is to first squeeze the mixture firmly in your palm to compact it, then roll it between your hands to get a smooth spherical shape.
That’s it! In just a few simple steps, you’ll have a batch of delicious and nutritious energy balls ready to enjoy. The minimal effort for maximum reward is truly what makes this recipe a winner.
Make Ahead and Storage Instructions for Convenience
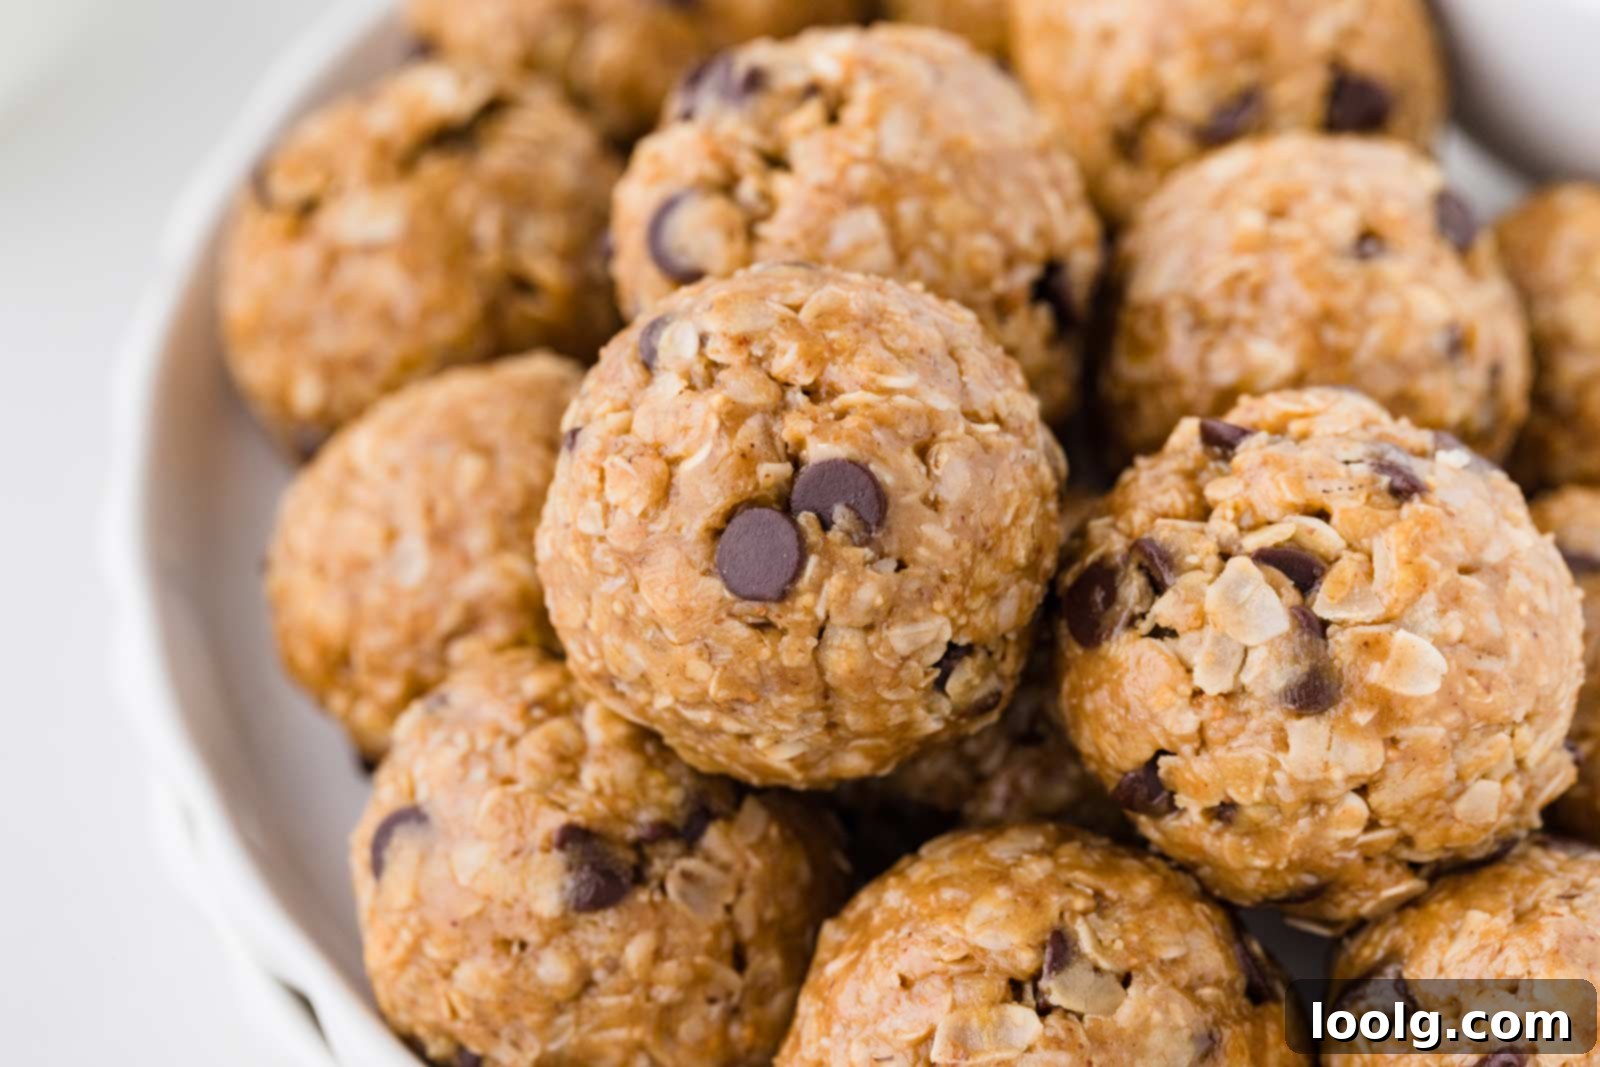
These peanut butter oatmeal balls are excellent for meal prepping and can be stored in various ways, ensuring you always have a healthy snack on hand when you need it. Proper storage helps maintain their freshness, texture, and flavor for extended periods.
- Room Temperature: For quick access, you can store these energy bites in an airtight container at room temperature for up to 4 days. This is perfect for grab-and-go snacking throughout the week. Ensure they are kept away from direct sunlight or heat to prevent them from becoming too soft.
- Refrigerator: To extend their shelf life, place the balls in an airtight container in the refrigerator. They will keep well for 2-3 weeks. Chilling them also firms up their texture, which some people prefer, especially on warmer days.
- Freezer: For longer-term storage, these energy balls freeze beautifully. Arrange them in a single layer on a baking sheet to freeze solid, then transfer them to a sealed freezer bag or container. They can be stored in the freezer for up to three months. This is a fantastic option for making large batches. When you’re ready to eat them, simply let them thaw at room temperature for about 10-15 minutes, or enjoy them slightly chilled.
I recently prepared a large batch of these delicious energy balls for an upcoming trip to Italy. They are the perfect car ride snack – not messy or crumbly, and they consistently keep everyone happy and energized without any fuss. Their robust nature makes them ideal travel companions!
Tips for Achieving Perfect Peanut Butter Oatmeal Balls
While this recipe is incredibly straightforward, a few tips can help ensure your energy balls turn out perfectly every time:
- Consistency is Key: If your mixture seems too sticky to roll easily, let it sit at room temperature for 20-30 minutes. The oats will absorb more of the liquid, and the mixture will firm up. If it’s still too loose (though this is rare with the recommended proportions), you can add a tiny bit more quick oats, a tablespoon at a time, until it reaches the desired consistency.
- Optimal Rolling Technique: When forming the balls, don’t just gently roll. First, firmly squeeze a portion of the mixture in your hand to compact it tightly. This compression is crucial for preventing crumbly balls. Once compacted, then roll it between your palms to smooth out the edges and create a uniform shape.
- Taste and Adjust: Always taste your mixture before rolling, especially if you’re substituting ingredients. You might want to add a little more sweetener or a pinch of salt depending on your peanut butter and personal preference.
- Prevent Sticking (Optional): If you find the mixture is particularly sticky to your hands, you can lightly dampen your palms with water or a tiny bit of oil before rolling. This creates a non-stick surface.
- Chilling for Firmness: While not strictly necessary, chilling the formed balls for 30 minutes in the refrigerator before serving can help them firm up and maintain their shape even better, especially if your kitchen is warm.
These oatmeal peanut butter balls are incredibly simple to make, offering a satisfying and wholesome snack. However, if you’re looking to diversify your healthy snack repertoire or simply explore other delicious options, I have plenty of other fantastic ideas! All of these recipes are either naturally gluten-free, vegan, nut-free, and dairy-free, or can be easily adapted to fit those specific dietary preferences.
Explore Other Healthier Snack Ideas
Looking for more wholesome snack inspiration? Here are some delicious alternatives and complements to these energy bites:
- These Rainbow Fruit Skewers are not only vibrant and appealing but also incredibly fun for kids to help assemble, consisting solely of fresh, colorful fruit.
- If your heart truly desires chocolate in your energy snacks, you absolutely must try these rich and decadent Chocolate Bliss Balls.
- For a naturally sweet and healthy treat that feels indulgent, consider these Chocolate Covered Dates. Using dark chocolate makes them an even healthier option.
- If you need another excellent nut-free snack for school or work, these Nut-free Granola Bars are a fantastic option, providing satisfying crunch and flavor, perfect for lunchboxes.
And when the warmer months arrive, or you simply crave something cool and refreshing, these frosty treats are perfect:
If it’s summer or you’re simply in the mood for something cooling, these homemade Banana Popsicles and vibrant Red White and Blue Popsicles are wonderfully nice and refreshing!
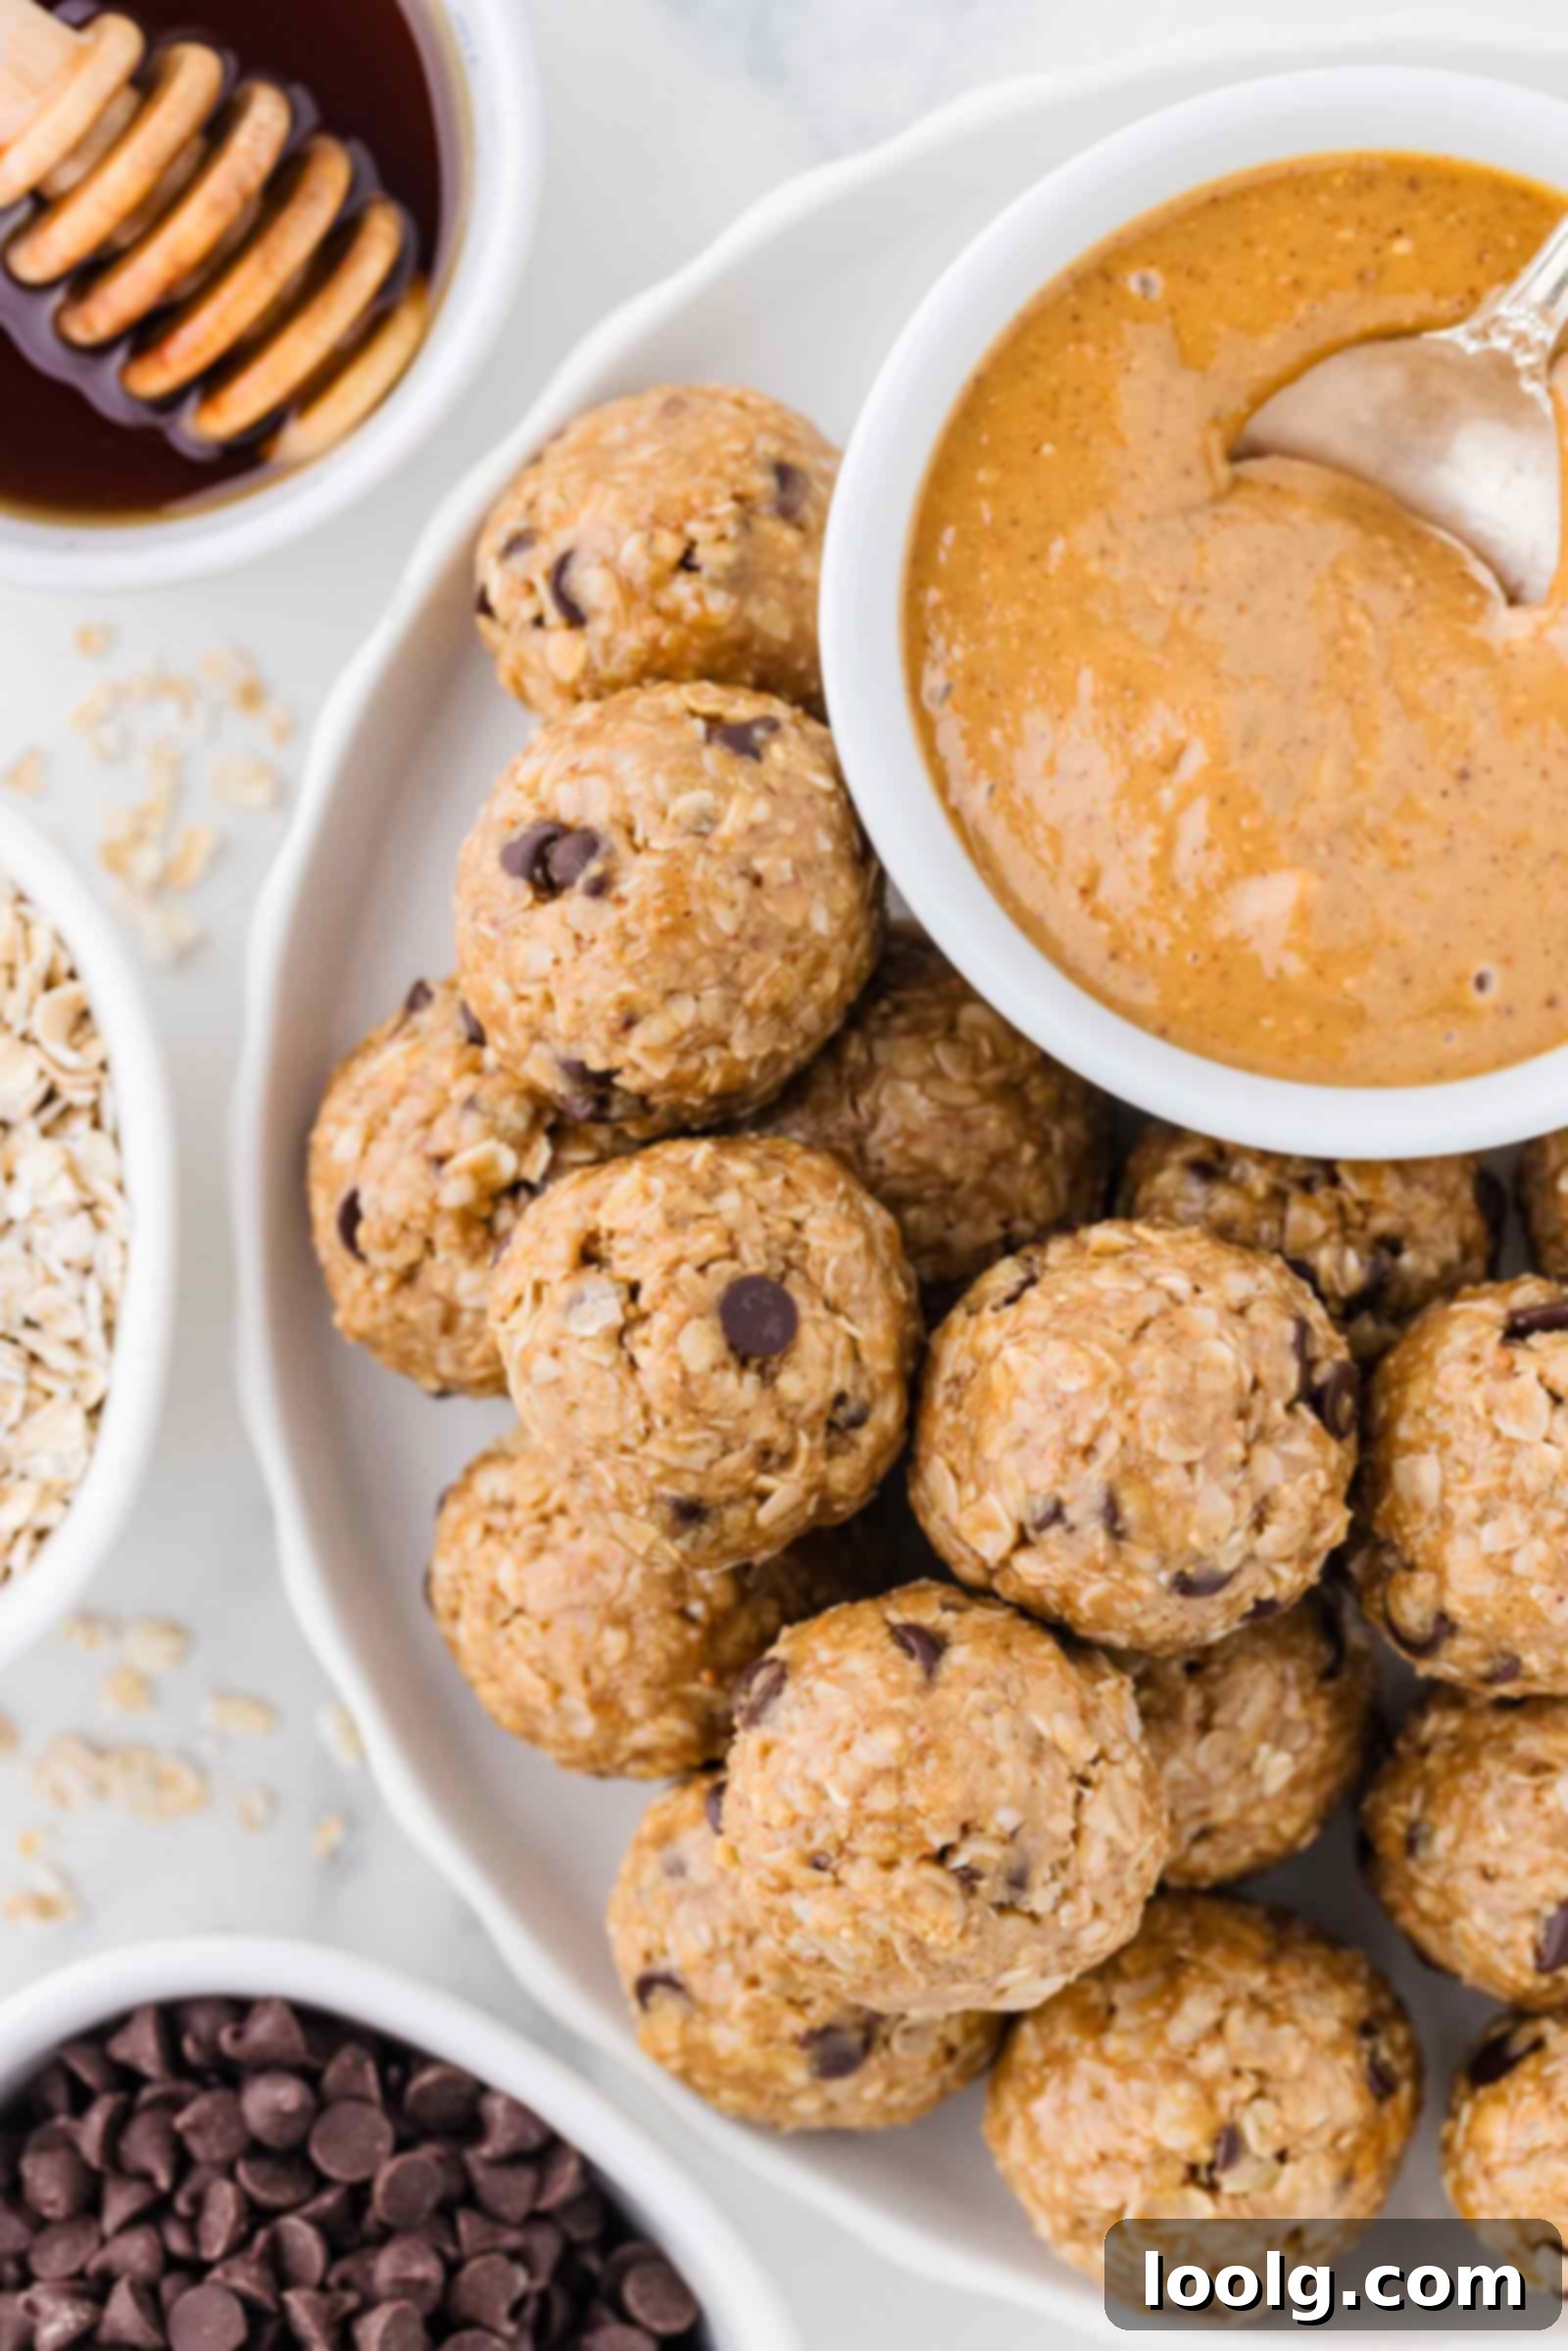
✨🍪 Have you tried these amazing peanut butter oatmeal balls? 🍪✨
Your feedback is incredibly valuable! Please share your thoughts by leaving a ✍️review and 🌟 rating – it helps both me and other aspiring snack-makers discover and enjoy this recipe. I so appreciate it. 💖
Oat and Peanut Butter Balls
Ingredients
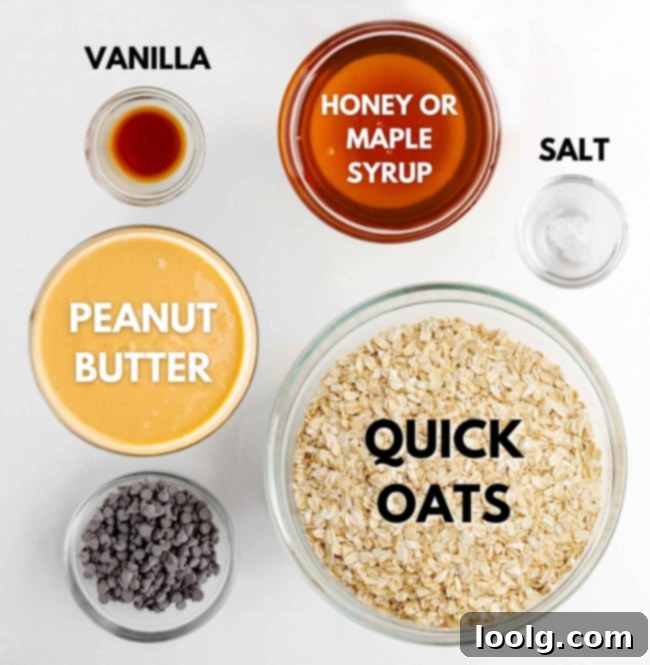
- 1/2 cup (128 grams) natural peanut butter
- 1/4 cup (80 grams) runny honey brown rice syrup, or maple syrup
- pinch salt optional
- 1-2 teaspoons vanilla extract if needed
- 1 1/2 cup (135 grams) quick oats
- 1/4 cup (45 grams) mini chocolate chips
Instructions
-
In a large bowl, stir together 1/2 cup (128 grams) natural peanut butter, 1/4 cup (80 grams) runny honey, pinch salt
-
Stir in the 1 1/2 cup (135 grams) quick oats and 1/4 cup (45 grams) mini chocolate chips. If it’s not holding together well, add up to 1-2 teaspoons vanilla extract. If it’s holding together fine and you want some vanilla flavor, add 1/2 teaspoon vanilla.
-
If it’s too sticky to easily roll into balls, let it sit for 20-30 minutes at room temp. If it’s still too runny (I’ve never had a problem with this), you can add more oats.
-
Roll into 1” balls. Mine were about 15 grams, and I got about 24. I find it’s much easier and works better to squeeze the handful together to compact it and then roll it into a ball.
-
Store in an airtight container for up to 4 days at room temperature or in the fridge for up to 2 weeks. You can also freeze them in a sealed bag or container for up to three months. Let them thaw at room temperature before eating.
Notes
If you’re gluten-free, use gluten-free oats.
If you’re nut-free, use naturally sunflower seed butter instead of peanut butter.
By runny honey, I mean it shouldn’t be crystallized because it’d be hard to mix in with the peanut butter. It also might reharden and make the peanut butter balls crumbly.
By natural peanut butter, I mean the kind with no added fat or sugar – just peanuts and salt.
If you prefer to use coconut or to make the version originally posted in 2011, here are the ingredients. You use the same method:
1/2 cup natural nut or seed butter (no added fat / sugar)
1/3 cup honey (or brown rice syrup for vegan)
1-2 teaspoons vanilla
pinch salt if using nut butter with no added salt
1 cup old-fashioned rolled oats (use gluten-free oats for GF)
1 cup (80 grams) shredded unsweetened coconut
1/2 cup other add-ins (roughly chopped nuts or seeds, dried fruit, etc.), optional
