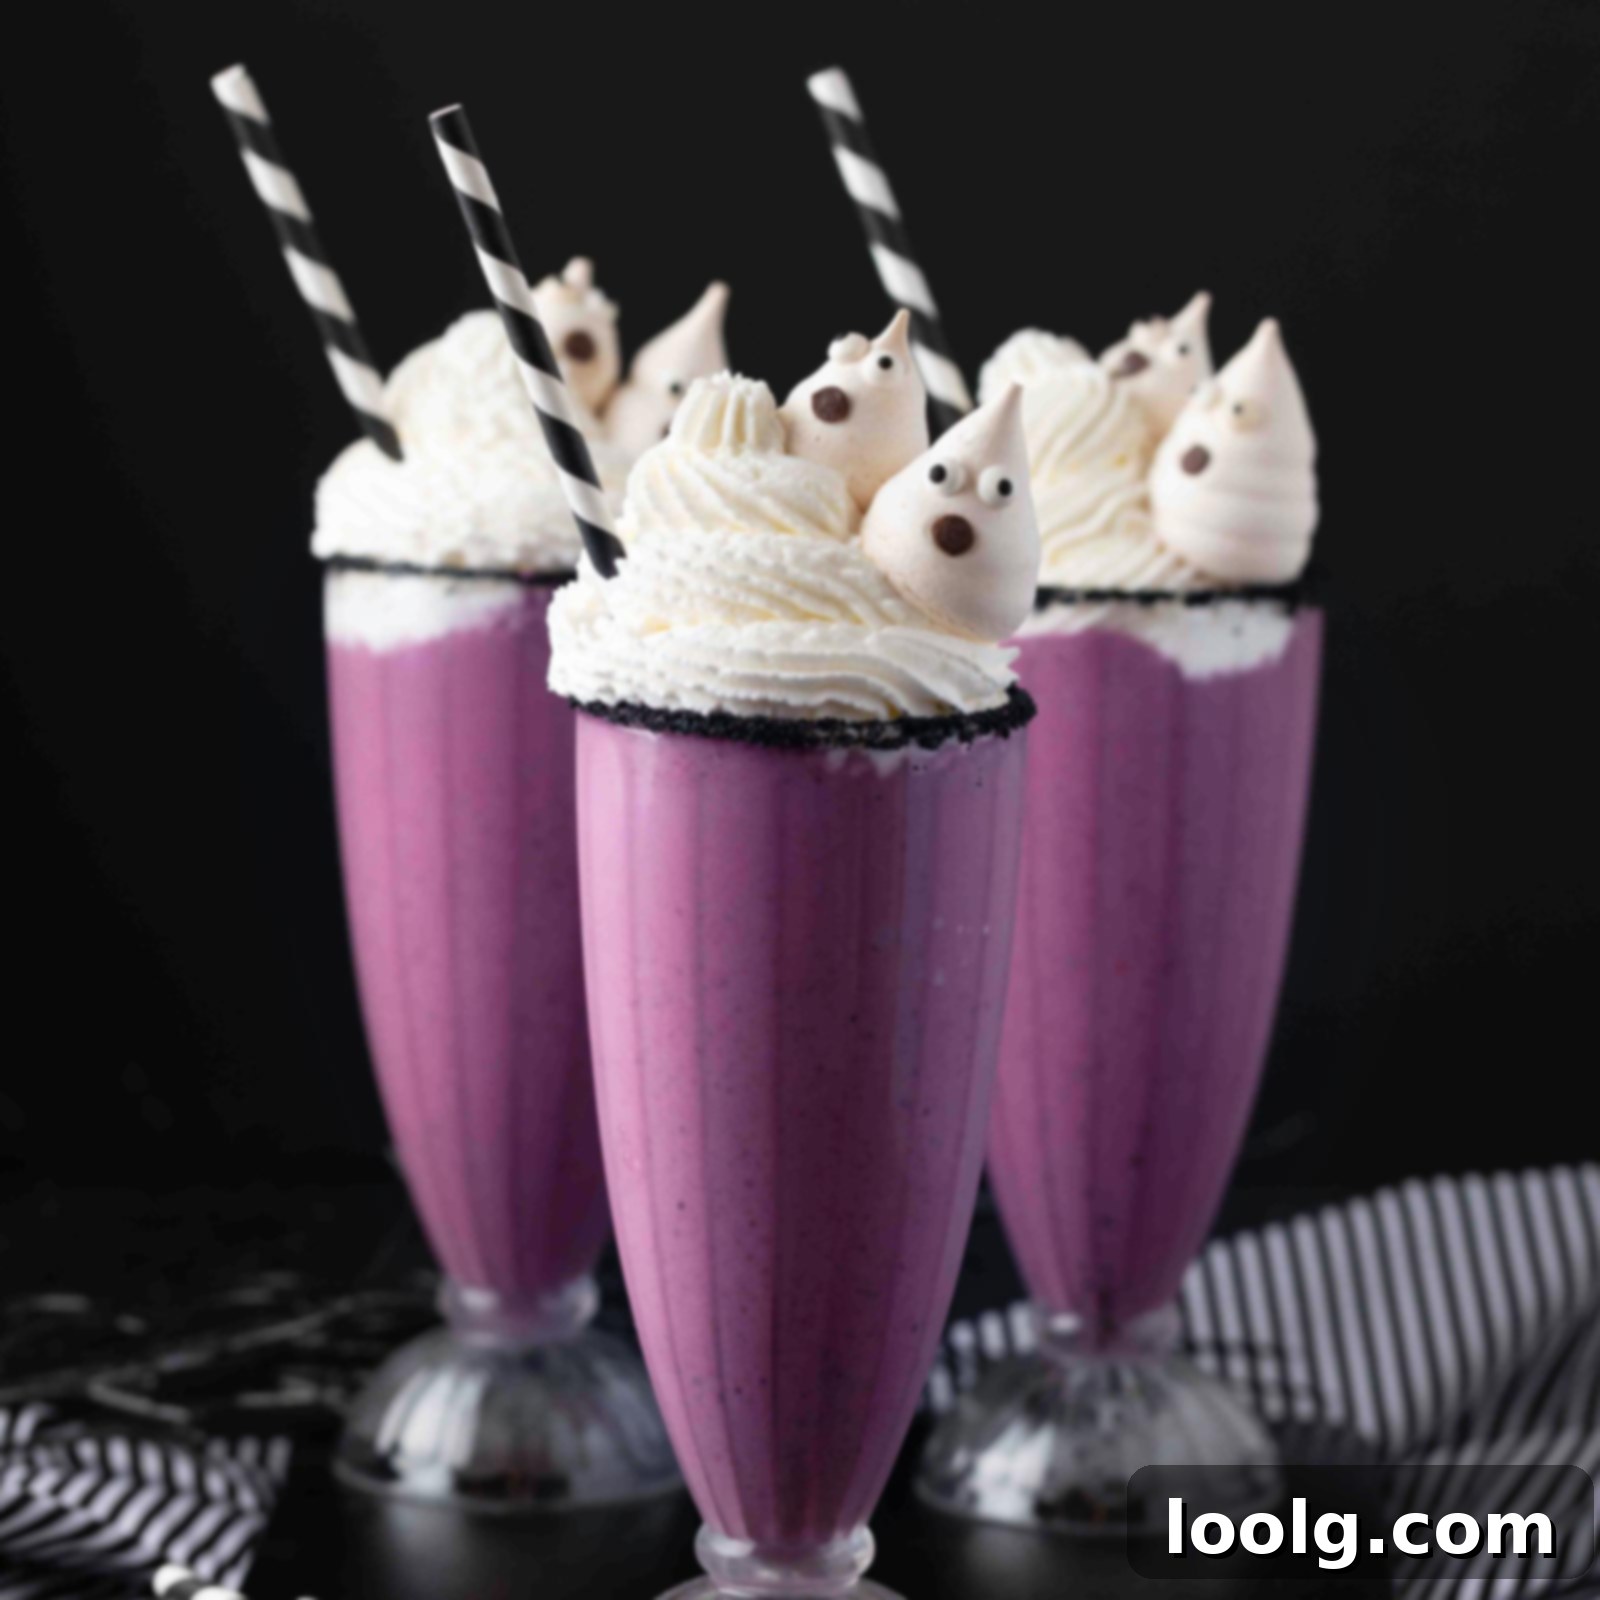
Spooky Sweet & Naturally Purple: The Ultimate Halloween Blueberry Milkshake Recipe
Get ready to enchant your taste buds and thrill your guests with these spectacular Halloween milkshakes! Forget artificial dyes; our recipe relies on the natural vibrant goodness of blueberries to create a mesmerizing, deep purple hue. These delightful drinks start with a smooth vanilla ice cream base, elevated by an easy, homemade blueberry sauce. This combination not only delivers an incredible burst of flavor but also ensures a stunningly colorful foundation for your spooky treat. Crowned with fluffy whipped cream and playful garnishes like whimsical meringue ghosts, these milkshakes are a naturally-colored, incredibly delicious, and truly memorable addition to your Halloween celebrations.
While many Halloween beverages lean towards a classic black, like a Black Milkshake with its Oreo essence, we aimed for something uniquely vibrant and naturally striking. The desire for a brilliant, eye-catching purple led us to this fantastic creation, proving that natural ingredients can produce the most captivating results. This isn’t just a drink; it’s a visual delight that perfectly captures the playful spirit of Halloween.
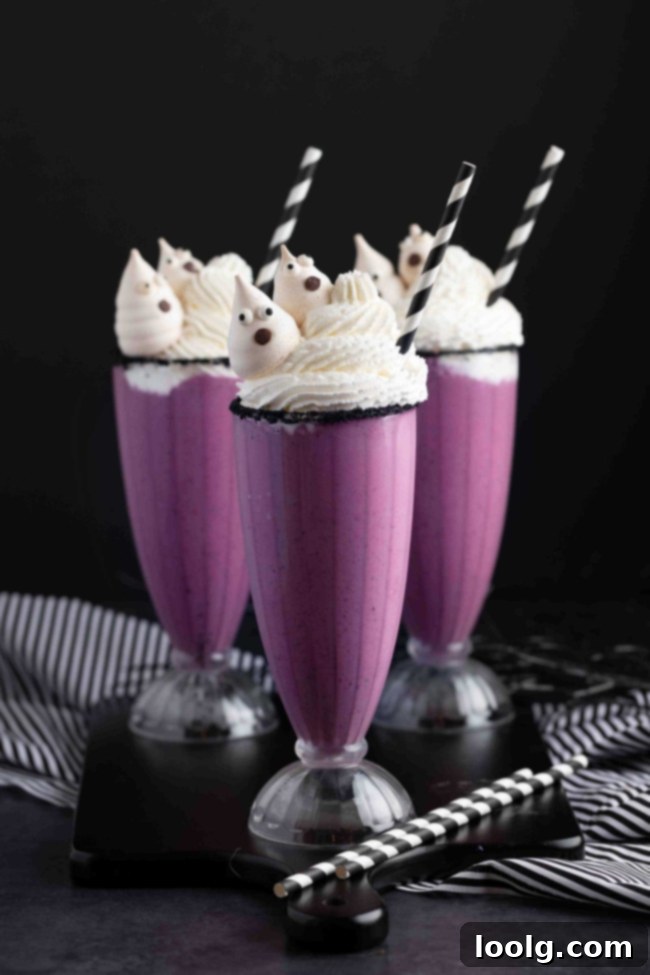
Our inspiration for this vibrant purple concoction comes from an adapted version of our beloved Blueberry Milkshake recipe. To achieve the intense, concentrated color and richer flavor perfect for Halloween, we developed a quick and simple blueberry sauce. This homemade sauce is the secret weapon, requiring only a few basic pantry staples to transform your ordinary milkshake into a magical elixir.
The beauty of this blueberry sauce is its speed and simplicity. It simmers to perfection in just 3-5 minutes, adding barely any extra time to your overall preparation. This minimal additional step is absolutely worth it, as it unlocks a significantly stronger blueberry flavor and imbues the milkshake with that incredibly vibrant, natural purple color that makes it truly special for Halloween. This natural approach means you can enjoy a gorgeous, spooky drink without worrying about artificial food colorings.
Essential Ingredients for Your Spooky Milkshake
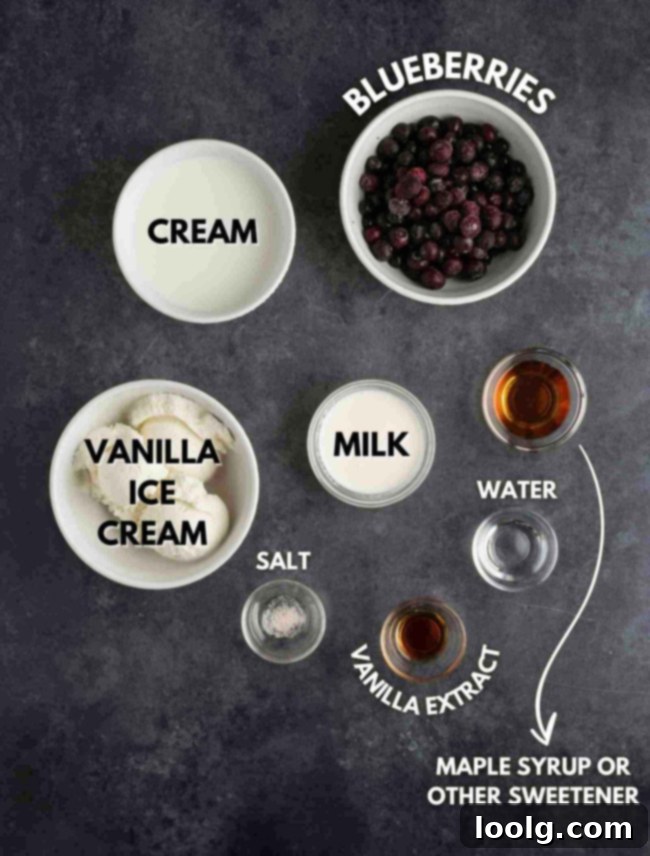
Crafting these delicious Halloween milkshakes is simpler than you might think, using readily available ingredients. Here’s a detailed look at what you’ll need to create this naturally-colored, flavorful treat. The full, step-by-step recipe with precise measurements can be found further down the page.
- Blueberries: The star of the show! You can use either fresh or frozen blueberries for this recipe. If you opt for frozen, make sure to defrost them first. For those adventurous spirits looking for alternative colors or flavors, raspberries or blackberries are excellent substitutions. Raspberries, in particular, can create a striking blood-red color, perfect for a vampire-themed Halloween drink! These berries are packed with antioxidants, adding a healthy boost to your indulgence.
- Maple Syrup: We chose maple syrup for its delightful sweetness and liquid form, which integrates seamlessly into the sauce and milkshake without leaving any grainy residue. It has a subtle flavor that won’t overpower the blueberries, even if you use Grade C. We recommend avoiding honey if you prefer a neutral sweetness, as its distinct flavor can be quite noticeable. Agave syrup or brown rice syrup are fantastic neutral-flavored liquid alternatives. If granulated sugar is your only option, dissolve it in a tiny amount of warm milk before adding it to prevent a gritty texture in your cold milkshake. Maple syrup also works wonders for rimming the glasses, but agave or a simple syrup can also be used.
- Milk: The type of milk you use offers flexibility, with one exception: avoid coconut milk unless you desire a distinct coconut flavor in your blueberry milkshake. The amount of milk required can vary, primarily depending on the density and consistency of your vanilla ice cream. Most likely, you will need some. When we first experimented with a lighter, store-bought vegan ice cream, no additional milk was needed. However, richer homemade ice creams or our paleo ice cream recipe often required milk to achieve the perfect blend and consistency. We’ll delve deeper into the ideal milk amount below to help you achieve milkshake perfection.
- Vanilla Ice Cream: A quality vanilla ice cream forms the creamy, comforting base of our milkshake. While store-bought options are perfectly fine and convenient, if you happen to have some homemade French Vanilla Ice Cream on hand, we highly recommend using it for an extra luxurious touch. For those with dietary restrictions, ensure you select a dairy-free or vegan vanilla ice cream to keep the recipe inclusive.
- Heavy Cream: Essential for whipping up that irresistibly light and airy topping. If you’re preparing a dairy-free version, a suitable vegan cream alternative will work beautifully. Coconut whipped cream can be used, but be mindful that it will impart a coconut flavor to your milkshake.
- Black Sanding Sugar: This adds a dramatic, spooky touch to the rim of your glasses, enhancing the Halloween theme. Feel free to get creative with any color of sanding sugar that suits your vision, or simply omit it if preferred. For a naturally flavored option, you could use the chocolate sauce from our Iced Mocha Latte, assuming you enjoy the combination of chocolate and blueberries. While many do, it’s not our personal preference for this particular drink!
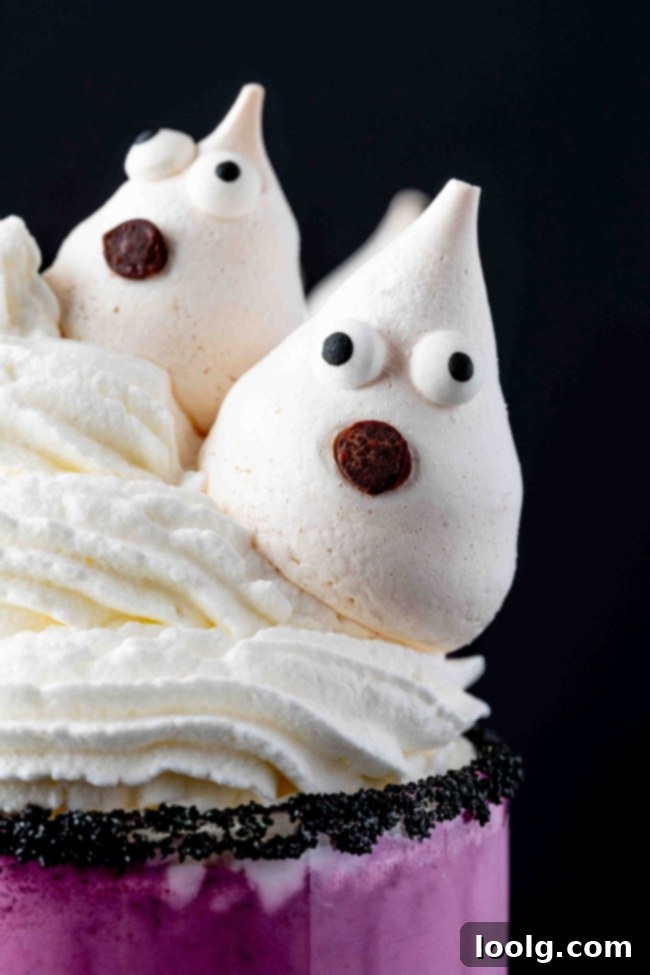
- Meringue Ghosts: These adorable, ghostly garnishes add a fun and festive element. If time is short, edible candy eyeballs are a quick and effective alternative. We often use this homemade recipe for edible googly eyes, appreciating their simple ingredients and vegan-friendly nature. These little details truly bring the Halloween spirit to life in each sip.
Achieving the Perfect Milkshake Consistency: Understanding Milk Amount
The key to a perfectly creamy and blendable milkshake lies in balancing the amount of liquid. For traditional milkshakes, a general rule of thumb is approximately three parts ice cream to one part milk. Deviating too much can result in a shake that’s either too thin and watery or too thick and difficult to blend smoothly.
However, this Halloween milkshake recipe presents a unique consideration: our delicious homemade blueberry sauce contributes a significant amount of liquid, thanks to the 1 1/2 cups of blueberries. Therefore, you’ll need less additional milk than you might expect. For 1 1/2 cups (355 ml) of vanilla ice cream, a starting point of about 3/4 cup to 1 cup (90-120 ml) of milk is usually sufficient.
I once used the lower end of this range with a particularly light and airy store-bought vegan ice cream, and the result was a surprisingly runny milkshake. This happened because the ice cream was not dense at all; a whole pint container could easily be compressed into a single cup. So, if your ice cream is light and fluffy rather than dense and rich, consider omitting the initial milk completely. Instead, blend the ice cream and blueberry sauce first, then gradually add milk, only if necessary, until you reach your desired consistency. This approach ensures you achieve that ideal, thick, yet sippable texture every time.
Crafting Your Spooky Halloween Milkshakes: A Simple Guide
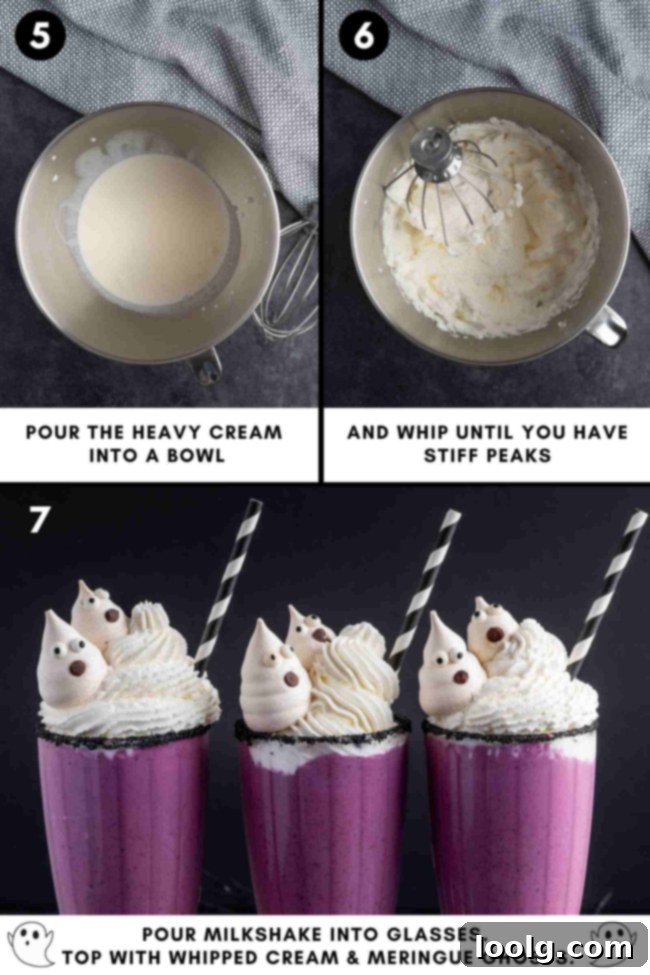
Making these enchanting Halloween milkshakes is a straightforward and enjoyable process. Below, you’ll find a visual overview of the steps involved. For comprehensive, detailed instructions and precise measurements, please make sure to scroll down to the full recipe card on this page. Our goal is to make your Halloween treat preparation as effortless as possible, delivering maximum spooky delight with minimal fuss.
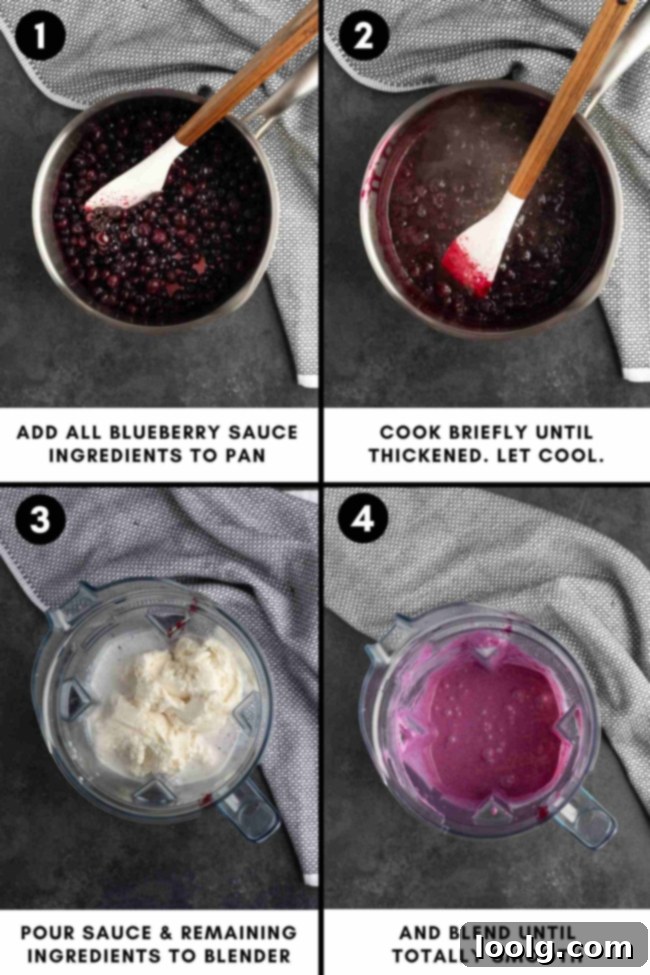
While our homemade blueberry sauce is a highlight of this recipe, offering superior flavor and color, we understand that sometimes convenience is key. If you’re short on time or prefer a shortcut, a good quality store-bought blueberry sauce can be used. Alternatively, a thick blueberry jam could also work wonderfully in a pinch, contributing both fruit flavor and a lovely purple hue to your milkshake.
If you find yourself thinking that making a small batch of sauce isn’t worth the effort, consider preparing a larger quantity of our Blueberry Maple Sauce. This versatile sauce is perfect for topping pancakes, adding a fruity burst to Greek Yogurt Cheesecake, or enhancing Cheesecake Mousse. Simply set aside a small portion specifically for these milkshakes, ensuring you have a delicious, ready-made component whenever the craving strikes or Halloween approaches!
Preparing Ahead: Tips for a Stress-Free Halloween Treat
One of the great advantages of this recipe is that many components can be prepared in advance, significantly reducing stress on the day of your Halloween festivities. This makes serving these enchanting milkshakes surprisingly easy. However, it’s worth considering the setting – while milkshakes are fantastic for smaller gatherings, do people typically serve them at large parties? 😆
We think these spooktacular milkshakes are perfectly suited for a cozy family Halloween movie night! Imagine curling up with your loved ones, a thrilling film on the screen, and these vibrant purple treats in hand. They pair wonderfully with other festive dishes like our savory Monster Burgers, comforting Halloween Mac and Cheese, or a refreshing Skeleton Veggie Tray on the side. Don’t forget these fun Halloween Meatballs for a complete meal!
For larger Halloween parties or gatherings with many guests, smaller, more portable desserts like our delightful Frankenstein Cupcakes or eerie Eyeball Cupcakes for Halloween might be more practical than individual milkshakes, which require immediate consumption. But for intimate celebrations, these milkshakes are pure magic!
- Blueberry Sauce: The heart of your milkshake’s color and flavor can be prepared up to three days in advance. Simply allow it to cool completely, then transfer it to an airtight container and store it in the refrigerator. This allows the flavors to meld beautifully and saves you precious time on the day of serving.
- Whipped Cream: You can whip the heavy cream ahead of time and store it in a sealed container in the refrigerator for up to 24 hours. For best results, give it a quick whisk before piping to restore its fluffy texture. Ensure your cream is very cold before whipping for optimal stiffness and stability.
- Decorate the Glass Rims: Prepare your spooky glass rims in advance for a flawless presentation. Rim the glasses with maple syrup (or your chosen alternative) and black sanding sugar, then place them in the freezer. This crucial step helps the sugar adhere firmly to the glass, preventing it from flaking off and creating a beautifully crisp, festive edge when it’s time to serve.
The actual milkshake blending, however, should be done just before serving to ensure optimal coldness and texture, as it contains ice cream. But fear not! This final step is incredibly quick, taking only about a minute to combine all the elements in your blender and achieve that perfect, creamy consistency. It’s the swift flourish that brings your prepared components together into a truly show-stopping Halloween treat.
Yield and Serving Suggestions: Tailoring Your Treat
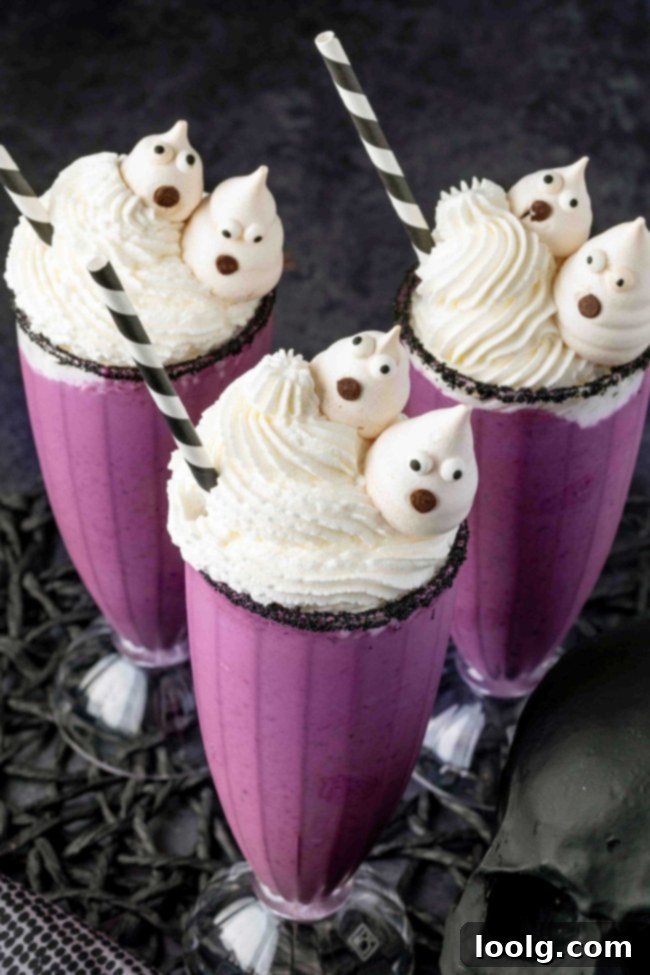
This recipe, as written, yields approximately 1.5 cups (355 ml) of delicious Halloween milkshake. This amount perfectly fills a standard 12-ounce milkshake glass, offering a generous single serving for one person.
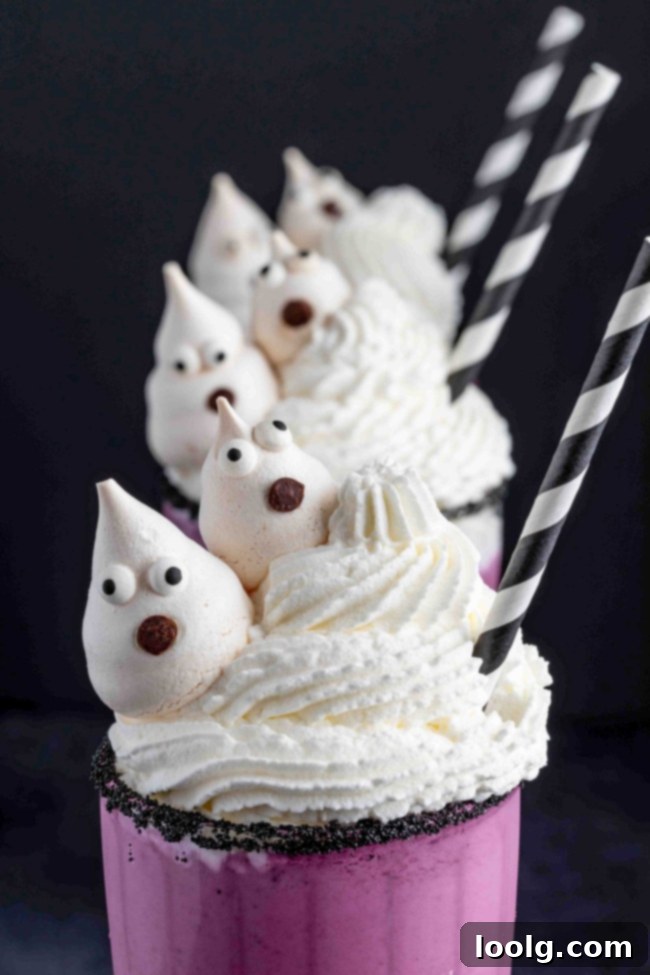
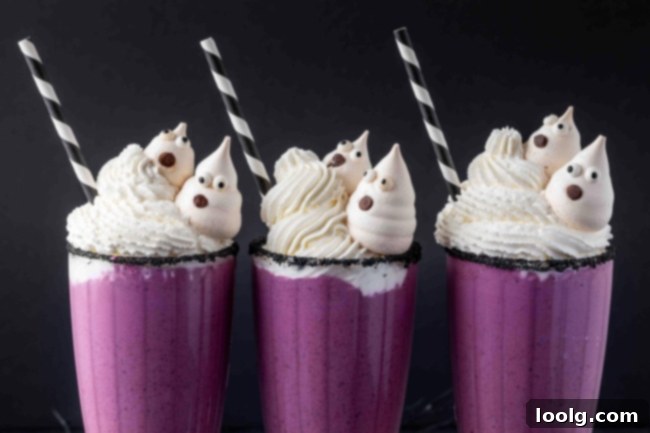
If you’re aiming to create an impressive display of three large milkshakes, similar to the stunning ones featured in our photos, you’ll need to triple the entire recipe. Personally, I find such a large milkshake a bit overwhelming for one person, so when I make these for myself and my husband, we typically share a single batch. It’s a delightful treat to savor together without overdoing it.
For our upcoming Halloween celebration, I plan to make a single recipe and divide it among three smaller skull-shaped glasses. I’ll top them with whipped cream but omit the meringue ghosts for simplicity. My child, who has several intolerances, has never been able to enjoy trick-or-treating candy (we trade it for other fun items and donate the candy). So, these perfectly portioned skull milkshakes will serve as his special, well-deserved post-trick-or-treating treat! 💀
While I can’t locate the exact skull glasses I own, they are strikingly similar to these 6-ounce glasses. These would be the ideal size if you’re splitting a single milkshake recipe or serving smaller, individual portions. Mine are just slightly smaller, making them perfect for mini Halloween sips.
Dietary Accommodations: Dairy-Free, Vegan, and Gluten-Free Options
We’re thrilled to share that this vibrant Halloween milkshake is inherently gluten-free, making it a safe and delicious option for many individuals. As always, for any packaged ingredients like ice cream or candy decorations, it’s prudent to quickly double-check the labels to ensure they are certified gluten-free, guaranteeing a completely safe treat.
For those navigating dairy sensitivities or following a vegan lifestyle, adapting this recipe is wonderfully simple. As mentioned earlier, merely substitute dairy products with their plant-based counterparts. Opt for your favorite dairy-free or vegan milk, select a high-quality vegan vanilla ice cream, and choose a vegan whipping cream alternative for the topping. Many excellent options are available today, making it easy to create a dairy-free and vegan version that sacrifices none of the flavor or fun.
We’ve personally tested this recipe with various vegan vanilla ice creams, and for a paleo-friendly option, we even tried it with this vanilla Paleo Ice Cream. The results were surprisingly fantastic! Although that specific ice cream has a subtle salted caramel note that I initially worried wouldn’t complement the blueberry flavor, I was delightfully proven wrong. The combination was unexpectedly delicious, adding another layer of complexity to the milkshake.
Regarding garnishes, while our charming meringue ghosts are dairy-free, they are not suitable for a vegan diet. For a truly vegan Halloween treat, you’ll need to make or source Vegan Meringue Ghosts. This thoughtful adaptation ensures everyone can enjoy a spooky, sweet, and satisfying Halloween milkshake.
Troubleshooting Tips: Ensuring Milkshake Perfection
Even the most straightforward recipes can occasionally present minor hurdles. Here are some common issues you might encounter when making these Halloween milkshakes, along with easy solutions to ensure your spooky treat turns out perfectly every time:
- Milkshake Too Thick: If your milkshake blend results in a consistency that’s too dense or challenging to sip, the solution is simple. Add a small splash of extra milk, just a tablespoon or two at a time, and blend again until you achieve your desired, perfectly smooth and drinkable thickness.
- Milkshake Too Runny: Conversely, if your milkshake is unexpectedly thin or watery, it indicates a need for more body. To thicken it up, incorporate an additional scoop of vanilla ice cream into the blender. Blend thoroughly, and repeat if necessary, until the milkshake reaches that ideal, creamy consistency.
- Whipped Cream Too Soft: The key to firm, stable whipped cream is coldness. If your whipped cream isn’t stiffening up as expected, ensure your heavy cream is thoroughly chilled before you begin whipping. For an extra boost, you can even place your mixing bowl (and whisk attachments, if using an electric mixer) in the fridge for about 15 minutes before you start. This extra chill significantly aids in achieving beautifully stiff peaks.
- Blueberry Sauce Too Runny: If your homemade blueberry sauce remains too thin after the initial simmering time, don’t fret. Simply return it to the stovetop and continue to simmer it over medium heat for a few extra minutes, stirring occasionally, until it reduces and thickens to a sauce-like consistency. For a quicker fix, you can mix a small amount (about 1 teaspoon) of cornstarch with an equal amount of cold water to create a slurry, then stir this into the simmering sauce. Bring it back to a gentle boil for one minute, and it should thicken beautifully.
More Spooktacular Sips: Other Halloween Drink Ideas
While these naturally purple Halloween milkshakes are a fantastic centerpiece, if you’re planning a bigger Halloween bash, you might want to offer a variety of festive drinks. For the younger ghouls and goblins, our recipes for Non-alcoholic Halloween Punch and Witches’ Brew Drink are absolutely perfect – fun, flavorful, and entirely kid-friendly!
And for the adults who are ready to indulge in some spirited sips, we have you covered too. Our captivating Witches’ Brew Cocktail and the dramatically delicious Vampire’s Kiss Cocktail are super fun, easy to mix, and guaranteed to add an extra layer of enchantment to your adult Halloween gathering. There’s a spooky sip for everyone!
We sincerely hope you and your loved ones enjoy these fun, naturally vibrant, and incredibly tasty Halloween milkshakes! They’re the perfect treat to celebrate the season. Please do let us know how they turned out for you in the comments section below. Your feedback is always appreciated! Happy Halloween! 🙂
Halloween Milkshakes
Ingredients
Milkshake:
- 1 1/2 cups (213 grams) fresh or frozen and defrosted blueberries
- 1 tablespoon water
- 3 tablespoons (60 grams) maple syrup
- pinch of salt
- 1 teaspoon vanilla extract
- 3/4 to 1 cup (90-120 ml) milk
- 1 1/2 cups (355 ml) vanilla ice cream
- meringue ghosts
Rim:
- black sanding sugar
- maple syrup
Topping:
- 1/4 cup (60 ml) heavy cream
- meringue ghosts or other edible Halloween decorations
Instructions
-
In a medium saucepan, stir together the blueberries, water, maple syrup and salt.
-
Bring to a simmer over medium heat and simmer for 3-5 minutes or until it’s thickened quite a bit like blueberry sauce.
-
Stir in the vanilla extract.
-
Transfer to the blender (or place on a plate or whatever with a large surface area if you want it to cool quickly and place in the fridge or freezer for a few minutes) and let cool for about 15 minutes. You don’t want it to melt the ice cream.
-
While it’s cooling, prepare the rim of the milkshake glasses and the whipped cream. Pour sanding sugar into a shallow bowl. Brush some maple syrup on the rim of your glass with a small pastry brush, or dip the rim into a shallow dish of maple syrup. Immediately dip the rim of the glass into the sanding sugar. Tap to remove excess sugar and place in the freezer for a few minutes to help the sugar adhere better.
-
Add the heavy cream to a bowl. Begin by whipping the cream at medium speed. Once it starts to thicken, increase the speed to high. Continue whipping until the peaks stand up straight. Place in the fridge while you continue with the milkshake.
-
Once the blueberries have cooled enough, add 3/4 cup (90 ml) milk and the ice cream to the blender.
-
Blend until totally smooth and only tiny blueberry skin flecks remain. Add the remaining 1/4 cup of milk, if needed.
-
Top with whipped cream and a meringue ghost.
Notes
If you’re dairy-free/vegan: use dairy-free/vegan milk, ice cream and cream. The ghost meringues are dairy-free but not vegan. Use Vegan Meringue Ghosts instead.
This recipe yields 1.5 cups of milkshake. Standard milkshake glasses (like what you see are 12 ounces (1.5 cups). So if you want 3 large milkshakes, like in the photos, you need to triple the recipe. I think it’s a bit over-the-top, though, so when I make these, I split one with my husband.
