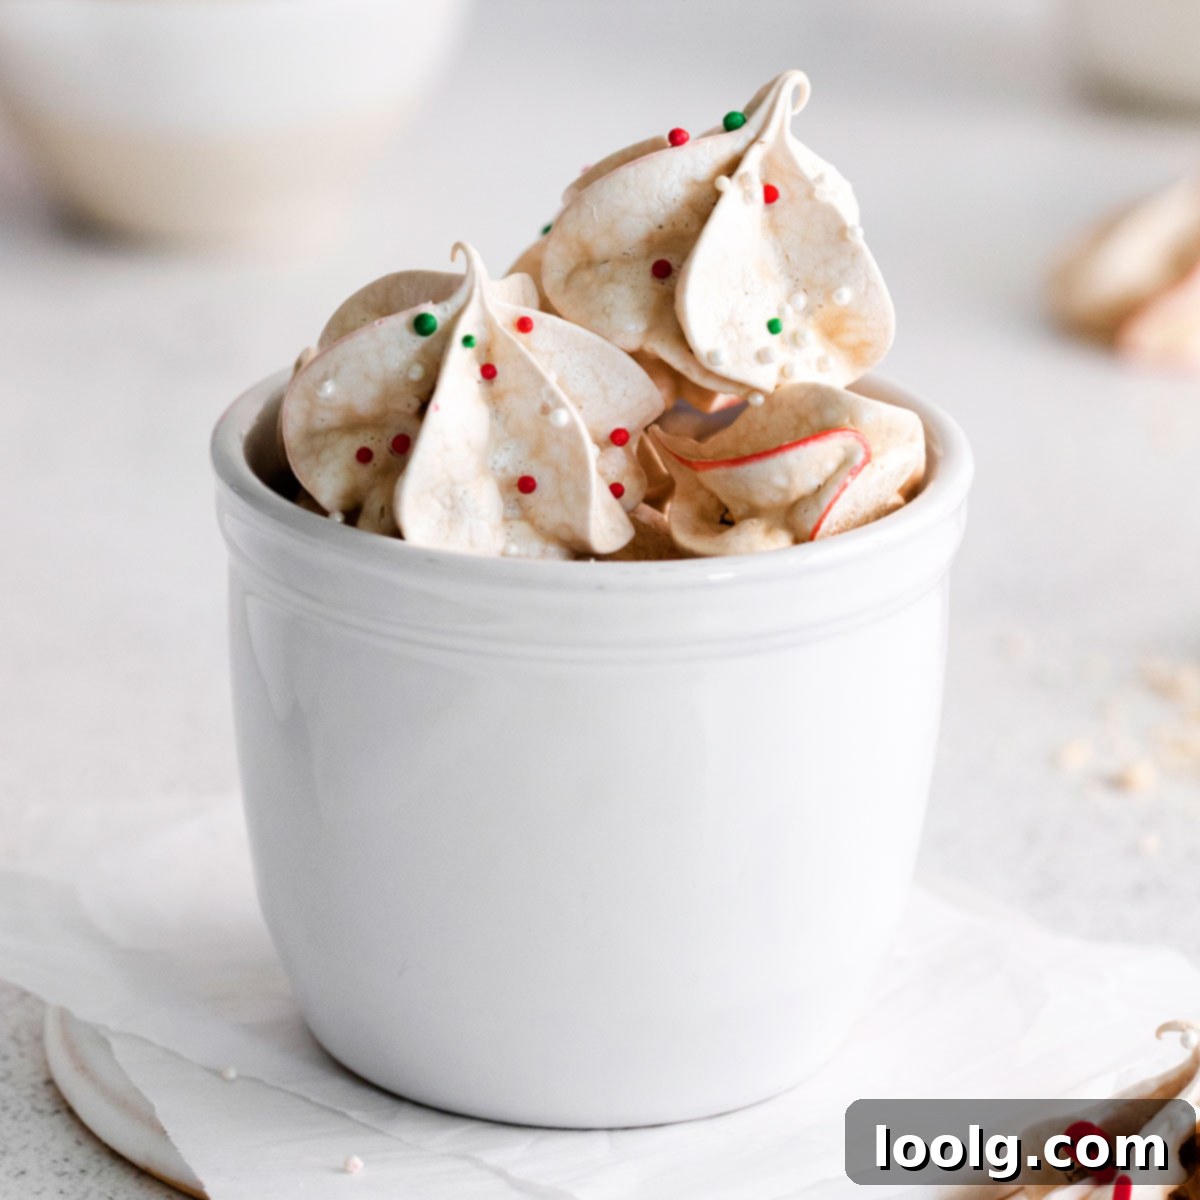
Delightful Peppermint Meringues: Easy, Airy, and Gluten-Free Holiday Treat
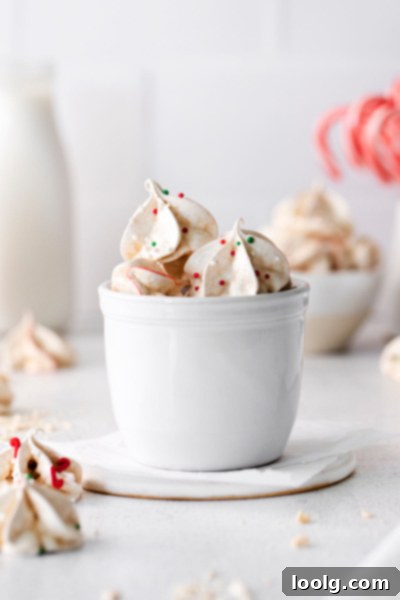
Embrace the festive spirit with these exquisite peppermint meringues! Light, airy, and boasting a magical melt-in-your-mouth texture, these sweet swirls are a true delight. Crafted with just five simple ingredients, they are remarkably easy to prepare and guaranteed to elevate any holiday cookie tray. As a bonus, made primarily from egg whites and sugar, these meringues are naturally gluten-free, making them a wonderful treat for everyone to enjoy.
These charming, festive gems are perfect for sharing when guests arrive or for packaging as thoughtful homemade holiday gifts. Their delicate appearance belies their ease of creation, and chances are, you already have most of the necessary ingredients tucked away in your pantry.
I’ve always had a soft spot for meringues, like my beloved Eggnog Meringues, appreciating their dainty elegance and satisfying crispness. My love for peppermint also runs deep, often leading me to bake these Peppermint Chocolate Puddle Cookies during the holiday season. Then, a delicious epiphany struck: why not combine these two fantastic flavors? And so, in all their glorious peppermint perfection, these delightful peppermint meringues were born!
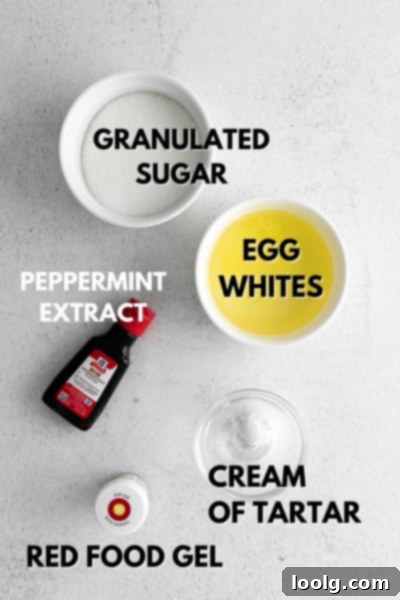
Essential Meringue Ingredients
Crafting perfect meringues starts with understanding the role of each ingredient. Here’s a detailed look at what you’ll need:
- Egg Whites, at Room Temperature: This is crucial for achieving light, voluminous, and chewy meringues. Room temperature egg whites whip up much faster and reach a higher volume than cold ones, creating a more stable foam essential for the meringue’s structure.
- Cream of Tartar: A vital ingredient for stabilizing the egg whites. Cream of tartar acts as an acid, helping the egg whites hold their structure once whipped. It also plays a key role in preventing the meringues from cracking or “weeping” (exuding liquid) as they bake and cool, ensuring a beautiful, pristine finish.
- Granulated Sugar: While standard granulated sugar works beautifully for this recipe, if you have caster sugar (superfine sugar), you’ll notice an even lighter and smoother meringue. The finer crystals of caster sugar dissolve more readily into the egg whites, resulting in a silkier meringue batter and a more delicate final texture. Regardless, granulated sugar provides the necessary sweetness and contributes to the crispness of the baked meringue.
- Pure Peppermint Extract: This is where the magic happens, infusing your meringues with that signature cool, refreshing peppermint flavor. Ensure you use pure extract for the best, most authentic taste.
- Red Gel Food Coloring (Optional): Added to give the meringues a festive, candy cane-like appearance. While it certainly enhances their visual appeal for special occasions, I personally tend to omit it when making them for my family. The flavor remains unchanged, and they are equally delicious without the artificial color. If using, opt for a gel formula, as liquid food coloring can add excess moisture.
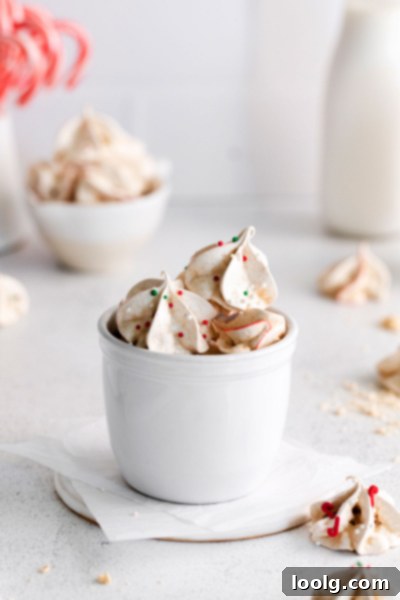
- Sprinkles (Optional): For an extra touch of festivity, sprinkles are a fun addition. I highly recommend using small, round sprinkles, specifically those from Wilton, as they tend not to bleed or discolor during the baking process. Larger, traditional sprinkles can sometimes melt or streak, affecting the meringue’s pristine appearance.
How to Create Perfect Peppermint Meringues: A Step-by-Step Guide
Achieving light and crisp meringues is simpler than you might think. Follow these steps carefully for delightful results:
- Prepare Your Baking Sheets: Begin by preheating your oven to 275°F (135°C). Line two large baking sheets with parchment paper or silicone baking mats (Silpats). This non-stick surface is essential to prevent the meringues from sticking and ensures easy removal once baked.
- Whip Egg Whites Until Frothy: In a meticulously clean, dry metal mixing bowl (preferably a stand mixer bowl with a whisk attachment), add your room-temperature egg whites. Begin beating them at medium-low speed. Continue mixing until the egg whites become frothy, appearing bubbly and opaque. This usually takes about 30 seconds.
- Incorporate Cream of Tartar: Once the egg whites are frothy, add the cream of tartar. Continue mixing at medium-low speed for another minute or so, just until it is fully combined. The cream of tartar will help stabilize the egg whites, setting them up for their airy transformation.
- Gradually Add Sugar: This step is critical for a smooth, stable meringue. Increase the mixer speed to medium and begin adding the granulated sugar, one tablespoon at a time. Do not rush this process; allow each addition of sugar to dissolve into the egg whites before adding the next. This gradual incorporation ensures the sugar fully disperses, preventing a grainy texture in your final meringue. This process should take approximately 1-2 minutes for all the sugar to be added.
- Achieve Stiff Peaks: After all the sugar has been incorporated, increase the mixer speed to medium-high. Continue beating the meringue mixture until it becomes glossy, smooth, and forms stiff, upright peaks. When you lift the whisk, the meringue should hold its shape firmly without collapsing. This stage typically takes about 3 minutes, but it’s important to watch for the visual cues rather than strictly adhering to the time.
- Fold in Peppermint Extract: Gently mix in the pure peppermint extract until it is just combined. Overmixing at this stage can deflate the meringue, so be careful to mix only until the flavor is evenly distributed.
- Ready to Pipe: Your meringue is now perfectly prepared for piping! Transfer it to a piping bag (with or without a decorative tip, as desired).
This recipe requires a mere 10 minutes of active preparation time, followed by about 1 hour of baking and an additional hour for cooling. From this batch, you’ll yield approximately forty-eight 1-inch meringues, which can be stored in an airtight container at room temperature for up to 5 days, maintaining their delicate crispness.
Expert Tips for Perfect Meringues
Achieving flawless meringues can be simplified with these invaluable tips:
- Room Temperature Eggs, Fast Track: If you forget to take your eggs out in advance, simply place the whole eggs (still in their shells) in a cup of warm water for a few minutes. Once they no longer feel cold to the touch, dry them thoroughly and carefully separate the whites into your mixing bowl. Be absolutely sure no water or yolk contaminates the whites, as even a tiny amount can prevent them from whipping properly.
- Immaculate Equipment is Key: Always use squeaky clean and perfectly dry metal bowls and whisk attachments. Any trace of grease, oil residue, or moisture can act as a deflating agent, preventing the egg whites from whipping to their full volume and stability, significantly affecting the final texture of your meringues.
- Older Eggs for Higher Meringues: Counterintuitively, older eggs (those that have been in the fridge for a while) often yield higher and more stable meringues. As eggs age, their whites become thinner and easier to whip, resulting in greater volume. To test if an egg is still good, place it in a glass of water. If it lies on its side, it’s very fresh. If it stands upright, it’s older but perfectly fine for meringue. If it floats, discard it – it’s past its prime.
- Flawless Egg Separation: When separating egg whites from yolks, precision is paramount. Even a tiny speck of yolk, which contains fat, can prevent the whites from whipping up. It’s often easier to achieve a clean separation with eggs taken straight from the fridge, as the yolks are firmer. Once separated, let the whites sit out for about 30 minutes to reach room temperature before you begin the recipe.
- Slow and Steady with Sugar: Resist the urge to dump all the sugar into the egg whites at once. Gradually add it, a tablespoon at a time, allowing ample time for the sugar crystals to fully dissolve into the egg white foam. This ensures a stable, smooth, and non-grainy meringue.
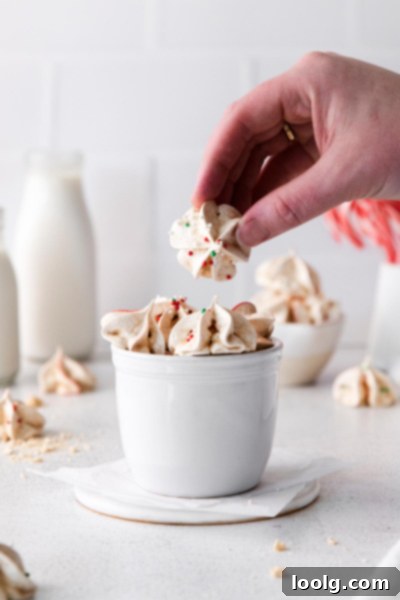
- Test for Dissolved Sugar: To check if the sugar has completely dissolved, rub a small amount of the meringue mixture between your thumb and forefinger. If it feels gritty, continue beating until it feels smooth and no longer grainy.
- Know When to Stop Beating: Overbeating egg whites can cause them to become dry, granular, and prone to breaking. You know the meringue is done when it’s shiny, holds stiff peaks (meaning the peaks stand straight up when the whisk is lifted), and is no longer gritty. Stop beating at this point to maintain its delicate structure.
- Cooling is Crucial: Meringues are delicate and can crack if subjected to a sudden change in temperature. Once baked, turn off the oven, prop the door open slightly, and allow the meringues to cool gradually inside the oven until they reach room temperature. This slow cooling process typically takes about an hour but can be extended; you can even leave them in the oven overnight if it’s more convenient.
- Mind the Humidity: Meringues are highly sensitive to humidity. For the best results, try to make them on a dry day. High humidity can prevent meringues from drying out properly, leading to a sticky, soft, or limp texture rather than the desired crispness.
- Less is More with Food Coloring: If you opt for food coloring, use gel-based coloring sparingly. Too much liquid food coloring can introduce excess moisture into the meringue, which can affect its stability and texture.
- Temperature Affects Texture: Baking meringues at slightly different temperatures can yield varying textures. For a meringue that is chewier in the center while still crisp on the outside, you might consider taking them out of the oven to cool after about an hour of baking, even if they aren’t completely bone dry. Experiment to find your preferred texture!
- Cool Completely for Crispness: Patience is a virtue! Do not attempt to move or store your meringues until they have completely cooled to room temperature. They will crisp up significantly as they cool down.
- Proper Storage: To prevent meringues from sticking together or absorbing moisture from the air during storage, place a piece of parchment paper between layers if stacking them in an airtight container.
- Customize to Your Liking: Meringues are wonderfully versatile! Feel free to experiment with different extracts (vanilla, almond, lemon) or food colorings to match your occasion or personal taste.
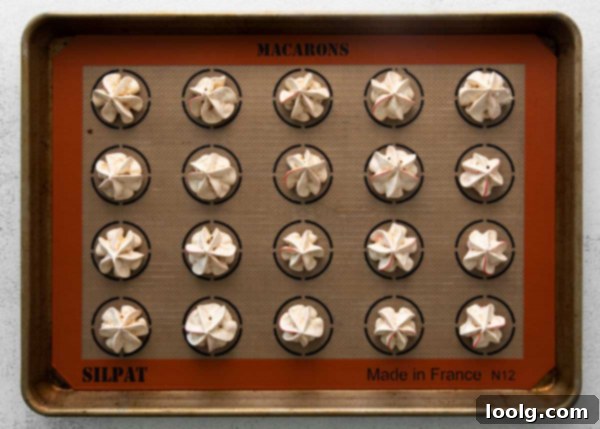
Essential Tools for Peppermint Meringues
Having the right equipment makes the meringue-making process much smoother and more enjoyable:
- Metal Bowl: A pristine metal bowl is highly recommended for whipping egg whites. Unlike plastic, which can sometimes retain traces of grease even after washing, metal provides a completely clean surface. Any residual grease will inhibit the egg whites from whipping to their full potential.
- Spatula: A flexible rubber spatula is incredibly useful for scraping down the sides of the bowl and ensuring every bit of that precious meringue mixture is transferred into your piping bag.
- Disposable Piping Bag with a Star Tip: For those signature, professional-looking swirls, a piping bag fitted with a star tip (like a Wilton 1M or similar) is ideal. Disposable bags offer easy cleanup, perfect for holiday baking.
- Edible Red Gel Food Marker (Optional): If you’re aiming for those classic candy cane stripes, a red gel food marker (or a small brush with gel food coloring) is perfect. Crucially, use gel, not liquid coloring, as gels are more concentrated, add less moisture, and are easier to control.
- Stand Mixer (or Electric Handheld Whisk): A stand mixer with a whisk attachment is the most efficient way to achieve stiff peaks, allowing you to gradually add sugar hands-free. However, an electric handheld whisk works just as well and is a great alternative if you don’t have a stand mixer.
- Lined Baking Sheet or Silpat Mat: Essential for preventing sticking. Parchment paper is readily available, but Silpat (silicone baking mats) are reusable and offer excellent non-stick properties.
- Tall Glass to Help Fill the Piping Bag: This simple trick makes filling a piping bag much easier and less messy. Just place the piping bag (tip down) into a tall glass and fold the edges over the rim. This holds the bag open and stable while you spoon in the meringue.
How to Pipe Meringues with Candy Cane Stripes
Creating beautiful candy cane stripes on your meringues is a festive touch that’s easier than it looks. Here’s how:
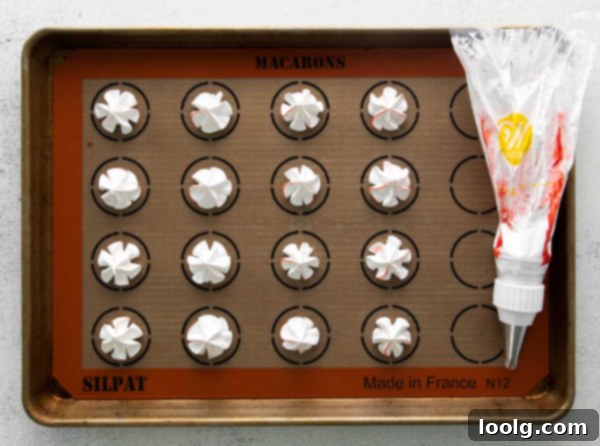
Begin by fitting a disposable piping bag with your chosen star tip. Using a small spoon or a fine food brush, carefully paint 4 vertical lines of red gel food coloring along the inside walls of the piping bag, from the tip upwards. Try to keep the lines distinct.
Next, gently fill the piping bag with your prepared meringue, being mindful not to smudge the freshly painted food coloring lines. Don’t worry if a little smudging occurs; the meringues will still look lovely.
Pipe 1-inch meringues onto your prepared baking sheet, ensuring you leave at least 1 inch of space between each one to allow for air circulation during baking.
Bake the meringues in the preheated oven for 60 to 65 minutes, or until they are completely dry and crisp to the touch.
Once baking is complete, turn off the oven and open the door slightly. Allow the meringues to cool gradually inside the oven until they reach room temperature. This slow cooling prevents cracking and helps them maintain their crispness.
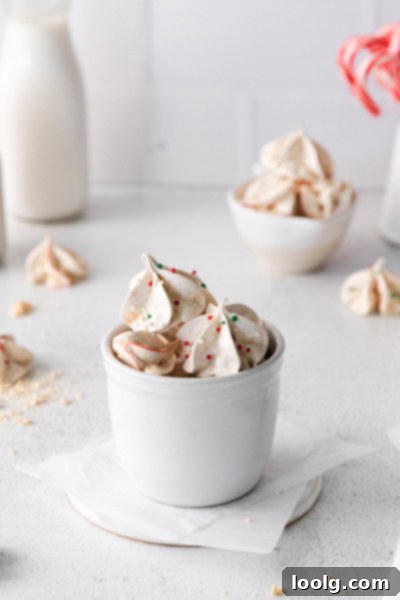
Exploring Different Candy Cane Designs
While painting vertical lines inside the piping bag achieves classic vertical stripes, there are several other creative ways to give your meringues a unique and festive candy cane look:
- Subtle Red Accents: For a delicate touch of color around the edges of your meringues, simply paint four thin, ¼-inch thick lines of red gel food coloring around the inside of the piping bag. This will create a softer, more artistic blush on your meringues.
- Bold Red and White Stripes: To achieve more pronounced, classic red and white candy cane-like stripes, paint four wider, 1-inch thick lines of red gel food coloring inside the piping bag. This will result in a striking contrast, making your meringues truly pop.
Regardless of the design you choose, remember to try your best not to smudge the food coloring lines when filling the bag. However, if a little smudging occurs, don’t fret! The meringues will still bake up beautifully and retain their festive charm.
Mastering Meringue Piping Techniques
- Practice Makes Perfect: Piping meringues is a skill that improves with a little practice. Don’t worry if your first few aren’t perfect; not every peppermint meringue needs to look identical. Embrace the slight variations as part of their homemade charm!
- Secure Your Parchment Paper: If you’re using parchment paper on your baking sheet, dab a tiny bit of meringue underneath each corner of the paper before placing it down. This acts as a “glue” to hold the paper firmly in place, preventing it from sliding around while you pipe.
- Easy Bag Filling: To simplify filling your piping bag, place the bag (with the tip inserted) into a wide-mouthed, tall glass. Fold the edges of the bag over the rim of the glass. This creates a stable holder, allowing you to gently spoon in the meringue without making a mess or smudging any pre-painted designs inside the bag. Take your time and relax during this step.
- Proper Piping Technique: To start piping, hold the bag perpendicular (straight up) to the baking surface. Apply gentle, even pressure to the piping bag to create 1-inch mounds or swirls. Once you’ve reached the desired size, release the pressure and lift the bag straight up and away.
- No Piping Bag? No Problem!: If you don’t have a dedicated piping bag, a sturdy plastic storage bag (like a Ziploc) can work in a pinch. Fill the bag with meringue, squeeze out the air, seal it, and then snip off one of the corners to create an opening. While it won’t give you the intricate design of a star tip, it’s a perfectly functional alternative for simple meringue drops.
- Gel Food Coloring is Best: Reiterate that for red stripes, always use food gel, not liquid food coloring, to avoid adding unwanted moisture to the meringue.
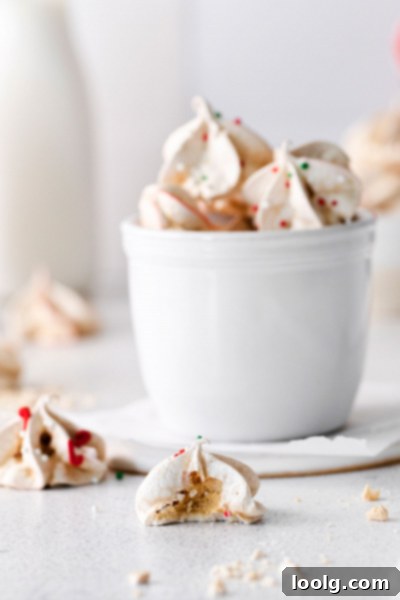
Creative Decorative Ideas for Your Meringues
Beyond the classic candy cane stripes, there are many ways to get creative with your peppermint meringues:
- Crushed Peppermint Candy: For an extra layer of peppermint flavor and a delightful crunch, skip the food gel and instead sprinkle crushed peppermint candy (like candy canes) over the piped meringues before baking. The heat of the oven will meld the candy into the meringue for a truly festive and flavorful treat.
- Vary the Colors: Don’t feel limited to red! You can use green gel food coloring for a different holiday vibe, or even gold for an elegant touch. Let your imagination guide you and choose whatever colors suit your fancy.
- Mini Mint Chocolate Chips: Mini mint chocolate chips would also be a fantastic addition. I recommend adding them after the meringues have baked but before they’ve completely cooled. Gently press the tips of the chips into the still-warm meringues for a charming polka-dot effect, or finely chop them and sprinkle them over the tops for a more integrated chocolate mint experience.
Ultimately, the design of these sweet, airy swirls is entirely yours to command. Have fun with it!
More Easy Holiday Treats to Try
With baking season in full swing, I’ve got several other delightful recipes you might enjoy to complement your peppermint meringues:
- These Italian Almond Cookies are an absolute must-make for my holiday celebrations. They’re incredibly quick and easy, requiring just 5 ingredients, yet they look elegantly sophisticated and taste absolutely divine.
- This Peppermint White Chocolate Bark is perfect for gifting to friends and family or simply to brighten up your festive dessert table. Its crisp texture and refreshing flavor are always a hit.
- Looking for a quick, luxurious topping? This 30 Second Honey Whipped Cream is just a whisk away. You can prepare it with either honey or powdered sugar, depending on your preference.
- These 100% Whole Wheat Dutch Kruidnootjes are a unique take on Dutch Gingerbread Cookies. Dipped in white chocolate, they have a beautiful wintery appearance and a wonderfully spiced flavor.
- Finally, these 100% Whole Wheat Cranberry Pistachio Biscotti are truly amazing. They are relatively simple to prepare and drizzled with chocolate, making them a fantastic companion for your coffee or tea.
There you have it! I genuinely hope you enjoy creating and savoring these delightful peppermint meringues. If you decide to make them, please share your experience by dropping a comment below – I’d absolutely love to hear how they turned out for you!
Peppermint Meringues
Ingredients
- 2 large egg whites at room temperature
- ¼ teaspoon cream of tartar
- ½ cup (100 grams) granulated sugar
- ½ teaspoon pure peppermint extract
- red gel food coloring, optional
- little round sprinkles, optional*
Instructions
-
Preheat the oven to 275F °F (135 °C) and line two baking sheets with parchment paper or silpats.
-
To the bowl of a stand mixer fitted with the paddle attachment, add the egg whites and beat at medium-low until the egg whites are frothy. This takes about 30 seconds.
-
Add the cream of tartar and continue mixing at medium-low speed until combined.
-
Gradually add the granulated sugar, about a tablespoon at a time. It should take 1-2 minutes to add all of the sugar.
-
Once all of the sugar has been fully incorporated, turn the mixer to medium speed. Beat the mixture until stiff peaks form, which will take about 3 minutes.
-
Mix in the peppermint extract just until combined.
-
If you want to make a candy cane design, use a small spoon or a food brush to paint four vertical lines on the inside of a disposable piping bag which has been fitted with a round or star tip. If you would like small red accents around the edges, paint four ¼-inch thick lines. If you want the meringues to be red and white like candy canes, paint four 1-inch thick lines.
-
Carefully fill the bag with meringue. Try not to smudge your food coloring lines. If it happens, don’t worry. They’ll still come out nicely.
-
Pipe 1” meringues onto the prepared baking sheet, leaving at least 1” space between them.
-
Sprinkle the sprinkles over the top, if using.
-
Bake the meringues for 60-65 minutes or until they’re dry and crisp. Turn off the oven, open the oven door, and let the meringues cool to room temperature. This will take about an hour.
-
Store meringues in an airtight container for up to 5 days.
Notes
- For sprinkles, I recommend the little round ones from Wilton because they don’t bleed in the oven. Sometimes the larger traditional sprinkles can discolor the macarons.
