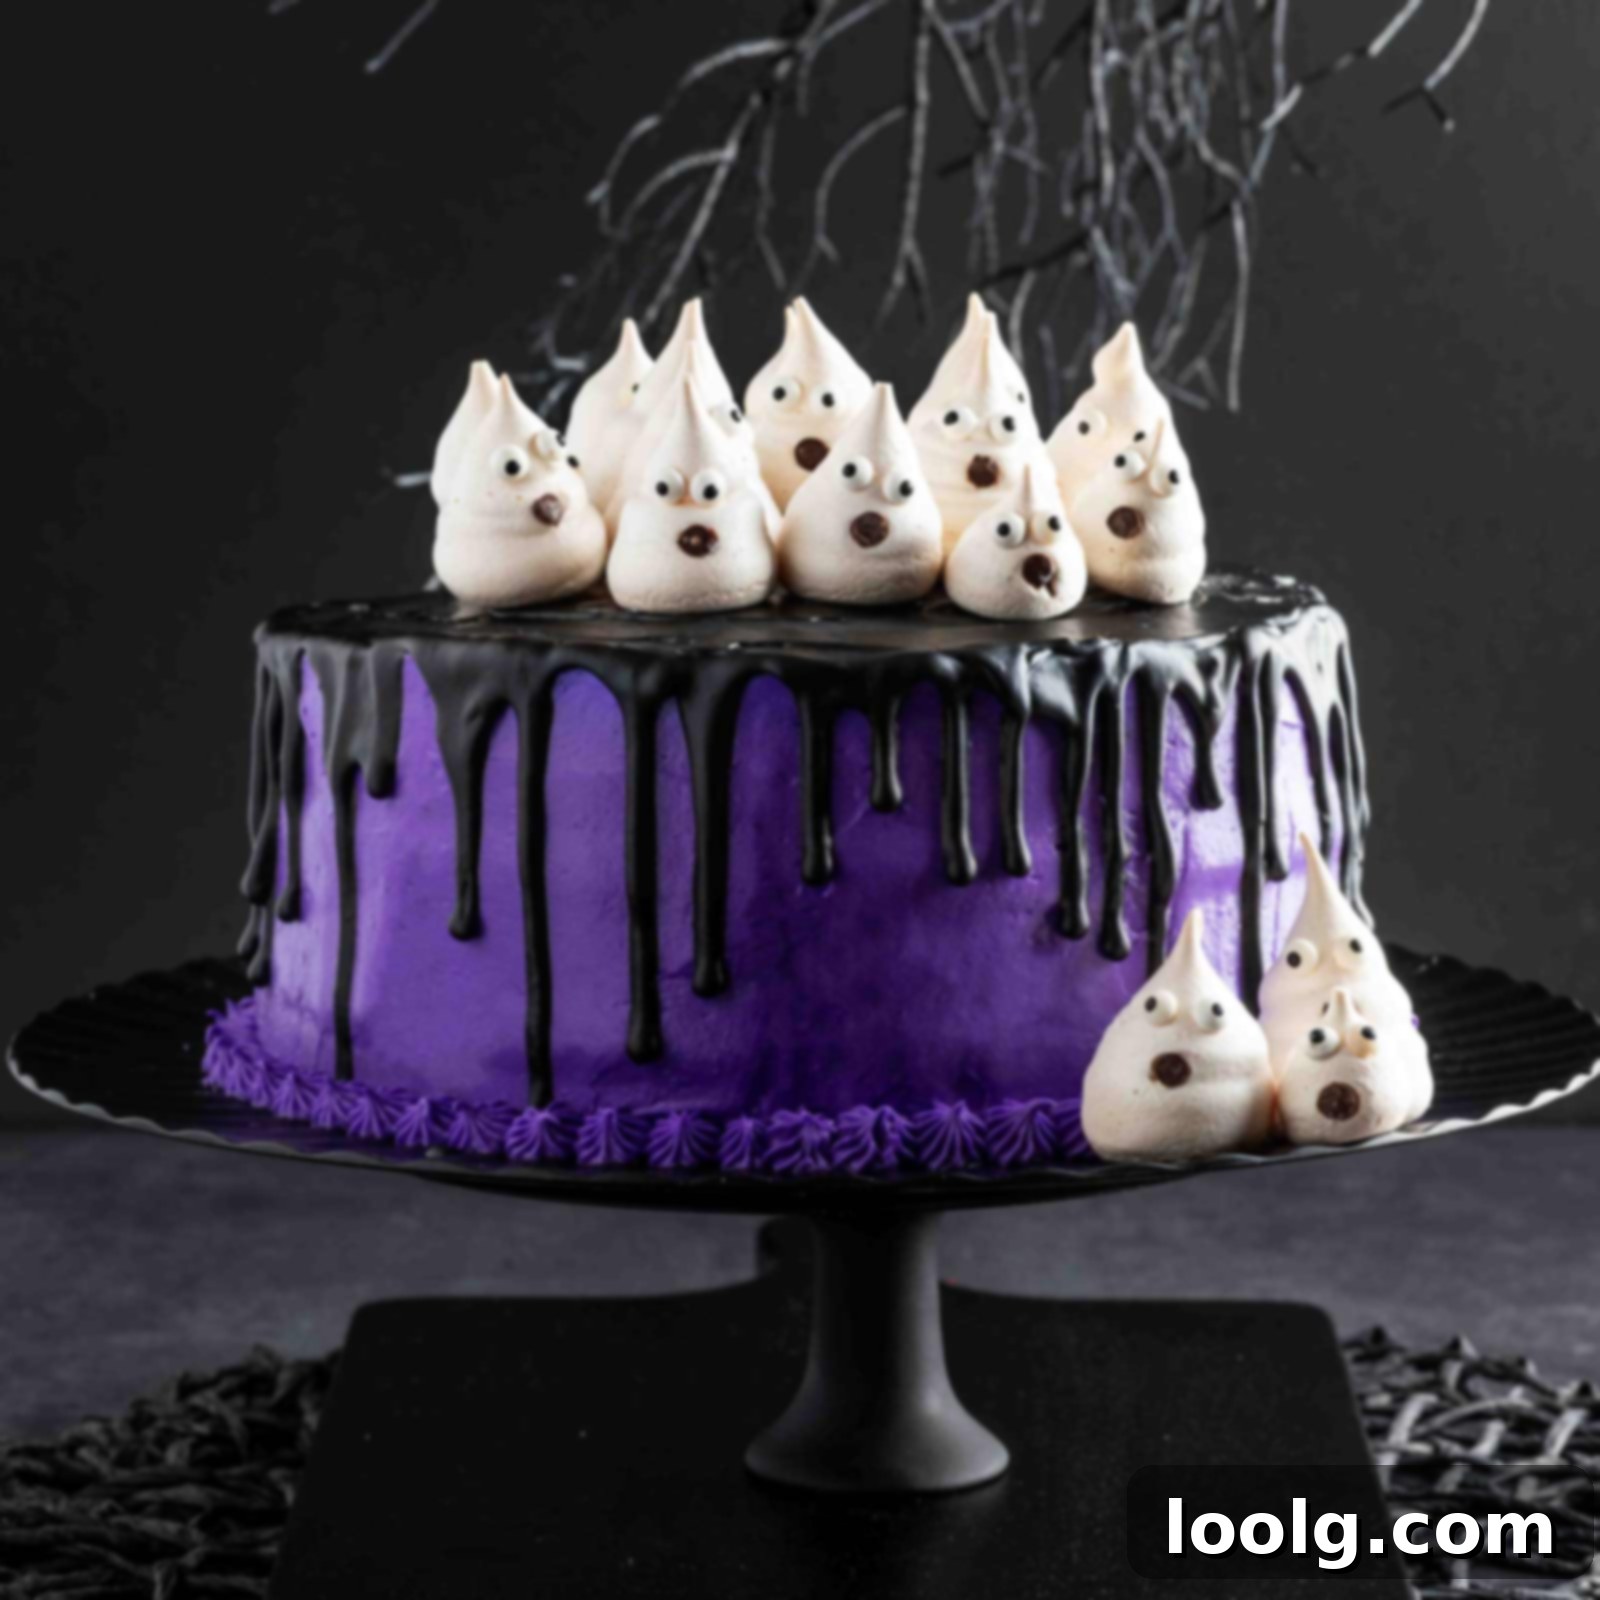
Spooky & Delicious Ghost Cake Recipe: The Ultimate Halloween Dessert Guide
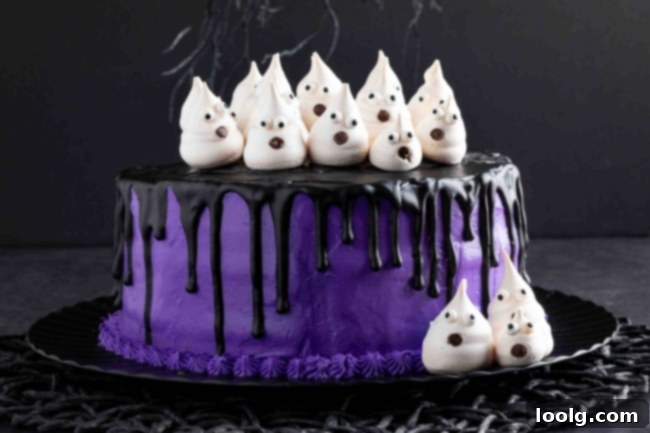
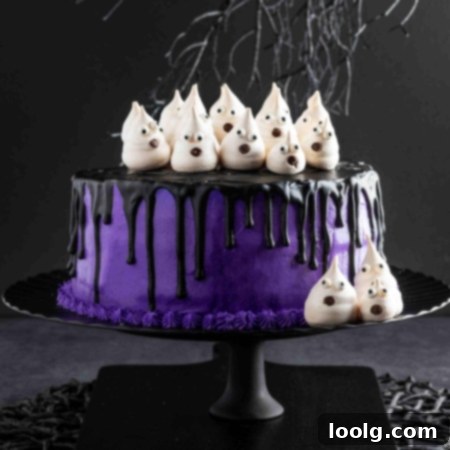
Prepare to conjure up the ultimate Halloween treat with this incredibly spooky yet delightfully delicious ghost cake! This show-stopping dessert is meticulously crafted with three decadent layers of moist chocolate cake, generously frosted with a creamy, dreamy cream cheese frosting, then crowned with a rich, dramatic chocolate ganache drizzle and whimsical meringue ghosts. It’s the perfect centerpiece for any Halloween gathering, guaranteed to impress both guests and ghouls alike. Short on time? Don’t fret! You can easily skip the intricate meringues and pipe simple, charming ghosts directly onto the cake using frosting. This versatile recipe also welcomes various flours—feel free to use all-purpose, wholesome whole wheat, or a reliable gluten-free blend.
Now, before you envision a monstrous baking challenge and run screaming from your kitchen, let us assure you: this ghost cake recipe is far from daunting! We understand that elaborate-looking desserts can sometimes intimidate even experienced bakers, but this particular recipe is designed with ease and enjoyment in mind. Even if your baking and decorating experience is limited, you’ll find our step-by-step instructions simple to follow, leading you to a beautifully spooky creation without the stress.
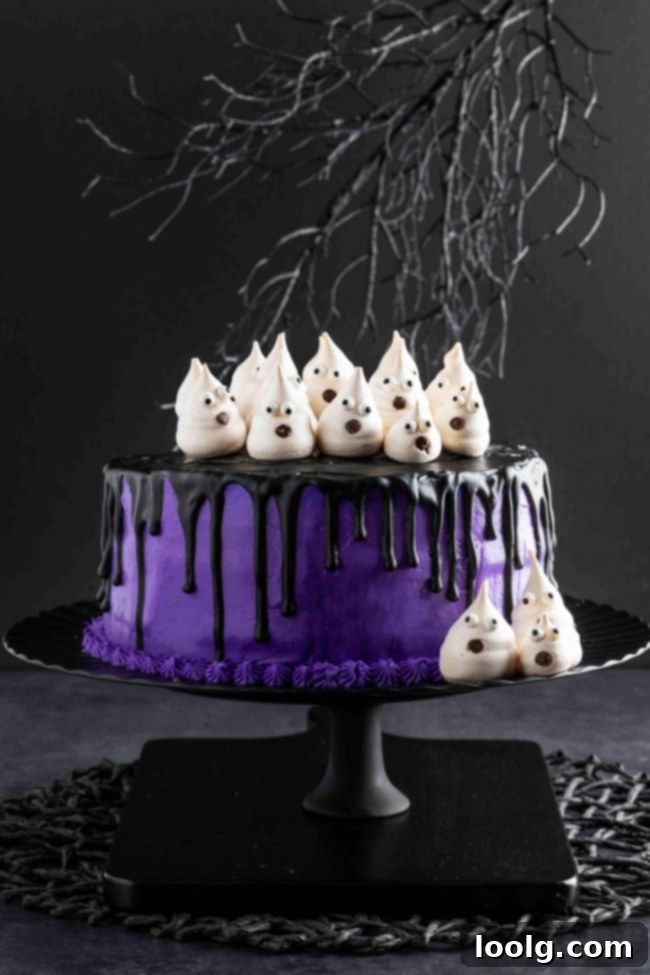
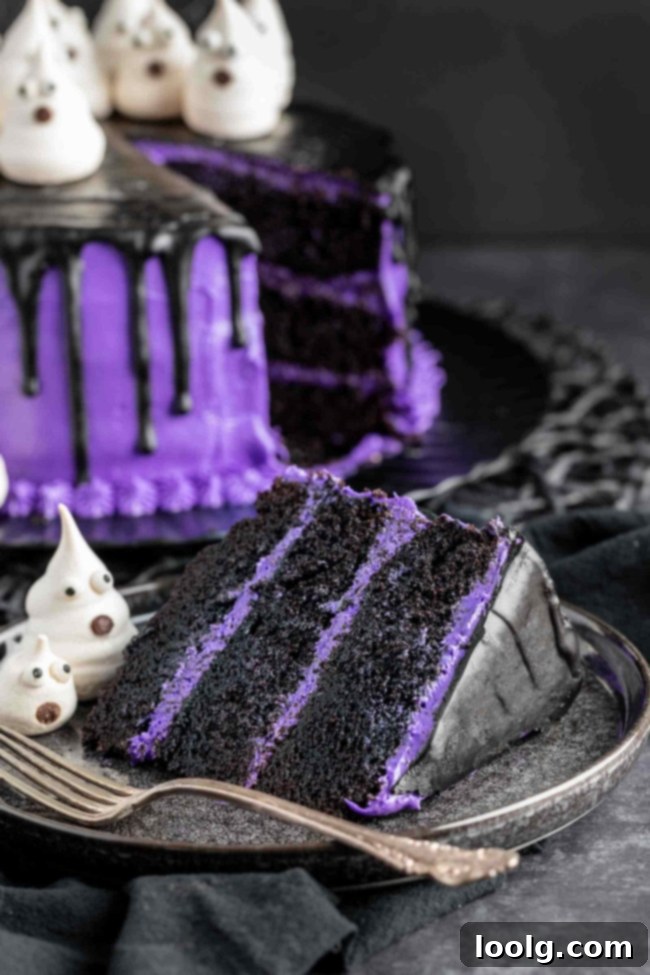
The foundation of this incredible dessert is our tried-and-true chocolate cake recipe, a beloved base adapted from the famous Hershey’s One Bowl Chocolate Cake. We’ve fine-tuned it slightly, adding a touch more black cocoa powder and reducing the Dutch-process cocoa for an even richer, darker hue. This particular chocolate cake recipe is a personal favorite, consistently delivering an unbelievably moist and intensely chocolaty crumb every single time. It’s so reliably delicious that we find ourselves reusing it for many of our special occasion cakes!
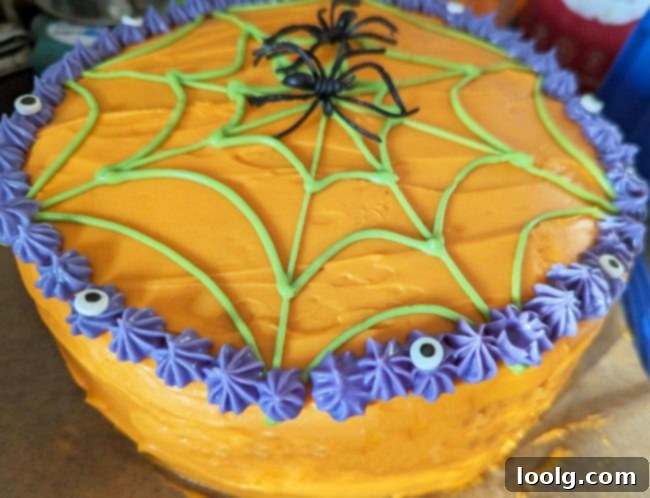
You might recognize this stellar chocolate cake base from our other festive creations, like the eerie Spiderweb Cake. If you’re already familiar with the magic of this chocolate cake, you can confidently skip ahead to the truly exciting decorating elements of this post: learning to create that striking rich chocolate ganache drip and crafting those adorable, ethereal ghost meringues! For those seeking a quicker, equally festive treat, we’ve even utilized a version of this cake (without the black cocoa) in our charming Eyeball Cupcakes for Halloween, proving its versatility.
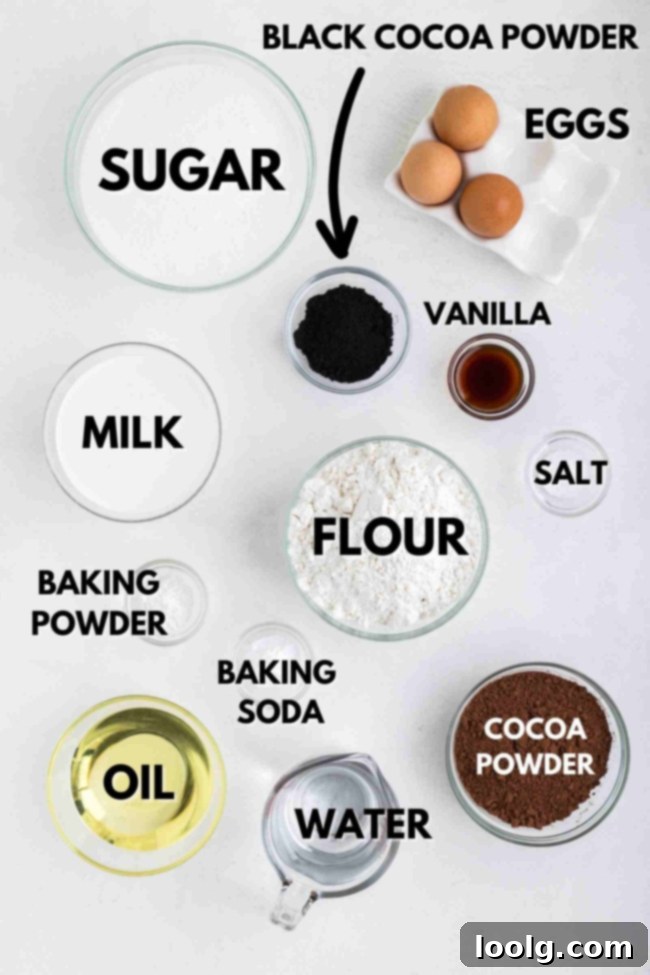
Ingredients for Your Spooky Creation
To embark on your ghost cake adventure, you’ll need a carefully selected list of ingredients. Below, you’ll find an overview of what’s required for each component of this magnificent cake, ensuring you have everything on hand before you begin. For precise measurements and detailed instructions for each ingredient, please refer to the comprehensive recipe box located further down this page.
Creating the perfect frosting for this ghost cake is key to both its flavor and its visual appeal. For the frosting, you’ll need the following. While we recommend using natural food colorings for a more wholesome approach, if those aren’t available or preferred, please opt for gel food coloring. It’s crucial to avoid liquid food coloring, as it can significantly alter the consistency of your cream cheese frosting, making it too runny and difficult to work with.
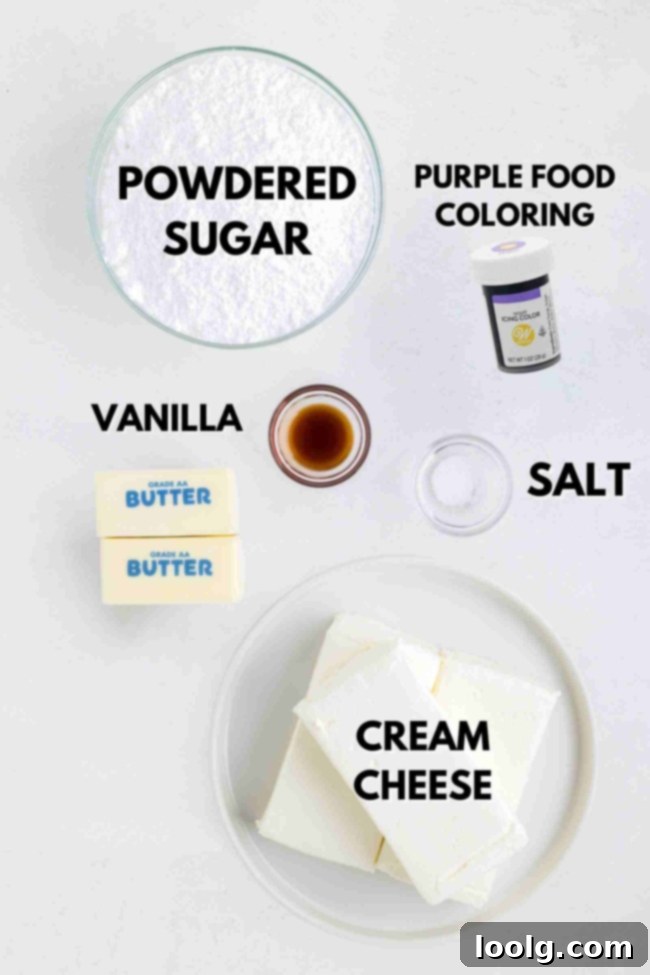
Unfortunately, we don’t have a dedicated ingredient shot for the ganache, but rest assured, the components are simple and essential for that dramatic black drip. Here’s what you’ll need to create the perfect chocolate ganache:
- Semi-sweet chocolate chips or high-quality chopped chocolate (for best melting and flavor).
- Heavy cream (the fat content is crucial for a smooth, rich ganache).
- Black gel food coloring OR a combination of black cocoa powder and a touch of maple syrup (or another tasteless liquid sweetener like agave syrup or simple syrup).
Once again, for the ganache, prioritize gel food coloring over liquid. Achieving a truly dark black color with liquid food coloring would require a substantial amount, which, similar to the frosting, would inevitably thin out your ganache to an undesirable, runny consistency. Gel colors are concentrated and maintain the desired thickness.
Exploring the Magic of Black Cocoa
Black cocoa powder is a fascinating ingredient that lends a dramatic aesthetic and unique flavor profile to baked goods. It’s an ultra-dark, Dutch-processed cocoa powder, meaning it has been heavily alkalized. This process neutralizes its natural acidity, resulting in a remarkably smooth, almost bitter-free taste, and a strikingly deep black color—very similar to the iconic flavor and appearance of Oreo cookies.
In this particular ghost cake recipe, we don’t use a large quantity of black cocoa. Its primary role here is to enhance the cake’s color, giving it a deeper, more mysterious shade of dark chocolate that perfectly suits our spooky theme. So, while it contributes to the visual drama, your cake won’t taste exactly like Oreos. If you’re specifically craving an Oreo-flavored black cocoa treat, we highly recommend trying our amazing Black Milkshake!
Black cocoa is frequently employed in recipes where a rich, intensely dark color is desired, making it a star ingredient in Halloween baking, black velvet cakes, and other gothic-inspired confections. Due to its lower fat content and milder flavor compared to regular cocoa, it’s often combined with a bit of standard or Dutch-processed cocoa for a more balanced and robust chocolate flavor, as is the case in this ghost cake recipe. If you find yourself with extra black cocoa after making this cake and are looking for more ways to use it up, consider trying these fun Mummy Cookies or our unique Black Ice Cream.
No need to worry if black cocoa powder isn’t readily available to you! This recipe is adaptable. You can easily substitute it with additional Dutch-process cocoa or even regular unsweetened cocoa powder. Just be aware that the final appearance of your cake will vary: using more Dutch-process cocoa powder will result in a dark brown, but noticeably lighter cake, while regular cocoa powder (like Hershey’s brand) will produce a much lighter, more traditional brown cake. Consequently, your cake will be less intensely black and more brown. Keep in mind that regular cocoa powder also tends to yield a less rich and intense chocolate flavor than Dutch-process cocoa.
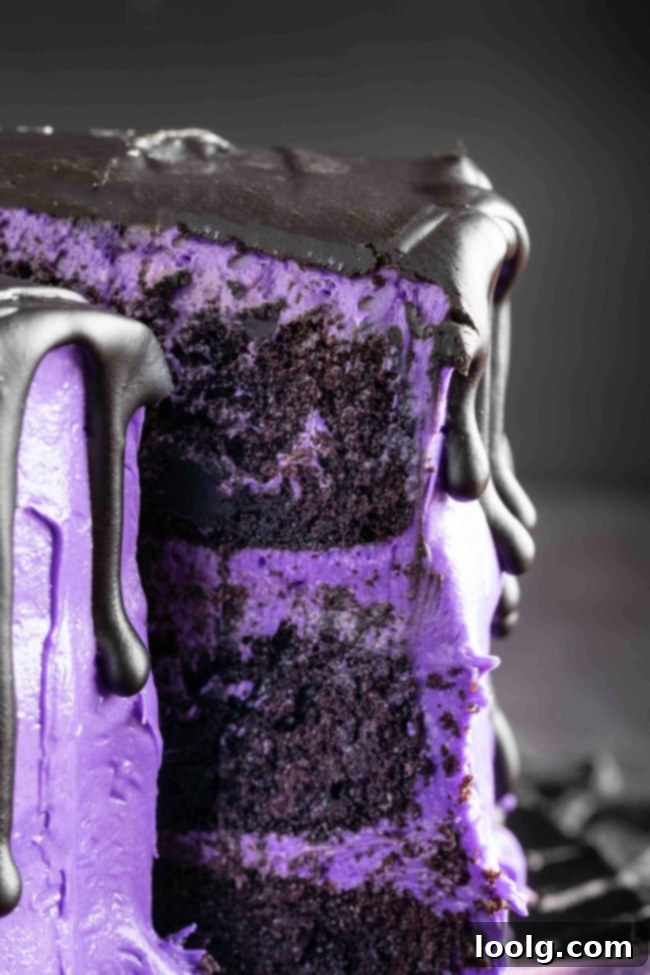
Important Heads-Up About Black Cocoa!
This is a friendly and important warning that comes with baking with black cocoa powder: as this ultra-dark ingredient passes through your digestive system, it retains its color. Yes, that means your stool might temporarily appear very dark, even black. We absolutely do not want you to panic, head straight to the doctor, or start frantically Googling alarming symptoms! It’s simply a natural and harmless effect of the black cocoa powder used in this delightfully spooky cake. Consider it another fun, albeit surprising, aspect of your Halloween baking experience!
Bringing Your Spooky Cake to Life: A Visual Guide
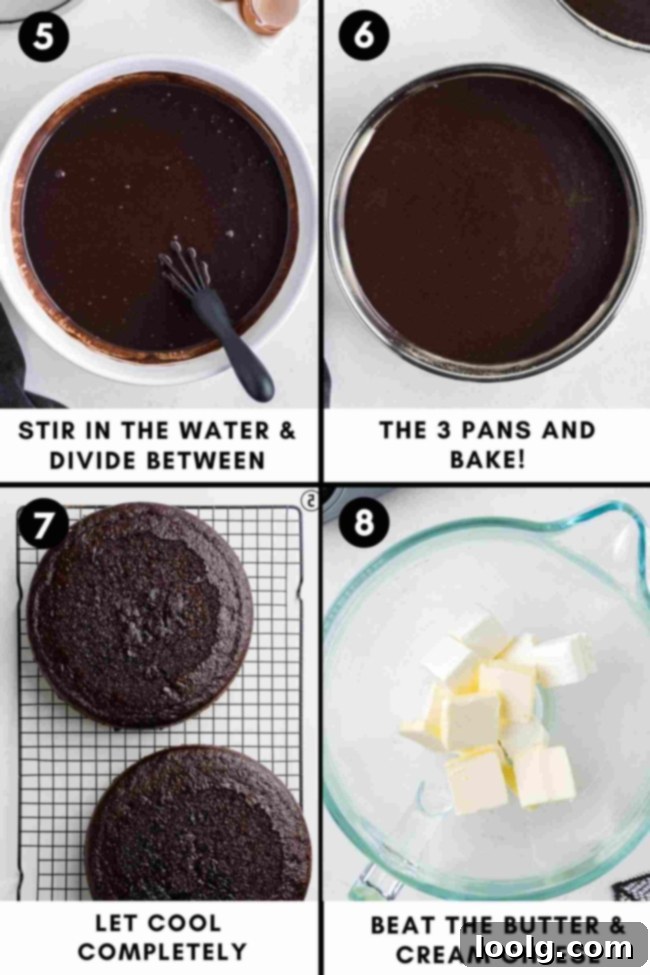
As mentioned earlier, the comprehensive, step-by-step directions for making this ghost cake are detailed in the recipe card below. This section is purely designed to provide you with a helpful visual overview of the baking process. It’s meant to give you a sense of the stages involved, from preparing the batter to layering the cake.
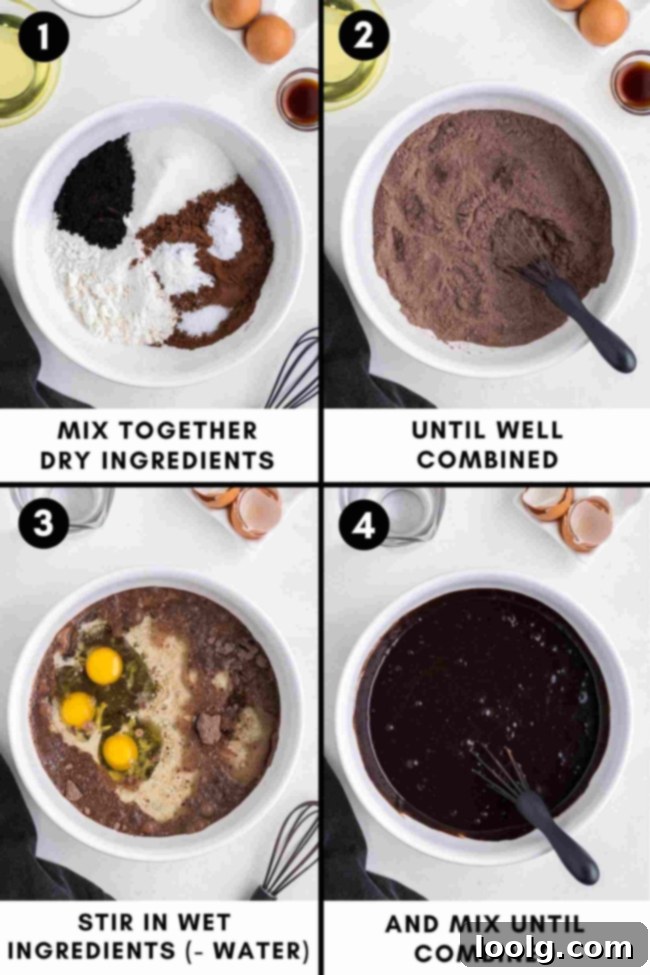
These images offer a glimpse into the journey of creating your chocolate cake layers. Please remember that while these visuals are illustrative, they are not intended to be a substitute for the actual written directions provided in the recipe box. For the best results and to ensure every step is followed correctly, we highly encourage you to read through the complete instructions carefully. Happy baking! 😉
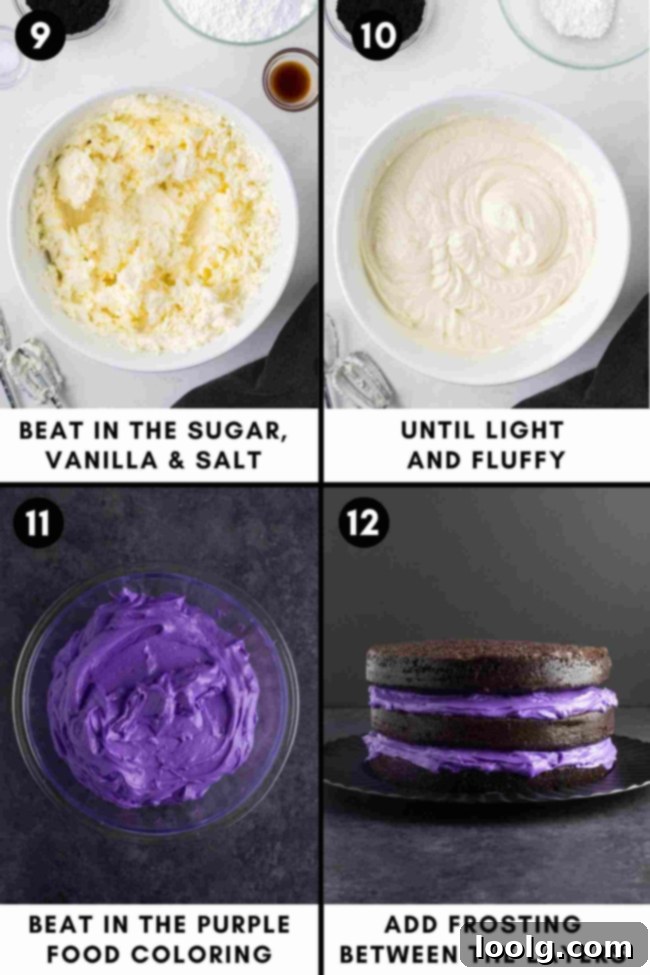
Understanding the Crumb Coat: Your Secret to a Flawless Finish
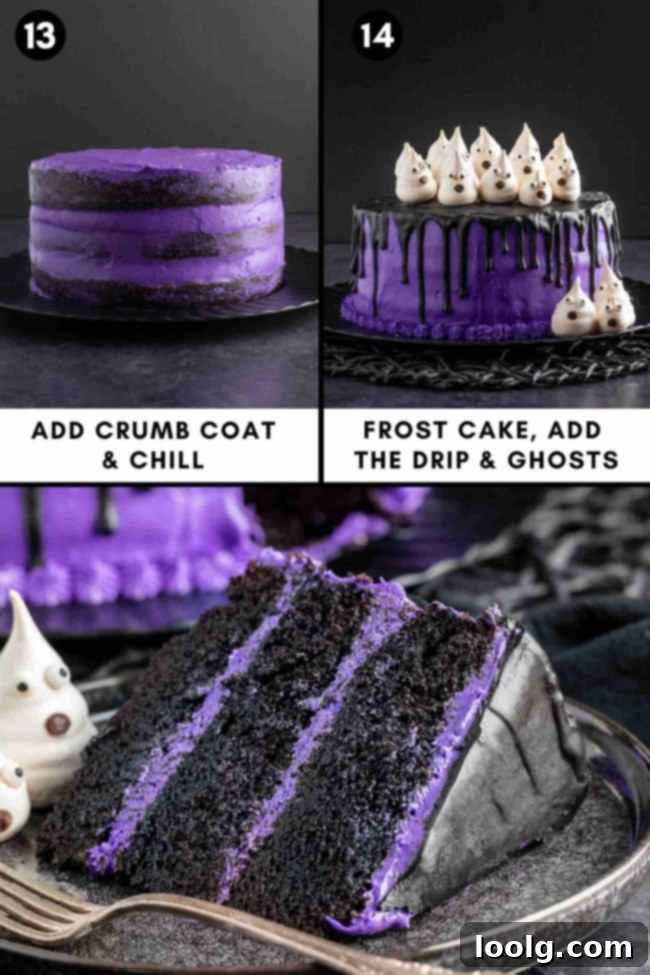
For aspiring bakers, the term “crumb coat” might sound intimidating, but it’s actually one of the simplest yet most effective steps in achieving a professional-looking cake. A crumb coat is a very thin, initial layer of frosting applied to your cake layers. Its primary purpose is to “trap” any loose crumbs that naturally come off the cake when you apply the first spread of frosting. By doing this, it prevents those pesky crumbs from mixing into your beautiful final layer of frosting, ensuring a smooth, clean, and pristine finish.
Beyond crumb control, this initial layer also helps the subsequent, thicker layer of frosting adhere better to the cake, creating a more stable and polished surface. For an even cleaner crumb coat and easier handling, a fantastic trick is to briefly freeze your cake layers before applying this first thin layer of frosting. While not strictly mandatory, this firming-up step significantly minimizes crumb dispersion. After you’ve applied the crumb coat, place the cake, unwrapped, back into the freezer for at least 20-30 minutes (or a bit longer in the fridge). This allows the crumb coat to set firmly, creating a perfect canvas for your final, smooth layer of cream cheese frosting.
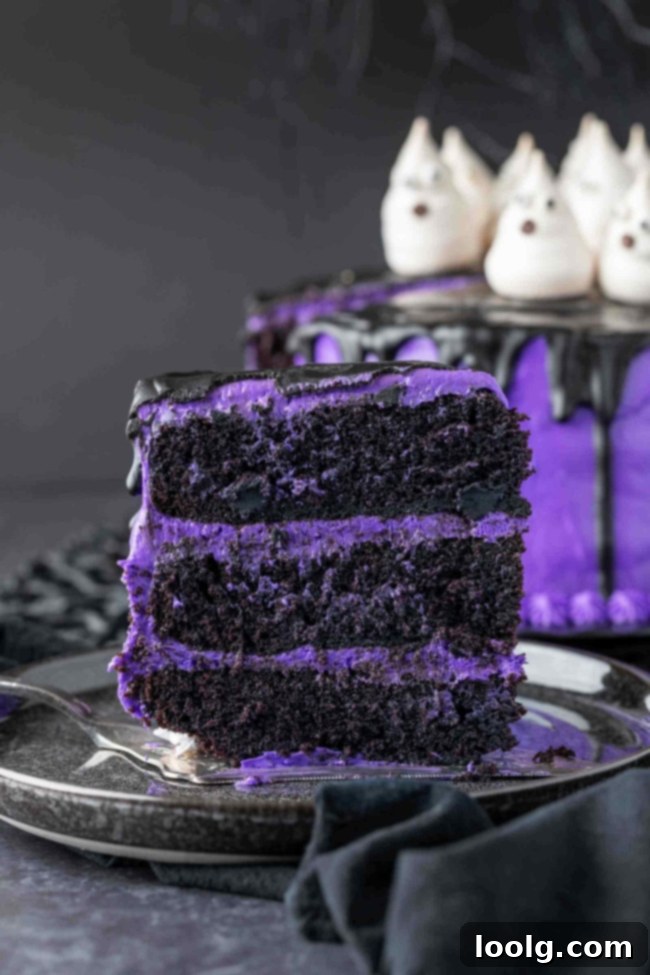
Mastering the Dramatic Ganache Drip
The striking black ganache drip is a key element of this spooky ghost cake, adding both visual drama and rich chocolate flavor. You have a couple of options for achieving that dark hue. You can either prepare a basic chocolate ganache and then incorporate black gel food coloring until you reach your desired intense black shade. Alternatively, for a very deep, dark brown (almost black) ganache with a subtle unique flavor, you can make the basic ganache and then stir in about 2 1/2 to 3 teaspoons of black cocoa powder along with 1 teaspoon of maple syrup.
While the maple syrup isn’t strictly necessary for color, we found it helped balance the intensity of the black cocoa powder, making the ganache more palatable for our taste. It’s important to note that even with the black cocoa and maple syrup, this ganache tastes like a rich dark chocolate ganache, not like Oreos – a common assumption due to black cocoa’s association with the cookie. The color, however, will be wonderfully dark and spooky!
Achieving the perfect drip consistency is crucial. After preparing your ganache, allow it to cool slightly before applying it to the cake. You want the ganache to be thick enough that it doesn’t run too rapidly down the sides, but still fluid enough to create elegant, slow drips. A great way to test the consistency is to spoon a small amount onto the bottom of an overturned glass. Observe how it drips; if it’s too fast, let it cool for a few more minutes and test again. If it’s too thick, gently rewarm it for a few seconds or add a tiny bit more heavy cream.
For precision and control, we highly recommend pouring your cooled ganache into a plastic squirt bottle. While a spoon can work, a squirt bottle offers much greater command over where and how much ganache you apply. If you’re new to the art of chocolate drips, this video offers excellent guidance. It’s set to start where the drip application begins, but the earlier parts provide valuable insights into ganache consistency, which can be very helpful:
For the absolute best drip results, ensure your frosted cake is thoroughly chilled and firm before adding the ganache. We recommend chilling the entire frosted cake for at least 2 hours. This ensures the frosting is nice and firm, providing a cool, solid surface that helps the ganache set quickly and prevents it from melting or disturbing the frosting beneath. The exact chilling time can vary depending on whether your cake layers were frozen before frosting and how long the frosting itself was chilled both before and during the decorating process.
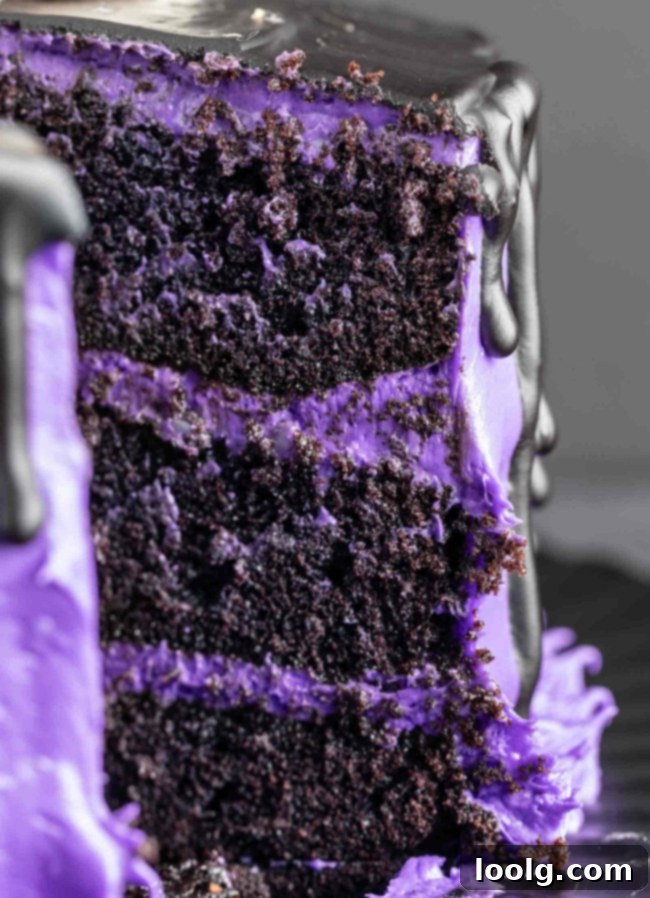
Crafting Adorable Ghost Meringues
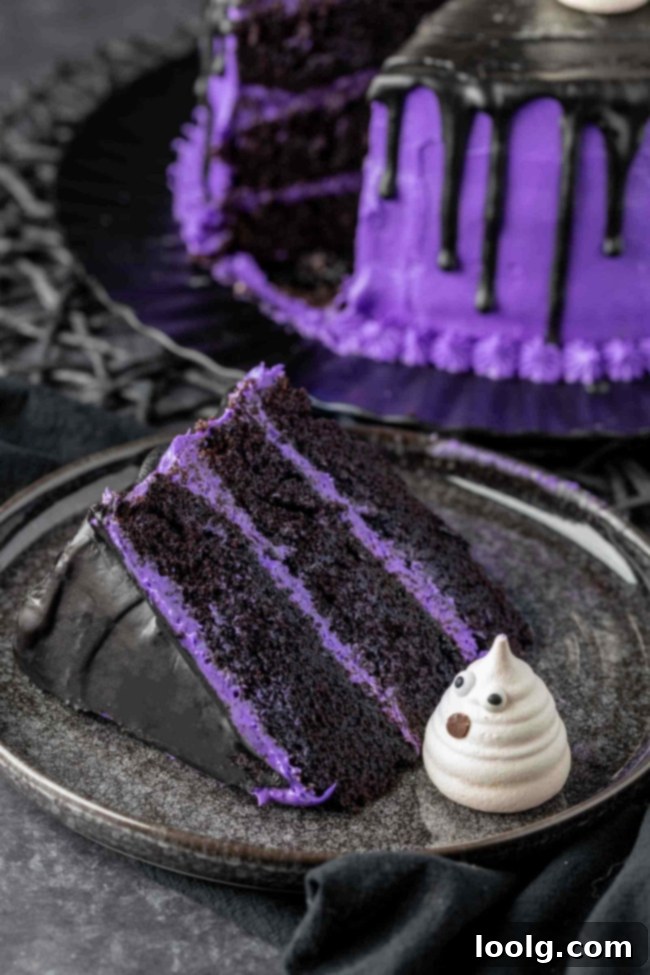
To truly elevate this cake into a spooky masterpiece, we’ve adorned it with delightful Ghost Meringues, a recipe we recently shared. Don’t let their delicate appearance fool you into thinking they’re difficult to make – they’re surprisingly simple! All you need are a few basic ingredients: egg whites, granulated sugar, cream of tartar for stabilization, and a little patience for piping their cute, ghostly shapes. The result is a light, crisp, and charming decoration that brings the entire Halloween theme to life.
These versatile meringue ghosts are so irresistibly cute that we’ve used them to decorate a variety of our festive treats, including our Halloween Cookie Cake and our naturally purple-hued Halloween Milkshakes. It’s truly hard to resist adding them to everything for an instant touch of whimsy!
One of the best advantages of meringue ghosts is that they can be made well in advance, taking some pressure off your main baking day. Simply store your finished meringue ghosts in an airtight container at room temperature. They can last for up to 2 weeks if kept perfectly dry. It’s crucial not to store them in the refrigerator, as the moisture will cause them to become soggy and lose their crisp texture. Similarly, freezing meringues can lead to a sticky, undesirable texture, so we advise against that method of storage.
A Quick Alternative to Meringue Ghosts
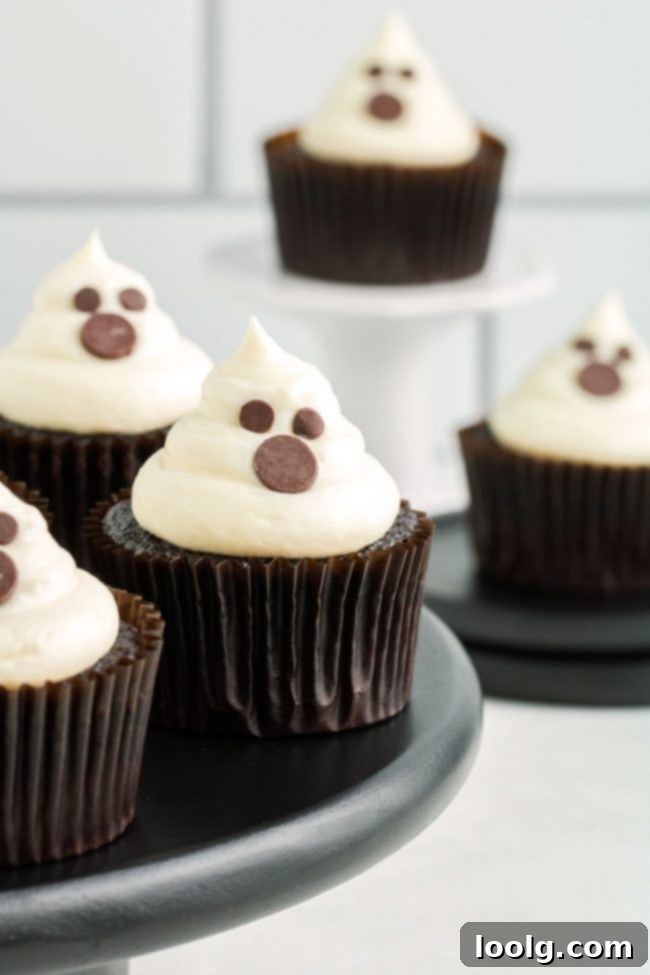
If you’re pressed for time or simply prefer a different approach, you can easily create charming ghosts by piping them directly onto the cake with leftover frosting, much like we did for our Ghost Cupcakes. That cupcake recipe yields 16 adorable little frosting ghosts, and we believe you could comfortably get away with just 8 ghosts for this 8-inch layer cake. To adapt the frosting amount for this alternative, feel free to halve the quantity of frosting called for in that specific cupcake recipe.
Vibrant Food Coloring Options
When it comes to adding a pop of color to our Halloween treats, we personally favor natural food colorings such as Supernatural Kitchen Food Colors and Color Kitchen. These brands offer brilliantly vivid hues derived from natural sources, and we’ve consistently found them to perform exceptionally well across all the fun Halloween foods we’ve created. While they can be a bit pricier, the quality and vibrancy are well worth it, and we often stock up when iHerb has one of their fantastic sales.
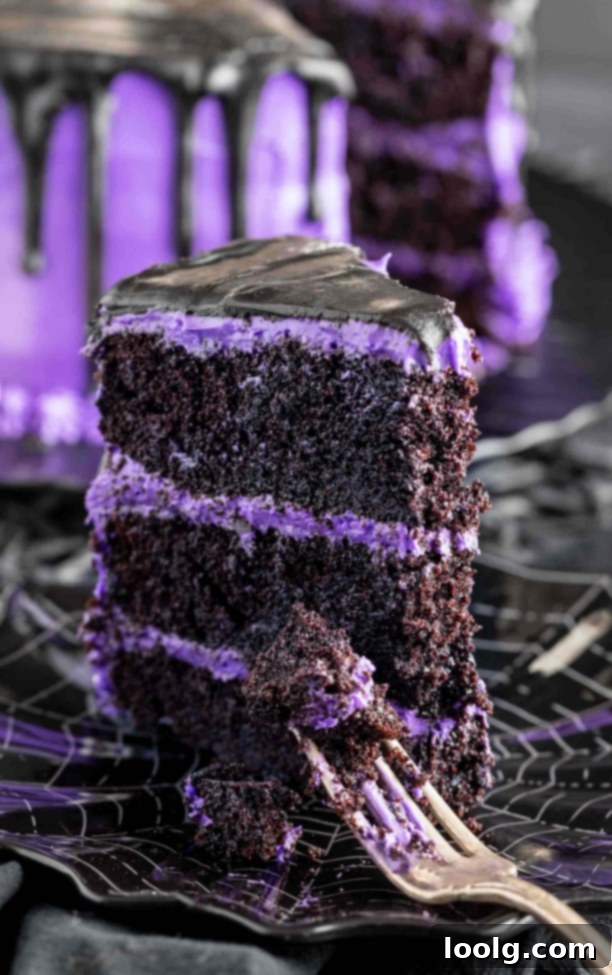
To give you an idea of their potency, here’s how Color Kitchen purple looks when mixed into the cream cheese frosting recipe for this ghost cake. You can easily adjust the amount to achieve an even more intense and dramatic color if that’s what your spooky heart desires!
Ultimately, the choice of food coloring is yours! Feel free to use any brand or type you prefer. For reference, the photographer for this recipe achieved the stunning purple shade using approximately one teaspoon of Wilton gel food coloring, demonstrating that excellent results can be achieved with various options.
Preparing Ahead: Make, Freeze, and Store for Stress-Free Baking
While it’s certainly possible to whip up this entire ghost cake in a single day, spreading the preparation over two days can make the process significantly less hectic and much more enjoyable. Our preferred approach is to bake the cake layers and prepare the cream cheese frosting the day before, then tackle the assembly and final decoration on the day of serving. This timeline allows for proper cooling and chilling, which are crucial for a beautifully structured and presented cake.
Here’s a detailed timeline for how you can prepare each element of your ghost cake in advance, ensuring a smooth and stress-free baking experience:
- Cake Layers – Once your delicious chocolate cake layers are baked, allow them to cool completely. Wrap each layer individually and snugly in plastic wrap, then place them inside a Ziploc bag for extra protection. They can be stored at room temperature for up to 2 days, in the refrigerator for up to 3 days, or perfectly frozen for up to 3 months. A fantastic bonus of freezing them is that they become incredibly easy to handle, and you can assemble your cake directly from the freezer without the need for defrosting.
- Cream Cheese Frosting – Unlike plain cream cheese, our cream cheese frosting freezes exceptionally well, thanks to its high-fat content. You can confidently freeze it for up to 3 months, and we’ve even had excellent results keeping it frozen for over a year! When stored properly, it will retain its fresh taste and texture. Alternatively, you can refrigerate the frosting for a total of up to 4 days. Remember, this 4-day limit is the total storage time for the frosting; if you make it 2 days ahead, then use it on the cake, the assembled cake can be stored for another 2 days. It’s a cumulative 4 days.
- Crumb-Coated or Fully Frosted Cake – Once you’ve assembled your cake, applied the initial crumb coat, and even finished with the final layer of frosting, you can freeze it for up to a week. To protect it in the freezer, wrap the entire cake securely in plastic wrap, and then place it inside an extra-large freezer-safe bag or container to prevent freezer burn and odors.
- Decorated Cake – For the freshest and crispest meringue ghosts, we highly recommend adding them to the cake just before serving. To avoid any last-minute rush, consider making the meringue ghosts a few days (or even a week) before you plan to bake and assemble the cake. Store them diligently at room temperature in a dry, airtight container to maintain their delicate texture.
Storing Your Assembled Ghost Cake and Leftovers
Once your magnificent ghost cake is fully assembled and decorated (minus the meringues), it can be stored in the refrigerator for up to 4 days. However, for the absolute best taste and presentation, we strongly recommend preparing it no more than a day before you plan to serve it. As with most freshly baked goods, fresher is almost always better!
When you’re ready to serve, simply arrange your pre-made meringue ghosts on top, and your stunning Halloween dessert is complete. If you happen to have any leftovers (a rare occurrence with a cake this delicious!), you can store them in an airtight container in the fridge for up to 4 days. For the best quality and to prevent them from becoming soggy, we suggest carefully removing any leftover meringue ghosts before refrigerating the cake.
Gluten-Free Ghost Cake: Our Journey to Perfection
Developing a reliable gluten-free version of this cake was a journey of trial and error, but we’ve finally perfected it! While we typically use King Arthur Flour Gluten-free Measure for Measure Flour for many of our gluten-free recipes, for this specific ghost cake, Bob’s Red Mill 1-to-1 Gluten-free Baking Flour proved to be the absolute key to success.
We initially faced significant challenges with King Arthur Flour, enduring seven unsuccessful attempts. The cakes either collapsed dramatically as they cooled or resulted in an unpleasantly sticky texture. We meticulously tried adjusting various components – baking powder, baking soda, water, flour quantities, and even the black cocoa – all without success. The gluten-free chocolate cake just wasn’t behaving as expected.
Finally, we made the switch to Bob’s Red Mill, and to our delight, it worked immediately and beautifully! The only minor issue we initially encountered was that the baked cakes were still a bit stickier than usual, a characteristic we attributed to the presence of black cocoa powder. After some dedicated research, we discovered that reducing the amounts of baking soda, baking powder, and water could effectively solve this stickiness. And indeed, it did!
So, we can confidently say that this chocolate cake recipe, when made with Bob’s Red Mill 1-to-1 Gluten-free Baking Flour and our specific adjustments, is absolutely perfect. We cannot guarantee the same results with a different brand of gluten-free flour, as their compositions vary widely. However, if you’re inclined to experiment with another brand, ensure that whatever flour you choose is explicitly a 1:1 substitute for all-purpose flour. This means avoiding flours like coconut, almond, or oat flours, as their unique properties will fundamentally alter the cake’s structure and hydration requirements.
More Kid-Friendly Halloween Recipes to Enjoy
Looking for more fun and delicious treats to celebrate Halloween with the little ones? Check out these other kid-friendly favorites:
- Halloween Dirt Cups
- Witch Finger Cookies
- Gluten-free Mummy Hand Pies
- Halloween Cake with Eyeballs
We truly hope you’ll enjoy baking and sharing this spectacular ghost cake! It’s a labor of love that brings so much joy and spooky fun to the Halloween season. If you decide to try out this recipe, we would absolutely love to hear your thoughts, experiences, and see your amazing creations in the comments below. Your feedback and photos make our day! Thanks for stopping by and happy baking! 🙂
Ghost Cake
Ingredients
Cake:
- 3 cups (600 grams) granulated sugar or (580 grams) coconut sugar
- 2 1/2 cups + 2 tablespoons (328 grams) flour
- 3/4 cup + 2 tbsp (101 grams) Dutch-process cocoa powder
- 1/4 cup (28 grams) black cocoa powder (or more Dutch-process)
- 1 1/2 teaspoons baking powder
- 1 1/2 teaspoons baking soda
- 1 1/2 teaspoons salt
- 3 large (50 grams each), out of shell eggs, room temp or chia eggs
- 1 1/2 cups (355 ml) milk
- 3/4 cup (177 ml) olive, canola or vegetable oil
- 1 tablespoon vanilla extract
- 1 cup + 2 tbsp (266 grams) boiling water
Frosting:
- 3 8-ounce packages (680 grams total) full-fat cream cheese, room temperature
- 1 cup + 2 tablespoons (253 grams) unsalted butter
- 3 3/4 cups (450 grams) powdered sugar (or more if you like)
- 1 1/2 teaspoons vanilla extract
- pinch of salt
- 1 teaspoon purple gel food coloring or Color Kitchen food coloring powder
Ganache drip:
- 1/2 cup (85 grams) semi-sweet chocolate chips or chopped chocolate
- 1/3 cup (80 ml) heavy cream
- black gel food coloring or 2 1/2-3 teaspoons black cocoa powder + 1 teaspoon maple syrup
Topping:
- meringue ghosts
Instructions
Make the cake:
-
Preheat your oven to 350 °F (175 °C). Line three round 8″ cake pans with parchment paper on the bottom and grease the pan sides.
-
In a large mixing bowl, stir together the sugar, flour, Dutch-process cocoa, black cocoa powder, baking powder, baking soda and salt.
-
Add eggs, milk, oil and vanilla.
-
Mix until combined, and then stir in the boiling water. The batter will be quite thin.
-
Divide the batter between the three prepared pans. That’s 658 grams of batter per pan (675 grams per pan if using Bob’s GF flour).
-
Bake for 24-28 minutes or until a toothpick comes out with some moist crumbs but no uncooked liquid.
-
Let cool for 10 minutes in the pans, and then turn out onto a rack to cool completely – about 2 hours. My cakes weren’t flat, but not very rounded, either. If you want to, you can level them (I didn’t bother).
Prepare the frosting:
-
In a large mixing bowl, beat the cream cheese and butter together with an electric hand mixer at medium speed until well combined. It’s okay if it looks a little crumbly.
-
Gradually beat in the powdered sugar until totally combined, and then beat in the vanilla and salt.
-
Beat in a little purple food coloring at a time until you’re happy with the color. The photographer used about a teaspoon of Wilton purple gel food coloring.
Assemble the cake:
-
Place the bottom layer of cake, rounded side down, on the serving plate.
-
Spread 1 1/4 cups (288 grams) of frosting over the bottom layer, almost until the edge.
-
Put on the next cake layer, rounded side down, and spread the same amount of frosting over the top of that.
-
Place the third cake layer on top of the frosting, rounded side up.
Crumb coat:
-
Use 1/2 cup (115 grams) of frosting as a crumb coat. Keep the frosting refrigerated until it’s ready to use. And if you ever think it’s not firm enough, put it back in the fridge.
-
Spread it all over the cake.
-
Place the cake in the freezer for 20-30 minutes after putting on the crumb coat or for 1-2 hours in the fridge. You can also refrigerate it overnight to help break up the workload.
Frost:
-
Reserve and refrigerate 3/4 cup (173 grams) of frosting to pipe little swirls at the base of the cake. Cover the cake with the remaining frosting.
-
Place the cake in the fridge for 4-8 hours, or even overnight, so that it’s as firm as possible. How long you’ll need depends on if the cake layers were frozen and if/how long you chilled the frosting before and during the decorating process. With my very warm kitchen and not chilling the cake or the frosting, 4 hours was enough to firm it up.
-
Pipe little swirls, stars, or whatever you’d like at the base of the cake.
Make the drip:
-
Add the chocolate to a small heatproof bowl.
-
Heat the heavy cream in a small saucepan over medium-high heat until hot and steamy but not bubbling.
-
Pour the hot cream over the chocolate and let sit for about a minute before stirring.
-
You can either add black gel food coloring (about 1/4 to 1/2 teaspoon), and stir the chocolate until totally smooth OR you can stir in black cocoa powder. Taste and add 1 teaspoon maple syrup, if desired.
-
Let cool for about 8-12 minutes or until just slightly warm and thickened a bit.
-
Pour the ganache into a plastic squirt bottle (if you have one). Use the bottom of a glass to test the drip’s consistency. Turn the glass upside down and squeeze some ganache over the top of the glass bottom. If it’s too runny, then wait a few minutes and then do another test on the bottom of the glass. If it’s too thick, rewarm it just a tiny bit or add a tiny bit of cream.
-
Do the drip around the cake, spread the remaining ganache on top of the cake, and smooth it out.
-
Chill until hardened, about 30 minutes.
-
Add the meringue ghosts just before serving.
How to store:
-
If you want to make the cake elements in advance, let the layers cool, wrap the layers individually in plastic wrap and place inside a Ziploc bag. They can be stored at room temperature for up to 2 days, refrigerated for 3, or frozen for 3 months. No need to defrost before assembling the cake.
-
The frosting can be refrigerated for up to 4 days total or frozen for up to 3 months.
-
You can assemble the cake, add the crumb coat and frosting and then freeze it for up to a week. I would wrap it in plastic wrap and then place it in a big bag, just to be safe. Ghost should always just be added right before serving.
Notes
- You can use all-purpose flour, white whole wheat flour or whole wheat flour. If you’re gluten-free, use, use 2 1/2 cups + 2 tablespoons (363 grams) Bob’s Red Mill 1-to-1 Gluten-free Baking Flour.
- If you want to make the cake eggless, mix together 3 tablespoons of ground chia seed with 1/2 cup + 1 tablespoon (133 grams) of water until well combined. Let sit for about 1-2 minutes or until goopy like regular eggs.
- You can use whatever type of milk you’d like. If using canned coconut milk, water it down so that it’s runny like regular milk. Keep in mind the potential coconut flavor!
- If you’re outside the US, your cream cheese is likely different from the US kind, which is firmer and better suited for baking than the kind typically used for spreading on toast (which is all you find elsewhere). For every 8 ounces (225 grams) of cream cheese required, buy a 300-gram package (store brands work just as well as Philadelphia). Place it in the center of a clean tea towel or cheesecloth and squeeze out the liquid until it reduces to 225 grams. For this recipe, you’ll need to start with 900 grams of cream cheese and squeeze out the liquid until you’re left with 680 grams. Additionally, keep in mind that medium eggs in the EU are equivalent to large eggs in the US, so if you’re in the EU, use medium eggs.
- If using Color Kitchen natural food coloring, follow the directions on the box to make purple.
