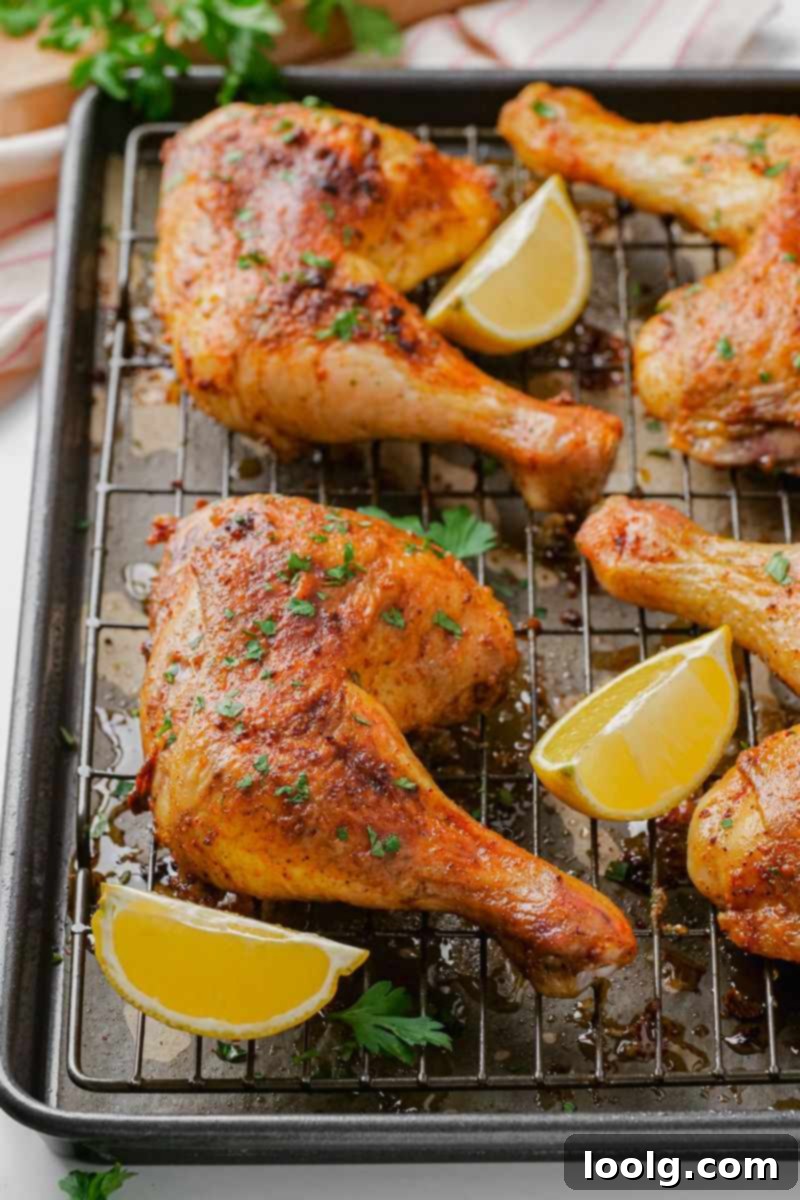
Crispy Baked Chicken Leg Quarters: The Ultimate 5-Ingredient Easy Recipe for Juicy Results
Discover the secret to perfectly crispy, incredibly flavorful, and irresistibly juicy chicken leg quarters with this incredibly simple 5-ingredient recipe. Requiring just 5 minutes of active preparation time, this dish delivers a deliciousness that far surpasses its minimal effort. Utilizing only olive oil, salt, paprika, granulated garlic, and black pepper, these chicken quarters are naturally adaptable to various dietary needs, including keto, paleo, Whole30, dairy-free, and gluten-free lifestyles. Originally shared in 2020, this beloved recipe has been thoroughly updated in 2025 with even more expert tips and insights to ensure your success.
Since its initial publication, this recipe for baked chicken leg quarters has become a cherished weekly staple in countless kitchens, including my own. Paired with a generous helping of perfectly roasted potatoes – a combination my family absolutely adores – it’s a dinner triumph. In fact, it’s the only way my son will eat potatoes, and he devours them with unmatched enthusiasm! 🙃
Having experimented with countless chicken leg quarter recipes over the years, I can confidently say this one stands out as both my favorite and undeniably the easiest. While I also enjoy preparing Smoked Chicken Quarters for their unique flavor, they certainly don’t offer the quick convenience of this baked version.
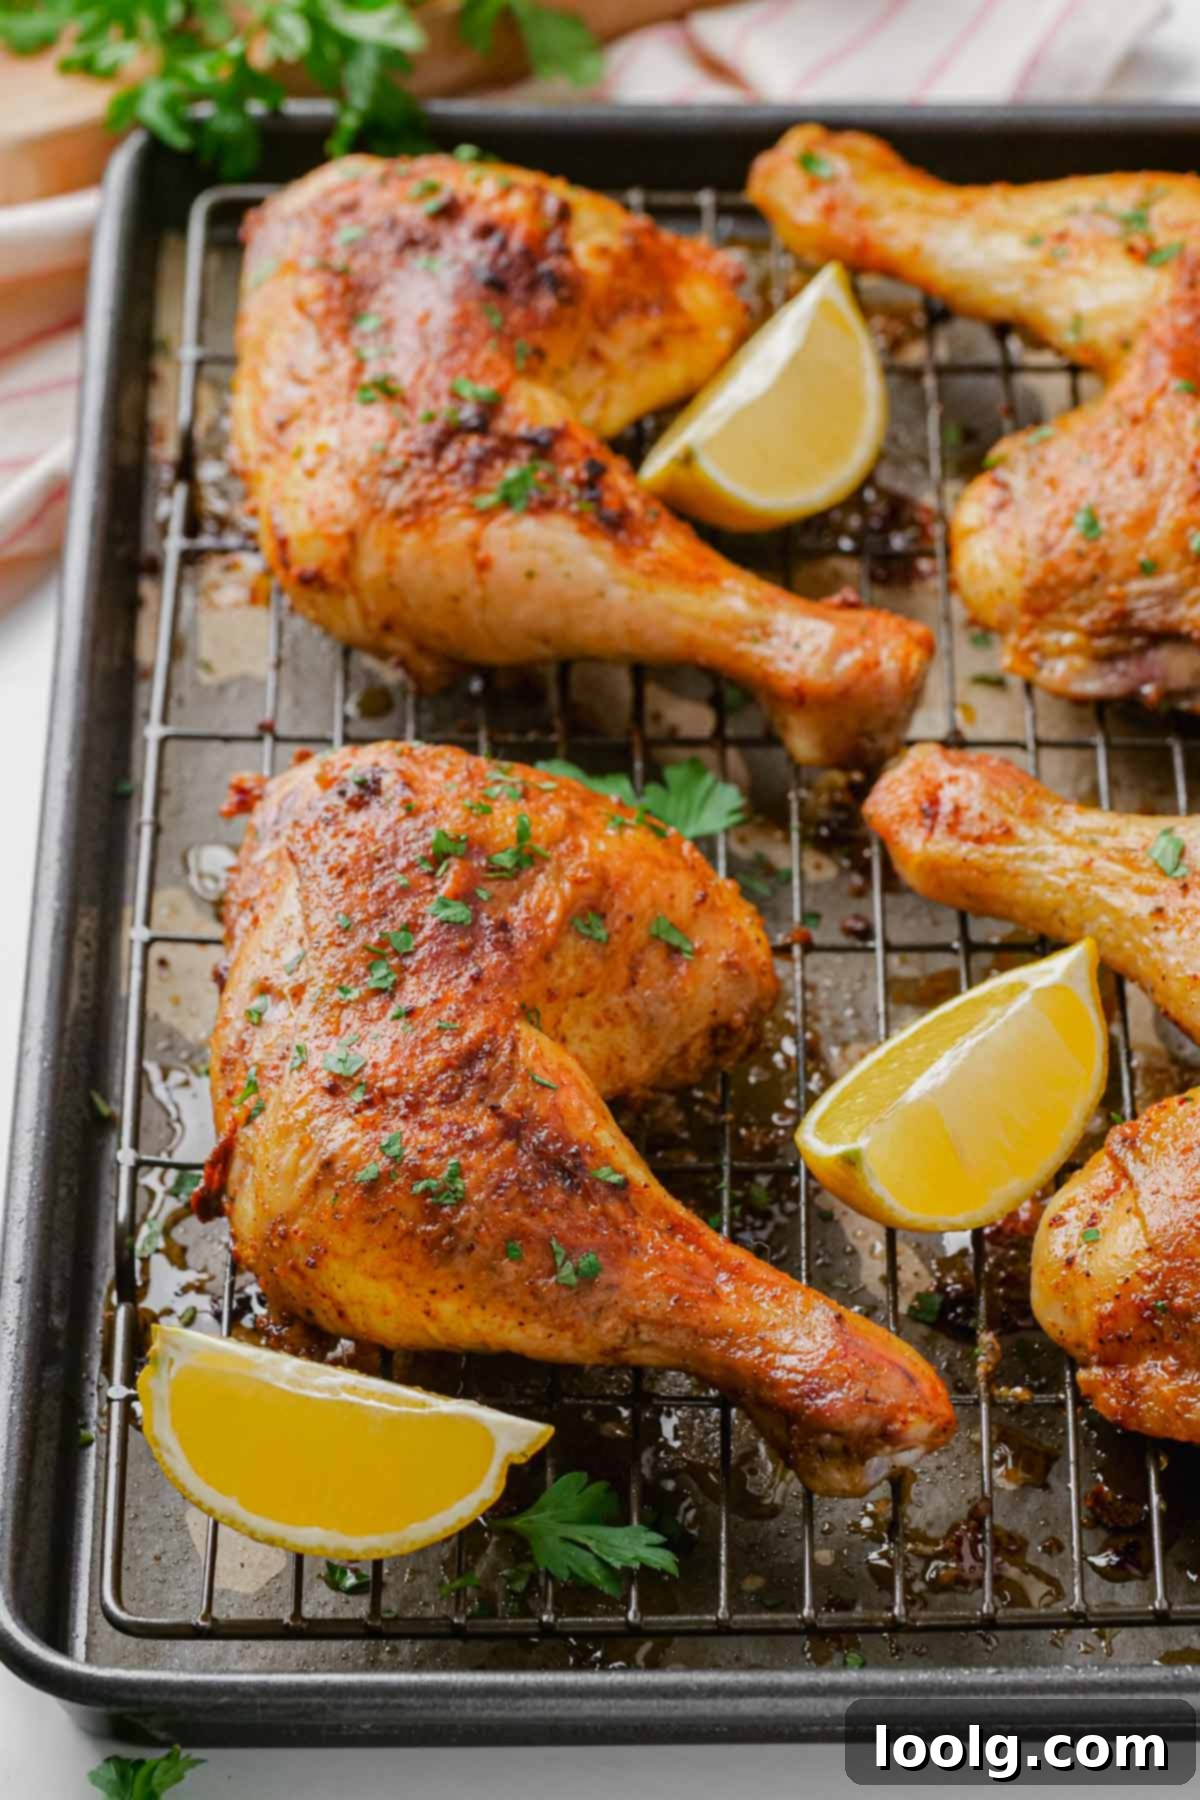
This recipe is my absolute go-to for those busy evenings when leftovers are scarce, and time for elaborate cooking simply isn’t an option. Yet, even when I have ample time, I still find myself preparing these baked chicken leg quarters at least once a week. Just yesterday, after making a whole roasted chicken, my husband expressed his mild disappointment, wishing instead for these flavorful quarters. It truly is that good!
When it’s my husband’s turn to cook, these chicken leg quarters are always on the menu. To make it even simpler for him, I pre-mix a large batch of the signature spice blend. This way, all he needs to do is drizzle some olive oil, generously coat the chicken with the spice mix, and slice some potatoes. It’s a foolproof system for a delicious, stress-free meal.
What’s To Love About This Recipe
- Unbeatable Flavor & Texture: Experience the perfect harmony of crispy, golden skin and incredibly juicy, tender dark meat, achieved through our precise seasoning and baking technique.
- Minimal Effort, Maximum Impact: With only a handful of common ingredients and incredibly simple steps, this recipe is a lifesaver for busy weeknights and a favorite for relaxed weekend dinners.
- Budget-Friendly Gourmet: Enjoy a meal that tastes sophisticated and satisfying without breaking the bank. Chicken leg quarters are an economical choice that delivers big on flavor.
- Versatile & Delicious Leftovers: Any remaining chicken stays wonderfully tasty and can be effortlessly transformed into new meals. Think flavorful additions to salads, wraps, or a cornerstone of your weekly meal prep.
Simple Ingredients for Amazing Flavor
The beauty of this recipe lies in its simplicity. Just five core ingredients come together to create a symphony of flavors and textures. Each component plays a vital role in achieving the crispy skin and succulent meat you’ll love.
- Chicken leg quarters: These are truly the unsung heroes of the chicken world! Comprising the thigh and drumstick, often with a portion of the back attached, they offer a rich, moist, and inherently flavorful dark meat that’s far less prone to drying out than white meat cuts. Their higher fat content contributes to that desirable juiciness and helps create incredibly crispy skin. If you prefer other cuts, such as chicken thighs, feel free to adapt the spice mix, but be sure to research the appropriate baking temperature and cooking times for your chosen chicken parts to ensure optimal results.
- Salt: More than just a flavor enhancer, salt plays a crucial role in drawing out moisture from the chicken skin, which is essential for achieving that irresistible crispiness. For an added layer of complexity and depth, I occasionally use smoked sea salt, which imparts a subtle, earthy flavor.
- Paprika: This vibrant spice is key to both the color and flavor profile of the chicken. You have options here:
- Regular (sweet) paprika: Provides a mild, sweet, peppery flavor and a beautiful red hue.
- Hot paprika: For those who enjoy a bit of a kick, hot paprika adds a pleasant warmth.
- Smoked paprika: Available in varying levels of heat (sweet, bittersweet, hot), smoked paprika infuses a wonderful, savory smokiness that elevates the dish. If you’re serving children or those sensitive to spice, stick with regular (sweet) paprika.
- Granulated garlic: Granulated garlic offers consistent flavor without the risk of burning that fresh minced garlic might pose during long baking times. If you prefer the pungency of fresh garlic, don’t add it at the beginning of the bake. Instead, during the last 10 minutes of cooking, brush a tablespoon of minced fresh garlic mixed with a bit of the pan drippings over the chicken. This ensures maximum flavor without charring.
- Ground black pepper: This classic spice contributes a mild heat and helps to balance the overall flavor profile of the seasoning blend. Lately, I’ve been omitting it due to allergies in my family, and I can confirm the chicken is still incredibly flavorful without it. So, if you need to, feel free to skip it!
- Olive oil: Drizzling the chicken with olive oil helps the spice rub adhere beautifully to the skin and significantly aids in achieving that coveted crispy texture. While extra-virgin olive oil is my personal preference for its flavor, it has a lower smoke point. For high-heat cooking, avocado oil is technically superior due to its much higher smoke point. If you don’t mind its flavor, it’s an excellent choice. Other neutral oils like refined peanut oil, sunflower oil, or canola oil will also work well.
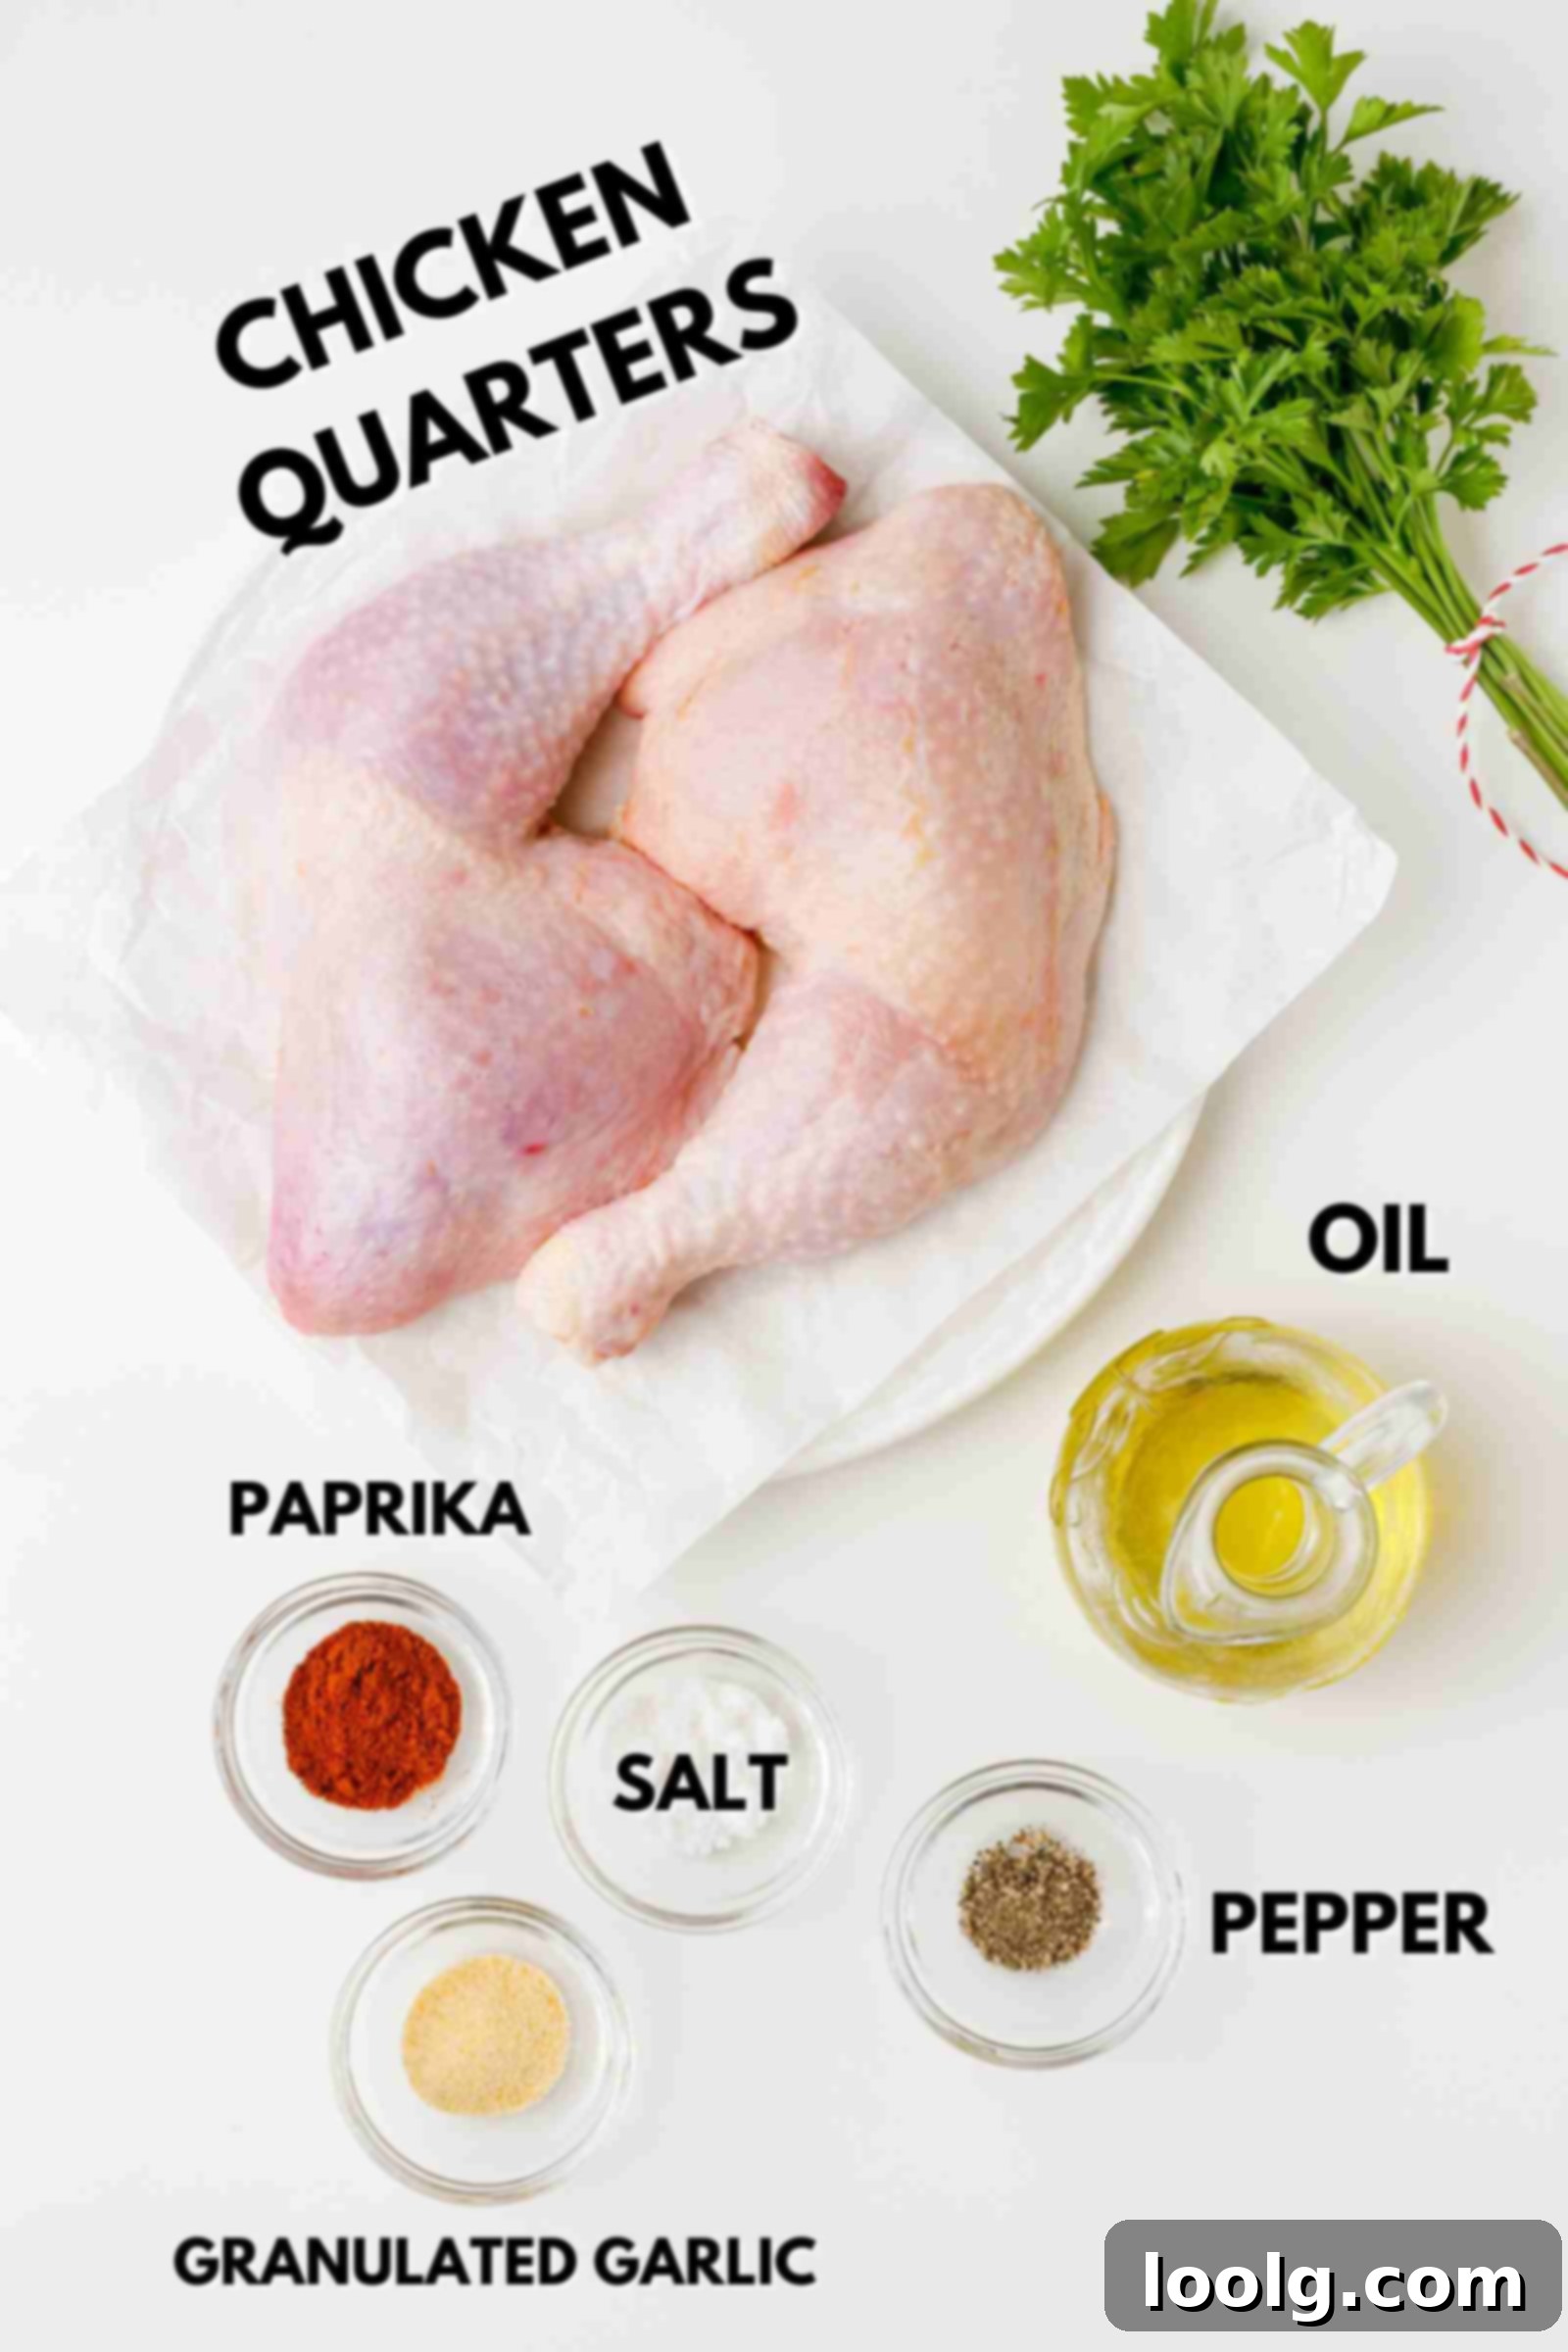
Understanding Chicken Leg Quarters
For those new to this cut, chicken leg quarters are essentially the entire leg of the chicken, divided from the body. They consist of three main parts: the chicken thigh, the drumstick (which is the lower part of the leg), and usually a small portion of the chicken’s back attached. This makes them a substantial and flavorful cut, offering a generous serving of dark meat.
What Makes Chicken Leg Quarters So Great?
If your family consistently vies for the dark meat at dinner, then chicken leg quarters are about to become your new best friend. This cut is celebrated for several compelling reasons:
- Inexpensive: Chicken leg quarters are often one of the most budget-friendly chicken cuts available, making them an excellent choice for feeding a family without compromise.
- Moist and Meaty: Thanks to their higher fat content, dark meat cuts like leg quarters are inherently more moist and flavorful than white meat. They offer a rich, satisfying taste and a wonderfully tender texture.
- Easy to Prepare: As this recipe demonstrates, preparing chicken leg quarters is incredibly straightforward, requiring minimal fuss for maximum flavor. They are robust enough to handle various cooking methods and seasonings.
- Forgiving: Unlike chicken breasts, which can quickly dry out if overcooked, chicken leg quarters are far more forgiving. Their natural moisture and fat content help them remain juicy even when cooked to a slightly higher internal temperature, allowing for connective tissues to break down beautifully.
While I certainly appreciate a whole roasted chicken, I often find myself overcooking them or struggling with the carving process. Chicken leg quarters eliminate these challenges entirely, offering a hassle-free cooking experience with consistently delicious results. Honestly, there’s truly nothing not to love about them, unless you simply prefer white meat!
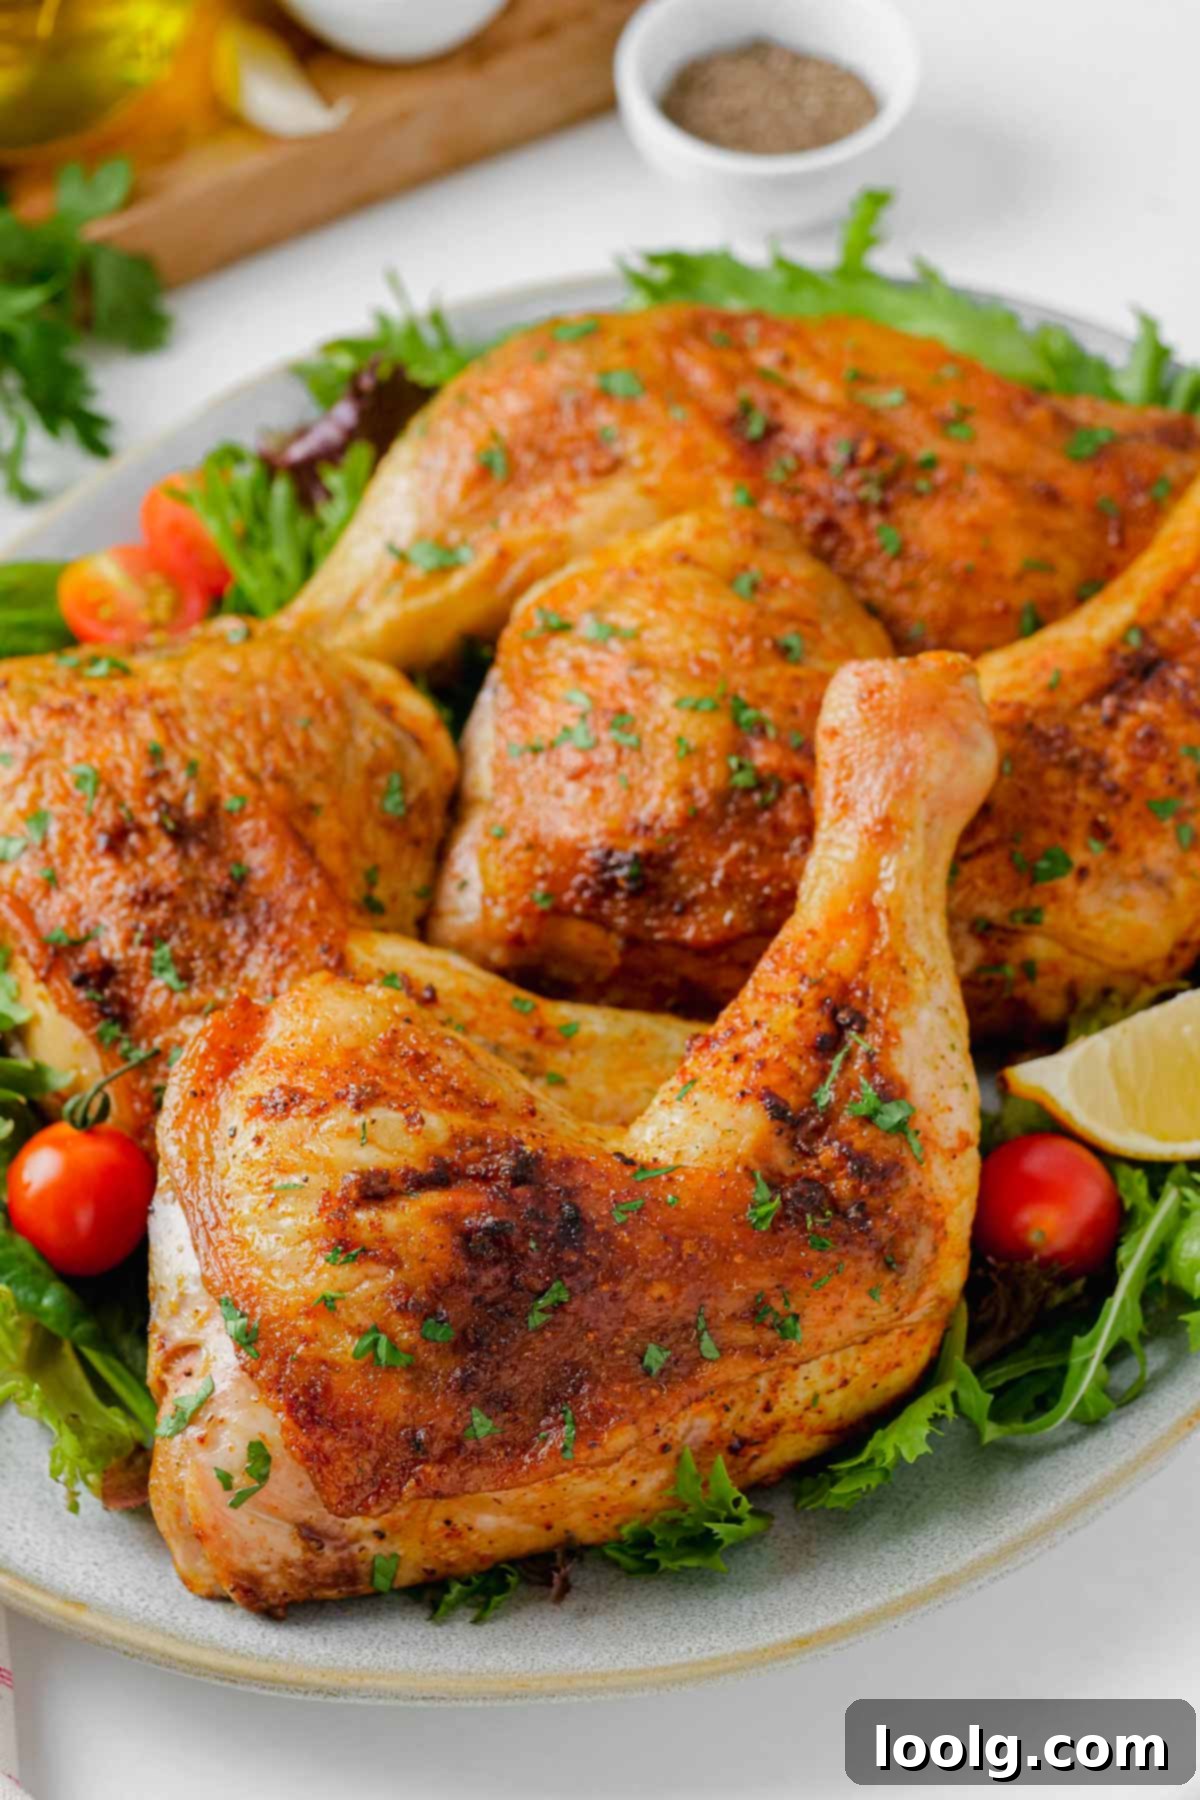
Are Chicken Leg Quarters Healthy?
You might have heard the common adage that white meat is inherently healthier than dark meat. While it’s true that dark meat contains approximately double the amount of saturated fat compared to white meat, it’s important to note that the overall amount is still relatively small. What’s often overlooked is that dark meat also boasts about double the amount of healthy unsaturated fat.
Furthermore, several studies suggest that dark meat might actually offer a nutritional edge over white meat. It’s packed with a greater density of essential nutrients, including higher levels of zinc and iron, which are crucial for various bodily functions. This is excellent news for dark meat lovers, right? 😄
One aspect everyone generally agrees on is that the chicken skin, while delicious and crucial for moisture during cooking, is high in fat and less healthy for consumption. However, I strongly recommend baking the chicken with the skin on. The skin acts as a protective layer, sealing in moisture and flavor, resulting in a much juicier finished product. Plus, it’s significantly easier to remove the skin after the chicken has been cooked to your desired crispiness, allowing you to enjoy the benefits of juicy meat without the added fat if you choose.
Expert Tips for Perfect Chicken Leg Quarters Every Time
Before we dive into the step-by-step cooking process, let’s explore some crucial tips that will elevate your baked chicken leg quarters from good to extraordinary. These simple techniques ensure maximum flavor and that coveted crispy skin.
Tips for Success
- Pat the Chicken Dry: This is a non-negotiable step for crispy skin. Use paper towels to thoroughly pat down the chicken pieces before applying any seasoning. Excess moisture on the skin prevents it from crisping up in the oven.
- Utilize a Cooling Rack on Your Baking Tray: Placing the chicken on an oven-safe cooling rack set inside a baking tray allows hot air to circulate evenly around all sides of the chicken. This promotes uniform cooking and contributes significantly to achieving a crispy bottom crust, preventing sogginess.
- Season Under the Skin for Maximum Flavor: Don’t just season the surface! Gently lift the skin (especially over the thigh meat) and rub a portion of your spice mix directly onto the meat underneath. This infuses flavor deep into the chicken, resulting in a more delicious bite.
- Check Internal Temperature with a Meat Thermometer: For food safety and optimal texture, a meat thermometer is your best friend. Insert it into the thickest part of the thigh, avoiding the bone. For dark meat, aim for an internal temperature of 185-190°F (85-88°C) for incredibly tender and juicy results.
- Allow the Chicken to Rest: Once out of the oven, transfer the chicken to a cutting board and let it rest, loosely tented with foil, for 5-10 minutes before serving. This crucial step allows the juices to redistribute throughout the meat, ensuring every bite is moist and flavorful.
For Extra Crispy Skin:
- Refrigerate Uncovered (Optional but Effective): While I rarely do this for its convenience, for truly next-level crispy skin, you can refrigerate the seasoned chicken uncovered for a few hours (or even overnight) before baking. This extra time in the fridge helps to further dry out the skin’s surface moisture, which is the enemy of crispiness.
- Bake at a High Temperature and Avoid Overcrowding: A hot oven (400°F / 205°C) is essential for rendering fat and crisping the skin. Ensure your baking tray isn’t overcrowded; give each chicken piece space to allow for proper air circulation and prevent steaming.
- Broil for the Final Touch (Optional): If your chicken skin isn’t quite as crispy as you’d like after baking, you can briefly broil it for the last few minutes. Keep a very close eye on it, as broilers can quickly burn food. I’ve personally never found this step necessary with this recipe, but it’s an option if desired.
How to Bake Chicken Leg Quarters: A Simple Guide
Baking chicken leg quarters is wonderfully straightforward, promising a delicious meal with minimal effort. Follow these simple steps for perfect results:
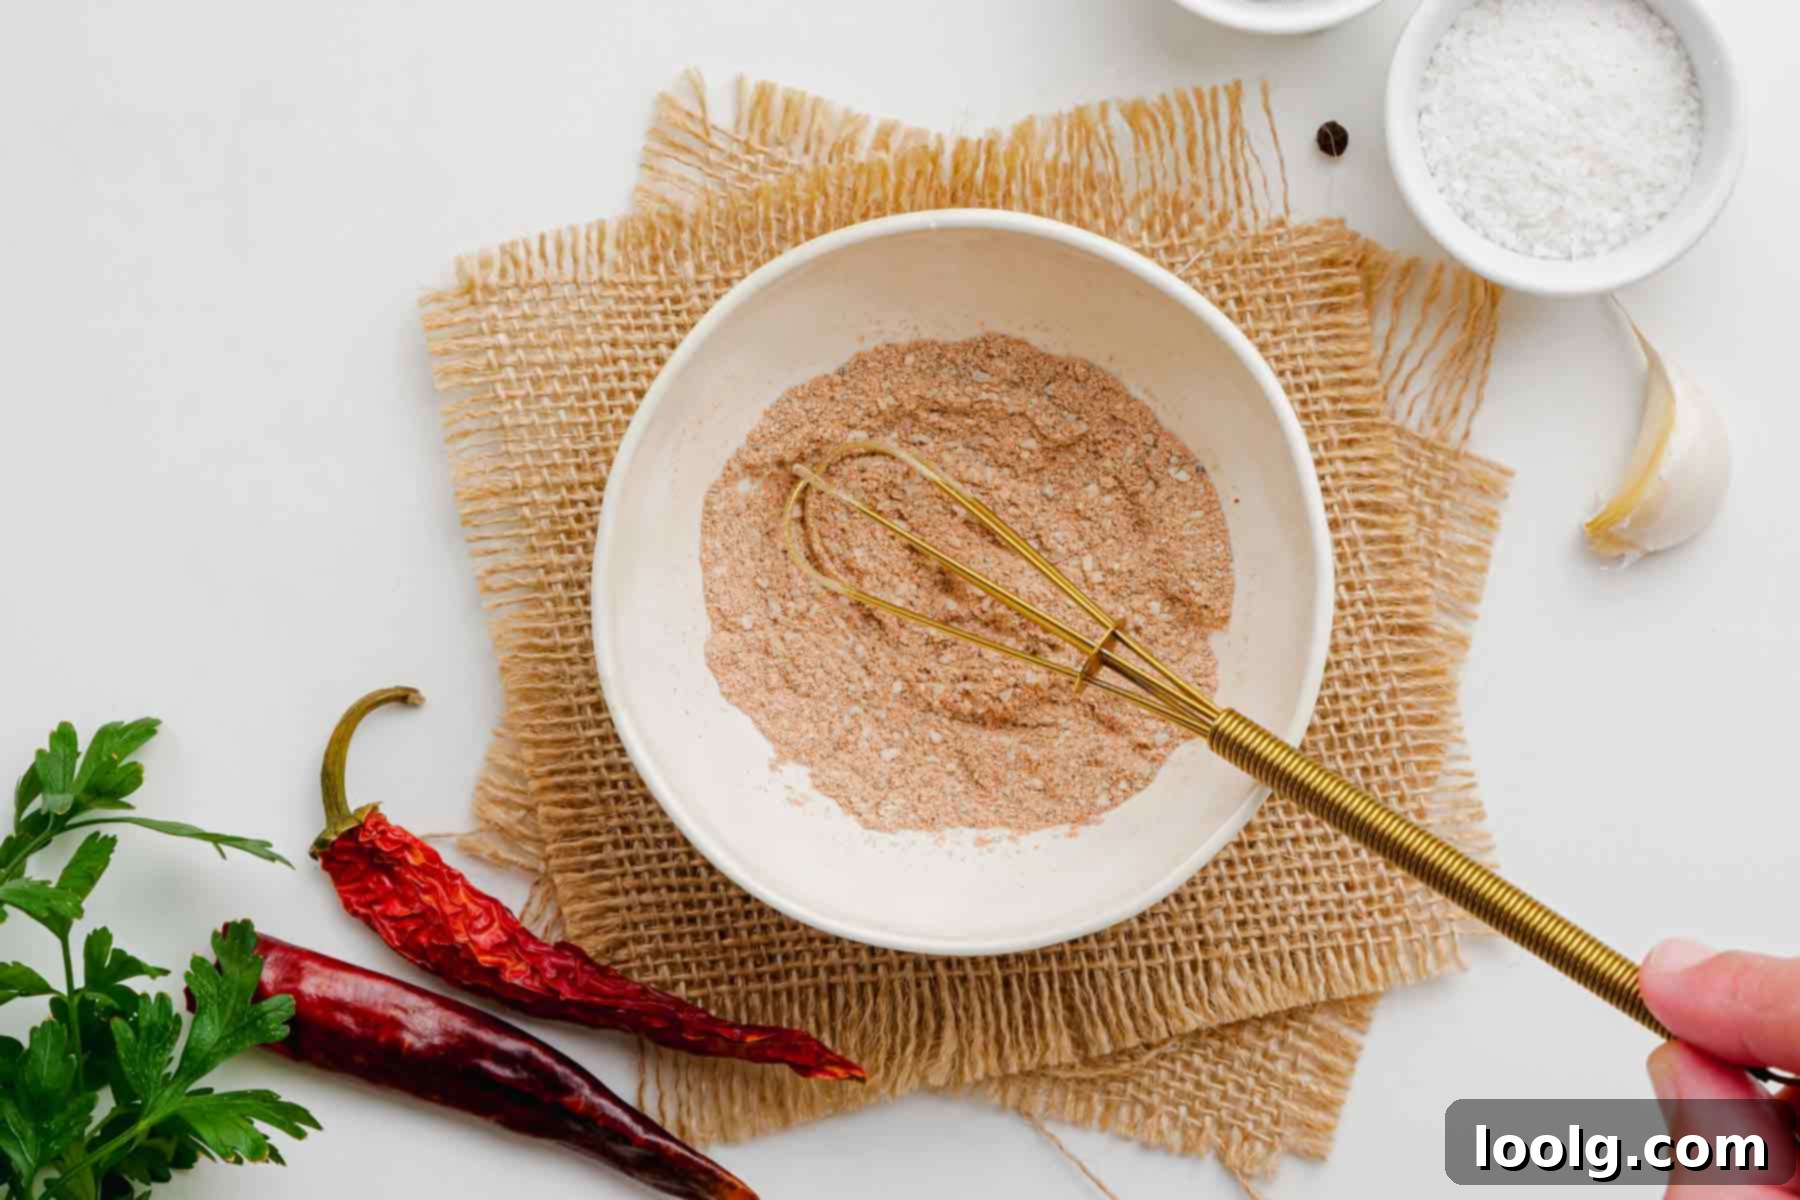
- Prepare Your Spice Rub: In a small bowl, combine your salt, paprika, granulated garlic, and black pepper. If this recipe becomes a regular in your kitchen (which it likely will!), consider mixing a larger batch of the spice rub in a jar. A 12x batch would require 6 tablespoons + 2 teaspoons of salt, 1/4 cup of paprika, 1/4 cup of granulated garlic, and 2 tablespoons of ground black pepper. This way, your seasoning is always ready to go!
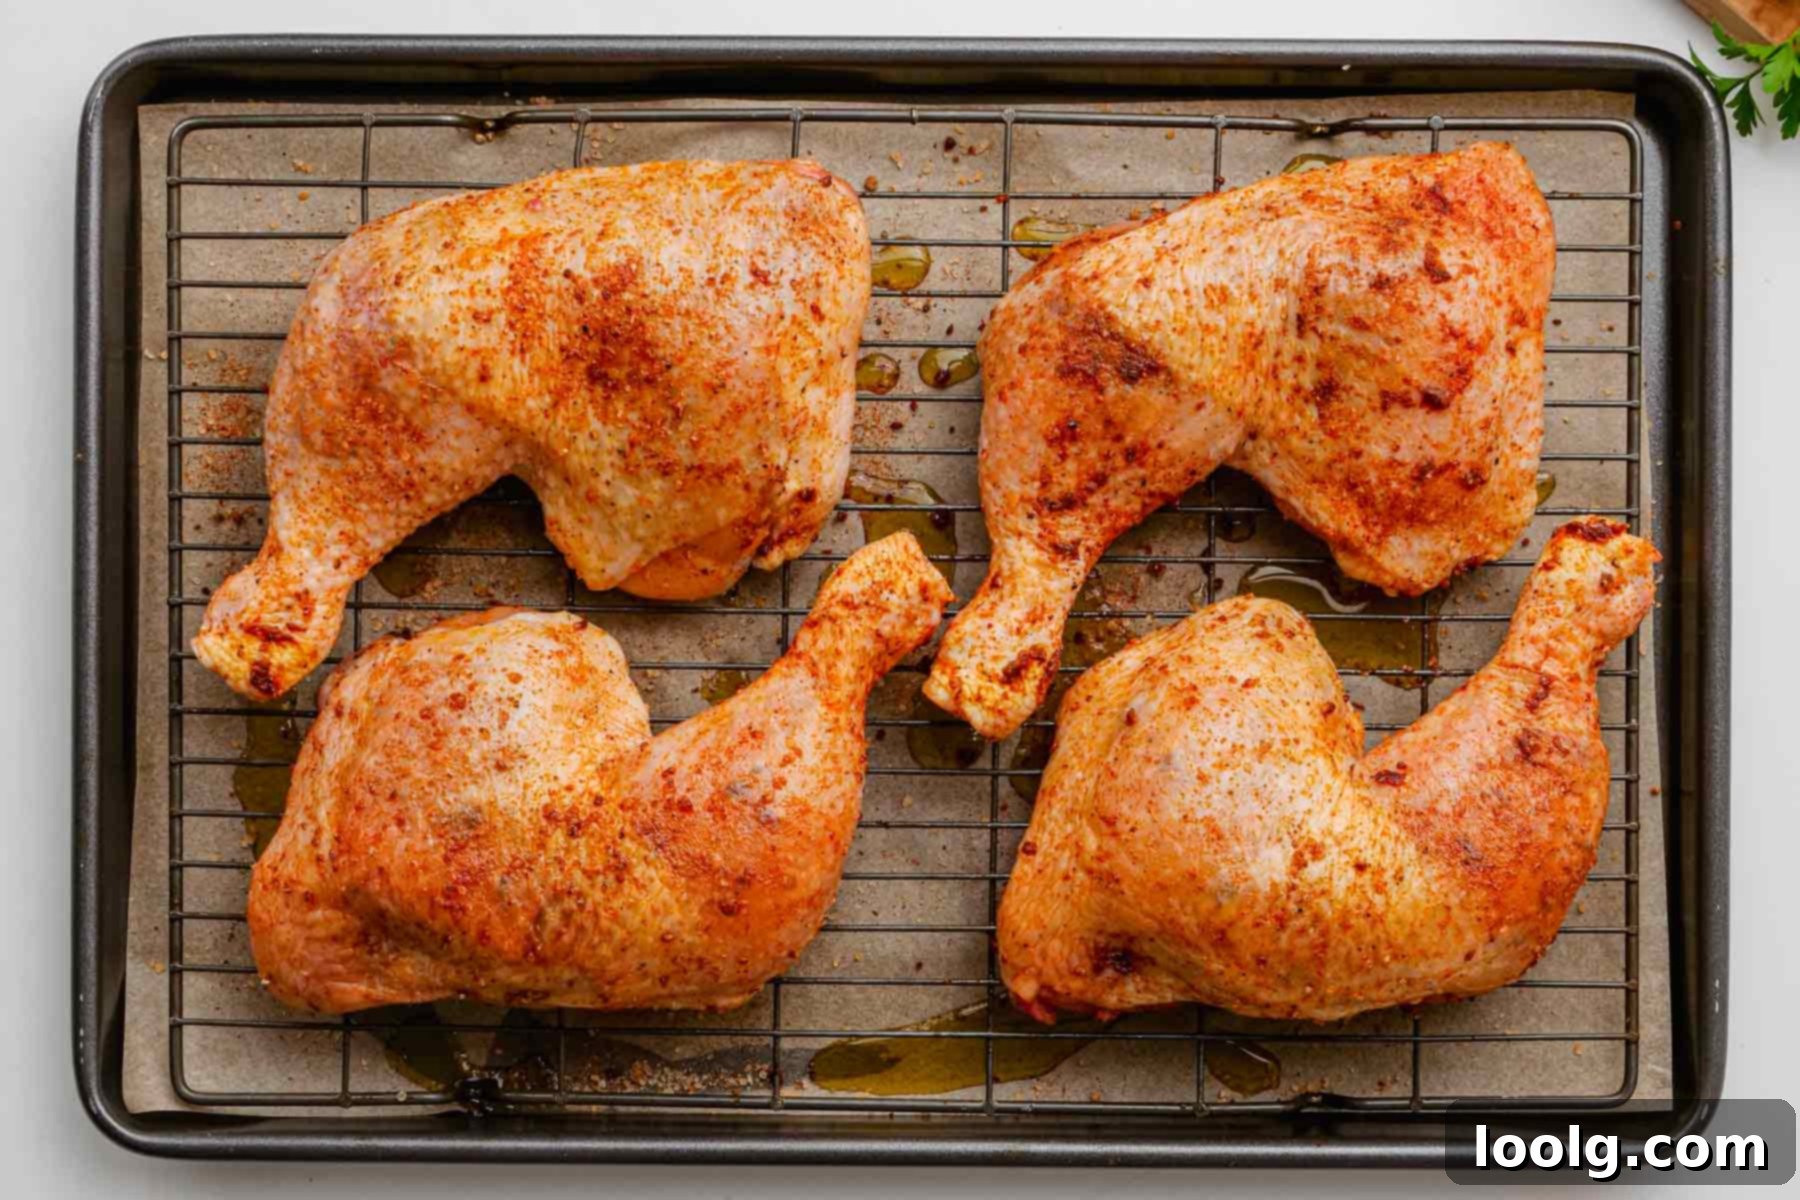
- Season the Chicken Generously: Place your patted-dry chicken leg quarters on the prepared cooling rack. Drizzle them lightly with olive oil. Now, get your hands in there and rub the spice mix all over the chicken. Don’t forget to gently lift the skin over the thigh and rub some of the seasoning directly onto the meat underneath for maximum flavor. Also, ensure the bottom of the drumstick meat is seasoned (no need to rub the bones!).
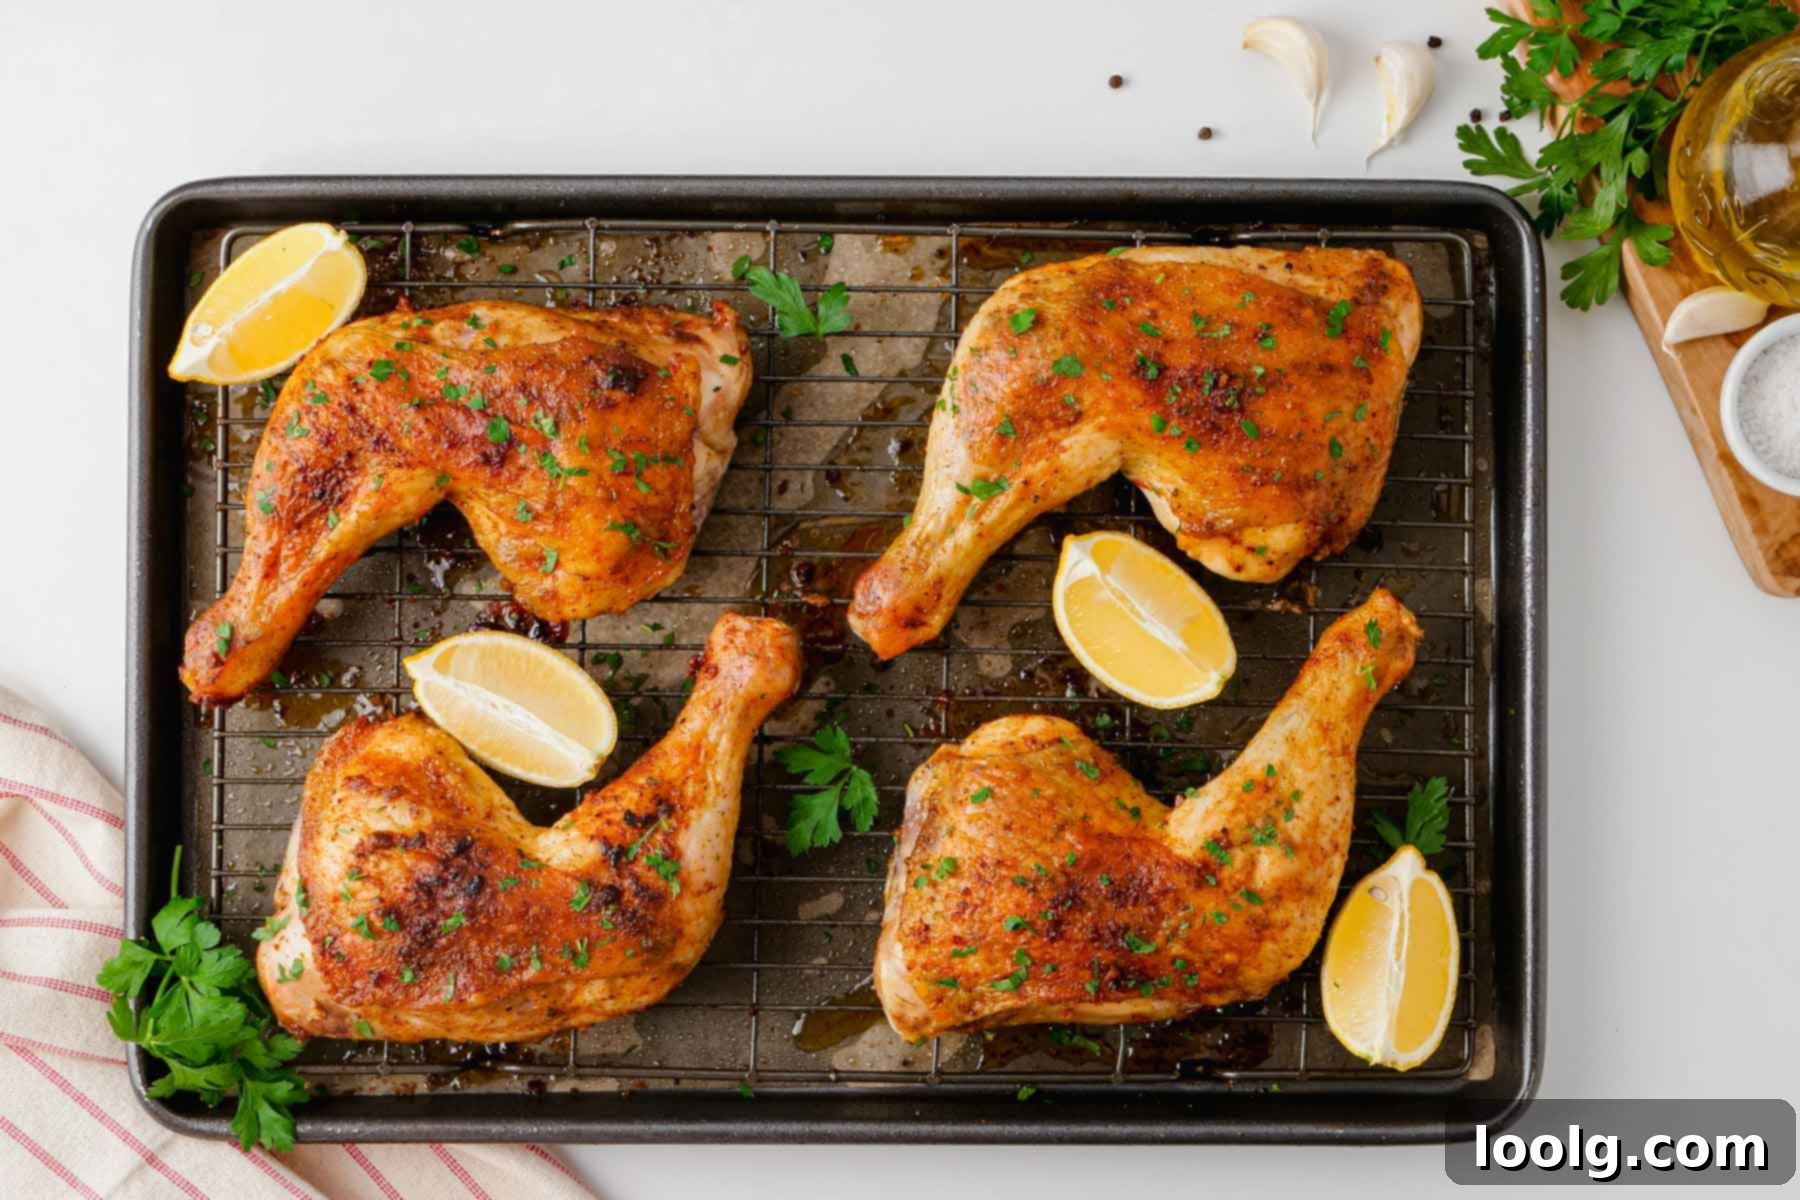
- Bake to Perfection: Transfer the baking sheet with the seasoned chicken to your preheated oven. Bake for approximately 40-50 minutes, or until the internal temperature of the thickest part of the thigh reaches 185-190°F (85-88°C).
- Check for Doneness (No Thermometer? No Problem!): While a meat thermometer is highly recommended for precision, if you don’t have one, you can check for doneness by slicing into the thickest part of the thigh near the bone. The meat should appear completely opaque (not pink) and have a firm yet still juicy texture. If you see any pink or translucent areas, return the chicken to the oven for a few more minutes.
- The Secret to Tender Dark Meat: Unlike white meat, which can dry out quickly, chicken leg quarters actually benefit from being cooked beyond the minimum safe temperature of 165°F (74°C). The higher internal temperature (185-190°F / 85-88°C) allows the connective tissues and collagen in the dark meat to break down more effectively. This process transforms what could be a chewy texture into incredibly tender, succulent meat. Furthermore, the higher fat content in dark meat acts as a natural safeguard, preventing it from drying out easily, even at these elevated temperatures.
Elevate Your Meal: Adding Roasted Potatoes
One of the absolute best ways to complement these flavorful chicken leg quarters is by roasting potatoes alongside them. This isn’t just a side dish; it’s a flavor synergy! The potatoes beautifully absorb the savory chicken juices and rendered fat as they cook, transforming into the most incredibly flavorful and tender roasted potatoes you’ve ever tasted.
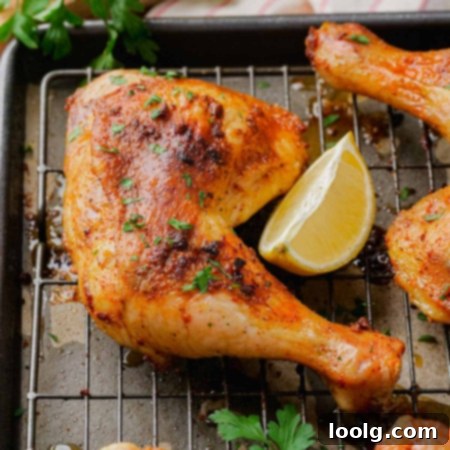
For those who prioritize a crispy bottom on their chicken quarters, arranging them on a cooling rack within the baking pan (as shown in the accompanying photos) is the ideal method. This ensures air circulation all around the chicken, leading to crispier skin. I prepared them this way for the pictures to cater to those who love that crisp bottom. Personally, as I don’t typically eat the chicken skin, I’m less concerned about a soggy underside.
My preferred method, which produces those unbelievably delicious potatoes, involves a slight modification. I place the chicken directly into the baking pan, foregoing the rack. Then, I fill the remaining space around the chicken with chunky pieces of potatoes and sweet potatoes, along with some carrot slices. It’s crucial that these vegetables are spread in a single layer, not piled on top of each other, to ensure even roasting and browning.
To season the vegetables, I add a light drizzle of olive oil and a portion of the same spice mix used for the chicken. When seasoning potatoes (or any root vegetables), I typically use about half the amount of salt that would be used for chicken – so, approximately 3/4 teaspoon of salt per 2 pounds (907 grams) of potatoes, along with proportional amounts of the other spices. This ensures the potatoes are well-seasoned without being overly salty.
While I also have an Air Fryer Chicken Quarters recipe, I overwhelmingly prefer this baked version, 100% because of the potatoes. Air fryers simply don’t offer enough space to roast a substantial amount of vegetables, and the precious chicken fat often drips away into a collection tray, preventing the potatoes from soaking up all that incredible flavor.
I typically stir the potatoes after about 20 minutes of baking, and then again 15 minutes later, to ensure even cooking and browning. If, by the time the chicken is perfectly cooked, the potatoes haven’t reached your desired level of golden crispiness, simply remove the chicken from the pan, turn up the oven heat slightly, and continue baking the potatoes until they are beautifully golden and crisp. However, I must confess, even if they aren’t perfectly browned, these potatoes are unbelievably delicious. More often than not, I skip that extra browning step because I simply can’t wait any longer to dig into them!
Storing and Reheating Your Leftover Chicken Leg Quarters
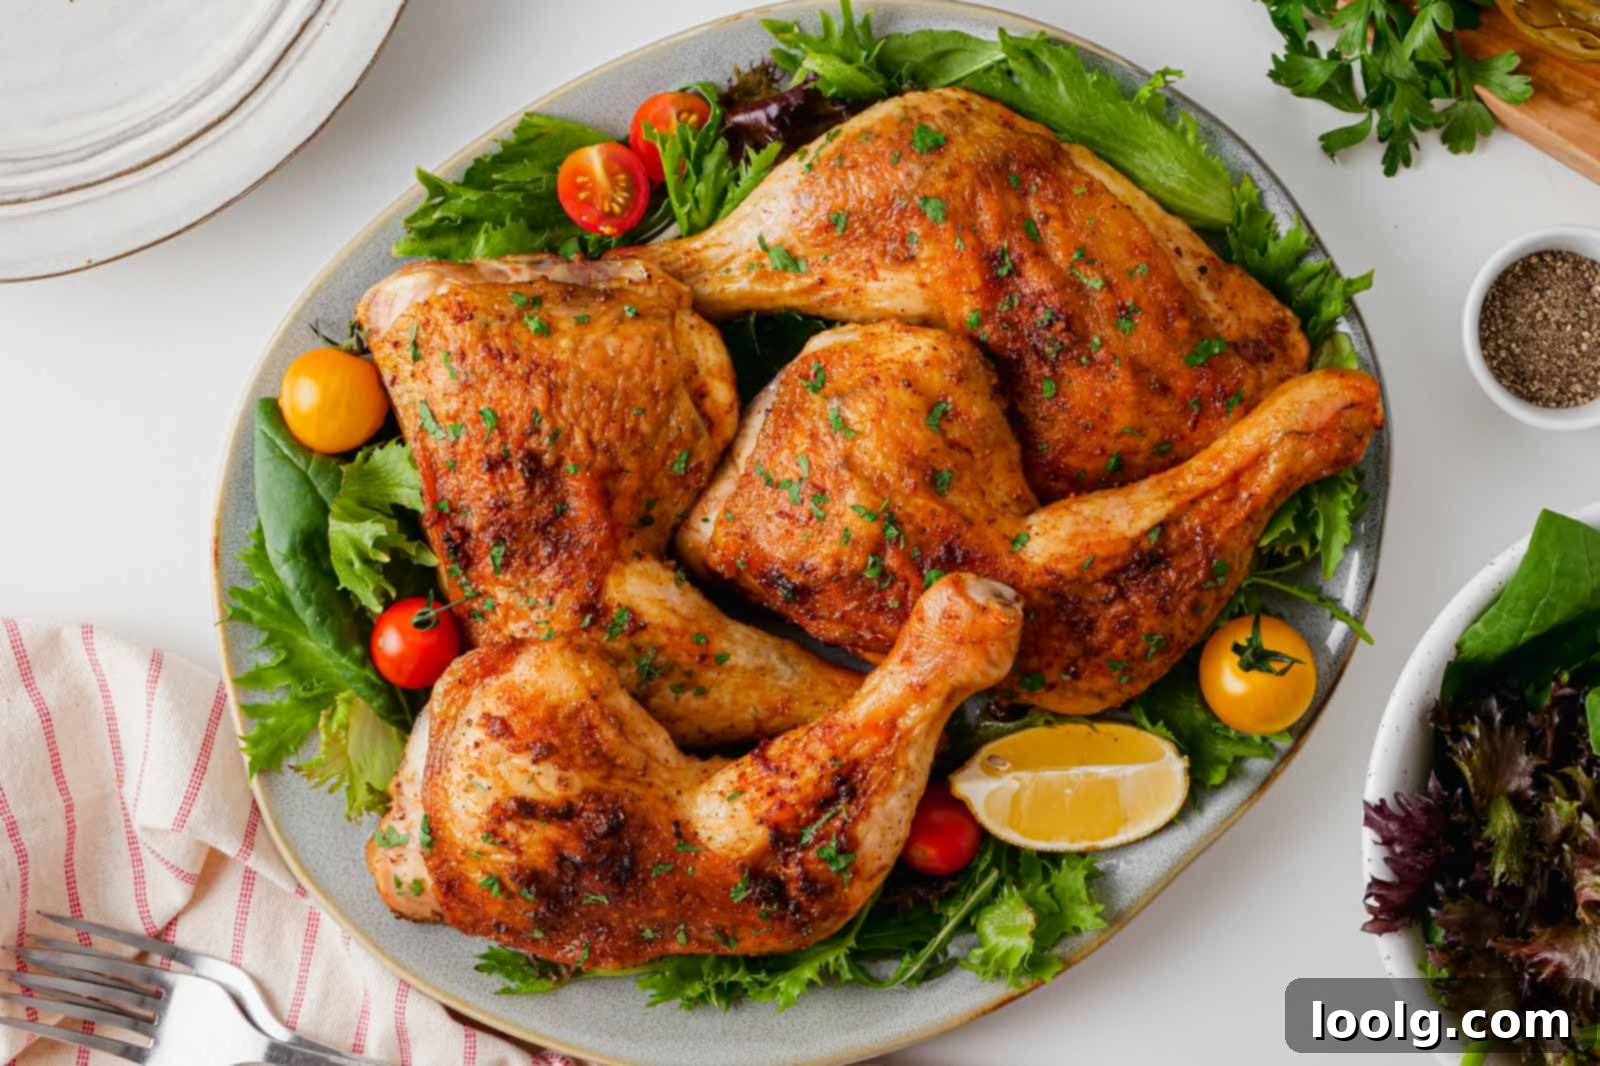
Proper storage and reheating ensure your delicious chicken leg quarters remain just as enjoyable as when they were first made.
- Storing Leftovers: Allow any leftover chicken to cool completely to room temperature before transferring it to an airtight container. This prevents condensation which can lead to soggy skin and bacterial growth. Store in the refrigerator for up to 3 days.
- Freezing for Longer Preservation: For extended storage, place the cooled chicken in a freezer-safe airtight container or a heavy-duty freezer bag. Label with the date and freeze for up to 3 months. To reheat from frozen, thaw the chicken overnight in the refrigerator before proceeding to the reheating instructions below.
- Reheating for Optimal Crispiness: To best preserve the crispy skin and juicy texture, reheat the chicken in a 375°F (190°C) oven for about 10-15 minutes, or until thoroughly heated through. Alternatively, for a quicker option, an air fryer works wonders: reheat at 375°F (190°C) for 5-7 minutes. It’s highly recommended to avoid reheating chicken leg quarters in the microwave, as this method often results in rubbery meat and sadly soggy skin.
Irresistible Serving Suggestions
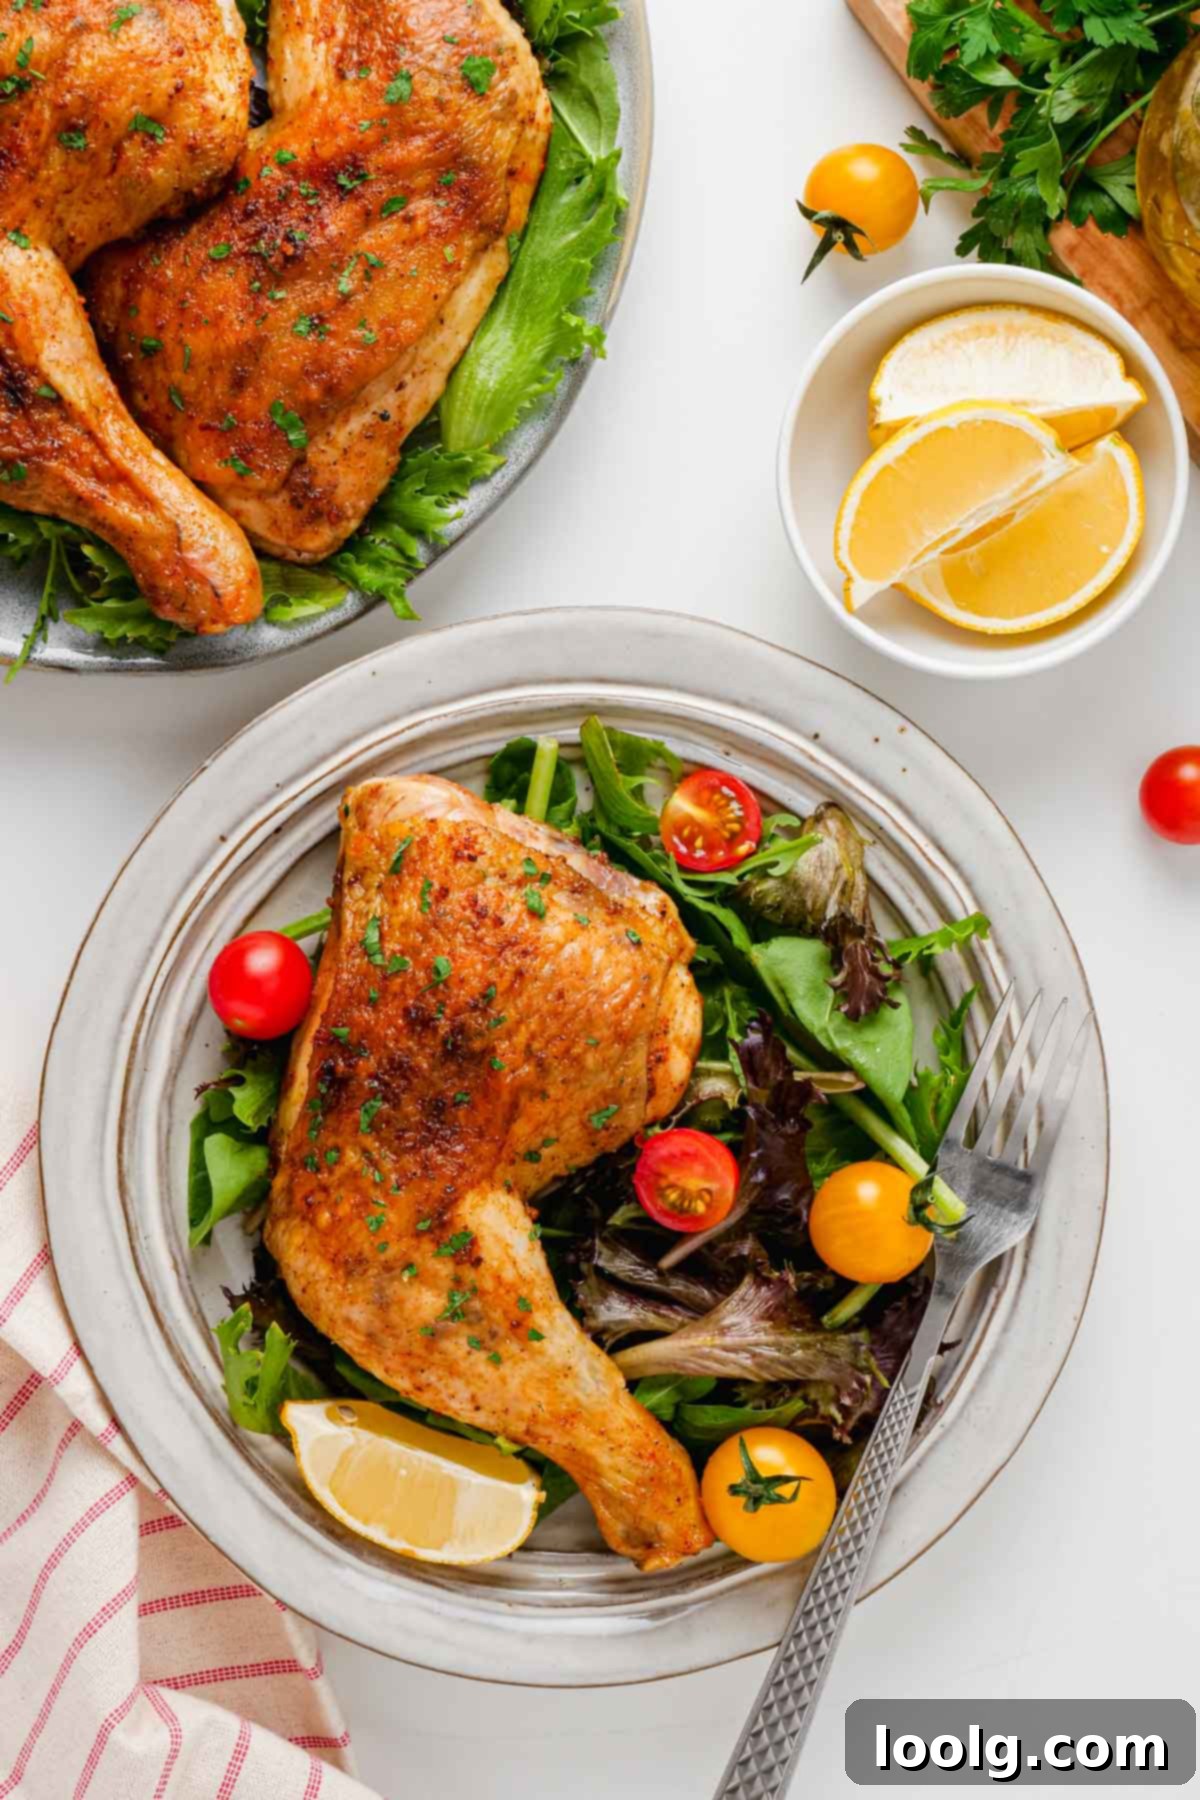
These flavorful chicken leg quarters pair beautifully with a variety of side dishes. Here are some of our family’s favorites:
- Mashed Potatoes: Creamy mashed potatoes are a classic pairing for crispy chicken. Our Yukon Gold Mashed Potatoes are buttery and incredibly smooth, offering the perfect contrast to the savory chicken. For an extra indulgent treat, try our Cheesy Mashed Potatoes for pure comfort food bliss.
- Mac and Cheese: Nothing says comfort like mac and cheese! This Gluten-free Mac and Cheese recipe is a rich, cheesy, and utterly satisfying family favorite. If you’re not gluten-free, simply use regular pasta. For a delightful twist with a touch of sweetness and extra creaminess, explore our Sweet Potato Mac and Cheese.
- Steamed or Blanched Vegetables: A simple green vegetable provides a fresh counterpoint. Blanched Broccoli is a simple, healthy side that even picky eaters will often enjoy, adding a nice pop of color and essential nutrients to your plate.
- Refreshing Salads: For a lighter accompaniment, a crisp salad is ideal. Pair your chicken with a vibrant Italian Tomato Salad for bright, fresh flavors, or opt for the cool, tangy crunch of this Polish Cucumber Salad.
✨🍗Have you tried this incredible chicken leg quarters recipe?🍗✨
Your feedback is invaluable! Please take a moment to leave a ✍️review and 🌟 rating below – it truly helps me and other home cooks discover and enjoy this recipe. I so appreciate it. 💖
Chicken Leg Quarters Recipe
Ingredients
- 4 chicken leg quarters (mine were 3 1/4 lbs or 1.5 kilos total)
- 1 1/2 teaspoons salt
- 1 teaspoon paprika
- 1 teaspoon granulated garlic
- 1/2 teaspoon ground black pepper
- 2 tablespoons olive oil
Instructions
-
Preheat the oven to 400 °F (205 °C).
-
Place an oven-safe cooling rack on a baking tray big enough to fit all the chicken.
-
Stir together the spices in a little bowl.
-
Place the chicken on the cooling rack (in the pan) and drizzle the olive oil over the top.
-
Rub half the spice mix between the skin and the meat. Rub the other half on top and on the bottom of the chicken. On the bottom, there’s just a little drumstick meat that you need to rub – no need to rub the bones.
-
Bake for 40-50 minutes or until the internal temperature is 185 °F (85 °C) and the skin is browned and crisp. Let sit for 5-10 minutes before serving.
-
If you have any leftovers, let them cool and refrigerate for up to 3 days.
Notes
Nutrition
