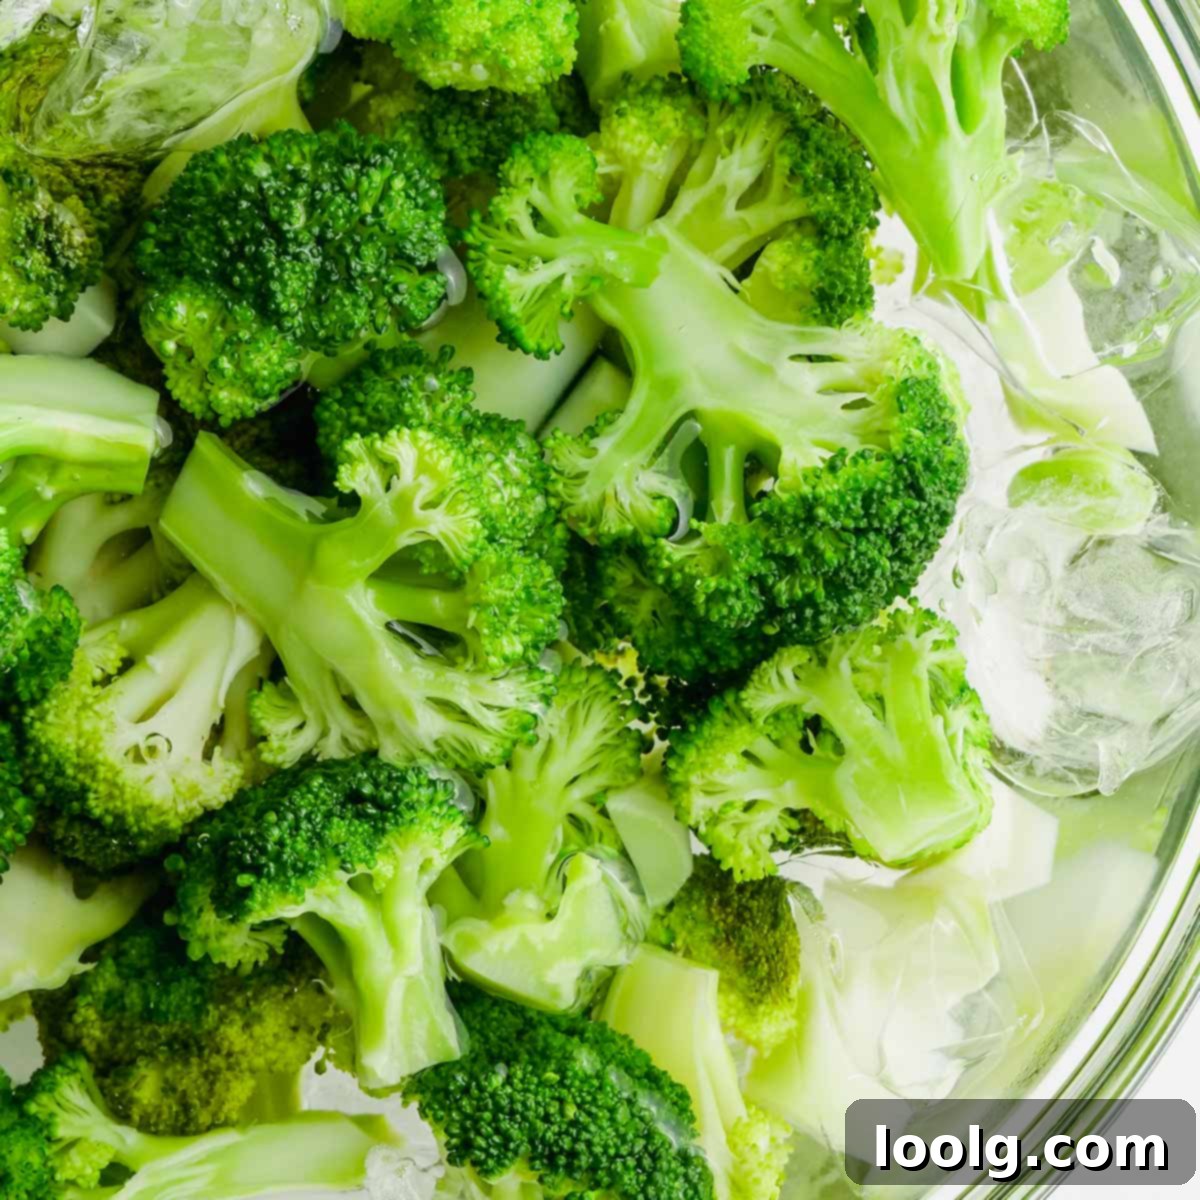
How to Blanch Broccoli: Your Ultimate Guide to Vibrant, Crisp-Tender Florets and Easy Freezing
Are you wondering how to achieve perfectly cooked broccoli with a brilliant green color and delightful crunch every time? You’ve come to the right place! Blanching broccoli is a simple yet incredibly effective technique that elevates this versatile vegetable, ensuring it maintains its optimal color, texture, and taste. This comprehensive guide will walk you through every essential step, from expertly cutting your broccoli to the blanching process itself, and even how to freeze it for long-term enjoyment. Master these techniques, and you’ll unlock the full potential of fresh broccoli, ready for any culinary adventure.
What Exactly is Blanching?
Blanching is a fundamental cooking method widely employed in professional and home kitchens alike for preparing various fruits and vegetables. At its core, it involves briefly submerging food into rapidly boiling water, followed immediately by plunging it into an ice bath. This two-step process is crucial and serves multiple vital functions beyond just partial cooking.
The initial burst of high heat in boiling water partially cooks the broccoli, but more importantly, it helps to deactivate enzymes that cause deterioration in color, flavor, and texture. This is especially vital if you plan to freeze your broccoli. The hot water also brightens the natural green pigments, making your broccoli visually appealing. Immediately after the hot water, the “shocking” step – immersing the broccoli in an ice bath – rapidly halts the cooking process. This sudden temperature drop prevents the broccoli from becoming overcooked, maintaining its crisp-tender texture and vibrant hue. Without the ice bath, residual heat would continue to cook the vegetable, leading to mushy, dull-looking results.
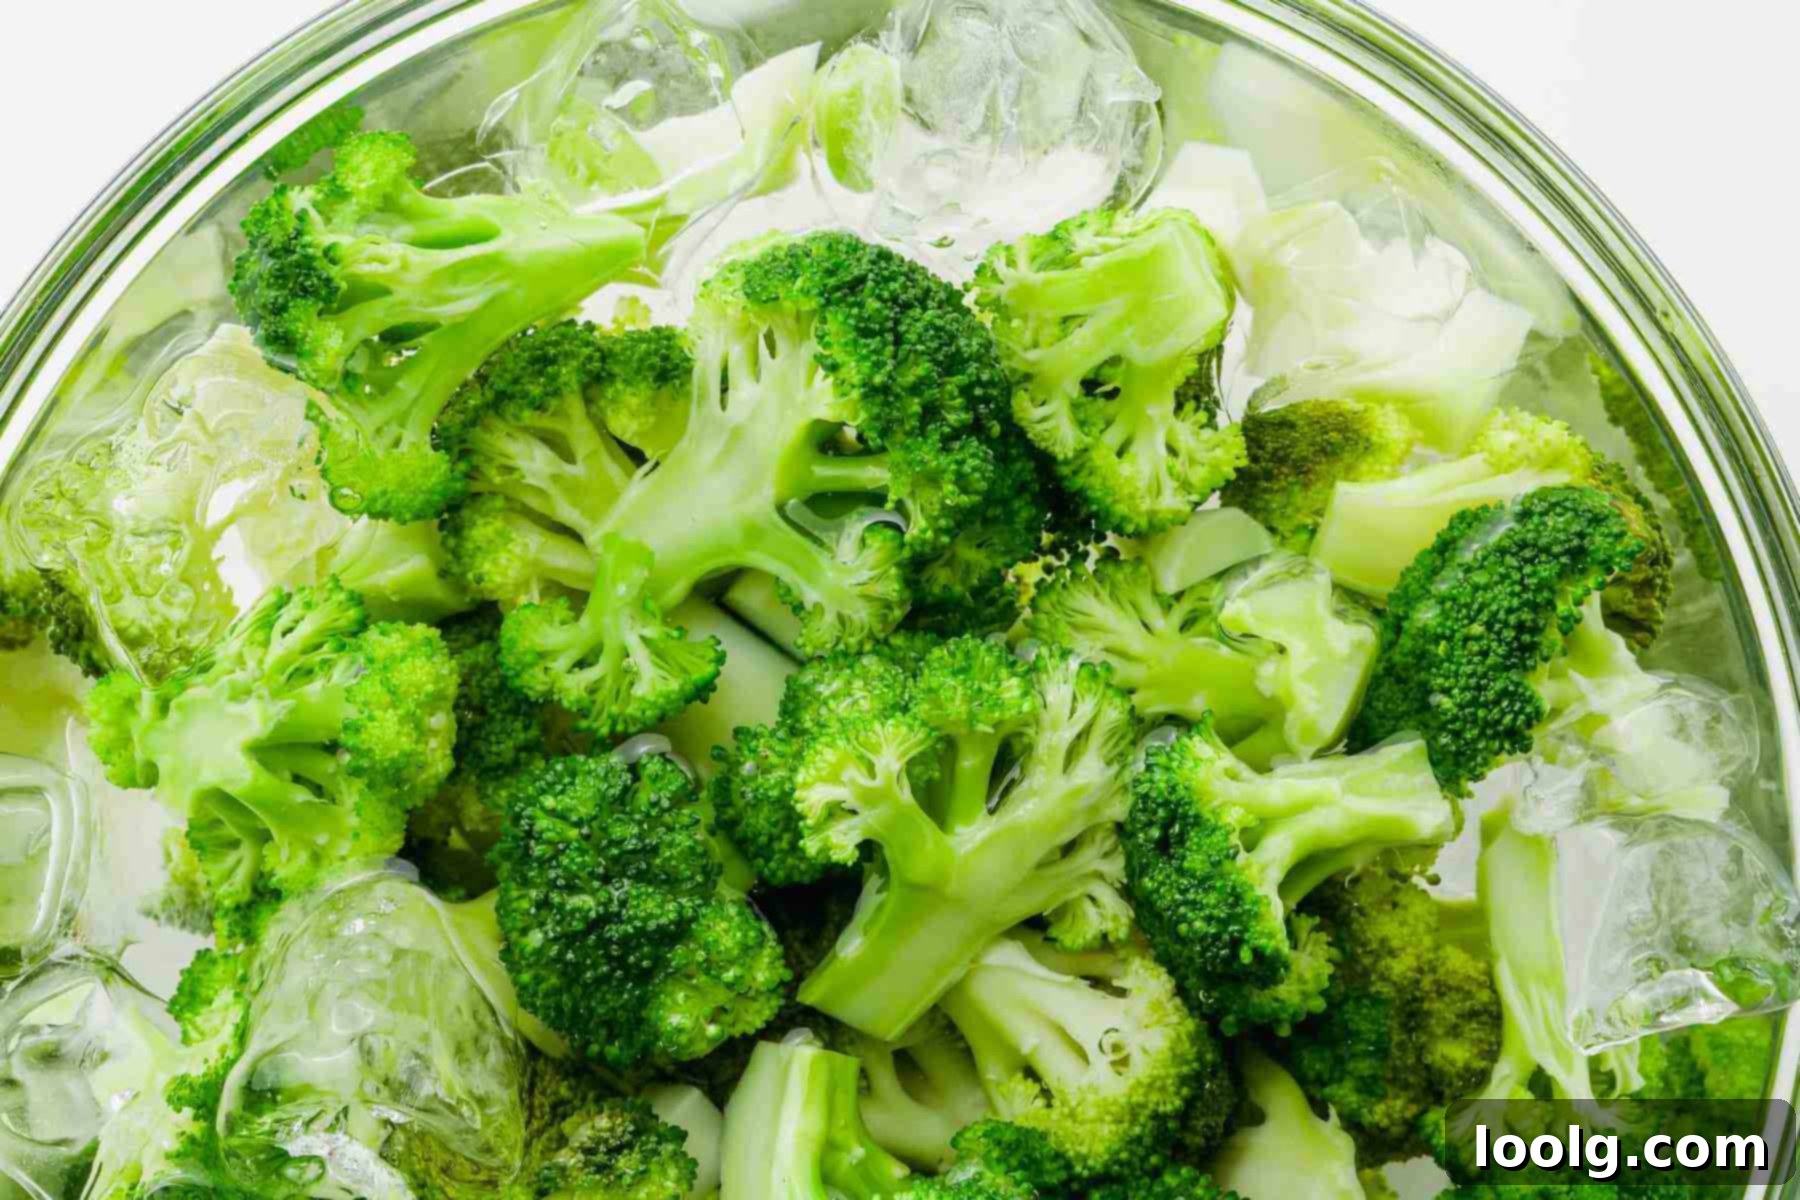
Beyond broccoli, blanching is incredibly useful for tenderizing other hard vegetables such as carrots, cauliflower, green beans, or asparagus, and it can also help to reduce bitterness in certain greens. It’s often a preparatory step before a second cooking method, like sautéing, stir-frying, or roasting, ensuring your vegetables are perfectly cooked throughout without becoming soggy.
Why Blanch Broccoli? The Key Benefits
Blanching offers several significant advantages that make it a worthwhile step in your kitchen routine:
- Vibrant Color: The rapid cooking in boiling water intensifies broccoli’s natural green color, making it visually more appealing in any dish.
- Perfect Texture: It achieves that ideal crisp-tender texture – not too soft, not too hard. The ice bath immediately stops the cooking, locking in this desirable bite.
- Enhanced Flavor: Blanching can mellow out any raw, slightly bitter notes in broccoli, bringing out its natural sweetness and fresh taste.
- Enzyme Deactivation: This is critical for preservation. The heat deactivates enzymes that cause degradation in quality (color, flavor, and texture) during storage, especially when freezing.
- Improved Digestibility: Lightly cooking the broccoli can make it easier to digest for some individuals.
- Versatile Preparation: Blanched broccoli is ready for anything – toss it into salads, add to stir-fries, or use as a quick side dish.
How Long Does It Take to Blanch Broccoli?
The entire process of blanching broccoli, from prepping the vegetable to cooling it in an ice bath, is remarkably quick, typically taking around 10 to 15 minutes in total. The actual cooking time in boiling water is very brief, usually just 2 to 3 minutes, depending on the size of your florets. This short duration makes blanching an efficient way to prepare a batch of vegetables that can be used throughout a busy week. You can blanch a large quantity of chopped broccoli at once, then store it in the refrigerator or freezer, saving valuable time during meal prep.
Creative Ways to Use Blanched Broccoli
Once your broccoli is perfectly blanched, the culinary possibilities are endless! Its vibrant color and crisp-tender texture make it an excellent addition to a wide array of dishes. Here are just a few ideas to get you started:
- Salads: Add blanched broccoli florets to green salads, pasta salads, or grain bowls for an extra boost of nutrition and crunch. Its vibrant color stands out beautifully.
- Soups and Stews: Stir blanched broccoli into hot soups, stews, or curries during the last few minutes of cooking to warm it through without overcooking. It’s especially good in creamy cheddar broccoli soup.
- Side Dish: Serve it simply as a healthy and delicious side. A drizzle of olive oil, a squeeze of lemon, and a sprinkle of salt and pepper are often all it needs. You can also toss it with garlic, chili flakes, or a sprinkle of Parmesan cheese for added flavor.
- Stir-fries: Blanched broccoli is a fantastic shortcut for stir-fries. Since it’s already partially cooked, you can add it towards the end of the stir-frying process, reducing overall cooking time and ensuring it stays perfectly crisp.
- Casseroles and Bakes: Incorporate blanched broccoli into cheesy casseroles, frittatas, quiches, or savory tarts. It holds up well to baking and adds great texture. Try it in a cheesy spaghetti squash and broccoli bake!
- Pasta Dishes: Mix blanched broccoli into your favorite pasta recipes. It pairs wonderfully with garlic, olive oil, and a touch of red pepper flakes.
- Healthy Snacks: Enjoy blanched broccoli cold with a dip like hummus or a light vinaigrette for a wholesome and satisfying snack.
These recipes are a great starting point, allowing you to bypass the initial cooking step for the broccoli:
- Simple Broccoli Stir Fry – Easily integrate your blanched broccoli into this quick meal.
- Cheddar Broccoli Soup – Simply toss in the blanched broccoli at the very end to warm it.
- Cheesy Spaghetti Squash and Broccoli – Skip the initial broccoli cooking steps and use your prepared blanched broccoli.
- Broccoli Cauliflower Salad from Recipe Pocket – This salad is the perfect home for your crisp, blanched broccoli!
Mastering the Art of Cutting Broccoli
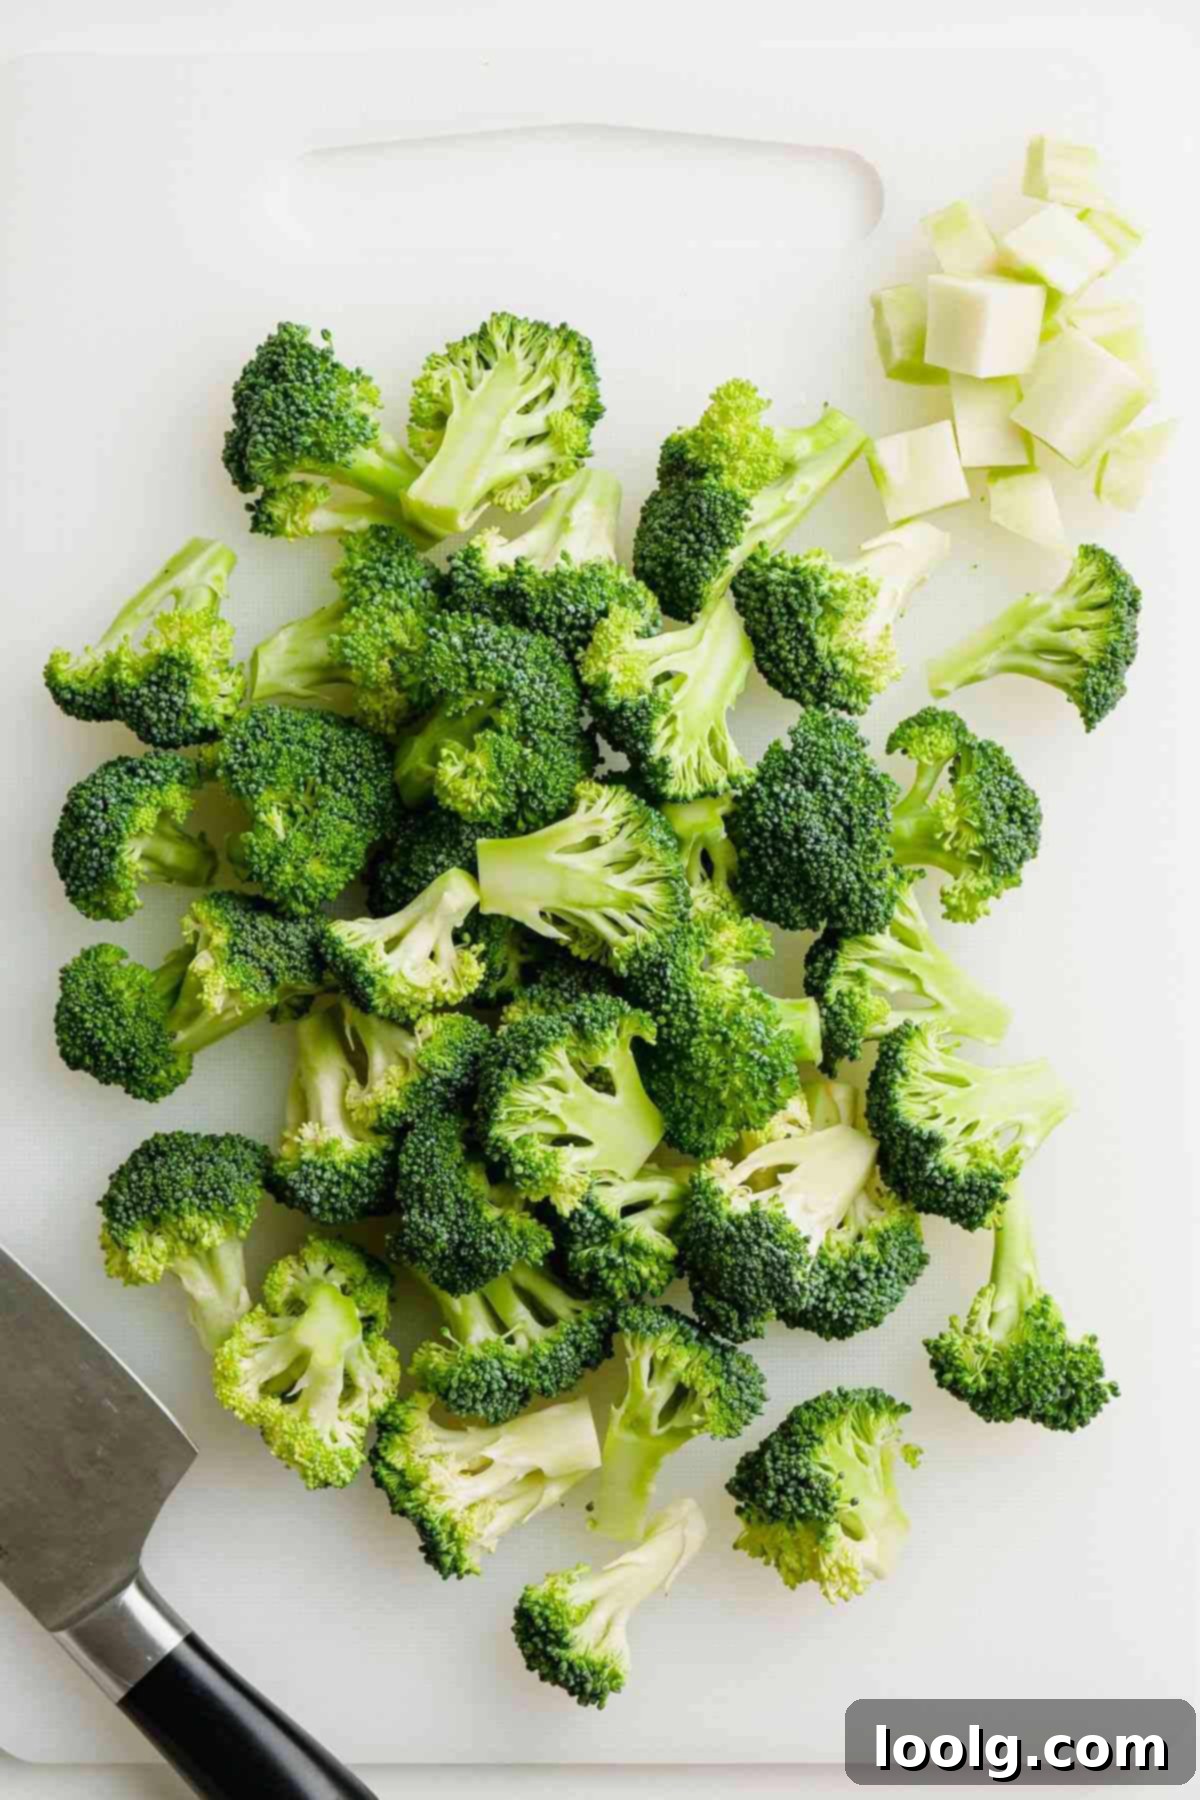
Before you blanch your broccoli, proper cutting is key for even cooking and appealing presentation. Let’s break down the best way to prepare your broccoli:
- Start at the Base: Begin by trimming about an inch off the bottom of the main trunk of the broccoli head. This removes the toughest, often driest, part of the stem.
- Check the Stem’s Core: If the trunk appears dried, woody, or hollow after the initial trim, continue to trim away small sections until you reach the tender, light green, moist center. This ensures the entire stem is palatable.
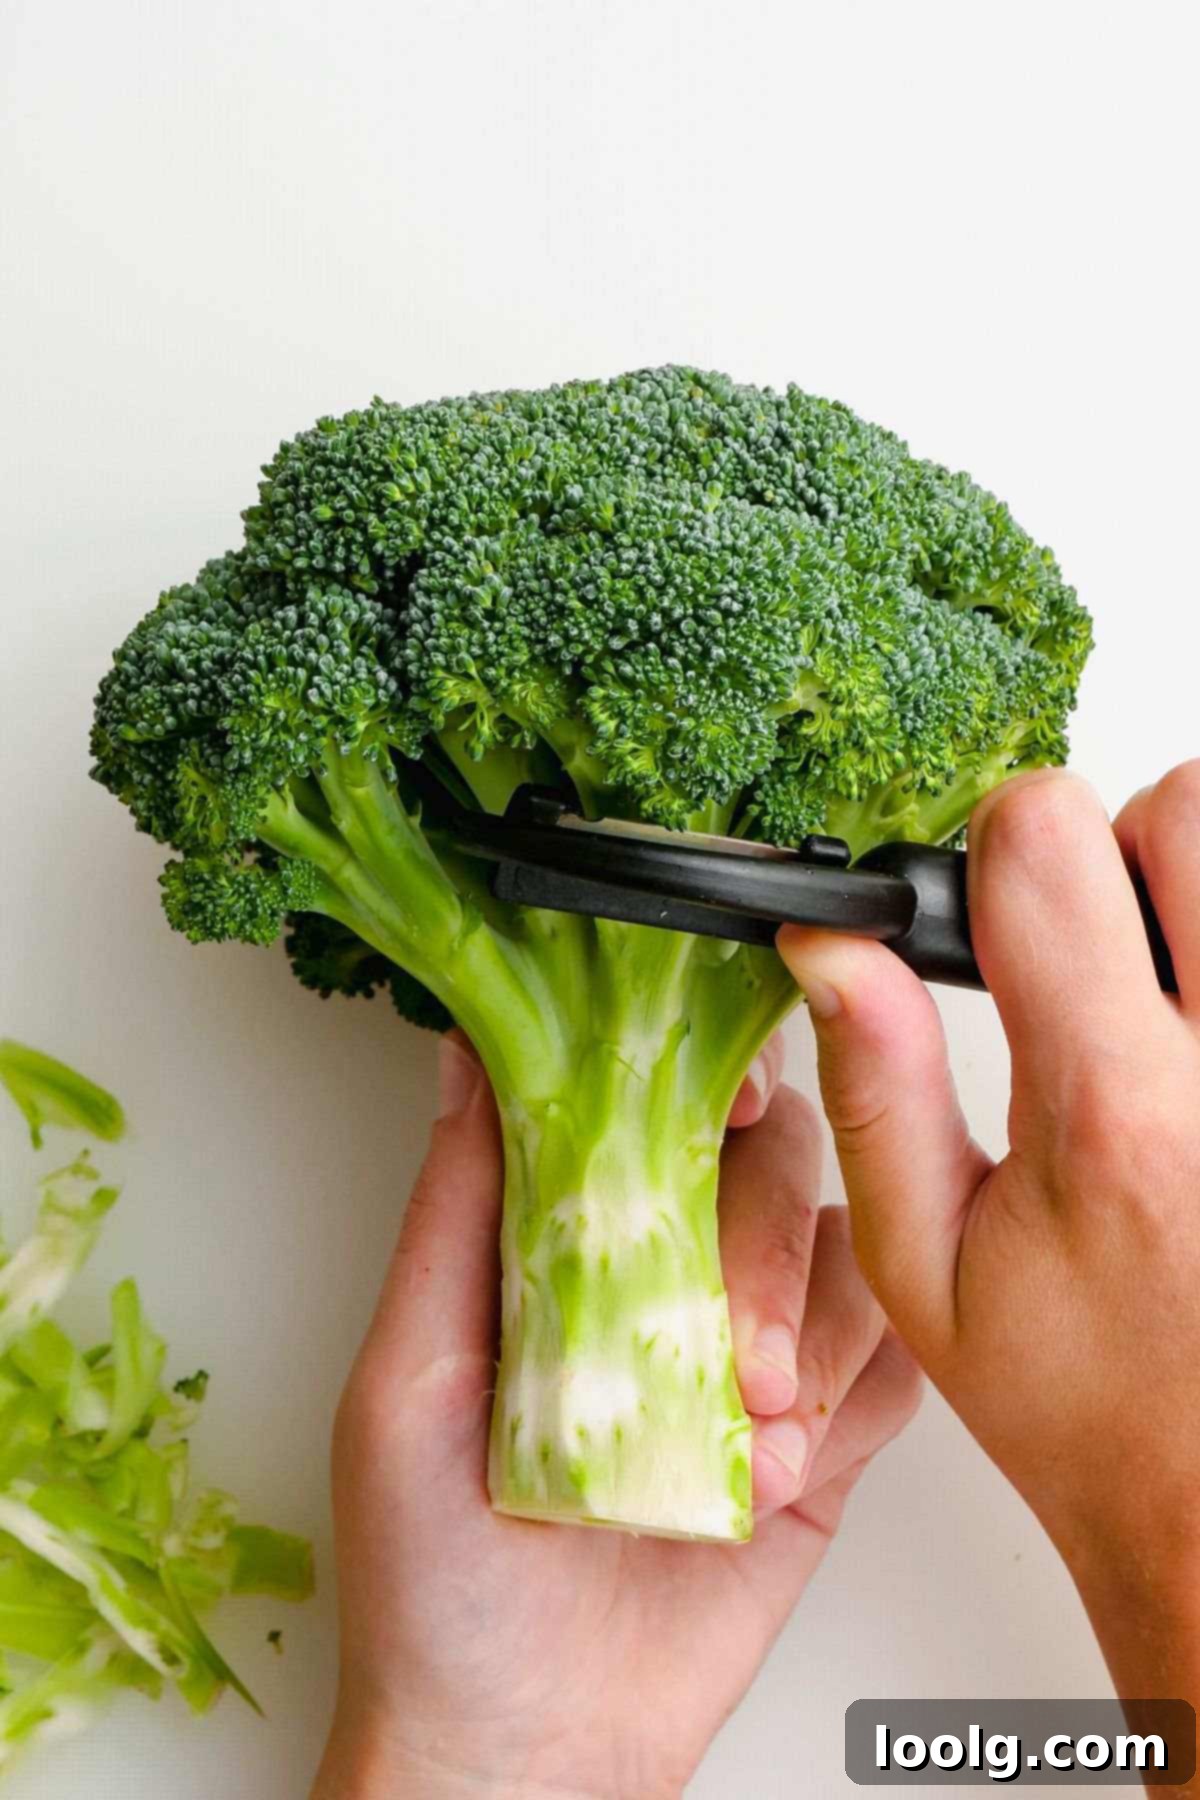
- Prepare the Trunk for Cooking: While often discarded, the broccoli trunk is perfectly edible and delicious, though it is denser and more fibrous than the florets. To ensure it cooks evenly and isn’t tough, it’s ideal to peel the outer, fibrous skin with a vegetable peeler. This reveals the sweeter, more tender inner core.
- Separate Florets: After peeling the trunk, carefully cut the main stem away from the head, also known as the “crown,” detaching the individual florets. Try to cut through the main branches rather than tearing them.
- Create Bite-Sized Florets: Once separated, inspect the florets. If any are too large, slice them down the middle or further break them apart into smaller, bite-sized pieces. Aim for florets of a similar size to ensure consistent cooking.
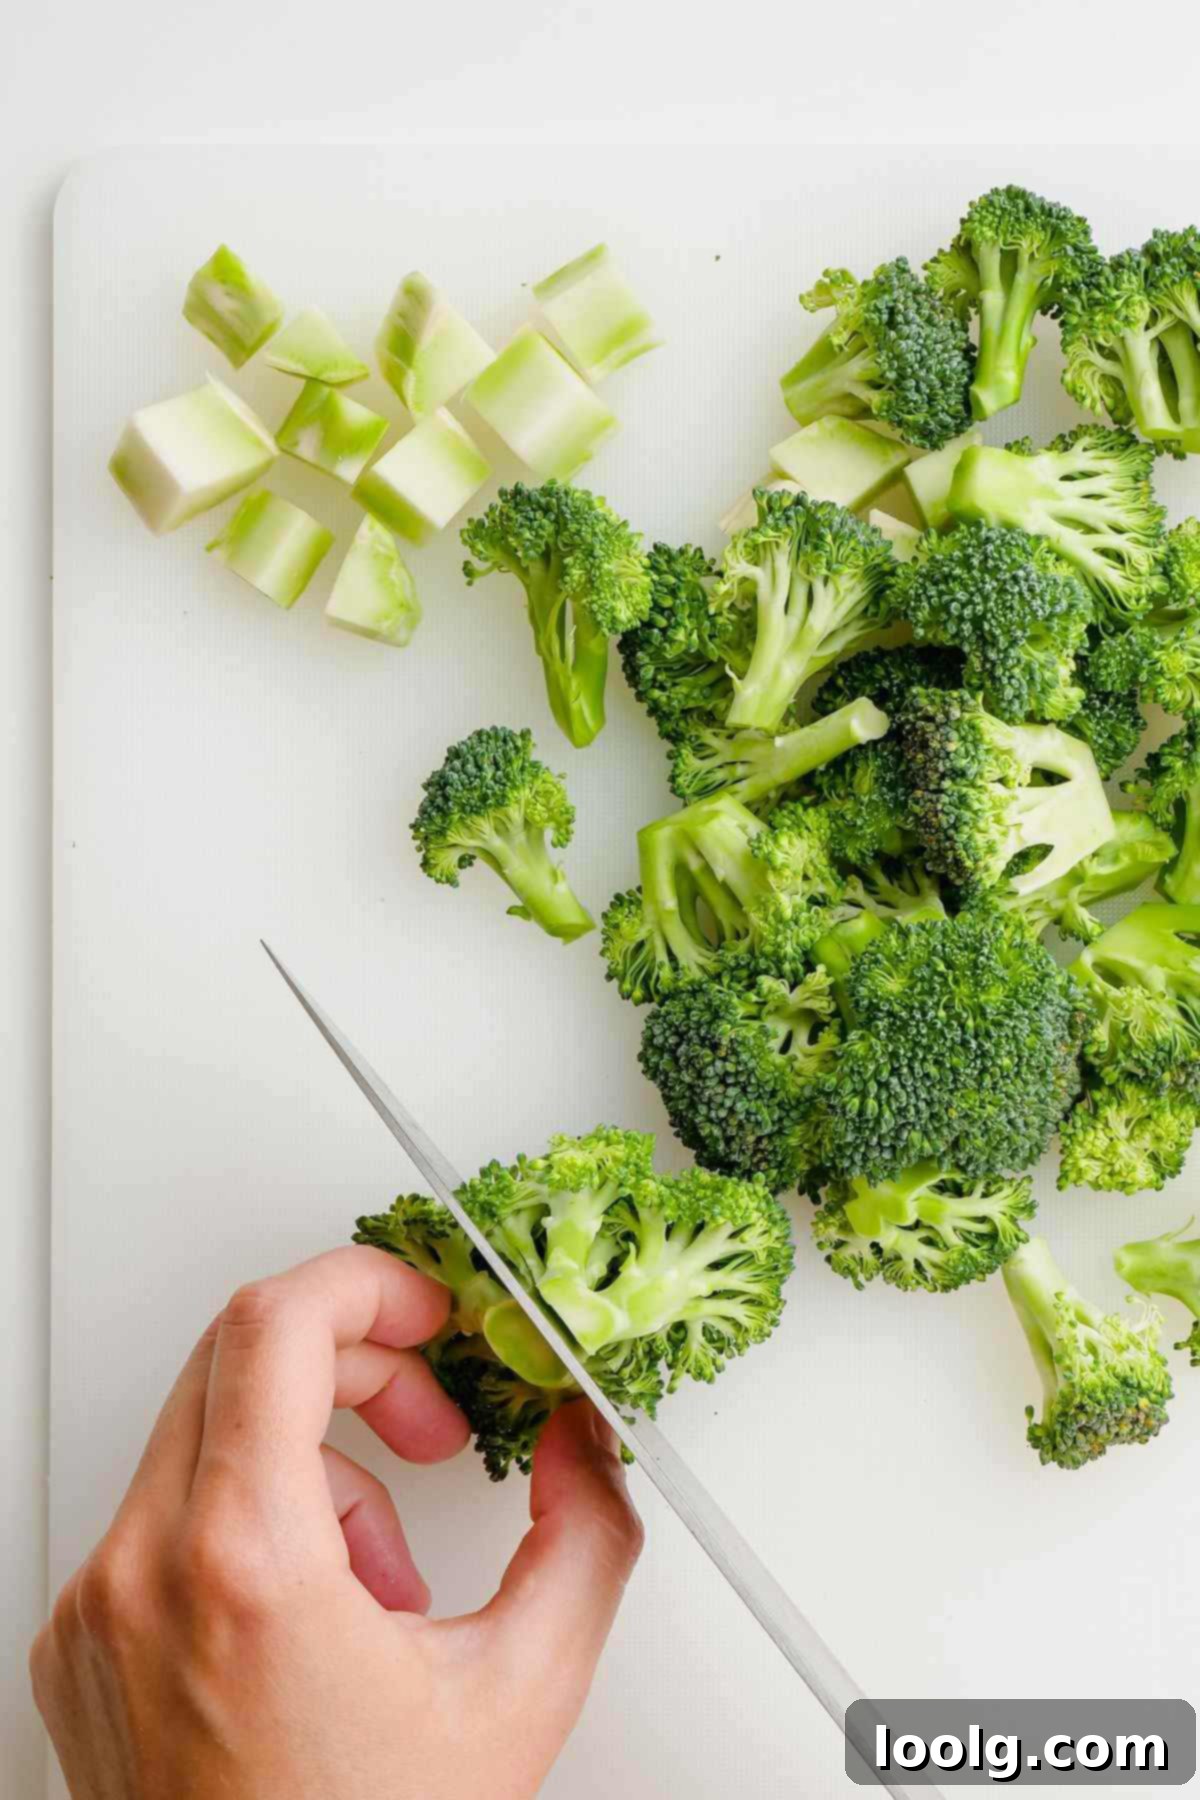
Don’t Waste the Stems! Many people toss broccoli stems, but they are a culinary gem! They are often sweeter than the florets and can be prepared in numerous ways:
- Discs or Cubes: Slice the peeled stems into round discs or small cubes for stir-fries, roasts, or steaming.
- Julienne Strips: Cut them into small, thin strips for salads, slaws, or quick pickling.
- Spiralized: Use a spiralizer to create “broccoli noodles” for a low-carb pasta alternative.
- Shredded: Shred them using a box grater for adding to fritters, salads, or even hidden in sauces.
Utilizing the entire broccoli head not only reduces food waste but also adds varied textures and flavors to your meals. You might be surprised at how delicious and versatile the stems can be!
Step-by-Step Guide: How to Blanch Broccoli Perfectly
Blanching broccoli is an incredibly straightforward process that yields consistently excellent results. Follow these simple steps for vibrant, crisp-tender broccoli every time:
- Prepare Your Setup: Before you even turn on the stove, get everything ready.
- Chop the Broccoli: Cut your broccoli into uniform florets, about 1 to 1.5 inches in size, as detailed in the previous section. If using stems, cut those into similar-sized pieces.
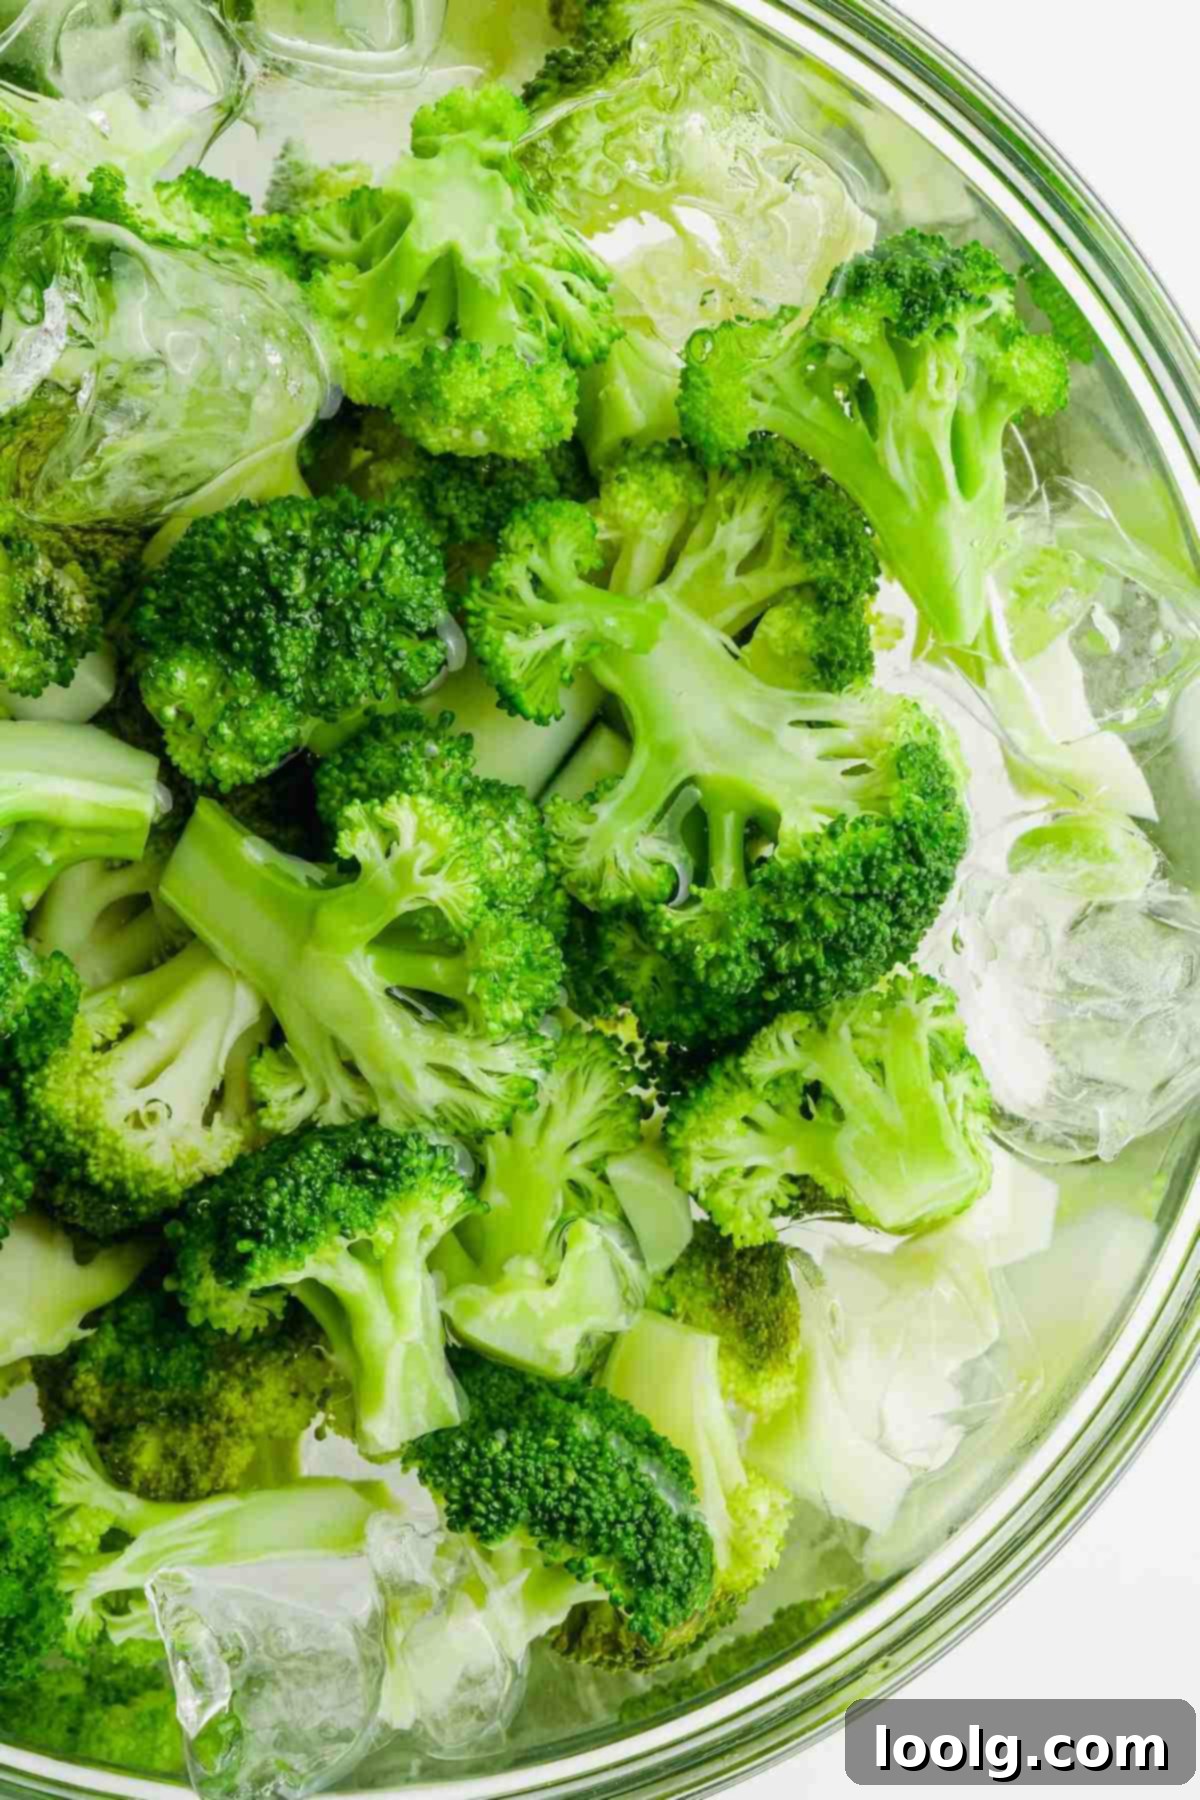
- Prepare the Ice Bath: Fill a large bowl generously with cold water and add plenty of ice cubes. This ice bath must be ready the moment your broccoli comes out of the boiling water. The larger the batch of broccoli, the more ice and water you’ll need.
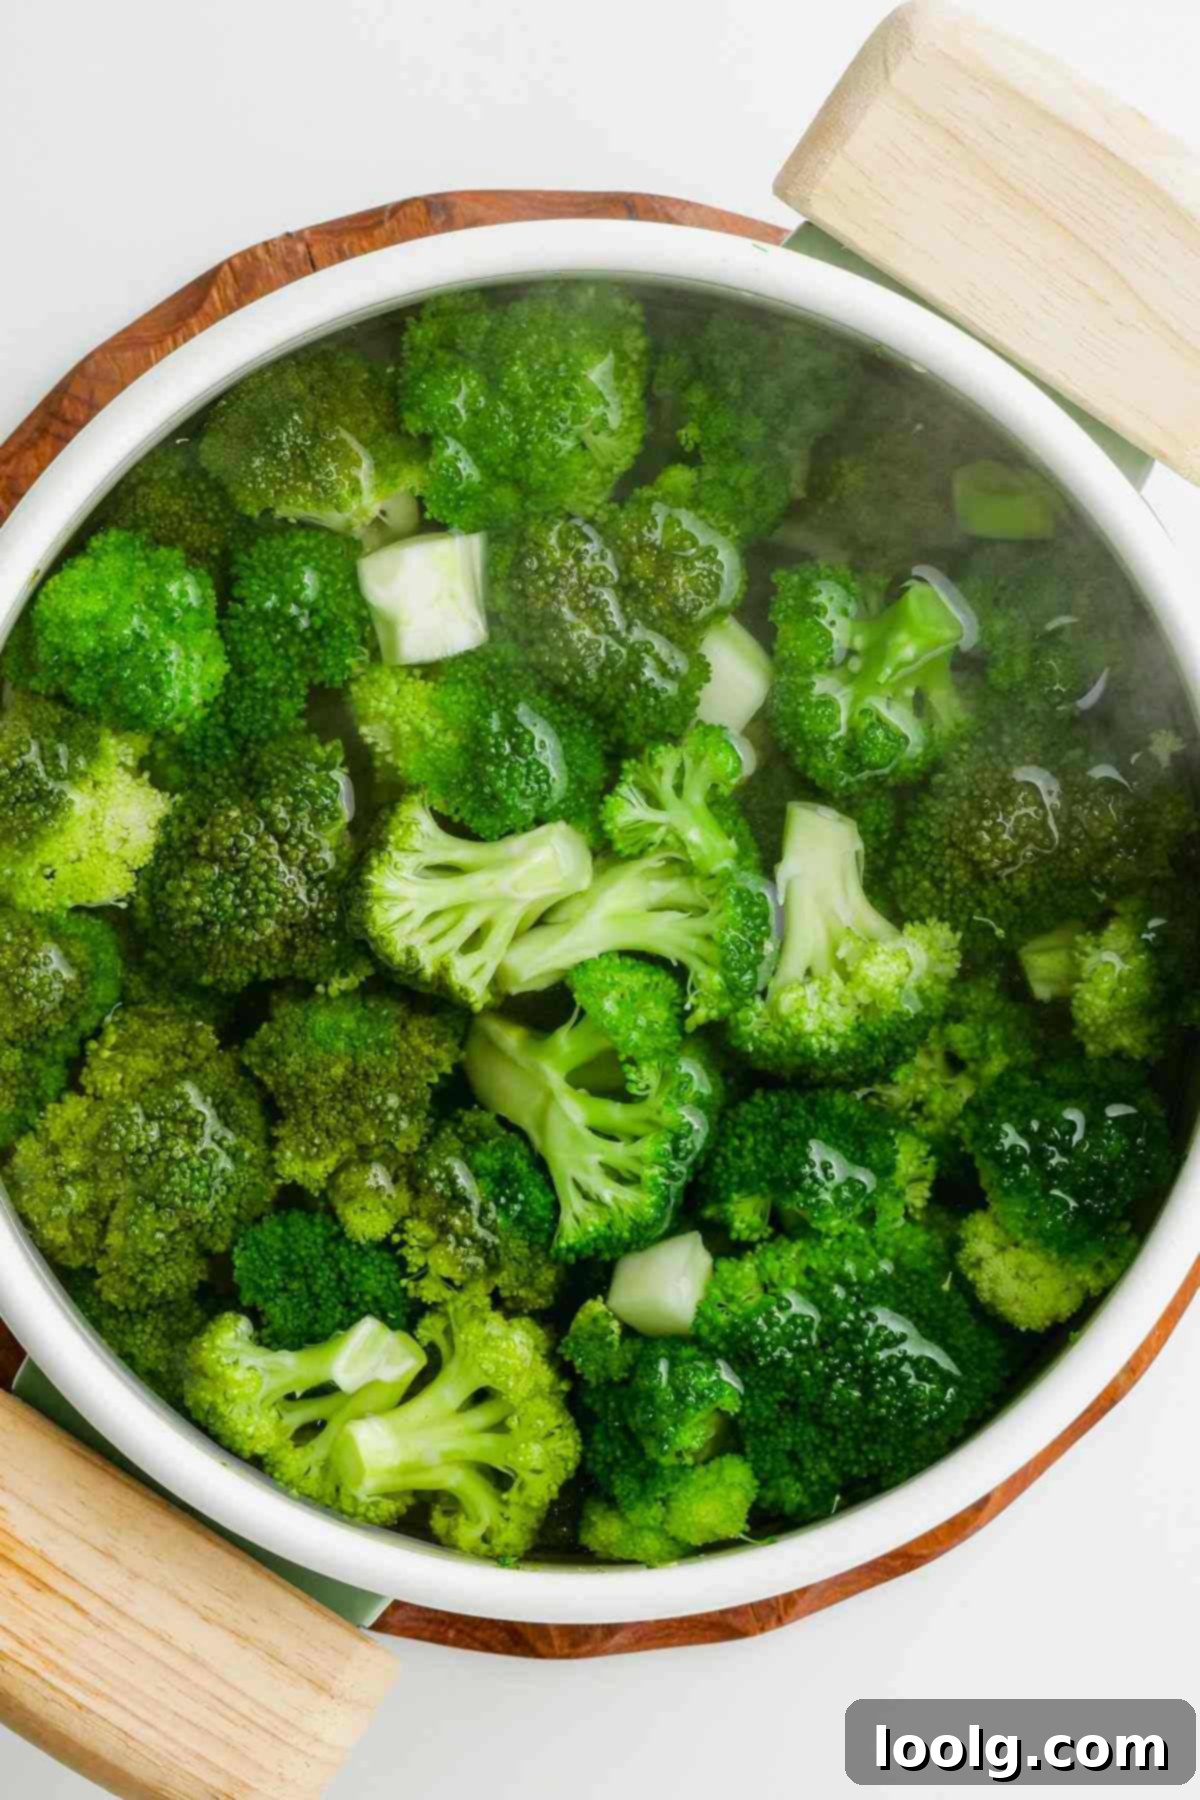
- Boil Salted Water: Choose a large pot, ensuring there’s enough space for the broccoli to move freely. Fill it with water and add a generous amount of salt (about 1.5 tablespoons per pound of broccoli, or to taste). The salt not only seasons the broccoli but also helps to maintain its vibrant green color. Bring the water to a rapid, rolling boil over high heat.
- Add the Broccoli: Once the water is boiling vigorously, gently add the prepared broccoli florets and stems to the pot. Be careful not to overcrowd the pot, as this can lower the water temperature too quickly and result in uneven cooking. If you have a large batch, blanch in smaller, successive portions.
- Boil Briefly: Boil the broccoli for 2 to 3 minutes. The exact time will depend on the size of your florets and your preferred level of tenderness.
- For smaller florets or a crisper texture, boil for 2 minutes.
- For larger florets or a slightly more tender bite, boil for 3 minutes.
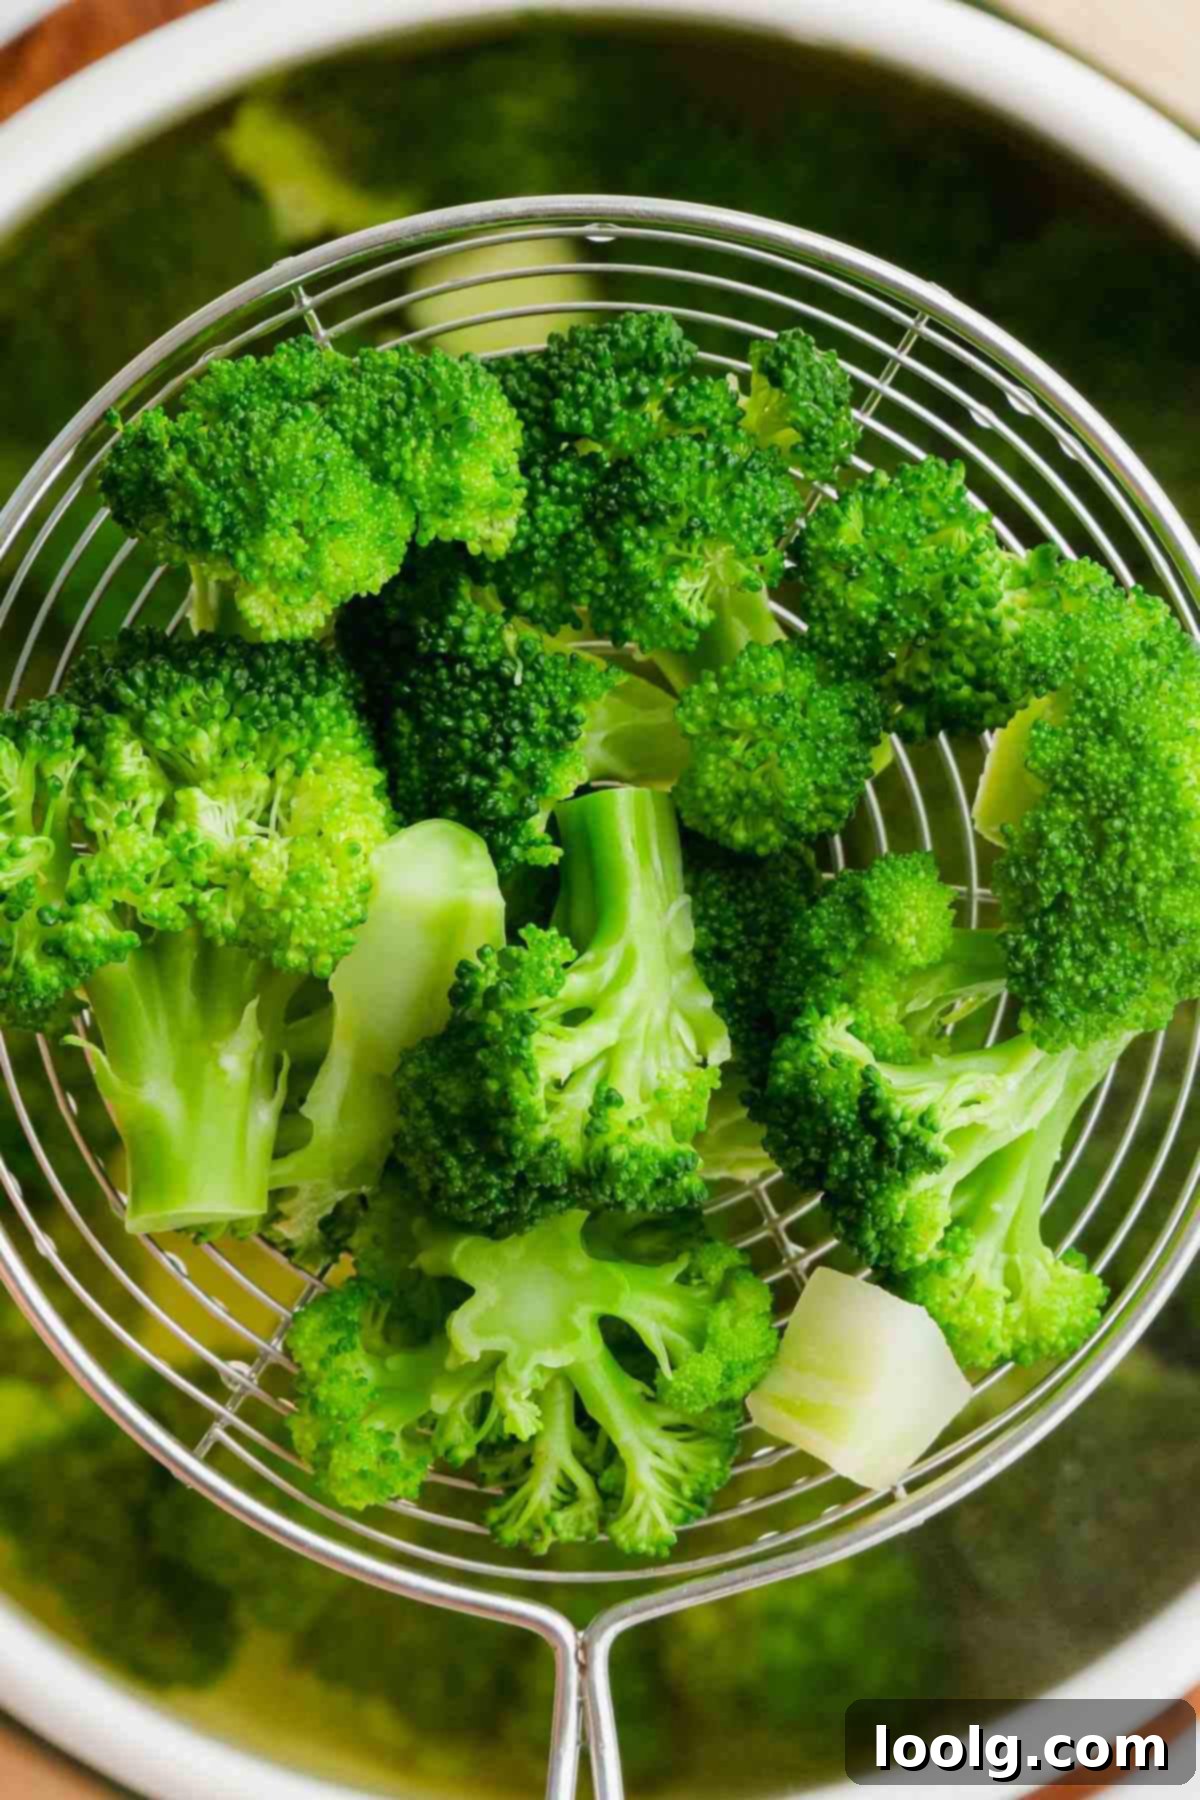
The broccoli should turn a bright, vivid green and be just slightly tender when pierced with a fork, but still have a pleasant bite.
- Immediately Transfer to Ice Bath: Using a slotted spoon or a fine-mesh sieve, quickly remove the blanched broccoli from the boiling water. Do not let it sit in the hot water a moment longer than necessary. Immediately plunge all the broccoli into the prepared ice bath.
- Cool Completely: Allow the broccoli to sit in the ice bath for the same amount of time it was in the boiling water, or until it is completely cooled. This crucial step immediately stops the cooking process, locking in that vibrant green color and crisp-tender texture. It prevents the broccoli from becoming dull, mushy, or tasteless due to overcooking.
- Drain and Dry: Once thoroughly cooled, remove the broccoli from the ice bath and drain it well. Lay the blanched broccoli on a clean kitchen towel or several layers of paper towels and pat it thoroughly dry. Excess moisture can dilute flavors or lead to freezer burn if you plan to freeze it.
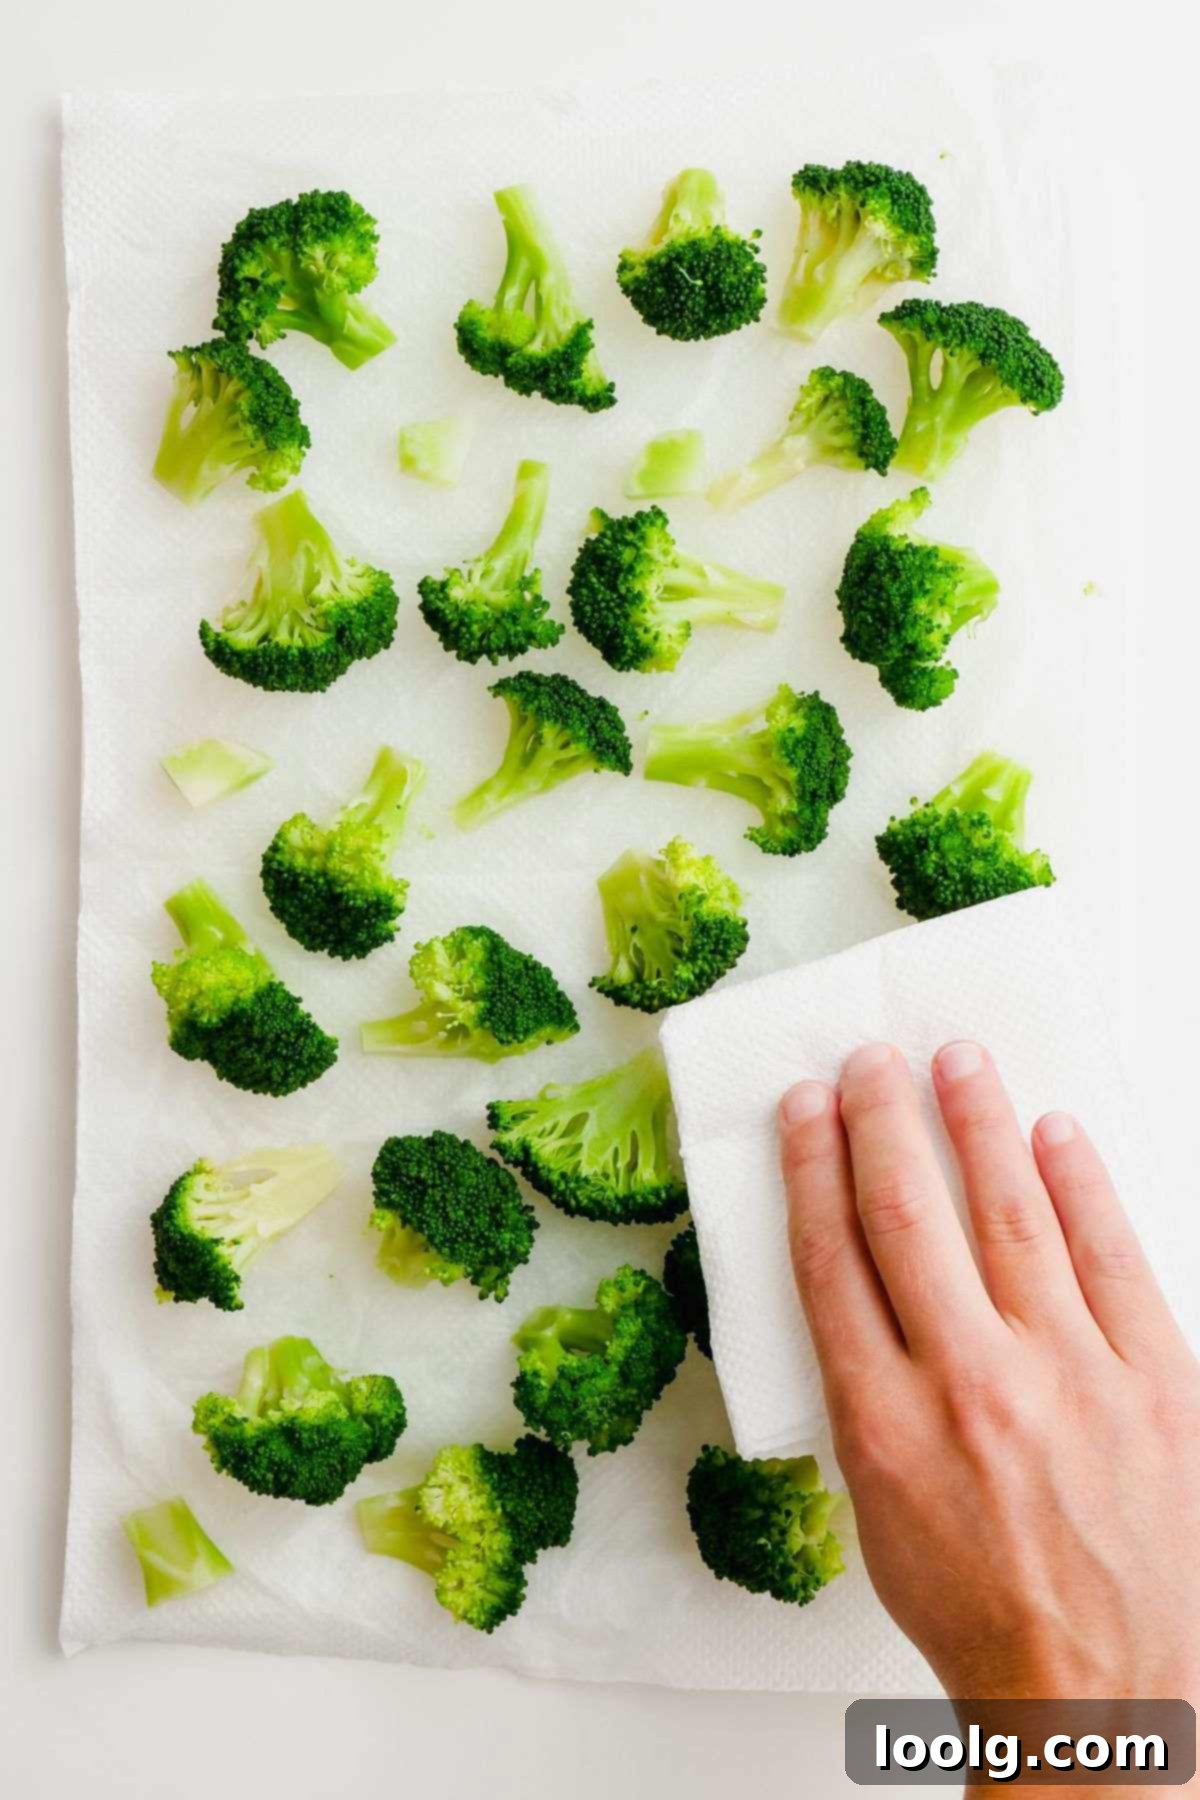
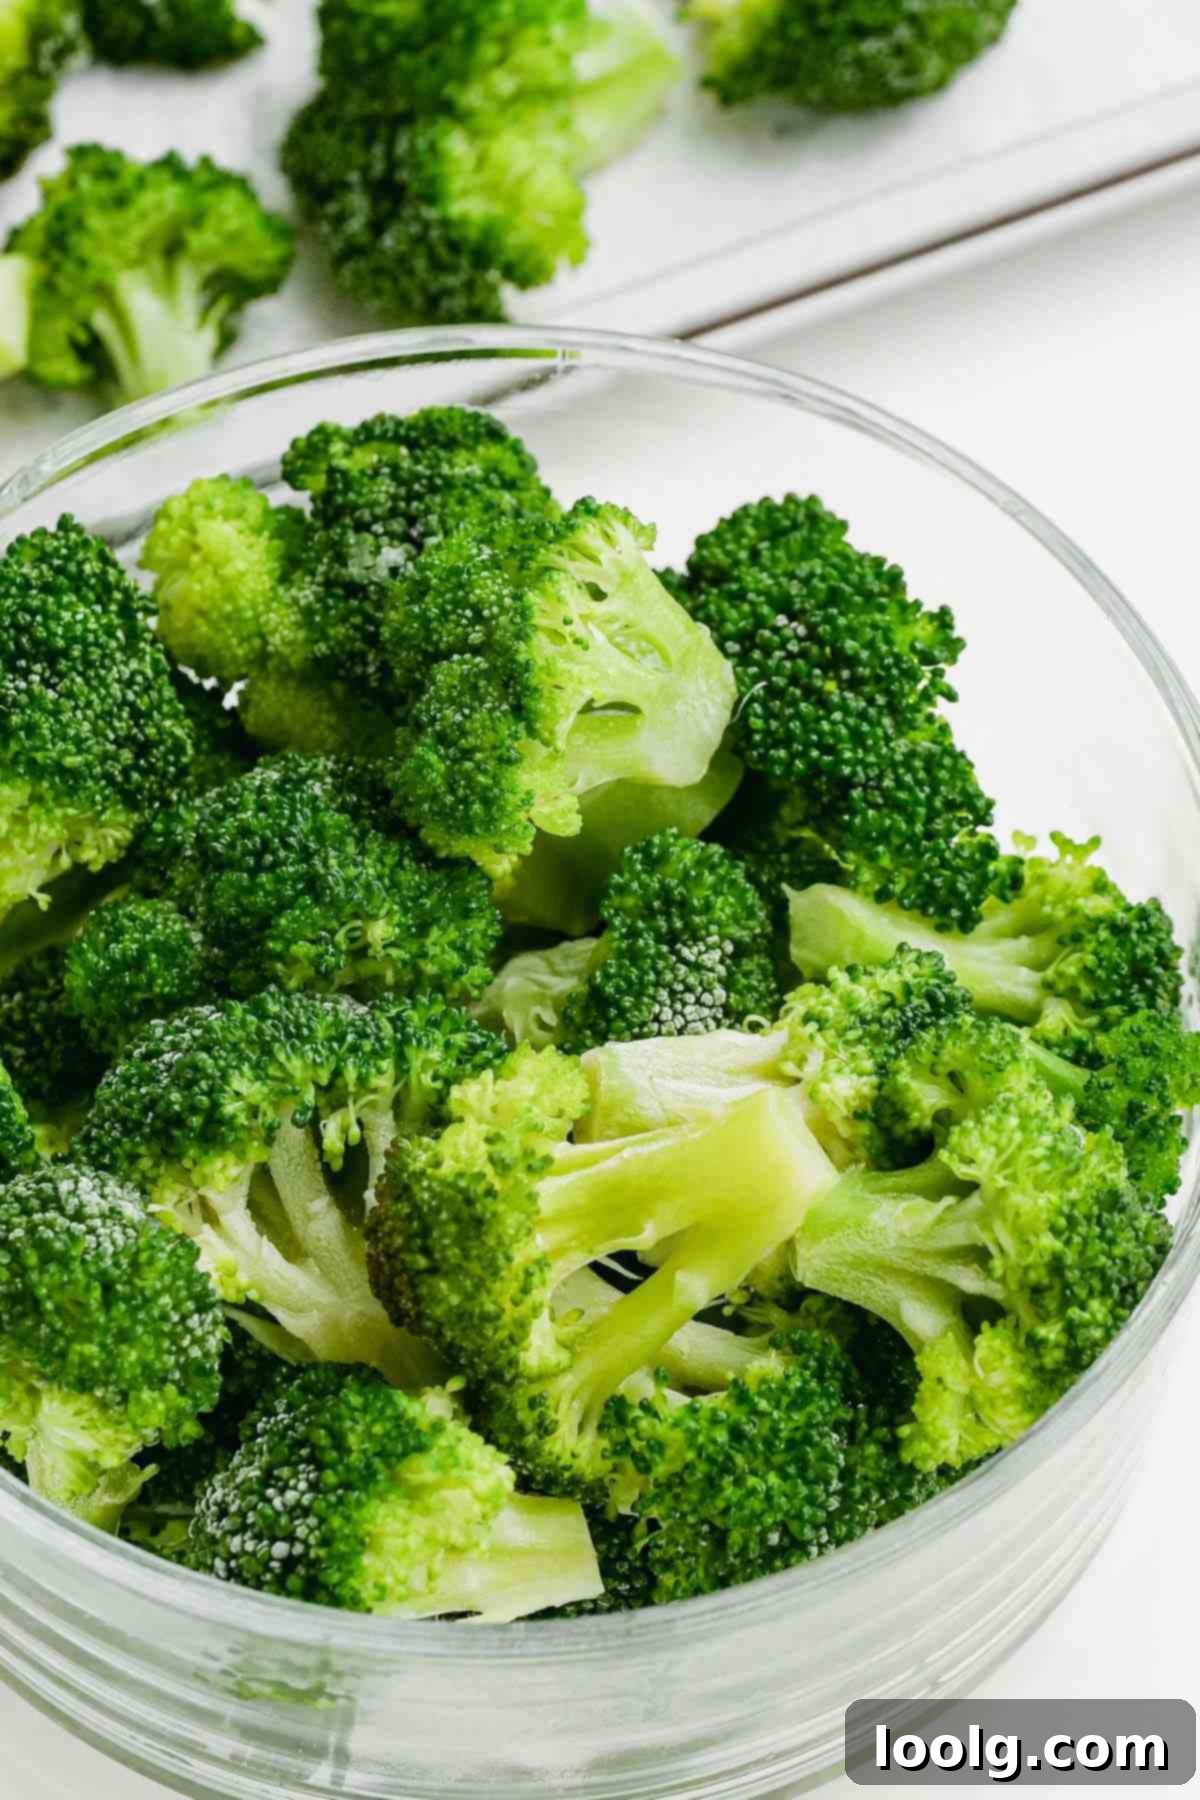
Your blanched broccoli is now ready to be used immediately in your favorite recipes or prepared for storage. Stored in an airtight container, blanched broccoli can last for several days in the refrigerator, perfect for quick meal additions like salads, veggie bowls, or healthy soups.
Can I Freeze Blanched Broccoli? Absolutely!
Freezing blanched broccoli is an excellent way to preserve its freshness, nutrients, and quality for extended periods. In fact, blanching is an essential preparatory step before freezing almost any vegetable. Raw vegetables contain enzymes that, even at freezing temperatures, can slowly degrade their flavor, texture, and color over time. Blanching deactivates these enzymes, ensuring that your frozen broccoli retains its best qualities when you’re ready to use it months later.
After your broccoli has been blanched, thoroughly cooled, and meticulously dried (removing as much surface moisture as possible is key!), you can prepare it for freezing. While you could simply transfer the dried blanched broccoli directly into an airtight plastic bag and toss it into the freezer, we highly recommend taking an extra step: flash freezing.
Flash freezing significantly enhances the quality of your frozen broccoli, helping to retain its cellular structure and nutrients, which translates to a better texture and flavor when thawed. It also prevents the formation of large ice crystals, which can damage the vegetable’s integrity and make it mushy. With flash-frozen broccoli, you’ll enjoy a product that’s much closer to fresh.
What Exactly is Flash Freezing?
Flash freezing is a technique used to rapidly freeze individual food items separately, often at extremely low temperatures, before combining them for long-term storage. This process prevents pieces from sticking together and preserves the food’s quality by minimizing ice crystal formation and cellular damage.
While professional kitchens and food processing plants use sophisticated machinery for industrial flash freezing, home cooks can easily replicate the benefits of flash freezing with standard kitchen equipment. The goal is to freeze each piece of broccoli individually before it has a chance to clump together.
How to Flash Freeze Broccoli at Home:
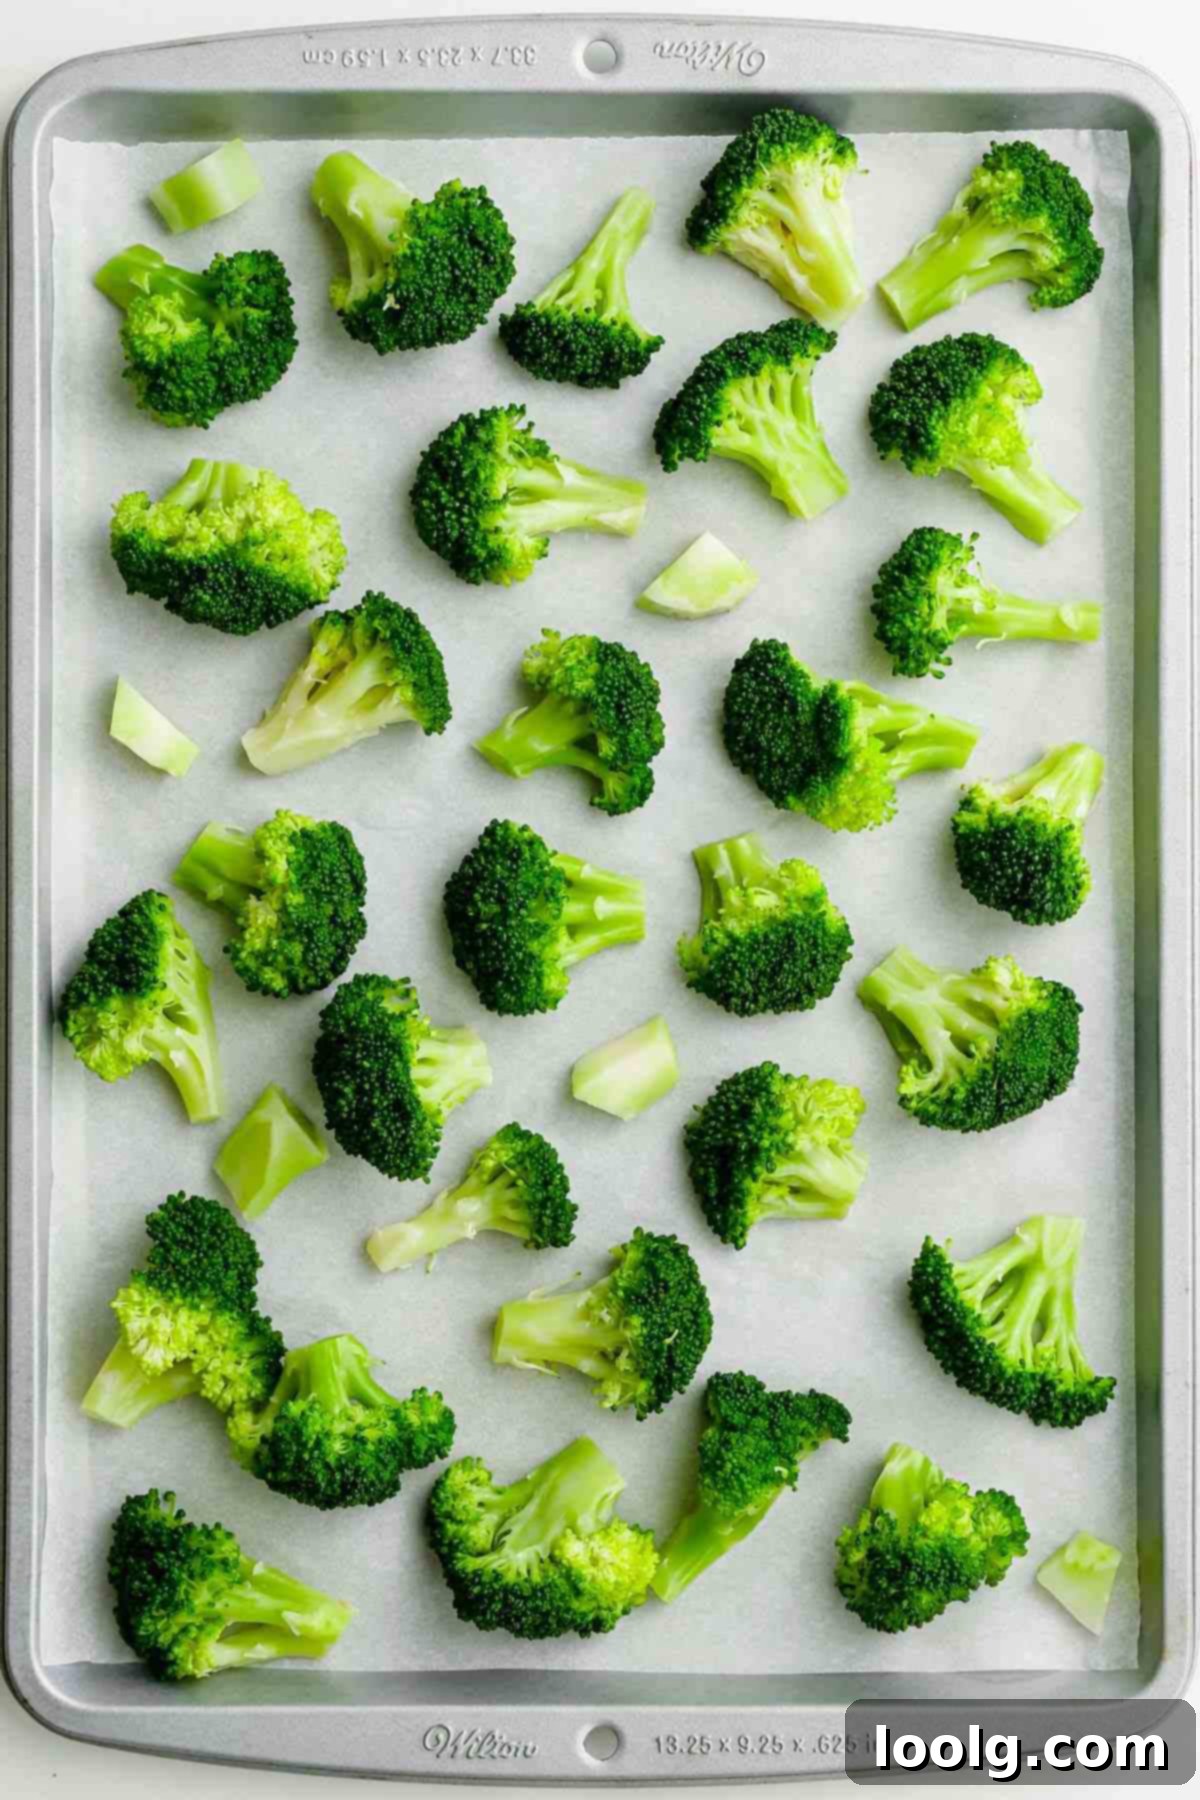
- Single Layer: After blanching and thoroughly drying your broccoli florets, spread them out in a single layer on a baking sheet. Make sure the florets are not touching each other as much as possible. Using parchment paper on the baking sheet can prevent sticking and make transfer easier.
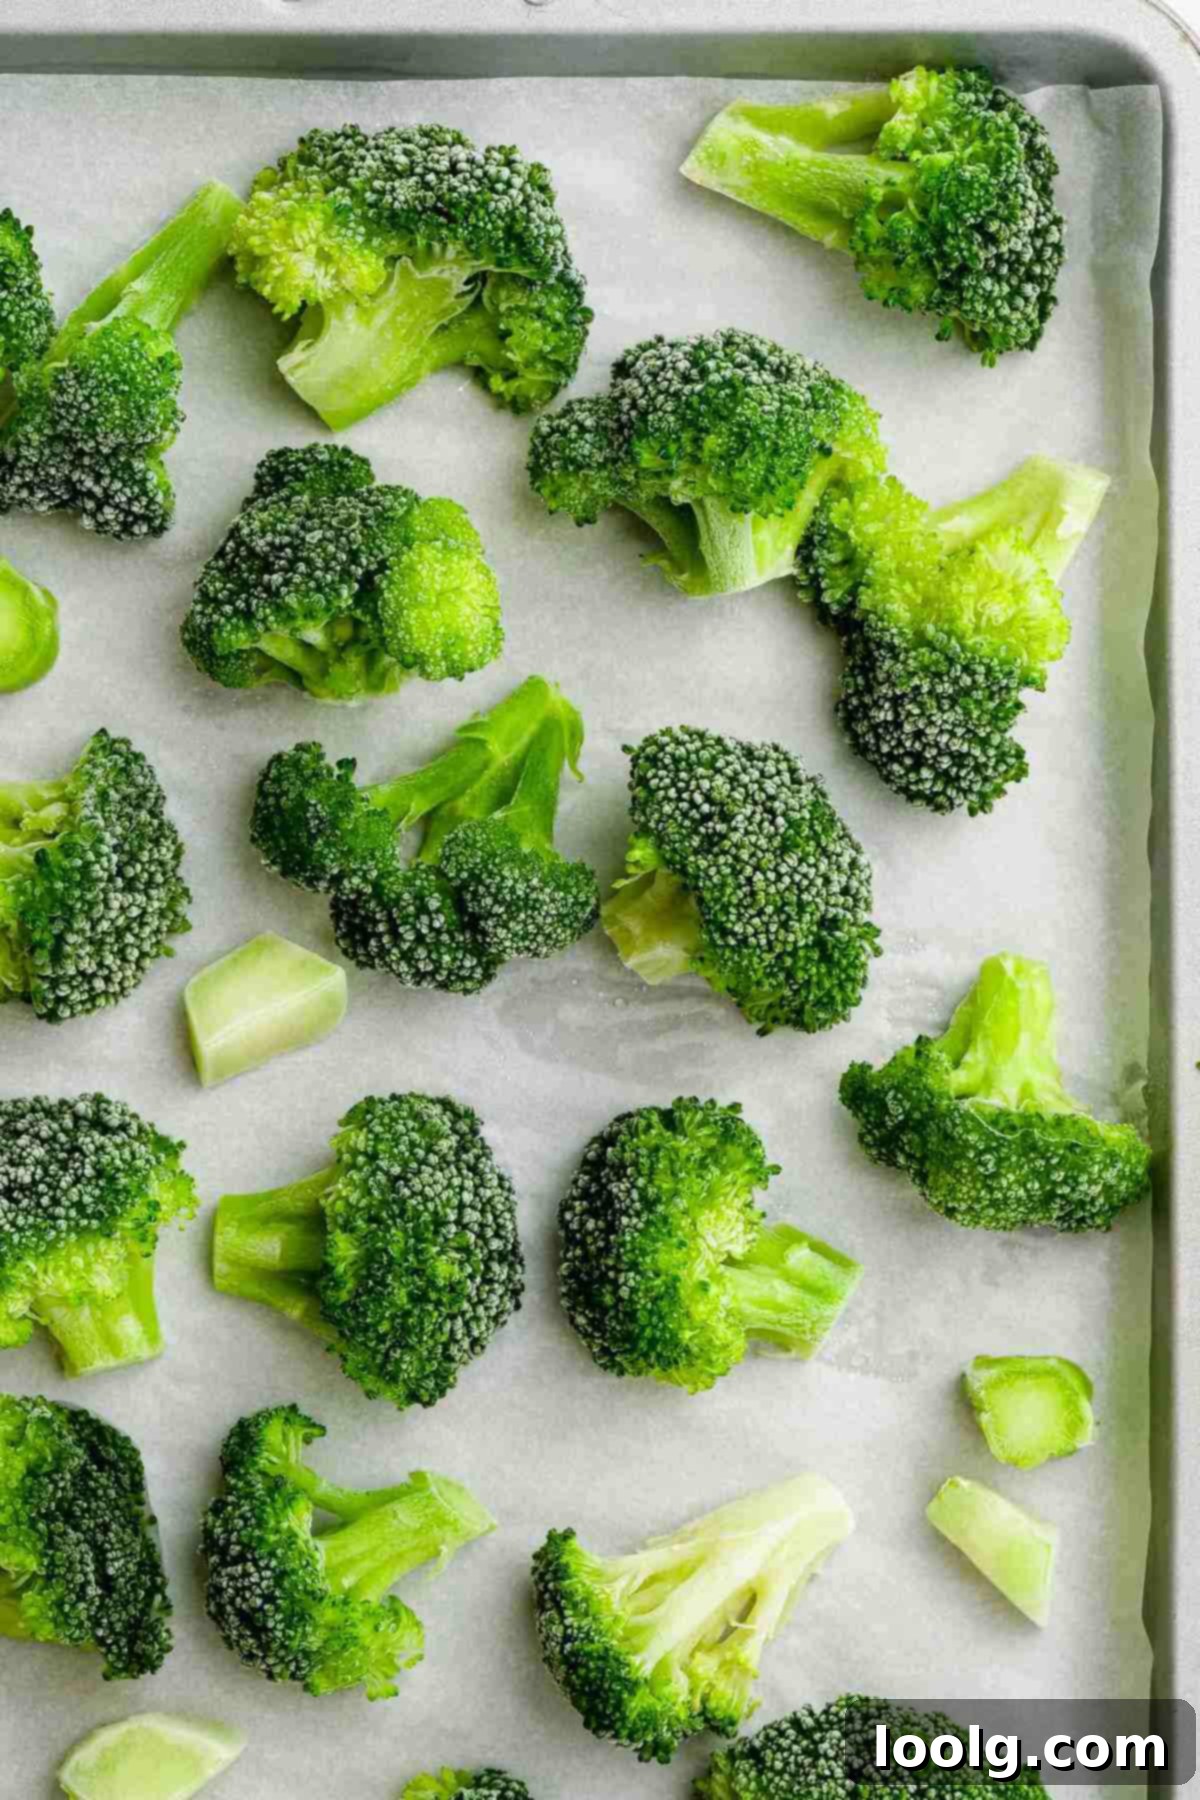
- Freeze Solid: Place the baking sheet into your freezer for approximately 1 to 2 hours, or until the broccoli pieces are completely frozen solid. Ensure your baking sheet fits comfortably in your freezer without tilting or touching other items.
- Transfer to Storage: Once the broccoli florets are frozen solid and can be easily separated, transfer them from the baking sheet into airtight freezer bags or containers. Remove as much air as possible from freezer bags to prevent freezer burn.
- Label and Date: Always label your freezer bags or containers with the contents (e.g., “Blanched Broccoli Florets”) and the date it was frozen.
This freezing method is incredibly beneficial because it keeps individual pieces from fusing together into a large, unmanageable block. This allows you to easily portion out the exact amount of broccoli you need for a recipe, rather than having to thaw and cook an entire large batch. Flash-frozen blanched broccoli can be stored in the freezer for up to one year without significant loss of quality.
Thawing Flash-Frozen Broccoli:
When you’re ready to use your flash-frozen blanched broccoli, you generally don’t need to thaw it completely before cooking. For most recipes, you can add it directly to stir-fries, soups, or casseroles, allowing it to thaw and cook as part of the dish. If a recipe calls for thawed broccoli, simply place the desired amount at room temperature for a short period, or for quicker thawing, put it in a freezer bag and submerge it in cool (not warm!) water. Avoid thawing in warm water, as this can kickstart the cooking process unevenly, leading to tough or rubbery results.
Conclusion
Blanching broccoli is a simple technique with profound benefits, from preserving its vibrant color and crisp-tender texture to extending its shelf life through freezing. By mastering the steps of cutting, blanching, and flash-freezing, you’re not only making your meals more appealing but also ensuring you always have a healthy, versatile vegetable ready at your fingertips. It’s a small effort that yields big rewards in the kitchen, proving that healthy eating can also be incredibly convenient and delicious.
If you have any further questions about how to blanch broccoli or incorporate it into your cooking, feel free to ask in the comments below. Enjoy your perfectly blanched broccoli!
How to Blanch Broccoli
Ingredients
- 1 1/2 pounds (680 grams) fresh broccoli from about 3 large heads
- 1 1/2 tablespoons salt
Instructions
-
Begin by preparing the broccoli: trim about an inch off the very bottom of the trunk. If the core looks dried or woody, continue trimming until you reach the tender, light green part.
-
Remove any leaves. Using a vegetable peeler, carefully peel away the tough outer skin from the stem to reveal the more tender interior.
-
Cut the peeled trunk into uniform 1/2-inch pieces.
-
Detatch the florets from the main head, then cut them into bite-sized 1 1/2-inch pieces. Aim for uniform sizes for even cooking.
-
Fill a large pot with water and add the salt. Bring this salted water to a rapid, rolling boil over high heat.
-
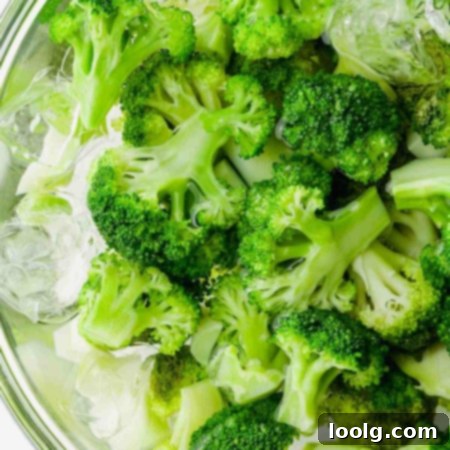
While the water is heating up, prepare your ice bath. Fill a large bowl generously with ice cubes and cold water; have it ready next to the stove.
-
Gently lower the prepared broccoli florets (and stems, if using) into the rapidly boiling water. Cook for 2 to 3 minutes, depending on the size of the florets. The broccoli should become a vibrant green and be just barely tender, still having a slight bite.
-
Using a slotted spoon, quickly remove the blanched broccoli from the boiling water and immediately plunge it into the prepared ice bath to stop the cooking process.
-
Allow the broccoli to cool completely in the ice water (do not let it sit longer than necessary after cooling). Once fully cooled, remove it from the water and pat dry thoroughly with paper towels.
-
For freezing, spread the dried broccoli in a single layer on a baking sheet. Freeze for at least 2 hours until solid, then transfer to airtight containers or freezer bags. Label with the current date.
Notes
- Don’t skip the ice bath – This critical step immediately stops the cooking process, ensuring your broccoli remains crisp, vibrant green, and perfectly tender.
- Adjust cooking time – For softer broccoli, add an extra 30 seconds to the boiling time. If you prefer your broccoli extra-crisp with more bite, reduce the boiling time by 30 seconds.
