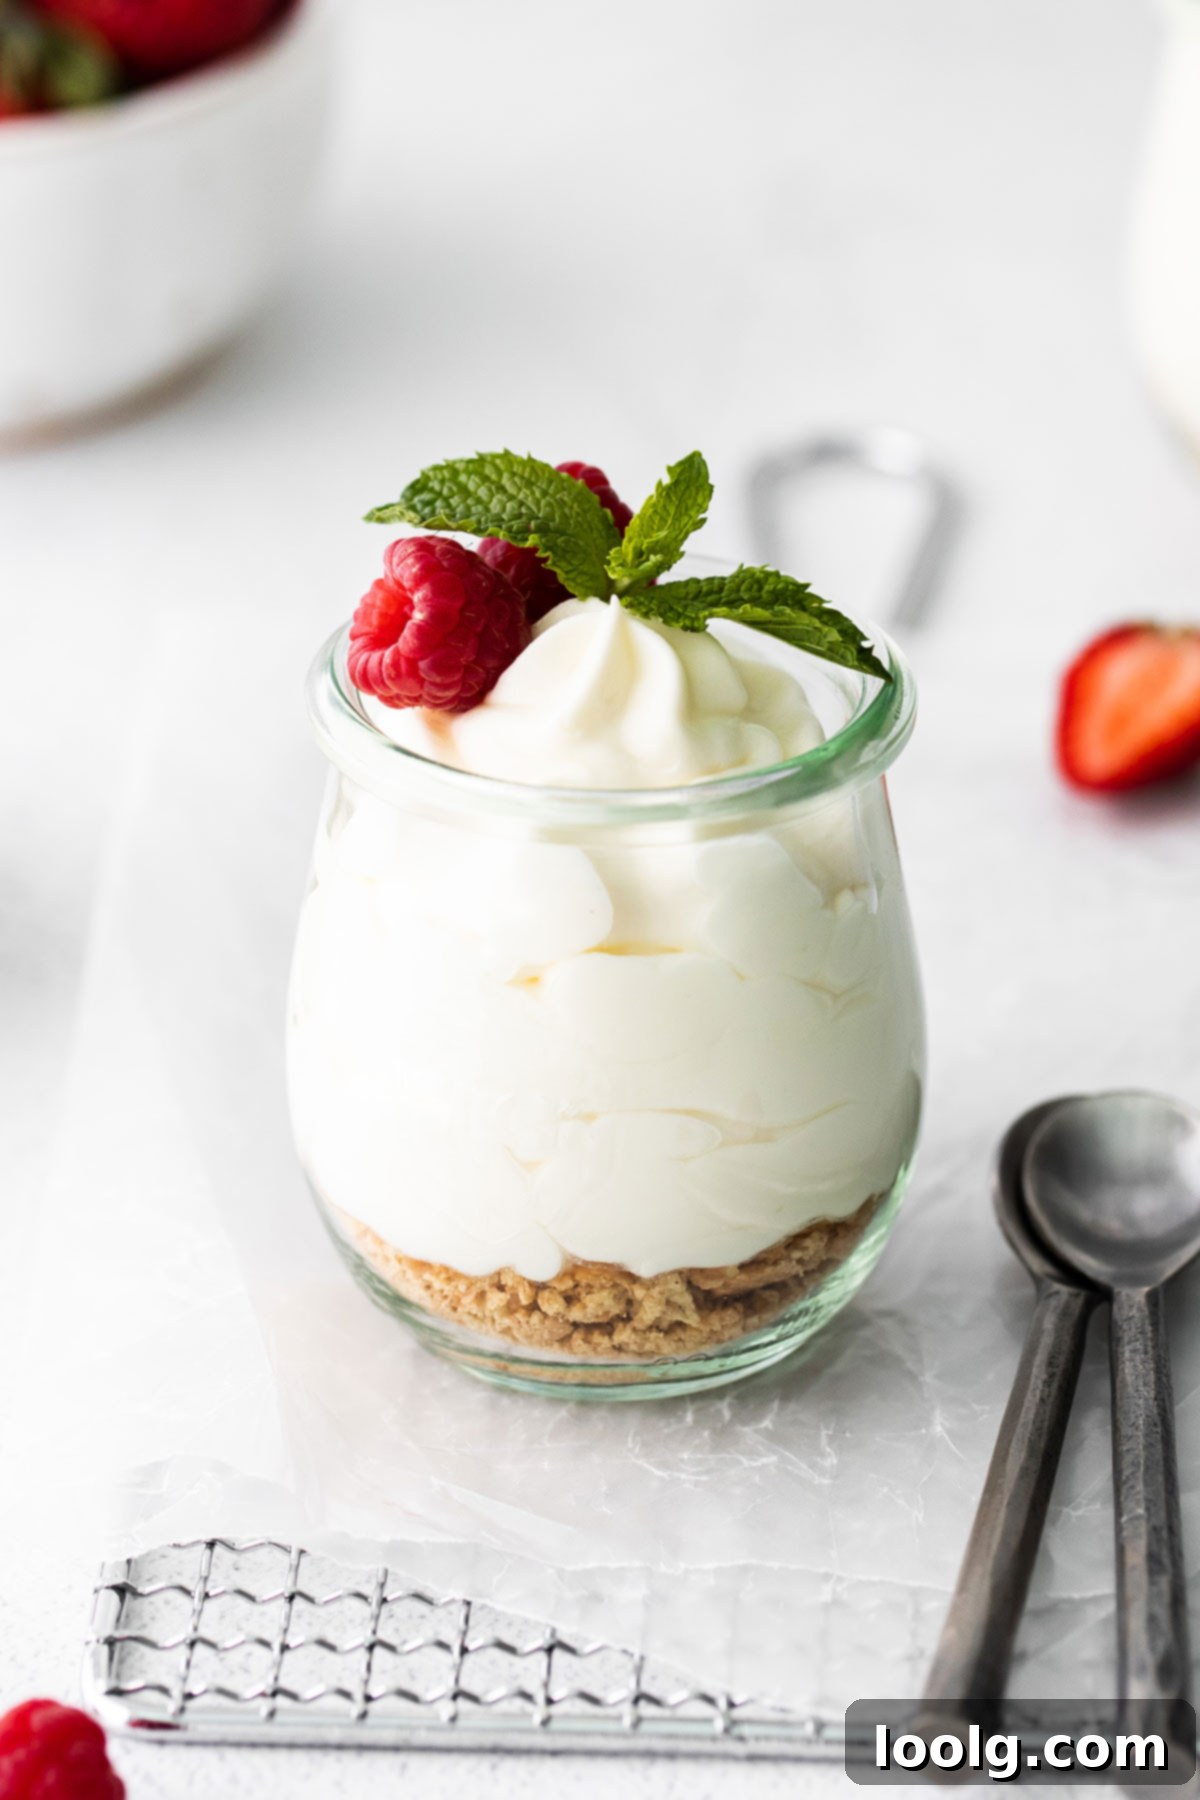
Effortless No-Bake Cheesecake Mousse: Your Quick & Decadent Dessert Solution
Are you craving the rich, creamy taste of cheesecake without the hassle of baking, a springform pan, or a lengthy oven time? Look no further than this incredibly simple, utterly delightful Cheesecake Mousse! It’s the perfect solution for anyone who loves cheesecake but desires a quick, easy, and no-fuss alternative. This mousse captures the essence of a classic cheesecake: it’s wonderfully light, irresistibly fluffy, and utterly decadent, striking that ideal balance between tart and sweet. So straightforward to prepare, you might just find yourself preferring your cheesecake served elegantly in a glass from now on. Plus, it’s naturally both egg-free and gluten-free, making it a crowd-pleaser for various dietary needs.
One of the best aspects of this versatile dessert is how easily it can be customized with a variety of toppings. Picture it adorned with a generous handful of fresh, vibrant berries, a delicate sprig of fresh mint for a hint of herbaceous freshness, a sprinkle of bright citrus zest, or drizzled with a luscious fruity sauce. For gatherings, consider setting up a charming toppings bar, allowing your guests to personalize their own cheesecake mousse creations just the way they like them. This interactive element not only adds to the fun but also caters to diverse palates, making your dessert truly memorable.
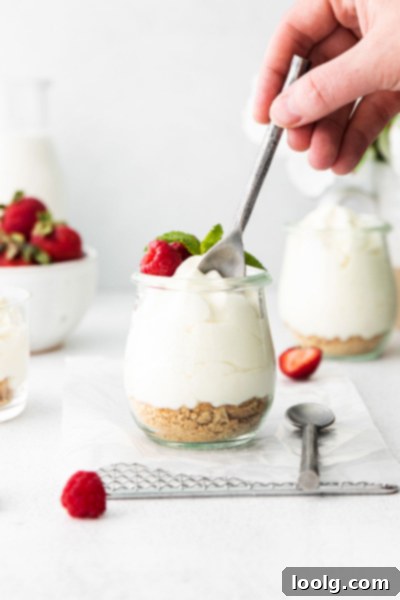
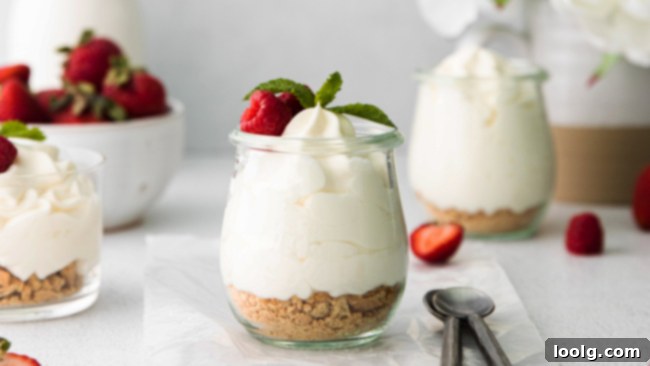
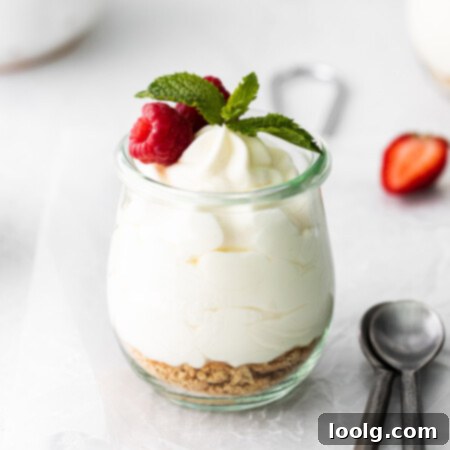
Beyond its incredible flavor, the inherent elegance of this no-bake cheesecake mousse makes it a show-stopping dessert. The presentation can elevate a simple treat into something truly special. For larger crowds or cocktail parties, serving this mousse in tiny shot glasses offers a sophisticated, bite-sized delight. If you prefer more substantial servings, piping the mousse into small mason jars or charming dessert bowls creates an inviting and personalized experience. While any serving dish will work, if you’re aiming for that extra touch of sophistication, definitely bring out your finest fancy glassware. The visual appeal of the mousse layered with colorful toppings in a beautiful glass is simply enchanting.
This recipe is designed to serve four, making it perfect for an intimate dinner or a small family treat. However, its simplicity means you can effortlessly double or even triple the recipe to accommodate larger events. Imagine serving these delightful individual cheesecakes at a Fourth of July barbecue, a romantic Valentine’s Day dinner, or as a festive treat during Christmas celebrations. The sheer versatility provided by the endless topping options ensures this mousse is a super adaptable dessert suitable for any time of year or any special occasion. It’s truly a dessert that adapts to your needs, whether you’re hosting a grand party or simply indulging in a quiet evening at home.
What sets this creamy cheesecake mousse apart is its ability to deliver delightfully impressive results with minimal effort – exactly the kind of recipe we all love! In just about 10 minutes of active prep time, you can have a decadent, luscious dessert ready to chill and enjoy. This ease of preparation doesn’t compromise on flavor or texture, providing a rich, satisfying experience that tastes like it took hours to create.
Simple & Essential Ingredients for Your Cheesecake Mousse
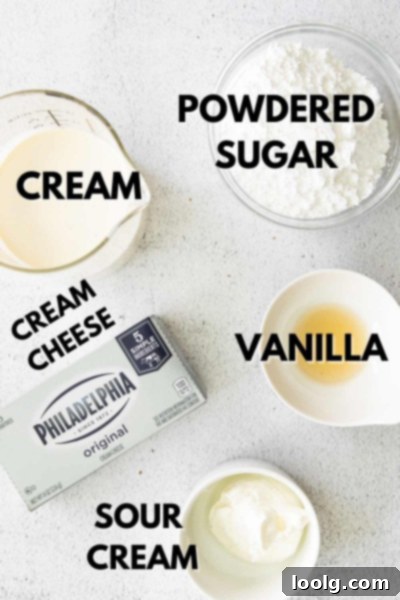
Crafting this exquisite no-bake cheesecake mousse requires only a handful of readily available ingredients, proving that extraordinary desserts don’t need complicated lists. Each component plays a vital role in achieving that perfect cheesecake flavor and luxurious texture. Here’s what you’ll need:
- Heavy Cream: The foundation of our light and airy mousse, whipped to perfection to provide structure and creaminess.
- Cream Cheese (softened): The star ingredient, delivering that signature tangy and rich cheesecake flavor. Ensure it’s softened to room temperature for a smooth, lump-free mixture.
- Sour Cream (optional): This ingredient is a secret weapon for adding an extra layer of delightful tang and a slight lightness to the mousse, mimicking classic cheesecake profiles.
- Powdered Sugar: Also known as confectioners’ sugar, it sweetens the mousse and dissolves effortlessly, ensuring a silky-smooth consistency without any graininess.
- Pinch of Salt: A small but mighty addition that enhances all the other flavors, balancing the sweetness and richness.
- Vanilla Extract: Provides a warm, classic flavor foundation that complements the cream cheese beautifully.
- *Optional Toppings: While the mousse is divine on its own, toppings elevate the experience. Consider crushed graham crackers for a traditional crust-like crunch, seasonal fresh berries for bursts of juicy flavor, fresh mint for aromatic appeal, or a homemade blueberry sauce for an added layer of sweetness and fruitiness. We’ll explore many more exciting topping ideas later to make this treat truly amazing.
How to Make Irresistible No-Bake Cheesecake Mousse: A 10-Minute Guide
Prepare to be amazed at how quickly this luscious dessert comes together! This cheesecake mousse recipe requires only about 10 minutes of active preparation, making it an ideal choice for last-minute cravings or spontaneous entertaining. Follow these straightforward steps to create a show-stopping dessert:
- Whip the Heavy Cream: Begin by pouring the heavy cream into a clean, chilled mixing bowl. Using an electric mixer fitted with a whisk attachment (or a strong hand whisk and some patience!), beat the heavy cream on medium-high speed until it forms stiff peaks. This means the cream will hold its shape firmly when the whisk is lifted. Carefully transfer the whipped cream to a separate bowl and set it aside. If you’re using a hand whisk, prepare for a good arm workout and remember to alternate hands for a more even whip!
- Prepare the Cream Cheese Mixture: Return to your mixing bowl (no need to wash it after whipping cream!). Swap the whisk attachment for a paddle attachment on your electric mixer. Add the softened cream cheese and sour cream (if using) to the bowl. Beat these ingredients together on medium speed until the mixture is perfectly smooth and free of any lumps. Scrape down the sides of the bowl as needed to ensure everything is thoroughly combined.
- Sweeten and Flavor: With the mixer running on low speed, gradually add the powdered sugar to the cream cheese mixture. Once the sugar is fully incorporated, add the pinch of salt and the vanilla extract. Increase the speed to medium and continue beating for another 1-2 minutes until the mixture is light, fluffy, and completely smooth. Taste and adjust sweetness if desired.
- Gently Fold in Whipped Cream: This is a crucial step for maintaining the airy texture of the mousse. Using a silicone spatula, gently fold the reserved whipped heavy cream into the cream cheese mixture. Use a light, lifting motion, being careful not to deflate the air you’ve incorporated. Continue folding until no streaks of cream cheese or whipped cream remain, and the mixture is uniformly combined and light.
- Chill and Serve: Once your mousse is perfectly blended, spoon or pipe it into your favorite serving dishes – be it elegant glasses, mason jars, or individual bowls. Cover the dishes loosely with plastic wrap and refrigerate for at least 1 hour. This chilling time is essential for the mousse to firm up and for the flavors to meld beautifully. When you’re ready to serve, add your chosen toppings and enjoy this exquisite, homemade treat!
If you have any leftover mousse (a rare occurrence!), store it in an airtight container in the fridge. It will keep beautifully for a couple of days, though its peak freshness and fluffiness are best enjoyed within the first 24-48 hours. For optimal taste and texture, allowing the mousse to chill for at least an hour (or even overnight) before serving truly enhances its decadent qualities.
Do I Have to Use Sour Cream in Cheesecake Mousse?
The addition of sour cream is entirely optional, a matter of personal preference, but it definitely plays a role in enhancing the overall flavor profile of this cheesecake mousse. Sour cream contributes a lovely, subtle tang that helps to cut through the richness of the cream cheese and heavy cream, preventing the dessert from being overly sweet or heavy. If you’re accustomed to traditional cheesecakes that often incorporate sour cream for its signature zesty note, then you’ll likely appreciate its inclusion here. It adds a touch of complexity and brightness. However, if you typically prefer your cheesecakes on the sweeter, less tangy side, or if you simply don’t have sour cream on hand, feel free to leave it out. The mousse will still be incredibly delicious and creamy without it.
A Note on Choosing the Right Cream Cheese
The quality and type of cream cheese you use are paramount to the success of your homemade cheesecake mousse. For the best results, always opt for full-fat block cream cheese. You can use a light cream cheese, such as ⅓ less fat cream cheese (like Philadelphia Neufchâtel cheese), in place of the full-fat version, and it will still yield good results, albeit with a slightly less rich texture. However, I strongly advise against using whipped cream cheese. Whipped cream cheese often contains added air and stabilizers that can lead to a runny or inconsistent mousse texture.
For those living outside of the US, particularly in Europe, you might notice that cream cheese varieties can differ significantly, even from the same brand. European cream cheese often comes in tubs and is designed more for spreading, containing higher water content than its American block counterpart. If you find yourself abroad and only have access to this type of cream cheese, don’t despair! Here’s a clever trick: purchase a 300-gram package of cream cheese (brands like Aldi or Lidl often work just as well as Philadelphia for this purpose). Place the cream cheese in a clean tea towel or a few layers of cheesecloth. Then, gently but firmly squeeze out the excess liquid until you are left with approximately 225 grams of denser, drier cream cheese. This crucial step will prevent your mousse from becoming disappointingly runny and ensure it sets up beautifully.
Can I Use Coconut Cream for a Dairy-Free Cheesecake Mousse?
I’ve experimented with using coconut cream in this recipe, and my initial attempt wasn’t entirely successful. The mousse turned out quite runny, largely because I hadn’t properly refrigerated the can of coconut milk beforehand. To extract thick coconut cream, you typically need to chill a full-fat can of coconut milk in the refrigerator overnight. This allows the solid coconut cream to separate and rise to the top, leaving the watery liquid at the bottom. I simply scooped out the cream from a room-temperature can, which resulted in a much thinner consistency.
While my first try was runny, the flavor was still quite pleasant. Therefore, if you correctly refrigerate the can of coconut milk first and carefully scoop out only the thick cream, it might just work! However, be aware that coconut cream whipped rarely achieves the same volume and fluffy texture as heavy dairy cream, so your mousse might not be as light and airy. If you decide to try this dairy-free alternative, be sure to use a brand of full-fat coconut milk that lists only “coconut” and “water” in its ingredients – avoid cans with stabilizers or other additives, as these can interfere with the whipping process.
Do I Have to Use Heavy Cream?
While heavy cream is recommended for the richest and most stable mousse, you can certainly use whipping cream instead. The main difference between heavy cream (which usually has 36-40% milk fat) and whipping cream (typically 30-35% milk fat) is the fat content. Whipping cream will still whip up beautifully, but the resulting mousse might be a bit softer in texture initially. Rest assured, once it chills thoroughly in the refrigerator, it should firm up nicely and still provide that delightful creamy consistency. So, if whipping cream is what you have on hand, go ahead and use it – your cheesecake mousse will still be a treat!
Can I Experiment with Other Extracts?
Absolutely! Vanilla extract provides a wonderful classic base, but this easy mousse recipe is incredibly adaptable to other flavor profiles. Feel free to get creative and experiment with different extracts to suit your taste or the occasion. For instance, a blend of half vanilla and half lemon extract can introduce a bright, zesty note, while almond extract can add a sophisticated, nutty aroma. You could also try:
- Lemon Zest: For an even more pronounced lemony version, finely grate in some fresh lemon zest along with or instead of lemon extract.
- Orange Extract/Zest: A hint of orange can add a lovely warmth and citrusy brightness.
- Peppermint Extract: Perfect for a festive holiday treat, especially when topped with chocolate shavings.
- Coffee or Espresso Extract: For a mocha-inspired twist, adding a touch of coffee extract can be surprisingly delicious.
- Rum Extract: A subtle splash of rum extract can add a touch of sophisticated warmth.
The possibilities are vast! Don’t hesitate to experiment and discover your favorite flavor combination. I’d love to hear which ones you try and which becomes your ultimate favorite!
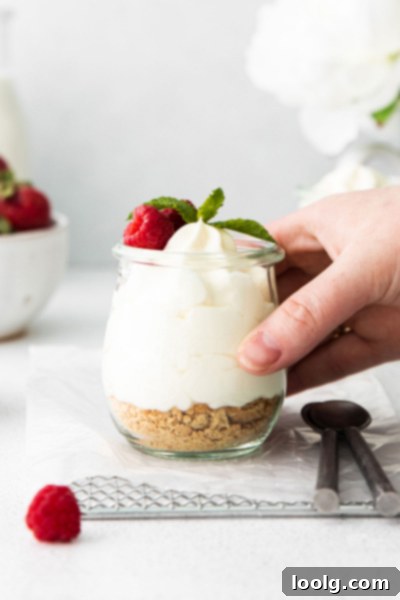
Can I Freeze This Cheesecake Mousse?
While you technically can freeze this cheesecake mousse in an airtight container for up to two months, I generally don’t recommend it for optimal taste and texture. Dairy products, especially those that have been whipped, tend to undergo textural changes when frozen and thawed. The mousse may become slightly watery, grainy, or lose some of its desirable light and fluffy consistency. It’s best enjoyed fresh.
Instead of freezing, I highly recommend prepping your mousse an hour or up to 12 hours ahead of time. This allows the flavors to truly meld together in the refrigerator, resulting in an even more delicious and cohesive dessert. The chilling time is essential for the mousse to set properly and achieve its ideal creamy texture. So, plan ahead and let it chill, rather than freeze, for the best possible experience.
Irresistible Cheesecake Mousse Toppings: Elevate Your Dessert!
The beauty of this no-bake cheesecake mousse lies not only in its effortless preparation but also in the endless possibilities for customization through toppings. Think of your favorite classic cheesecake toppings, and let your imagination run wild! While the mousse is undeniably tasty on its own, adding a garnish can transform it into a truly spectacular dessert. Remember, there’s no need to go overboard; sometimes, simplicity is key.
Fruity & Fresh Toppings:
- Fresh Berries: For a quintessential spring or summertime treat, fresh berries are always a hit. Think juicy strawberries, tart raspberries, plump blueberries, or glistening blackberries. A mix of seasonal berries adds both color and a burst of natural sweetness.
- Diced Fruits: Elevate the fruit factor with finely diced cherries, pineapple, mango, or peaches for a tropical or summery flair.
- Citrus Zest: A little lemon, lime, or orange zest grated over the top adds a bright, aromatic lift that complements the tangy cream cheese.
- Fresh Mint: A sprig of fresh mint not only adds a beautiful pop of green but also a refreshing, subtle herbal aroma and flavor.
- Fruity Sauces: Drizzle with a vibrant fruit sauce like this Blueberry Maple Syrup Sauce. It’s incredibly easy with just three ingredients and sweetened naturally with maple syrup, making it a paleo and vegan-friendly option. A homemade raspberry coulis or strawberry sauce would also be fantastic.
Crunchy & Textured Toppings:
- Crushed Graham Crackers: For that iconic cheesecake crust experience, sprinkle a generous amount of crushed graham crackers over your mousse. You can even try making your own with this 100% Whole Wheat Graham Cracker Recipe – a little extra effort that results in delicious extra snacks!
- Cookie Crumbs: For an Oreo-style chocolate cookie topping, use the crushed crust from these Mini Irish Cream Cheesecakes. This crust can be made with all-purpose, gluten-free, or whole wheat flour, offering great flexibility.
- Chopped Nuts: Toasted pecans, walnuts, or almonds can add a lovely crunch and earthy flavor.
- Granola: A sprinkle of your favorite granola can add a hearty crunch and extra flavor dimensions.
Indulgent & Decadent Toppings:
- Caramel Sauce: For a perfect fall topping, a drizzle of this Vegan Caramel Sauce is sublime. It’s paleo-friendly and also features only three simple ingredients.
- Chocolate Shavings or Chips: Dark, milk, or white chocolate shavings, or even mini chocolate chips, add a rich, luxurious touch.
- Whipped Cream: An extra dollop of freshly whipped cream can enhance the creamy texture.
- Lemon Curd: A spoonful of tangy lemon curd can create a delightful lemon cheesecake mousse variation.
- Boozy Additions: For an adult twist, a splash of liqueur like Irish cream (as seen in the Mini Irish Cream Cheesecakes recipe), Grand Marnier, or a fruit-flavored brandy can be folded into the mousse or drizzled over the top.
No matter which toppings you choose, this easy cheesecake mousse is sure to impress. Feel free to mix and match to create unique flavor combinations!
If you try this delightful mousse recipe or any other recipe you discover on our site, we would absolutely love to see your photos and hear about your experience! Please remember to tag 📸 and follow #fooddoodlesrecipes on Instagram so we can easily find and admire your culinary creations. Your feedback and shares truly make our day. Thank you!
Cheesecake Mousse
Ingredients
- 1 cup (240ml) heavy cream, very cold
- 8 ounces (225 grams) full-fat block cream cheese, softened to room temperature
- 1/4 cup (60ml) sour cream (optional, for added tang)
- 3/4 cup (90 grams) to 1 cup (120 grams) powdered sugar (adjust to taste)
- 1 1/2 teaspoons vanilla extract
- pinch of salt
- Optional Toppings: fresh mint, seasonal berries, crushed graham crackers, fruit sauces, chocolate shavings, etc.
Instructions
-
In a large, chilled mixing bowl, beat the very cold heavy cream with a stand mixer (fitted with the whisk attachment) or an electric hand mixer on medium-high speed. Continue beating until stiff peaks have formed, which usually takes about 2-3 minutes. The cream should hold its shape firmly when the whisk is lifted.
-
Carefully transfer the whipped cream to a separate bowl. Set aside in the refrigerator until you are ready to use it.
-
Remove the whisk attachment from your mixer and attach the paddle attachment. Add the softened cream cheese and the optional sour cream to the same mixing bowl you used for the heavy cream (there’s no need to clean it).
-
Mix on medium-high speed for approximately 1 minute, scraping down the sides of the bowl as needed, until the cream cheese mixture is completely smooth and well-combined, with no lumps.
-
With the mixer on low speed, gradually add 3/4 cup of the powdered sugar. Once incorporated, taste the mixture. If you prefer it sweeter (keeping in mind it will taste slightly less sweet once the whipped cream is folded in), add the remaining 1/4 cup of powdered sugar, a little at a time, until it reaches your desired sweetness.
-
After all the powdered sugar has been fully incorporated, pour in the vanilla extract and add the pinch of salt. Beat on medium speed for about 2 minutes until the mixture is truly smooth, light, and airy.
-
Gently add the reserved whipped heavy cream to the cream cheese mixture. Using a silicone spatula, carefully fold the whipped cream into the cream cheese mix. Use a light, lifting motion from the bottom to the top of the bowl, rotating the bowl as you go, until no streaks remain and the mousse is uniformly combined and airy. Avoid overmixing, as this can deflate the mousse.
-
Spoon or pipe the mousse into your desired serving dishes (glasses, jars, or bowls). Cover loosely with plastic wrap and refrigerate for at least 1 hour, or preferably 2-3 hours, to allow it to chill and set properly. Garnish with your desired toppings right before serving for the freshest appearance and texture.
-
Store any leftover mousse in an airtight container in the refrigerator for up to two days.
