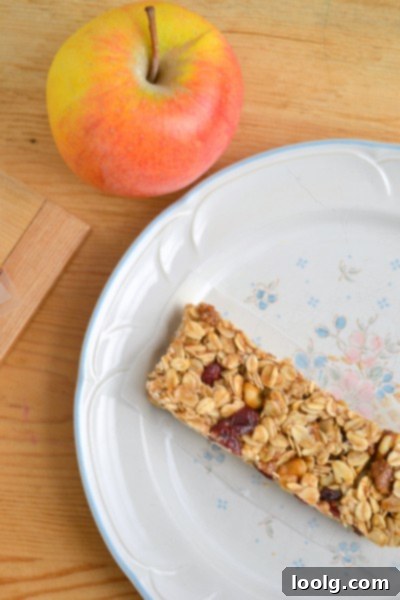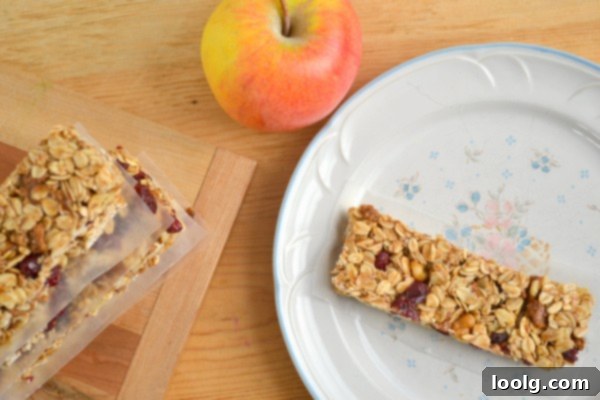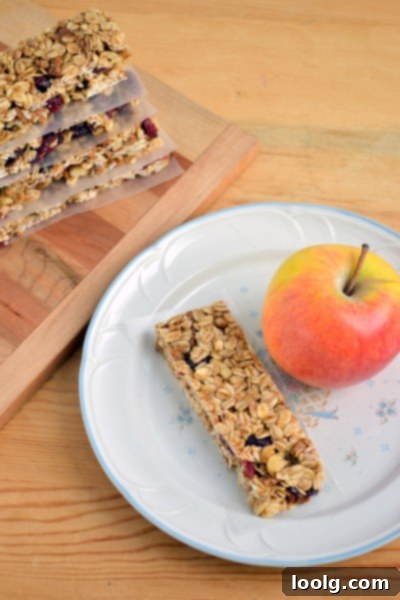
Irresistibly Easy No-Bake Cinnamon Cranberry Granola Bars: Your Go-To Healthy Snack!
Life can get incredibly busy, especially when you’re juggling daily responsibilities, family, and personal commitments. In the whirlwind of it all, healthy snacking often takes a backseat, leading many to grab less-than-ideal convenience foods. But what if you could have a delicious, wholesome, and energizing snack ready at a moment’s notice? Enter the magic of these No-Bake Cinnamon Cranberry Granola Bars!
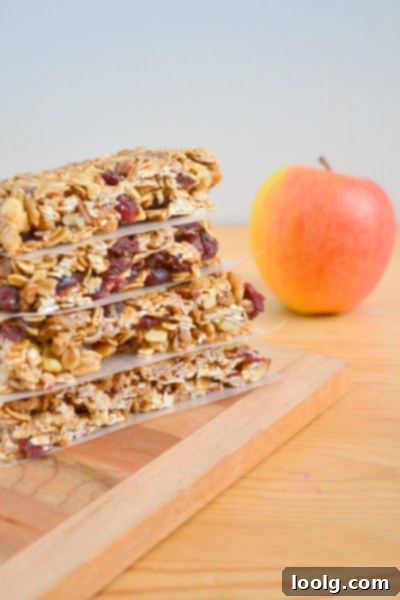
I distinctly remember the anticipation of sharing this recipe. I photographed these vibrant bars during my pregnancy, envisioning them as the perfect post-baby kitchen solution – quick, easy, and requiring minimal effort. As fate would have it, a new baby brings a new level of delightful chaos, and these pictures remained tucked away. Now, looking at my thriving little one, it’s clear how quickly time truly flies. But some things are worth the wait, and these granola bars are absolutely one of them. Their simplicity, incredible flavor, and the sheer convenience of being no-bake make them a true lifesaver for anyone seeking a healthy, satisfying treat without the fuss.
The Allure of No-Bake: Simplicity Meets Wholesome Goodness
No-bake recipes are a godsend for busy individuals, aspiring home cooks, or anyone looking to minimize time spent over a hot stove. The beauty of these cinnamon cranberry granola bars lies precisely in their no-bake nature. You won’t need to preheat an oven or worry about baking times, making them ideal for warm summer days or when your kitchen is already buzzing with other activities. This method ensures a perfectly chewy texture that’s incredibly satisfying, a delightful contrast to the often crumbly or overly dry store-bought varieties. Plus, the minimal heat involved helps preserve the nutritional integrity of the ingredients, giving you more wholesome goodness in every bite.
Beyond convenience, these homemade granola bars offer unparalleled control over what goes into your body. Forget hidden sugars, artificial flavors, and preservatives often found in commercial options. With this recipe, you’re in charge, selecting fresh, high-quality ingredients that cater to your dietary preferences and health goals. This is a significant advantage for those managing allergies, intolerances, or simply striving for a cleaner diet. Making your own snacks can be a rewarding step towards a healthier lifestyle, providing both peace of mind and delicious results.
Crafting the Perfect Granola Bar: Key Ingredients
The foundation of these delightful bars is a blend of simple, wholesome ingredients that come together to create a symphony of flavors and textures. Each component plays a vital role:
Old Fashioned Rolled Oats: The Heart of Your Granola Bars
Rolled oats are the primary structural component of these granola bars, providing that essential chewy texture and a wealth of nutritional benefits. They are a fantastic source of soluble fiber, which can help lower cholesterol, stabilize blood sugar levels, and keep you feeling full and satisfied. For those following a gluten-free diet, simply opt for certified gluten-free rolled oats to ensure your bars are safe for consumption. Do not use instant oats, as they absorb liquid differently and will result in a mushy texture rather than a firm bar.
Crispy Cereal: Adding that Perfect Crunch
To balance the chewiness of the oats, a crispy cereal is incorporated. This adds a wonderful textural contrast that elevates the whole experience. I initially experimented with a homemade crunchy cereal I was developing, but for consistent results and ease, a good quality crispy rice cereal is perfect. Brands like Erewhon offer excellent gluten-free options. The light, airy crunch of the cereal provides a satisfying counterpoint to the dense oats and soft cranberries.
Dried Cranberries: A Burst of Tartness and Color
Dried cranberries are a star ingredient, offering a lovely tartness that beautifully cuts through the sweetness of the honey and brown sugar. They also contribute a vibrant pop of color and a boost of antioxidants. While cranberries are featured here, they are easily interchangeable with other dried fruits like chopped apricots, raisins, or chopped dried cherries if you prefer a different flavor profile.
The Essential Binders and Sweeteners: Honey, Brown Sugar & Coconut Oil
The liquid component of this recipe is crucial for binding all the dry ingredients together and providing that irresistible chewiness. A combination of coconut oil, brown sugar, and honey creates a sticky, flavorful base. Coconut oil (or butter, if you prefer) adds richness and helps with solidification. Brown sugar contributes depth of flavor and a molasses-like sweetness that complements the cinnamon beautifully. However, the absolute star here for binding is the honey.
The Crucial Role of Honey: A Binding Secret
It’s important to highlight a critical detail about this recipe: it relies specifically on honey for its binding properties. Through trial and error, I discovered that maple syrup, while a delicious sweetener, does not yield the same firm, bar-like consistency. When used in this recipe, maple syrup tends to result in crumbles rather than solid bars, even if still tasty when served over yogurt. Honey’s unique chemical composition, particularly its higher viscosity and different sugar profile (fructose and glucose in specific ratios), allows it to create a much firmer, stickier matrix once cooled. This is what helps these bars hold their shape perfectly. So, for success, stick to honey!
Warm Spices and Extracts: Cinnamon & Vanilla
Finally, a touch of ground cinnamon and vanilla extract are added to infuse the bars with a comforting, aromatic warmth. Cinnamon pairs wonderfully with both oats and cranberries, creating a classic flavor combination. Vanilla enhances all the other flavors, adding a subtle sweetness and depth. Feel free to adjust the amount of cinnamon to your liking, or even experiment with a pinch of nutmeg or cardamom for an extra layer of spice.
Unleash Your Creativity: Customizing Your Granola Bars
One of the greatest joys of making homemade granola bars is the endless potential for customization. While the cinnamon cranberry combination is a personal favorite, this recipe serves as an excellent base for your culinary creativity. Here are a few ideas to get you started:
- Nuts and Seeds: Boost the protein and healthy fats by adding 1/2 cup of chopped walnuts (as I’ve done in some batches pictured), pecans, almonds, or even sunflower and pumpkin seeds. Toasting them lightly beforehand can enhance their flavor.
- Chocolate Delights: For a decadent twist, stir in 1/2 cup of chocolate chips or chopped dark chocolate after the wet ingredients have slightly cooled. Be cautious when mixing hot liquid with chocolate to prevent premature melting, which can make the mixture messy.
- Different Dried Fruits: Swap cranberries for other dried fruits like chopped apricots, golden raisins, dates, or even finely diced dried apples.
- Coconut Power: Add 1/4 cup of unsweetened shredded coconut for an extra layer of texture and tropical flavor.
- Spice Variations: Experiment with different spice combinations. A pinch of nutmeg, cardamom, or even a touch of ginger can add a unique twist.
- Nut Butters: For an even richer flavor and added protein, you could potentially stir in a tablespoon or two of a smooth nut butter (like almond or peanut butter) with the wet ingredients, but this might alter the texture slightly, so adjust other liquid components if necessary.
Don’t be afraid to experiment and find your perfect combination! Just remember that any additions might slightly affect the binding, so ensure your wet mixture is still sufficient to coat all the dry ingredients.
Homemade vs. Store-Bought: The Healthier Choice
In a world overflowing with convenience foods, choosing to make your own granola bars is a conscious step towards better health. Store-bought granola bars, while marketed as healthy, often contain excessive amounts of added sugars, unhealthy fats, and a long list of artificial ingredients and preservatives. By contrast, these homemade bars allow you to:
- Control Sugar Content: You dictate the amount and type of sweeteners.
- Choose Wholesome Fats: Coconut oil or butter offers healthier fat options than many commercial alternatives.
- Avoid Additives: No artificial flavors, colors, or preservatives.
- Customize for Dietary Needs: Easily make them gluten-free by using certified gluten-free oats and cereals.
- Save Money: Making snacks from scratch is almost always more cost-effective in the long run.
Beyond the health benefits, there’s an undeniable satisfaction that comes from creating something delicious and nourishing with your own hands. These bars are not just a snack; they’re an investment in your well-being.
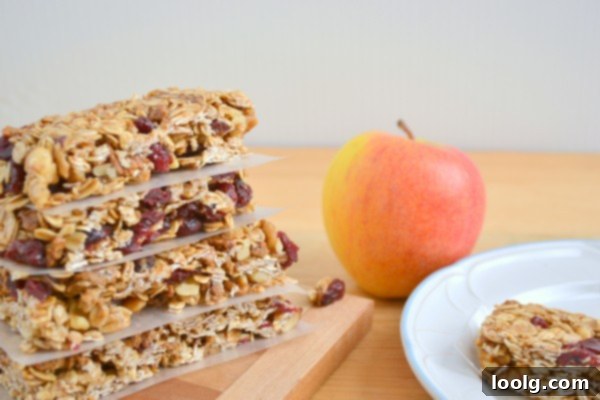
Chewy Cinnamon Cranberry No-Bake Granola Bars
These incredibly easy and delicious no-bake granola bars are packed with wholesome oats, tart cranberries, and warm cinnamon. Perfect for a quick breakfast, an energizing snack, or a healthy dessert!
Author: Erin Dooner
Print Recipe
Ingredients
- 2 cups old fashioned rolled oats (ensure they are certified gluten-free if needed)
- 1/2 cup crispy cereal (such as crispy brown rice cereal)
- 3/4 cup dried cranberries
- 1/4 cup coconut oil (or unsalted butter)
- 1/4 cup packed brown sugar
- 1/4 cup honey (essential for binding!)
- Pinch of sea salt
- 1 teaspoon vanilla extract
- 1 teaspoon ground cinnamon
Instructions
- Prepare Your Pan: Lightly grease an 8×8 inch square baking pan. For easier removal, you can also line the pan with parchment paper, leaving an overhang on all sides. Set aside.
- Combine Dry Ingredients: In a large mixing bowl, combine the rolled oats, crispy cereal, and dried cranberries. Stir these ingredients well to ensure they are evenly distributed. Set the bowl aside.
- Prepare Wet Binding Mixture: In a small saucepan, combine the coconut oil (or butter), brown sugar, honey, and a pinch of sea salt. Place the saucepan over medium heat.
- Heat and Dissolve: Stir the mixture continuously as it heats up, ensuring the brown sugar completely dissolves and the mixture becomes smooth.
- Boil and Cook: Bring the liquid mixture to a gentle boil. Once boiling, reduce the heat slightly to maintain a simmer and cook for exactly 2 minutes, stirring occasionally. This step is crucial for activating honey’s binding properties.
- Add Flavorings: Remove the saucepan from the heat. Immediately stir in the vanilla extract and ground cinnamon until they are well combined with the hot liquid.
- Combine Wet and Dry: Pour the hot liquid mixture directly over the dry ingredients in the large bowl. Stir everything together very thoroughly, making sure all the oats, cereal, and cranberries are uniformly coated with the sticky binding mixture. This ensures the bars will hold together.
- Press into Pan: Transfer the entire mixture into your prepared 8×8 inch pan. Using a spatula (you can lightly oil it to prevent sticking), press the mixture down very firmly and evenly into the pan. The more compact you make it, the better the bars will set and hold their shape.
- Cool Completely: Allow the bars to cool completely at room temperature. For optimal firmness and easier slicing, transfer the pan to the refrigerator for at least 30-60 minutes before cutting.
- Slice and Serve: Once fully cooled and firm, use a sharp knife to cut the mixture into approximately 10 equal bars. If the bars seem to crumble, simply place them back in the fridge for a bit longer.
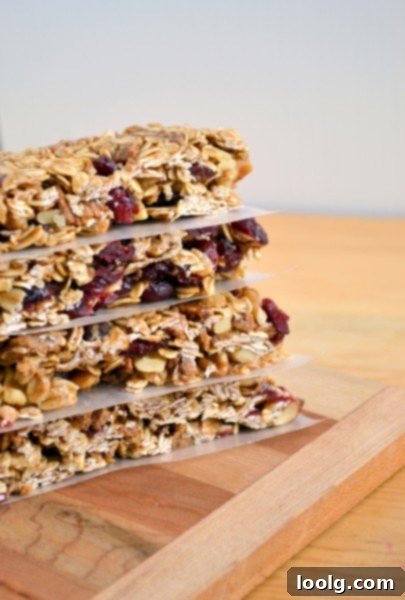
- Store: Wrap individual bars in parchment paper or plastic wrap, or store them in an airtight container at room temperature for up to one week. For longer freshness, store them in the refrigerator.
Storage and Freshness Tips
Proper storage is key to enjoying your homemade granola bars for days to come. Once cooled and sliced, wrap each bar individually in parchment paper, wax paper, or plastic wrap. This prevents them from sticking together and helps maintain their freshness. Store the wrapped bars in an airtight container at room temperature for up to a week. If you prefer a firmer texture or wish to extend their shelf life, store them in the refrigerator for up to two weeks. These bars are also freezer-friendly! Simply wrap them well and place them in a freezer-safe bag or container for up to 2-3 months. Thaw at room temperature for a quick and satisfying snack.
These Cinnamon Cranberry No-Bake Granola Bars are more than just a recipe; they’re a testament to the power of simple, wholesome ingredients and the joy of creating something delicious from scratch. Whether you’re a busy parent, a student, an athlete, or simply someone who appreciates a good snack, these bars offer a perfect blend of flavor, convenience, and nutrition. Give them a try, and you’ll quickly discover why they’ll become a staple in your kitchen!
