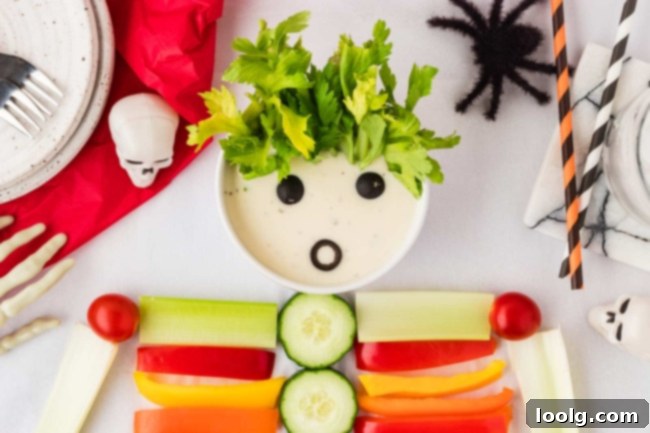
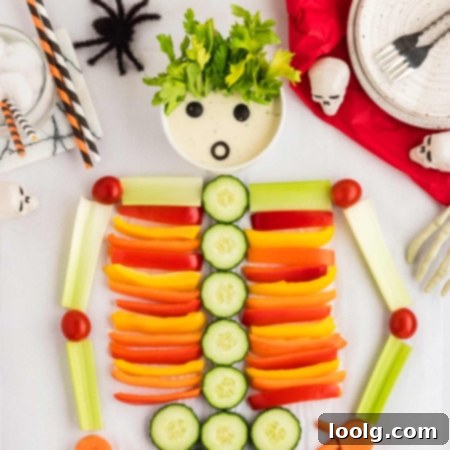
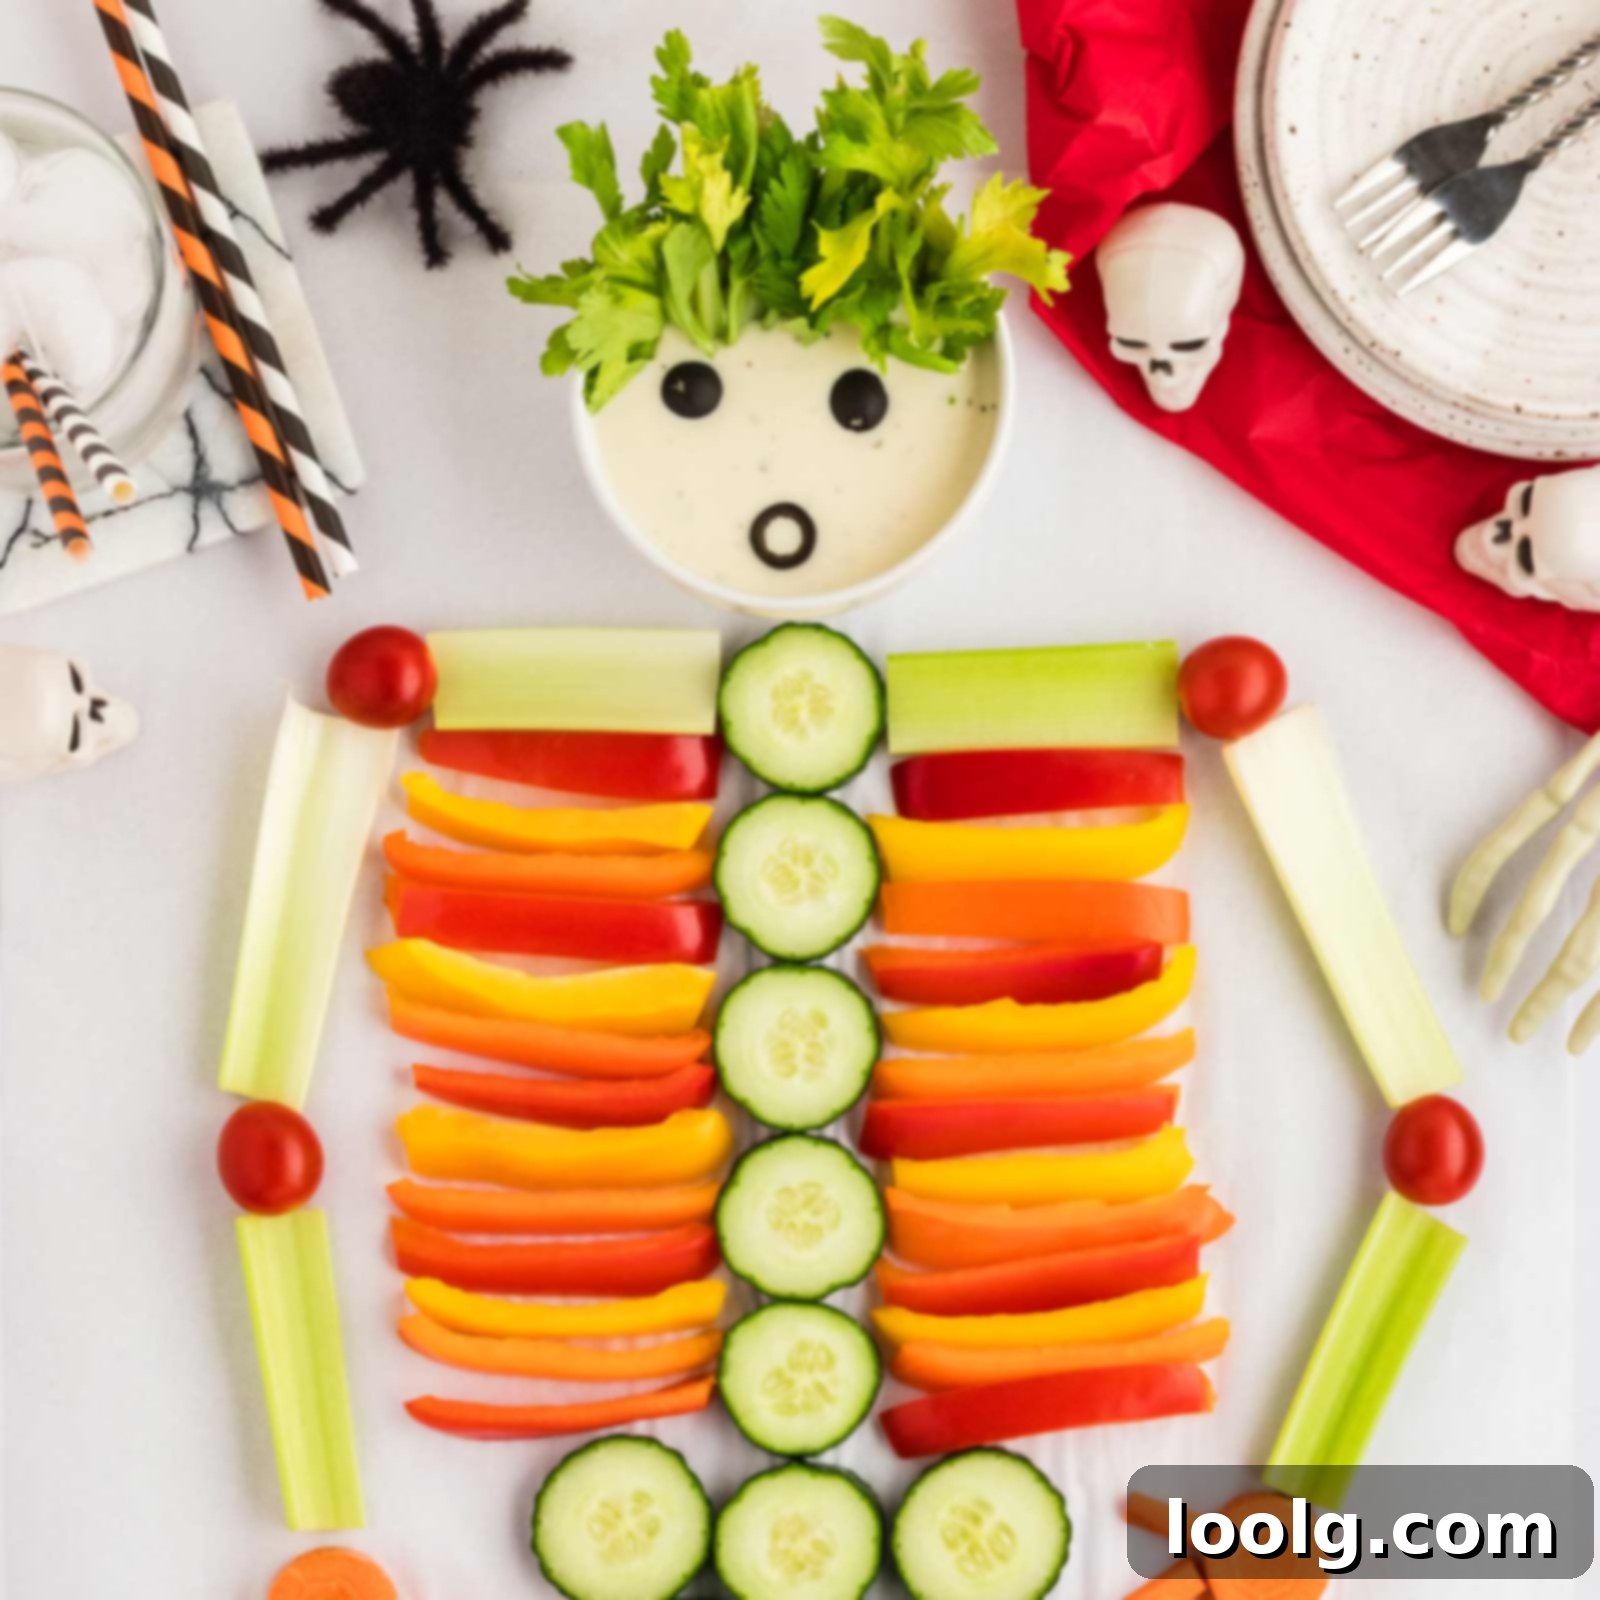
Spooky & Healthy: The Ultimate Skeleton Veggie Tray for Halloween Parties
Get ready to impress your guests with a playfully spooky yet incredibly healthy centerpiece that’s perfect for any Halloween party or autumnal gathering! This vibrant Skeleton Veggie Tray is designed to be a showstopper, offering a fresh and nutritious alternative to traditional sugary Halloween treats. By artfully arranging an assortment of crisp, colorful vegetables and a creamy dip, you can transform an ordinary platter into an eye-catching skeletal display that will delight both children and adults alike.
Finding genuinely healthy and fun Halloween snacks can often be a challenge, especially when aiming for options that cater to younger children like preschoolers or even older kids who are usually drawn to candy. This veggie tray stands out as one of the best choices because its unique, festive shape instantly grabs attention, making healthy eating exciting. It’s an interactive and appealing way to offer essential nutrients without compromising on the festive spirit.
Crafted with ease in mind, this skeleton platter utilizes simple, kid-friendly vegetables that require minimal preparation. This makes it an ideal option for busy hosts looking for impactful yet straightforward party food. While we certainly love classics like a sweet Halloween Fruit Salad (which will also be making an appearance at our party this year), fruit, despite its natural goodness, still contains sugar. For those aiming for truly sugar-free options, a vegetable-based platter is a fantastic solution.
Beyond its health benefits, the visual appeal of this skeleton veggie platter makes it a fantastic conversation starter. It’s a wonderful way to encourage everyone to munch on fresh produce throughout the festivities, providing sustained energy rather than a sugar rush. While other savory, sugar-free options like Halloween Mac and Cheese can be delicious, they often firm up quickly, making them less ideal for extended party snacking. The versatility and refreshing nature of a veggie tray, however, ensure it remains a popular choice from start to finish.
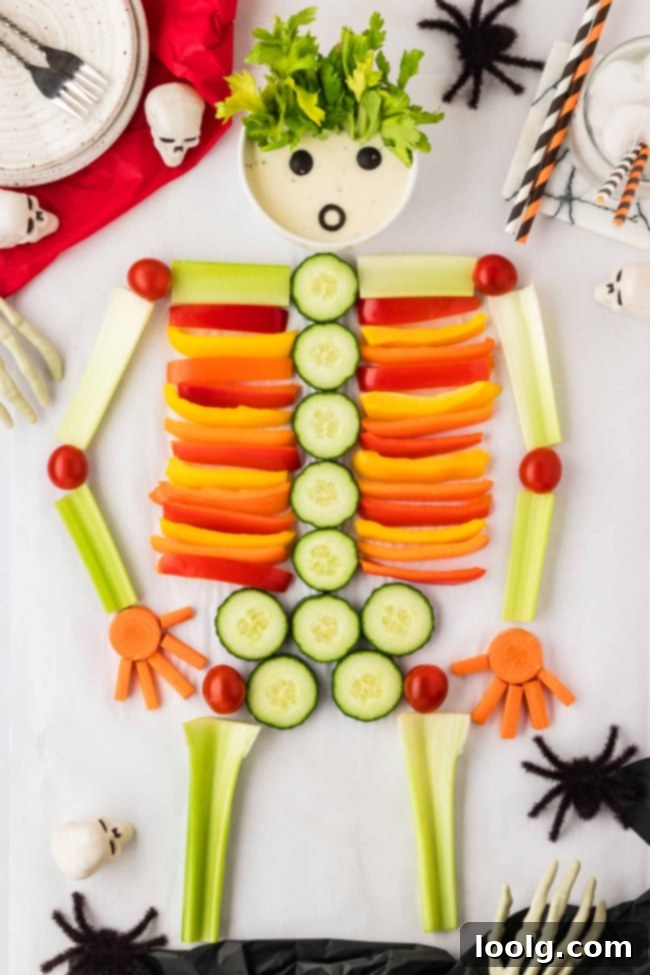
Ingredients for Your Spooky Veggie Skeleton
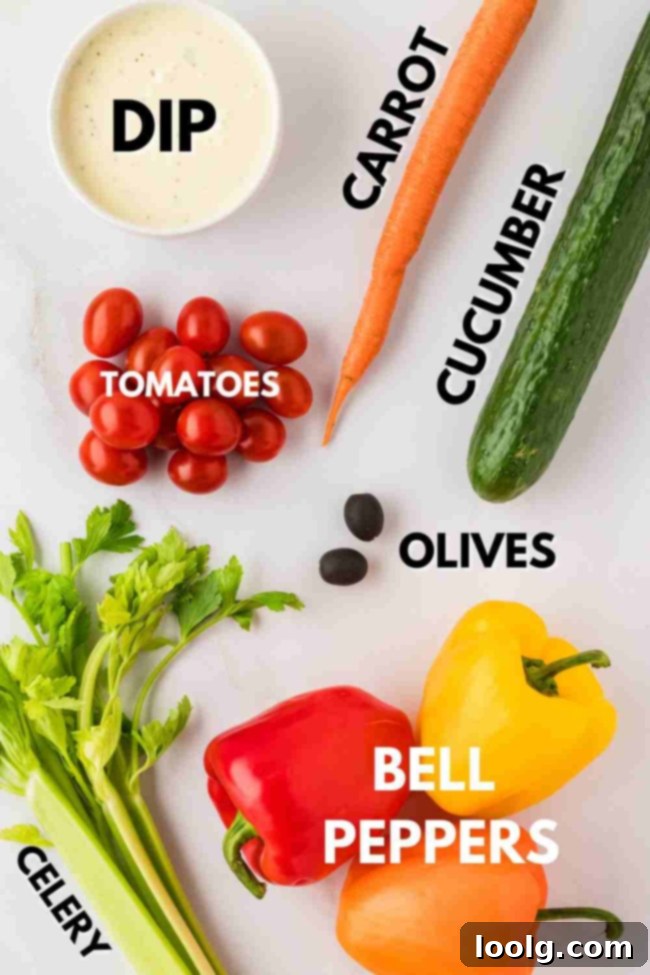
Creating this impressive skeleton veggie tray is surprisingly straightforward, requiring just a handful of fresh ingredients and your favorite creamy dip. The key is selecting vegetables that not only offer vibrant colors and crisp textures but also lend themselves well to forming the various parts of the skeleton.
Here’s a detailed look at what you’ll need to bring your spooky snack to life, along with tips for selection and preparation:
- Red, Orange, and Yellow Bell Peppers – These colorful peppers are indispensable for forming the skeleton’s ribcage. Their vibrant hues add a burst of color, while their firm, crisp texture provides a satisfying crunch. Choose firm, blemish-free peppers for the best results. Slice them into even strips, approximately 1/4 to 1/2 inch thick, to easily shape the ribs.
- Celery – Approximately 4 stalks of celery are perfect for creating the longer bones of the skeleton, such as the arms and legs. Select straight, firm stalks. Wash and trim them, then cut them to appropriate lengths to represent upper arms, forearms, thighs, and shins. Any leftover celery can be ingeniously used in other dishes, like this delicious Chicken Bolognese.
- Cucumber – A large cucumber is ideal for constructing the skeleton’s spine and pelvic bone. Its cool, refreshing flavor and firm texture make it a great choice. You can slice it into rounds for the spine or even slice it lengthwise into thicker planks to create larger, more distinct bone shapes, particularly if you want an alternative to bell pepper ribs.
- Large Carrot – Carrots are versatile and can be used for various parts. For this design, a large carrot is fantastic for sculpting the hands, adding a natural, earthy color. Peel the carrot and cut it into smaller, finger-like pieces or shapes that resemble hands. You could also use baby carrots for finger joints or toes.
- Little Tomatoes – Cocktail tomatoes, cherry tomatoes, or other small, round tomatoes are excellent for adding crucial details. They work wonderfully as joints (shoulders, elbows, knees) or even as expressive eyes for your skeleton’s skull. Their bright red color adds a pop against the other vegetables.
- Dip – This is the foundation for your skeleton’s skull! Choose a whitish, creamy dip like ranch, hummus, a creamy onion dip, or even a Greek yogurt-based dip. The dip provides a smooth, opaque base for the facial features. Ensure you have enough to form a substantial “head” and for dipping all the delicious veggies.
- Black Olives – These are essential for giving your skeleton character. Sliced black olives can be used to create eerie eyes, a gaping mouth, or even small buttons down the spine, adding a distinctly spooky touch to the design.
What to Serve Your Veggie Skeleton On
The right serving surface is crucial for the presentation and stability of your skeleton veggie platter. You’ll need a large, flat area that offers ample space to arrange the vegetables without overcrowding. My own skeleton design measured approximately 13.4 inches by 19.7 inches (34 cm x 50 cm), giving you an idea of the generous space required.
While a full-bodied skeleton is impressive, don’t worry if your serving surface can only accommodate the torso and upper legs. Even a skeleton with just the thighs (as I did) still looks fantastic and conveys the spooky theme perfectly. Here are a few excellent options for serving your edible masterpiece:
- Large Serving Platter – A spacious rectangular or oval serving platter is often the best choice. It provides a cohesive background, keeps the design neat, and its slightly raised edges can help contain any stray vegetables or dip. Look for one with a smooth, light-colored surface to make your colorful vegetables stand out.
- Baking Sheet – If you don’t own an oversized platter, a rimmed baking sheet is an excellent substitute. It offers plenty of flat space and the raised edges are practical for preventing ingredients from rolling off. You can line it with parchment paper for easy cleanup and a more elegant look.
- Wooden Board or Charcuterie Board – For a rustic or natural aesthetic, a large wooden cutting board or charcuterie board works beautifully. These provide a sturdy base and can enhance the visual appeal, especially if your party has a natural or farmhouse Halloween theme.
- Tray Covered in Parchment Paper – For ultimate convenience and easy cleanup, simply use any large, flat tray (even a sturdy cardboard cutout) and cover it with parchment paper. This allows for a flexible serving size and makes disposal of food scraps a breeze after the party.
Regardless of your choice, ensure the surface is large enough to comfortably spread out the skeleton shape. It’s also a good idea to leave a little extra room around the edges. This space can be used for smaller dipping bowls if you offer multiple dips, or for other small Halloween appetizers that complement your veggie display.
How to Make Your Skeleton Veggie Tray: Step-by-Step Assembly
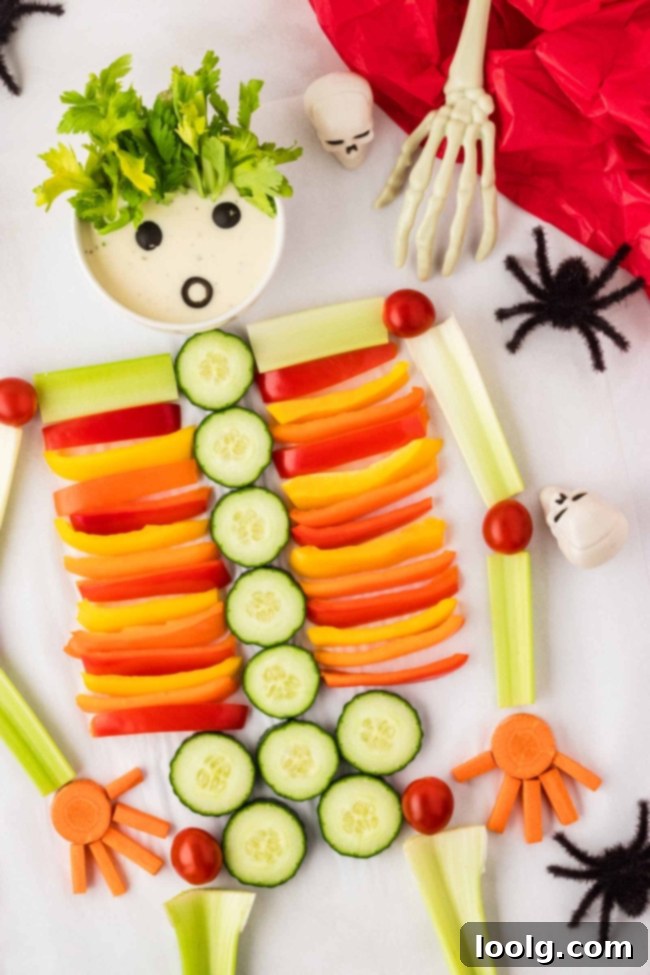
Assembling your skeleton veggie platter is a fun and creative process! The trick is to visualize the skeletal structure and then use the vegetables to mimic those shapes. Start by placing the “head” and then work your way down, building the body one section at a time. This method ensures good proportion and an organized layout.
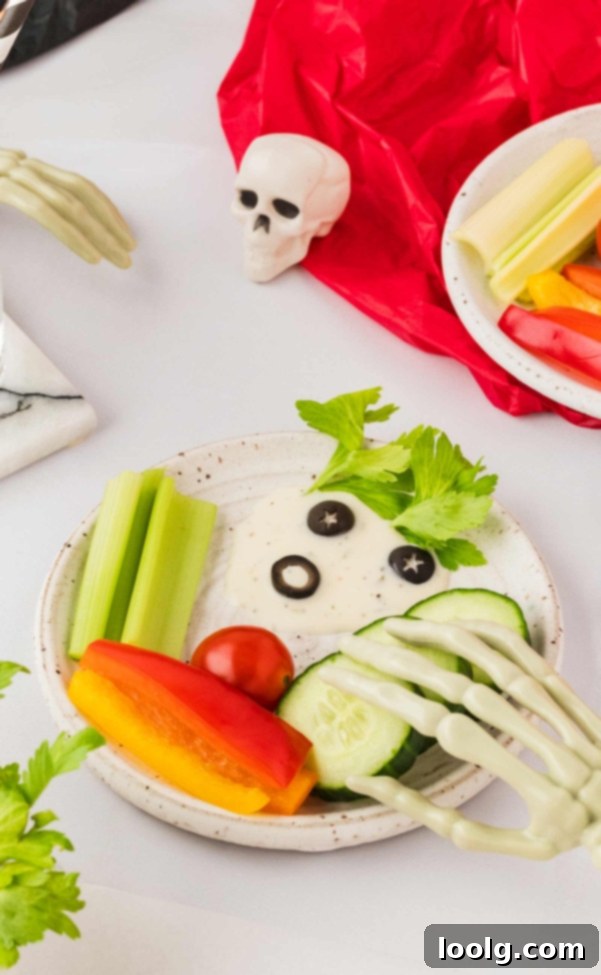
- Form the Skull: Begin by placing a generous dollop or small bowl of your chosen white dip at the top of your serving surface. This will be the skeleton’s skull. Shape it into an oval or round form.
- Create the Spine and Pelvis: Next, arrange sliced cucumber rounds or half-moon shapes in a line extending downwards from the dip. These pieces will form the skeleton’s spine. Below the spine, arrange more cucumber slices in a broader, more intricate pattern to represent the pelvic bone.
- Add the Ribcage: Now, take your sliced red, orange, and yellow bell peppers. Arrange them in curved strips on either side of the cucumber spine to form the ribcage. You can overlap them slightly or alternate colors to create a visually appealing, layered effect. This is where the vibrant colors truly shine!
- Lay Out the Long Bones (Arms and Legs): Use your cut celery stalks for the skeleton’s arms and legs. Position two stalks extending from the shoulder area (just below the skull/neck), and two more extending downwards from the pelvic bone. Cut them into two segments per limb to represent upper and lower sections, adding realistic detail.
- Sculpt the Hands: At the ends of the celery arms, arrange your carrot pieces to form the hands. You can slice the carrot thinly and arrange small strips as fingers, or simply create a broader hand shape.
- Define the Joints: Place small, round tomatoes at key joint points. Think shoulders, elbows, and above the thighs where the femurs connect to the pelvis. These add a nice textural contrast and complete the bone structure.
- Give it a Face: Finally, use black olives to create the skeleton’s facial features. Halve or slice the olives to form spooky eyes and a grin for the mouth on your dip skull.
Remember to slice all your vegetables relatively evenly. This not only makes them easier to dip but also contributes to a neater, more professional presentation. Don’t be afraid to get creative! You can swap out vegetables for others you prefer, such as broccoli florets for texture, cauliflower for a ghostly white element, or even introduce some vibrant purple carrots or radishes for an unexpected twist. The goal is to have fun with it and make it uniquely yours!
Make-Ahead Tips for a Stress-Free Halloween Party
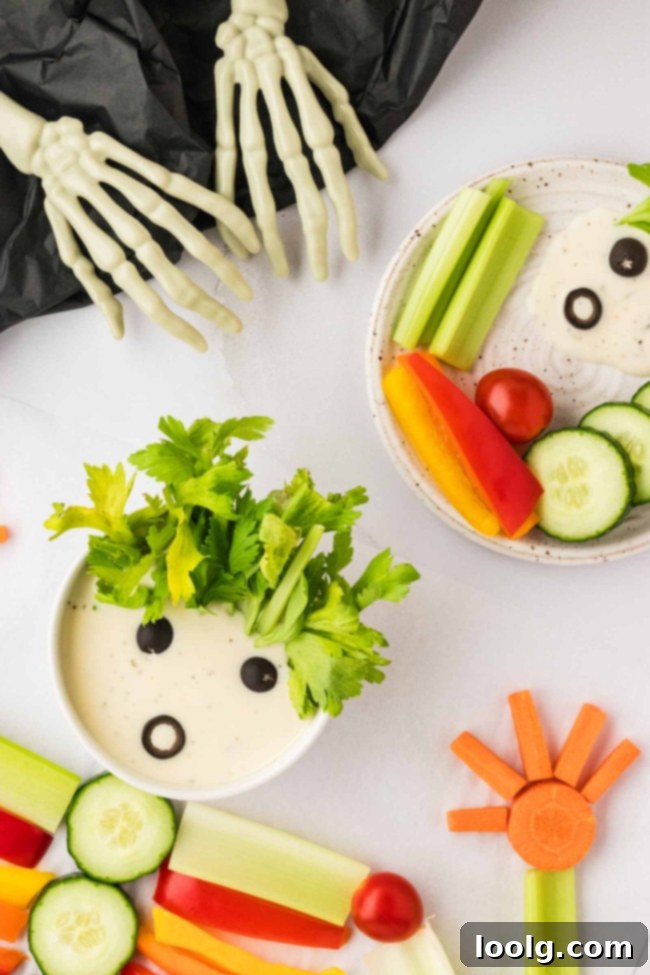
One of the best aspects of this skeleton veggie tray is how easily it can be prepared in advance, saving you valuable time on the day of your Halloween party. Prepping ahead means less time in the kitchen and more time enjoying the festivities with your guests and family!
Here’s how to efficiently prepare your vegetables the day before:
- Bell Peppers: Wash, core, and slice your bell peppers into strips. Store them in an airtight container in the refrigerator. Separating them by color isn’t strictly necessary for storage, but it can help keep them organized for assembly.
- Cucumbers and Carrots: Wash and peel the cucumber, then slice it into the desired shapes for the spine and pelvis. Peel the large carrot and cut it for the “hands.” Store these together in a separate airtight container in the fridge. For extra crispness, you can place a damp paper towel in the container with these veggies.
- Tomatoes and Olives: Wash the cocktail tomatoes and keep them whole. Prepare your black olives (slice them if desired for eyes/mouth). Store these in a small, separate container.
- Celery: While most vegetables can be pre-cut, celery tends to lose its crispness quickly once cut. For the best texture, I highly recommend washing and trimming the celery stalks the day before, but cutting them into their final “bone” shapes right before you plan to assemble and serve the tray.
- Dip: Prepare your chosen dip according to its recipe. Store it in a separate airtight container in the refrigerator.
By following these make-ahead steps, when it’s time for the party, all you’ll need to do is quickly cut the celery, arrange your prepped vegetables onto the platter, and add the dip. This strategy can drastically reduce your stress. I learned this lesson the hard way at a previous Halloween party, where I spent a frustrating hour and a half making pizza from scratch while missing out on the fun! Never again.
Embracing advance preparation is a game-changer. This year, I’ve already got dough for these Spider Cookies in the freezer and a dry mix for these Spider Cupcakes ready, so I just need to add the wet ingredients and bake. I’m also planning to make a large batch of Witches’ Brew Cocktails the night before to ensure they’re perfectly chilled and ready to pour the moment guests arrive. With proper planning, you can truly enjoy your own party!
How to Store Leftover Skeleton Veggies
It’s always a good idea to know how to handle leftovers, though with a fun and tasty dish like this, you might not have many! If you do find yourself with extra vegetables from your skeleton platter, proper storage will keep them fresh and delicious for future enjoyment.
To maximize freshness, aim to store the vegetables separately, as described in the “Make Ahead” section. Bell peppers, carrots, and cucumbers generally do well together in an airtight container with a piece of damp paper towel to maintain moisture and crispness. Tomatoes should ideally be stored separately at room temperature if whole, but if sliced, they can go with the other hardier vegetables in the fridge. The dip should always be stored in its own airtight container.
Leftover vegetables stored correctly in airtight containers in the refrigerator will typically remain fresh for up to two days. If you don’t mind a slight mingling of flavors, you can combine all the leftover veggies (minus the dip) into one container. Be aware that bell peppers have a strong aroma that can permeate other foods, so if you prefer individual tastes, separate containers are best.
Don’t let any leftover veggies go to waste! They can be easily repurposed into other meals. Toss them into a fresh salad, chop them for a quick stir-fry, add them to omelets or scrambled eggs, or even blend them into a healthy green smoothie. The possibilities are endless, ensuring zero waste and continued healthy snacking.
Creative Variations for Your Halloween Veggie Platter
While the classic skeleton is a fantastic choice, there are many ways to customize and adapt your Halloween veggie platter to suit different tastes, dietary needs, or themes. Get creative and make your tray truly unique!
- Fruit Skeleton Platter: For a sweeter, albeit still healthier, twist, swap out the vegetables for fruit! Use banana slices or apple wedges for bones (dunk apples in lemon water to prevent browning), grapes for joints, melon balls or slices for the skull, and berries for color. A yogurt dip or cream cheese fruit dip would be a perfect complement.
- Textural Additions: Introduce more texture by adding broccoli florets or cauliflower. These can be artfully arranged to create “hair” on the skull, bushy eyebrows, or even additional spooky texture around the ribcage. Their distinct shapes can add depth and visual interest.
- Vegan Dip Options: If catering to vegan guests, ensure your dip is plant-based. There are many delicious vegan ranch, hummus, or cashew-based dips available. This year, I’m excited to use this flavorful Vegan Ranch Recipe for our party, ensuring everyone can enjoy the festive spread.
- Cheese and Cracker Elements: Elevate your platter by incorporating cubes of cheese or an assortment of crackers around the base. You can even cut cheese slices into spooky shapes using small Halloween-themed cookie cutters (like ghosts or bats) to scatter among the veggies.
- Themed Cut-Outs: Beyond the skeleton, consider other Halloween shapes. Use cookie cutters to create pumpkin, ghost, or bat shapes from sliced cucumbers, bell peppers, or even jicama for a unique twist.
- Different Dips: Offer a variety of dips! Alongside your white “skull” dip, provide smaller bowls of guacamole (green monster), salsa (bloody dip), or a black bean dip for extra color and flavor options.
- Spooky Garnishes: Enhance the eerie factor with edible garnishes. A sprinkle of paprika for “dust,” a few sprigs of fresh rosemary for “cobwebs,” or even small candy eyeballs placed on olives can elevate the spooky aesthetic.
