Crafting Homemade Goldfish Crackers: Your Guide to DIY Cutters and a Delicious Vegan Recipe
Hello everyone! I trust you’ve all enjoyed a wonderful weekend, and that your Monday is off to a smooth start. For many of us, Mondays often feel like a cascade of tasks, from catching up on overnight reads to finally tackling those blog posts pushed aside during the weekend. And, of course, there’s the inevitable tidying up. It’s truly amazing how a simple kiddie pool in the backyard, combined with freshly mowed grass and energetic little ones, can transform a perfectly clean house into a delightful (yet chaotic) mess. The joys of family life, right?
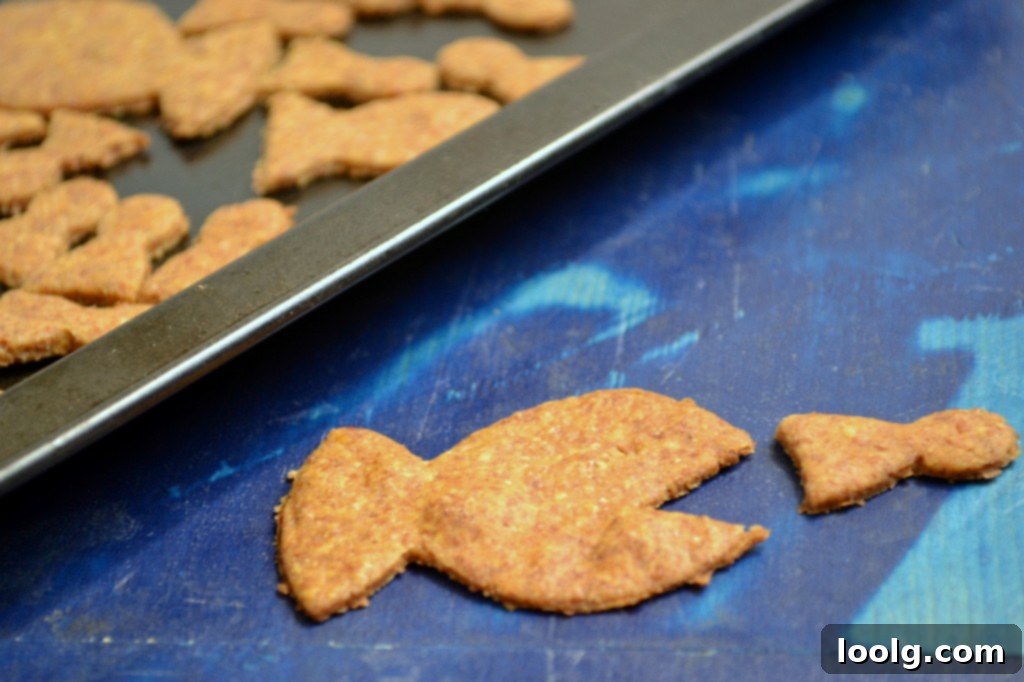
Speaking of creative solutions amidst the everyday, these delightful crackers were actually made last week. You might notice the unusual backdrop in some of these photos – a testament to life with toddlers! Our beloved coffee table, usually my go-to for food photography, suffered an unfortunate incident at the hands of a certain little one. While still functional, it wasn’t the safest to keep around. So, for this particular photoshoot, I improvised, using my son’s toy box, which serendipitously provided a perfect oceanic theme. The good news is, my husband has since crafted us a beautiful new table, and I’m eagerly awaiting the chance to stain it and bring it inside. Until then, the toy box makes for a charming alternative!
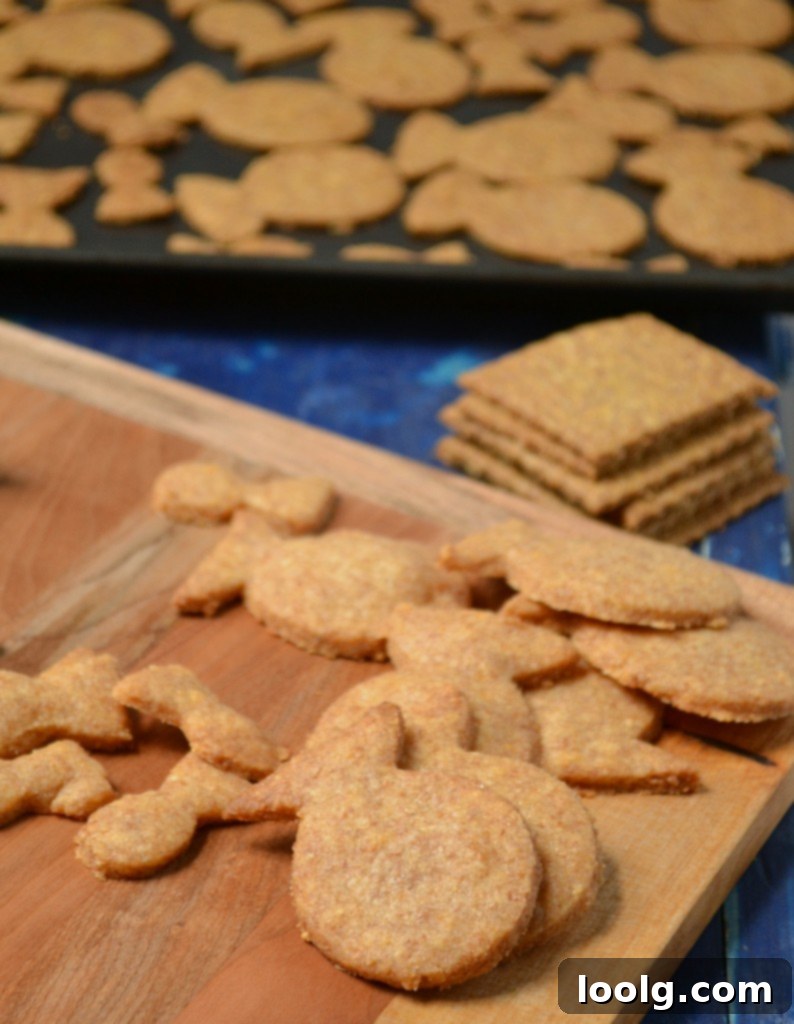
But enough about household adventures! Let’s dive into these irresistible homemade crackers. You might observe that the edges of my crackers aren’t perfectly smooth. This is a common characteristic when working with whole grains; the bran in the flour doesn’t cut as cleanly as refined flour, resulting in a slightly rustic look. While you can certainly go back and smooth the edges after cutting, it’s not at all necessary, as their charm lies in their homemade appeal. For an extra touch of fun, a toothpick can be used to create tiny eyes and mouths, transforming them into truly adorable little fish – a completely optional but highly recommended step, especially if you have kids!
The Quest for the Perfect Goldfish Cutter: A DIY Solution
If you’ve ever embarked on the mission to make fish-shaped crackers, you’ll know that finding a cookie cutter that genuinely resembles a classic goldfish can be surprisingly difficult and often quite expensive. The frustration of searching for that perfect shape, only to be met with exorbitant prices or generic alternatives, is real. That’s why, when I stumbled upon this ingenious tutorial at Miss Anthropist’s Kitchen, I couldn’t wait to try it. It promised a simple, cost-effective way to create the iconic goldfish shape right at home, and it delivered!
DIY Goldfish Cookie Cutter: A Step-by-Step Guide
Creating your own goldfish cookie cutter is a fun, thrifty, and incredibly satisfying project. Here’s a basic tutorial to get you started:
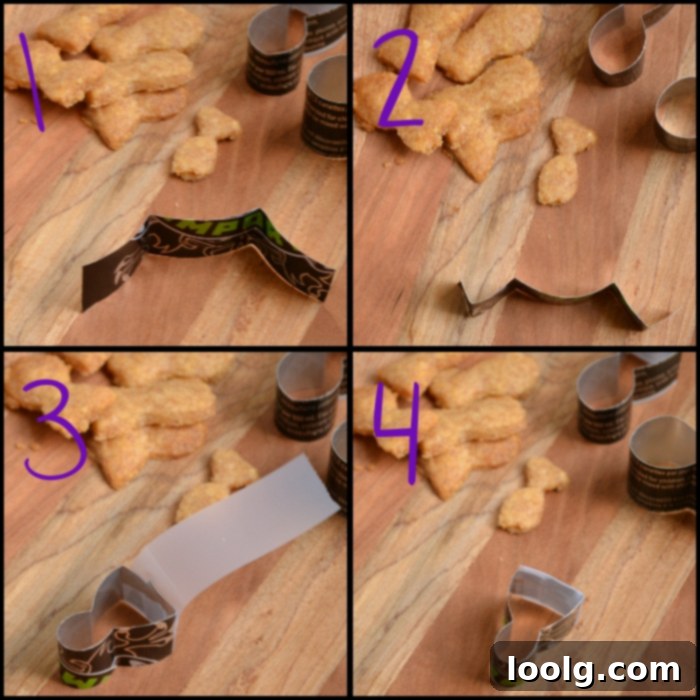
- **Prepare Your Material:** Begin by taking an empty aluminum pop can. Using a sturdy pair of scissors, carefully cut a strip out from around the can. Aim for a width no more than 3/4 inch. Exercise extreme caution with the edges, as they can be very sharp. It’s a good idea to cut several strips, as some might break during the bending process, and having spares is always helpful. Plus, you might find yourself enjoying the creative process and wanting to make various sizes and shapes of fish!
- **Form the Body:** Referencing the first image in the tutorial, the space between your initial two folds will define the size of your fishy’s body. In the example shown, a relatively small body was crafted. Experiment with different distances to achieve your desired cracker size.
- **Shape the Tail:** Moving to the second image, the length between the first set of folds and the subsequent folds will determine the length and prominence of the fish’s tail. A longer section here will yield a more pronounced tail, adding to the classic goldfish silhouette.
- **Secure the Shape:** As illustrated in the third image, I used tape to hold my cutter together, especially for smaller designs. If you’re creating larger cutters, staples can also be an effective way to secure the ends. I often make many small cutters, which tape handles perfectly. Remember, you can always sketch out your desired fish shape first and then fold your aluminum strip accordingly to match your design.
**Important Tip:** When folding the metal, be gentle and avoid repeatedly bending and unbending the same spot. Aluminum can break easily with excessive stress, so aim for precise folds the first time around.
Choosing Your Cracker Base: Two Delicious Approaches
Now that you’re equipped with the knowledge to craft your very own goldfish cutter, the possibilities for homemade crackers are endless! You can transform virtually any cracker dough into these adorable little fish. I’ve explored various recipes, and each offers a unique flavor profile that caters to different cravings.
One recipe I highly recommend for a richer, more indulgent cracker is this one from Smitten Kitchen. I’ve made it using all whole wheat flour and enhanced the flavor with a pinch of garlic powder and paprika. These crackers are incredibly buttery and satisfyingly rich. They make for an absolutely fantastic special treat, a delightful indulgence that’s perfect for a weekend snack or when you want something a bit more decadent. While not our everyday go-to due to their richness, they are undeniably delicious and worth every moment of preparation.
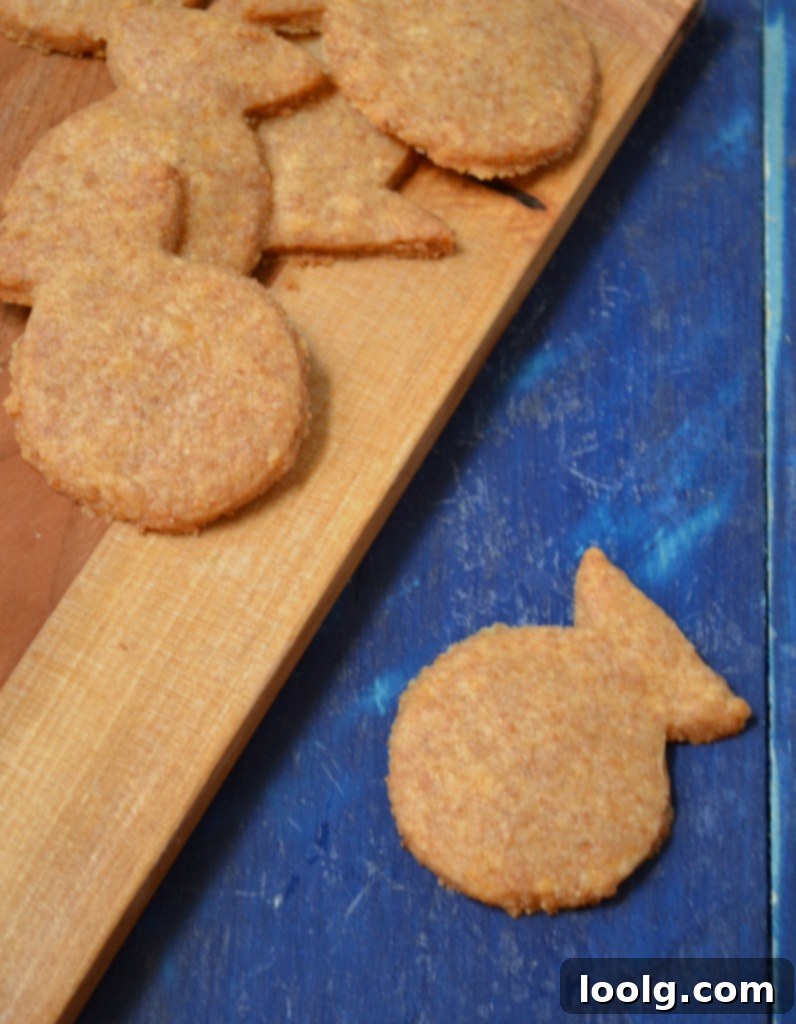
However, for an everyday staple that truly shines, the following recipe is our consistent household favorite. These are the crackers we almost always have on hand, simply because we adore them so much. I’ve experimented with the original recipe using spelt flour, and those variations are fantastic too, offering a slightly nuttier flavor. But more often than not, I find myself reaching for whole wheat flour, which I typically have in greater abundance. The versatility and wholesome goodness of this recipe make it a repeated success in our kitchen.
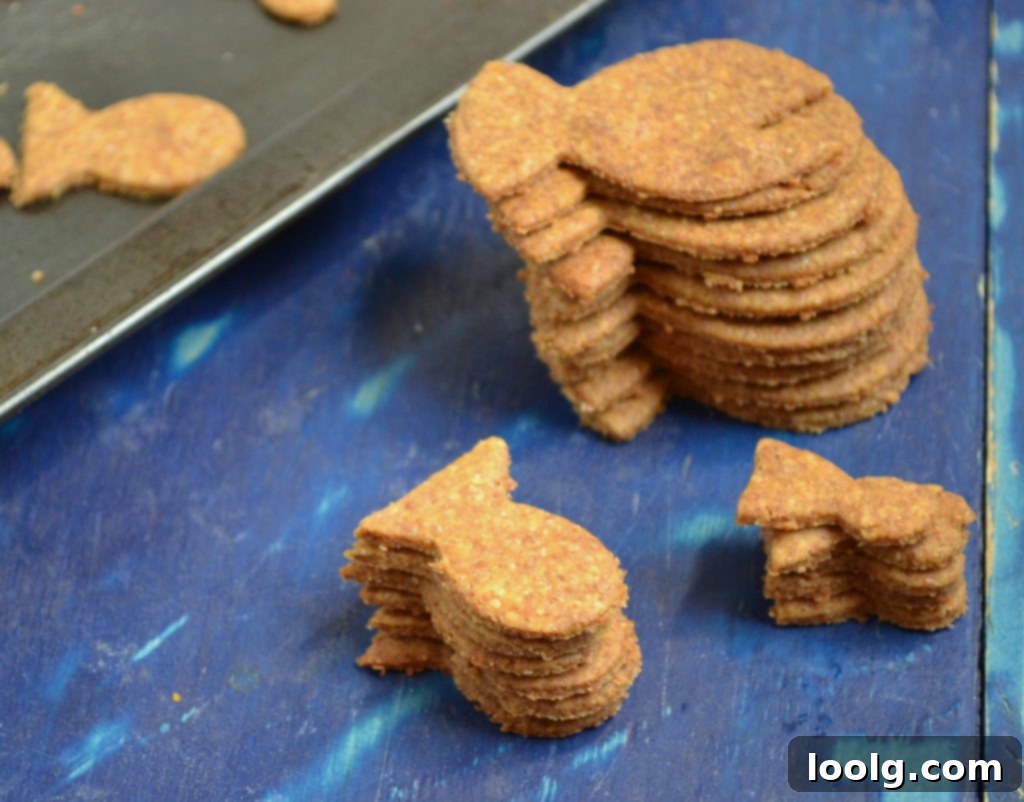
Our Favorite Vegan Goldfish Crackers
Slightly adapted from Oh She Glows Easy Cheezy Crackers
This recipe creates a batch of delightfully crispy, flavorful, and wholesome crackers that are perfect for snacking. The secret to their “cheesy” taste without dairy lies in nutritional yeast, a fantastic ingredient that provides a rich, umami flavor. These crackers are not only delicious but also a healthier alternative to many store-bought options, packed with whole grain goodness.
Ingredients:
- 1 1/4 C whole wheat flour
- 1/3 C nutritional yeast
- 1/4 tsp onion powder
- pinch garlic powder
- 3/4 tsp sea salt
- 1/4 C extra virgin olive oil
- 4 tbsp water, plus 1-2 tbsp more only if needed
Instructions:
- **Prepare Oven:** Preheat your oven to 350 degrees Fahrenheit (175 degrees Celsius).
- **Combine Dry Ingredients:** In a medium-sized bowl, combine the whole wheat flour, nutritional yeast, onion powder, garlic powder, and sea salt. Whisk them together thoroughly to ensure all spices are evenly distributed.
- **Add Wet Ingredients:** Pour in the extra virgin olive oil and the initial 4 tablespoons of lukewarm water. Mix well with a spoon or your hands until a shaggy dough begins to form.
- **Adjust Consistency (If Needed):** If there’s still a significant amount of dry flour remaining at the bottom of the bowl and the dough seems too crumbly, add another tablespoon of water and mix again. Continue adding water a tablespoon at a time, if necessary, until the dough comes together. Be careful not to add too much water, as this can make the crackers tough.
- **Knead and Divide:** Remove the dough from the bowl and knead it gently on a lightly floured surface for just a couple of times until it forms a cohesive ball. Then, cut the dough in half.
- **Roll Out Dough:** Lightly flour your work surface and the dough ball. Roll out one half of the dough to a thickness of approximately 1/8 inch. The thinner you roll it, the crispier your crackers will be.
- **Cut Shapes:** Using your homemade goldfish cookie cutter (or any shape you prefer), cut out your crackers. You can also simply trim the edges and cut the dough into squares or rectangles for a rustic look.
- **Bake:** Carefully transfer the cut crackers to a baking sheet lined with parchment paper or a silicone mat. Place the baking sheet in the preheated oven. Bake for 18-20 minutes, rotating the pan halfway through the baking time to ensure even browning. The crackers should be golden brown and crisp.
- **Cool and Store:** Once baked, remove the crackers from the oven and let them cool completely on the baking sheet. It’s crucial to let them cool fully to achieve maximum crispness. Once completely cooled, store your delicious homemade vegan goldfish crackers in an airtight container at room temperature.
Tips for Perfect Crackers:
- **Thinness is Key:** For extra crispy crackers, roll the dough as thin as possible without tearing it.
- **Even Baking:** Rotating the pan ensures all crackers bake uniformly. Keep an eye on them towards the end, as ovens can vary.
- **Cool Completely:** Patience is a virtue here! Don’t store the crackers until they are completely cool to prevent them from becoming soft.
- **Flavor Variations:** Feel free to experiment with other spices like a pinch of cayenne pepper for a little heat, or dried herbs like oregano or thyme for an herbaceous twist.
Sorry, I couldn’t resist a little bit of fun with these! The simple addition of googly eyes brings so much personality to these little snacks.
There’s immense satisfaction in creating something delicious from scratch, especially when it’s a healthier, homemade version of a beloved snack. These homemade goldfish crackers, made with your very own DIY cutter, are more than just food; they’re a fun project, a testament to culinary creativity, and a wholesome treat for the whole family. Give them a try, and enjoy the delicious rewards of your efforts!