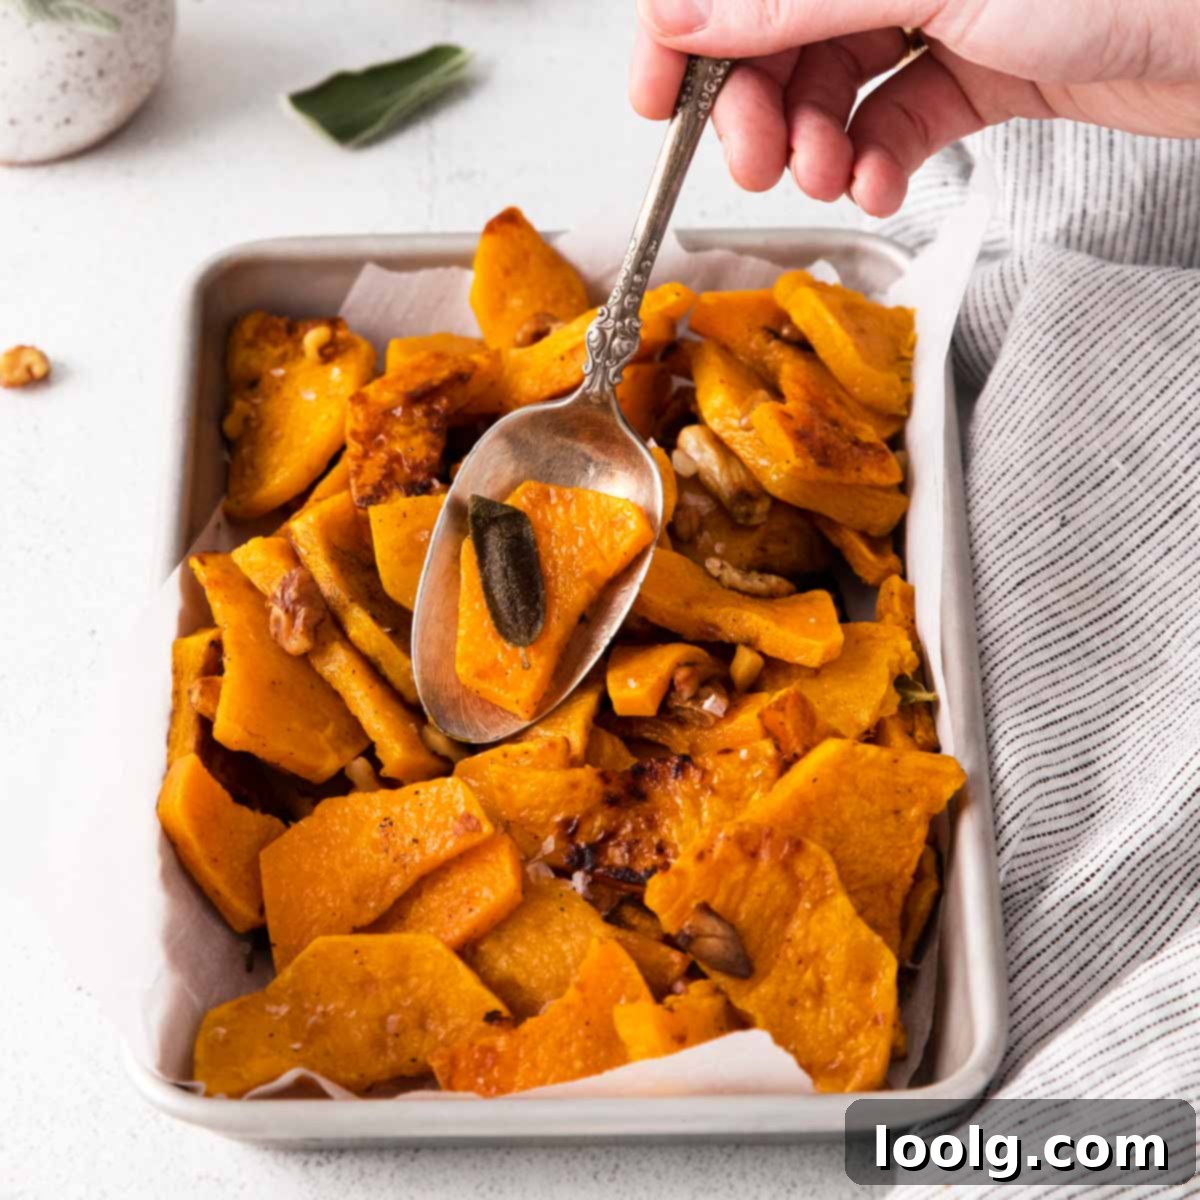
Perfectly Baked Butternut Squash with Sage & Walnuts: An Easy & Flavorful Side Dish for Any Occasion
Experience the comforting embrace of creamy, buttery, and subtly nutty baked butternut squash, a truly delectable addition that elevates any meal, from festive holiday feasts to simple weeknight dinners. This recipe masterfully combines the natural sweetness of butternut squash with aromatic fresh sage, pungent garlic cloves, and the delightful crunch of toasted walnuts. The result is a healthy, flavorful side dish that comes together effortlessly, promising a harmonious blend of textures and tastes that will impress without demanding hours in the kitchen.
There’s an undeniable magic when butternut squash meets fresh sage; it’s a culinary pairing that feels destined to be. The earthy, slightly peppery notes of sage perfectly complement the squash’s inherent sweetness, creating a profile that’s both robust and comforting. Adding the crunch of walnuts introduces a textural contrast that keeps each bite interesting, transforming a simple vegetable into a sophisticated culinary experience. This dish isn’t just a side; it’s a celebration of autumn flavors, designed to bring out the very best of its wholesome ingredients with minimal seasoning.
While this roasted butternut squash is a star on any holiday table, its versatility extends far beyond seasonal celebrations. Imagine it as a vibrant and hearty topping for your favorite salads, lending a warm, sweet, and nutty dimension. It also pairs exceptionally well with various main courses, from succulent roasted meats to lighter protein options. Consider serving it alongside a perfectly cooked Air Fryer Pork Tenderloin or complementing the smoky richness of a Traeger Smoked Turkey. If you’re a fan of butternut squash and looking for other delicious ways to enjoy it, you might also love this warming and nourishing High Protein Butternut Squash Soup.
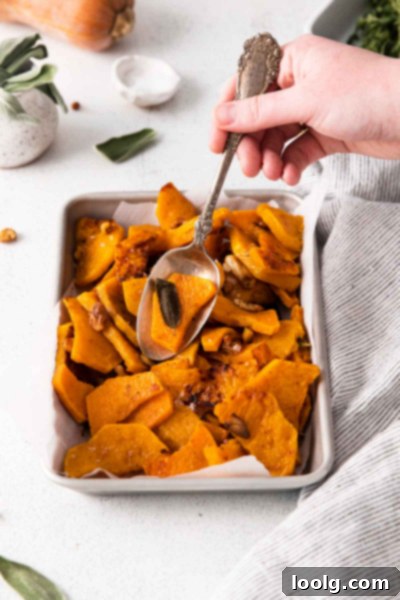
Essential Ingredients for Perfect Baked Butternut Squash
Crafting this delightful side dish requires just a handful of simple ingredients, each playing a crucial role in building its incredible flavor and texture. Here’s a closer look at what you’ll need and some helpful tips:
- Butternut Squash: The star of our show! Look for a squash that is firm, heavy for its size, and has an even, matte beige color. Its bright orange flesh is naturally sweet and becomes wonderfully tender and caramelized when roasted. While butternut is ideal for this recipe, you can also achieve delicious results with delicata squash, which has a slightly less dense texture and can even be roasted with its skin on.
- Olive Oil: My go-to for its robust flavor and health benefits, olive oil helps the squash caramelize beautifully and prevents sticking. If you prefer a more neutral taste or have dietary restrictions, other cooking oils like avocado oil or grapeseed oil work equally well.
- Fresh Sage Leaves: Sage is the quintessential herb for butternut squash, offering an earthy, slightly peppery aroma that enhances its sweetness. For the best flavor, fresh sage is highly recommended. However, if fresh sage isn’t available, fresh thyme or rosemary are fantastic alternatives that also pair wonderfully with winter squash.
- Garlic: Minced garlic cloves are added towards the end of the baking process to ensure they gently mellow and become fragrant without burning. This method allows the garlic’s sweet, savory notes to infuse the squash beautifully.
- Walnut Pieces: These add a fantastic textural contrast and a rich, earthy nuttiness to the dish. For an extra boost of flavor, you can lightly toast the walnuts before adding them. If walnuts aren’t your preference, pecans or even toasted pine nuts would also be delightful substitutions.
- Salt + Pepper: Simple kosher salt and freshly ground black pepper are all you need to season this dish to perfection, bringing out the natural flavors of the squash and herbs.
How to Cook Butternut Squash: A Simple Roasting Guide
Roasting butternut squash is remarkably easy, and this method ensures perfectly tender, slightly caramelized pieces every time. Here’s how to do it:
- Prepare Your Oven and Baking Sheet: Begin by preheating your oven to 425°F (218°C). Line a large baking sheet with parchment paper for easy cleanup and to prevent sticking. A light drizzle of olive oil on the parchment can also help with browning.
- Combine Ingredients: In a large bowl or directly on your prepared baking sheet, combine the peeled and sliced butternut squash, a generous drizzle of olive oil, the coarsely chopped fresh sage leaves, a pinch of salt, and a dash of black pepper. Toss everything thoroughly to ensure each piece of squash is evenly coated.
- Initial Roast: Spread the squash in a single layer on the baking sheet, making sure not to overcrowd the pan. Roast for 15 minutes. This initial baking period allows the squash to begin tenderizing and developing a beautiful golden hue.
- Flip and Add Aromatics: After 15 minutes, carefully flip each piece of squash to ensure even cooking and browning on both sides. Now, sprinkle the crunchy walnuts and minced garlic evenly over the squash. The garlic is added at this stage to prevent it from burning while still infusing its wonderful aroma. Continue roasting for another 10 minutes.
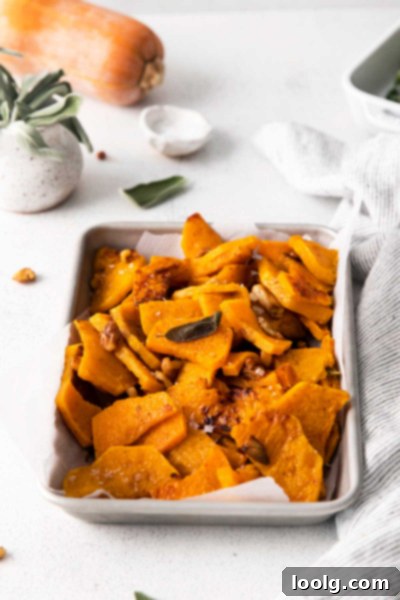
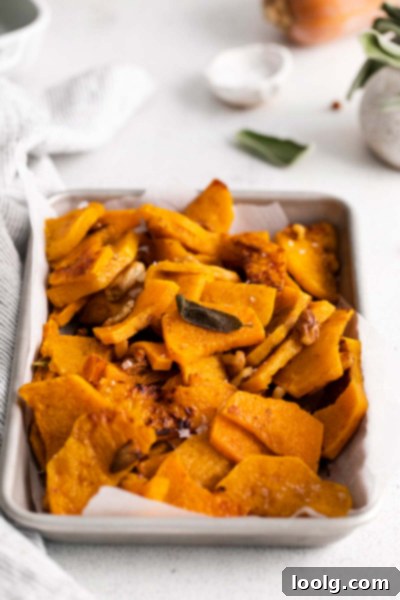
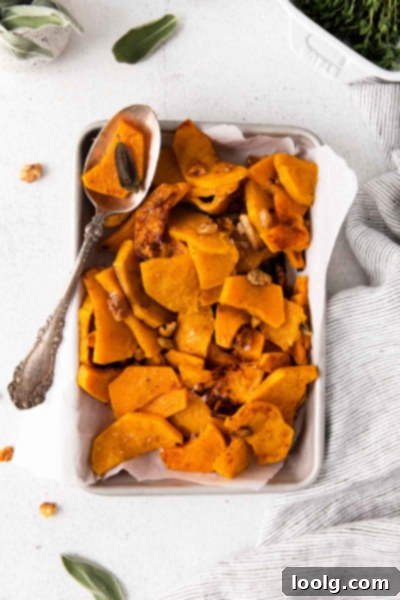
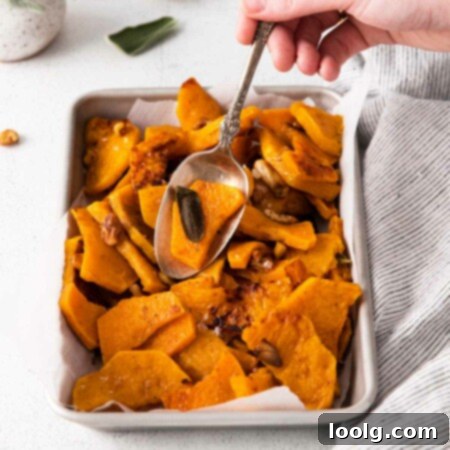
- Serve and Enjoy: In just about 30 minutes, you’ll have perfectly baked butternut squash, tender on the inside with slightly caramelized edges and a delightful nutty crunch. Serve it warm as a fantastic side dish, a flavorful salad topper, or even stirred into pasta for a hearty meal.
This recipe comfortably serves 4-6 people. If you’re hosting a larger gathering or simply want to have leftovers, feel free to double the recipe. Just ensure you use two baking sheets to avoid overcrowding, which can lead to steaming instead of roasting.
My favorite way to enjoy this delicious butternut squash is alongside a juicy grilled steak or tender pork chops! It’s also exceptionally delicious topped with a dollop of fresh pesto, a drizzle of spicy hot honey, or a sprinkle of crumbled goat cheese for a tangy contrast. This versatile dish can also be prepared a day ahead, making it an ideal candidate for meal prep or a stress-free addition to a holiday spread, especially when destined to be a vibrant salad topper.
Exploring the Taste Profile of Butternut Squash
Butternut squash, with its distinctive bottleneck shape and vibrant orange flesh, is renowned for its delicately sweet and wonderfully buttery, nutty flavor. It’s this creamy, rich taste that inspired its name: ‘butternut.’ When compared to its cousin, the pumpkin, butternut squash typically offers a milder, sweeter, and more pronounced nutty undertone.
While butternut squash can be eaten raw in salads or lightly steamed, roasting truly unlocks its full-bodied flavor and creates a slightly crisp, caramelized exterior. The high heat of the oven brings out its natural sugars, transforming it into a tender, melt-in-your-mouth delight. Beyond traditional oven roasting, modern cooking methods offer even more convenience. Nowadays, you can effortlessly make Air Fryer Butternut Squash, which yields perfectly tender results with minimal oil and frees up your oven for other culinary creations, perhaps a batch of delicious baked goodies! 😉
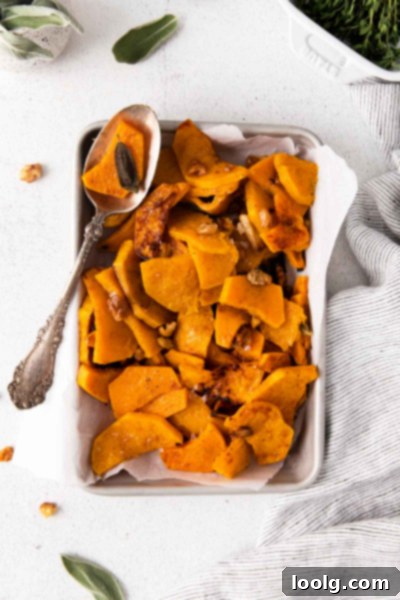
To Peel or Not to Peel? Understanding Squash Skin
When it comes to roasting butternut squash, I highly recommend peeling it. The skin of butternut squash is quite tough and fibrous, and while technically edible, its texture is not ideal for consumption once cooked. The same applies to kabocha squash, another winter variety with a similar tough rind.
That being said, if you’re in a pinch or simply don’t mind a slightly chewier texture, the skin does soften considerably during roasting, making it edible. So, if the thought of peeling seems too daunting, you *can* leave it on. However, for the best culinary experience – a truly tender and smooth texture – I genuinely recommend taking the extra step to peel it.
It’s important to note that this rule doesn’t apply to all squash varieties. Smaller, more tender-skinned squashes like acorn and delicata have thin, delicate skins that become perfectly soft and edible when roasted. There’s absolutely no need to peel these types, which saves time and effort, and their skins actually contribute valuable nutrients. If you choose to roast acorn or delicata squash, simply follow the same recipe directions without any adjustments to seasoning.
Peeling butternut squash can sometimes be a bit of a challenge due to its firm flesh. To make the process significantly easier and safer, try this clever trick: cut off the top and bottom ends of the squash to create flat surfaces. Then, use a fork to stab several holes all around the squash. Microwave it whole for about 3 to 3½ minutes. This brief microwave session will slightly soften the skin, making it much easier to peel with a vegetable peeler or a sharp knife. Allow it to cool for a few minutes before handling to avoid burns.
This pre-softening method will save you considerable time and frustration in the kitchen. For those who are more visual learners, you can watch this helpful 2-minute video on How to Peel a Butternut Squash. Notice that the video demonstrates cutting it into cubes, which is perfectly fine, but for this particular recipe, I prefer the elegant look of half-moons.
Mastering the Art of Cutting Butternut Squash
The visual appeal of food is just as important as its taste, and for this butternut squash recipe, I particularly love the aesthetic of half-moon slices. They add a touch of elegance and make the dish look truly special on the plate. The key to successful cooking, especially with vegetables, is consistency; therefore, ensure that all your slices are of a similar thickness to guarantee they cook evenly.
Here’s a step-by-step guide to safely and beautifully cut your butternut squash into half-moons:
- Peel the Squash: As discussed above, begin by peeling the squash. If you didn’t use the microwave trick to soften the skin, proceed to the next step.
- Trim the Ends: Place the squash on a stable cutting board. Carefully cut off about ½ to 1 inch from both the top (stem end) and the bottom (blossom end) of the squash. This creates flat, stable surfaces, making it much safer to handle.
- Halve the Squash Lengthwise: Stand the squash upright on one of its flat ends. Using a sturdy, sharp chef’s knife, carefully insert the tip into the middle of the squash. With a firm grip on the other end of the knife, rock the blade back and forth, cutting down the length of the squash towards the top. Then, spin the squash around and repeat the rocking motion to cut through the remaining portion towards the bottom end. This should yield two clean halves.
- Scoop Out Seeds and Pulp: Once the squash is halved, use a spoon (a sturdy metal spoon or an ice cream scoop works well) to scoop out the stringy pulp and seeds from the center of each half. Don’t discard the seeds yet if you plan to roast them!
- Slice into Half-Moons: Place one of the squash halves flat-side down on your cutting board. This stable position is crucial for safety. Now, slice the squash horizontally into half-moon shapes, aiming for a consistent thickness of about ⅓ to ½ inch.
- Practice Knife Safety: Always use your free hand to firmly hold the squash in place, keeping your fingertips tucked under (the “claw” grip) and cutting away from your hand. A sharp knife is actually safer than a dull one, as it requires less force and is less likely to slip.
- Repeat for Even Slices: Continue placing the flat side of each squash piece on the cutting board to make even, stable slices until all the squash is cut.
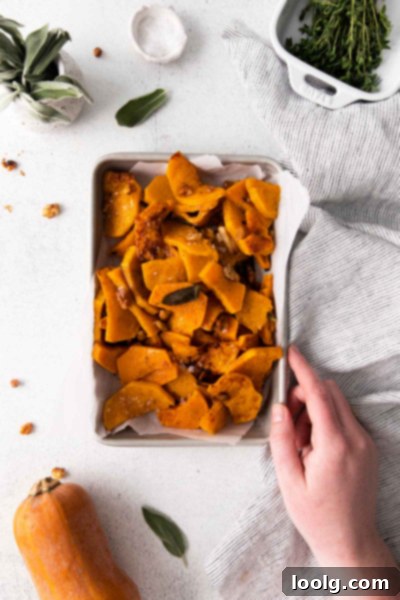
Can You Eat Butternut Squash Seeds? Absolutely!
Yes, you absolutely can and should eat the seeds of butternut squash! Just like pumpkin seeds, these often-overlooked treasures are packed with nutrients and make an incredibly delicious, crunchy snack when roasted. Instead of tossing them, give them a quick rinse to remove any stringy pulp, pat them dry, and then toss them with a little olive oil and your favorite seasonings – salt, pepper, paprika, garlic powder, or even a touch of cinnamon sugar for a sweet treat. They typically roast in about 15 minutes in a hot oven until golden and crispy. For a detailed guide on preparing this tasty snack, check out these Roasted Squash Seeds.
Spices and Herbs: Perfect Pairings for Butternut Squash
Butternut squash is incredibly versatile and shines with a wide range of spices and herbs, allowing you to tailor its flavor profile to any meal or mood. As mentioned, fresh sage is a personal favorite for its classic pairing, especially when preparing a side dish for Thanksgiving or other fall holidays. Beyond sage, the flavors of autumn truly complement butternut squash beautifully. Consider enhancing its natural sweetness with warm spices like cinnamon, a touch of nutmeg, brown sugar, or even a drizzle of maple syrup for a richer, more decadent flavor.
For a savory approach, fresh thyme and rosemary are also fantastic companions, offering aromatic, woodsy notes that harmonize well with the squash’s earthiness. If you enjoy a little heat, a pinch of crushed red pepper flakes or a dash of cayenne pepper can add a wonderful kick, creating an intriguing contrast between the creamy sweetness of the squash and the spicy warmth of the pepper.
Butternut squash isn’t just for the holidays! I love roasting it year-round to use as a versatile topping for salads. This flexibility allows me to experiment with different flavor combinations throughout the seasons – think bright citrus and fresh mint in spring, or smoky paprika and cumin in summer, adapting the spice profile to match my culinary inclinations.
Fresh vs. Dried Herbs: What to Know
While I much prefer the vibrant, nuanced flavors of fresh herbs, especially when using sage with butternut squash, sometimes fresh isn’t an option. It’s important to understand the difference in potency and how to substitute effectively.
Dried herbs are generally more concentrated and potent than their fresh counterparts because the water content has evaporated, leaving behind a higher concentration of essential oils. This means you need to use less dried herb compared to fresh.
- Flaky Dried Herbs (like sage, oregano, thyme): A good rule of thumb is to use 1 teaspoon of dried herbs for every 1 tablespoon of fresh herbs. So, if a recipe calls for 3 tablespoons of fresh sage, you would use 1 teaspoon of dried sage.
- Ground Dried Herbs (like ground sage, ground thyme): Ground herbs are even more potent than flaky dried herbs because they have a larger surface area. For these, use approximately ½ teaspoon of ground dried herbs for every 1 teaspoon of flaky dried leaf herbs. Consequently, this would be about ½ teaspoon of ground herb for every 1 tablespoon of fresh.
Because of their increased potency, it’s always best to be a bit more conservative when using dried herbs. You can always add more to taste, but it’s difficult to remove excess seasoning. Start with a smaller amount and adjust as needed to achieve your desired flavor intensity.
Selecting the Best Butternut Squash: A Buyer’s Guide
Finding the freshest and best produce at the market can sometimes feel like a challenge, but with a few simple tips, you can confidently choose the perfect butternut squash. While butternut squash is at its peak in early fall and throughout the winter months, its tough skin allows it to be available year-round in most grocery stores.
Here’s what to look for when buying butternut squash:
- Color: Opt for a squash with a deep, uniform, matte beige color. Avoid any squash that has green patches, as this indicates it was picked too early and won’t be as sweet or flavorful.
- Weight: Pick up the squash. It should feel surprisingly heavy for its size. This usually means it’s dense, well-hydrated, and packed with flesh.
- Skin: The skin should be hard and smooth, free from any soft spots, bruises, cuts, or mold. Small blemishes are usually fine, but significant damage can lead to spoilage. Go for matte rather than shiny skin; a shiny surface can sometimes indicate that the squash was picked too early.
- Neck and Bulb: Look for a squash with a long, fat neck and a small bulb at the bottom. The neck contains solid flesh, while the bulb houses the seeds. A fatter neck means more usable flesh and less seed cavity.
- Stem: A dry, intact stem is a good sign that the squash was harvested properly and will store well.
- Thump Test: Give the squash a gentle thump with your knuckles. It should sound hollow, similar to how you’d test a ripe watermelon.
By following these guidelines, you’ll be sure to bring home a high-quality butternut squash ready to be transformed into a delicious meal.
Proper Storage: How Long Does Butternut Squash Last?
One of the great advantages of butternut squash is its impressive shelf life, thanks to its tough outer skin. When stored correctly, it can last for an extended period and even get sweeter over time as its starches convert to sugars. However, proper storage is key to preventing spoilage.
- Whole, Unpeeled Butternut Squash: For maximum shelf life, store whole, unpeeled butternut squash in a cool, dark, and dry place, such as a cupboard, pantry, or basement. Ideal temperatures are between 50-60°F (10-15°C). Avoid storing it in the refrigerator, as the cold, humid environment can actually cause the skin to become slimy and promote spoilage. When stored correctly, a whole butternut squash can last for up to 1-3 months, sometimes even longer! Be sure to remove it from any plastic packaging, as this can trap moisture.
- Avoid Ethylene-Producing Fruits: Do not store butternut squash next to ripening fruits like bananas, apples, or tomatoes. These fruits release ethylene gas, which can accelerate the ripening and spoilage of your squash, significantly shortening its shelf life.
- Peeled and Cut Butternut Squash: Once peeled or cut, the shelf life of butternut squash drastically reduces. Raw, peeled, and cut squash should be stored in an airtight container in the refrigerator and consumed within 3-5 days.
- Cooked Butternut Squash: Leftover cooked butternut squash also needs to be stored in an airtight container in the refrigerator. It will typically remain fresh for up to 3-4 days.
Freezing Butternut Squash for Future Enjoyment
Absolutely! Freezing butternut squash is an excellent way to preserve it, especially when it’s in season and on sale. It’s incredibly convenient to have on hand for future meals, and the best part is, you can freeze it both raw or after it’s been cooked.
Here’s how to freeze raw butternut squash:
- Prepare the Squash: Peel the butternut squash and cut it into your desired pieces (cubes, half-moons, or chunks).
- Pre-freeze on a Baking Sheet: Arrange the sliced pieces in a single layer on a baking sheet lined with parchment paper, ensuring a little space between each piece to prevent them from sticking together.
- Freeze Until Solid: Transfer the baking sheet to the freezer for a few hours, or until the squash pieces are completely firm and frozen through. This step, known as “flash freezing,” prevents the squash from clumping together in the storage bag.
- Transfer to Freezer Bag: Once frozen solid, transfer the squash pieces to a freezer-safe bag or airtight container. Squeeze out as much air as possible from the bag before sealing to prevent freezer burn.
- Label and Store: Don’t forget to date the bag! Frozen butternut squash will maintain its quality for up to 12 months. Having a stash of frozen squash means you’ll have flavorful additions for your salads, soups, and roasted dishes throughout the year.
Some people prefer to blanch their vegetables before freezing to help retain color, flavor, and nutrients. If you’re interested in this process, you can check out how to blanch other vegetables like Blanched Broccoli. You can use a similar process for squash, though typically for squash, the “shock phase” (plunging into ice water) is often skipped, as the goal is usually to cook it further later.
The best part? You don’t even need to thaw the squash before you use it! You can toss the frozen pieces directly into your roasting pan, soup pot, or sauté pan, adding a few extra minutes to the cooking time if necessary. Yay!
Butternut Squash Alternatives: Other Squashes That Work Well
While butternut squash is the star of this recipe, you don’t have to limit yourself. Acorn squash and delicata squash are fantastic alternatives that would work just as well, yielding equally delicious results. Both have naturally sweet, tender flesh and, as mentioned earlier, their thin skins are edible when roasted, saving you the peeling step. They offer a slightly different, often milder, flavor profile that beautifully complements the sage and walnut additions.
When to Discard Butternut Squash: Signs of Spoilage
It’s always a good idea to perform a quick check on your butternut squash, especially if it’s been sitting in your pantry for a while, to ensure it’s still safe and delicious to eat. Trust your senses – when in doubt, throw it out! 😉
Here are the signs to look for:
- Soft or Squishy Spots: The rind of a healthy butternut squash should be firm and hard. If you notice any soft, squishy, or mushy spots, particularly around the stem or blossom end, it’s a sign of spoilage. If there are only a few small, isolated soft spots, you might be able to cut them off, just as you would with other vegetables. However, if the majority of the squash is soft or covered in rotten spots, it’s best to discard the entire thing.
- Mold: Any visible mold, whether white, green, or black, indicates that the squash has gone bad and should be thrown out immediately.
- Leaking Liquid: If the squash is leaking any liquid, it’s a clear sign of internal decay and should be discarded.
- Hollow Sound or Feeling: While a healthy squash should sound hollow when thumped, if it feels unusually light for its size or excessively hollow, it could mean its internal flesh has started to dry out or decay.
- Unpleasant Odor: A fresh butternut squash has a very subtle, earthy scent. If you detect any sour, fermented, or off-putting smells, it’s definitely time to toss it.
Nut and Seed Substitutions for Walnuts
While walnuts add a fantastic crunch and earthy flavor to this baked butternut squash, you certainly don’t have to stick to them! This recipe is wonderfully adaptable to a variety of nuts and even seeds, allowing you to customize the texture and taste to your preference or dietary needs.
- Pecans: These are a superb alternative, offering a slightly sweeter, buttery flavor that complements the squash beautifully.
- Almond Slivers or Chopped Almonds: Almonds provide a delicate crunch and a mild, versatile flavor that works well in almost any dish.
- Pine Nuts: For those who are nut-free (pine nuts are technically seeds!), these tiny treasures add an exquisite creamy nuttiness and a wonderful texture when lightly roasted with the butternut squash. Their subtle flavor won’t overpower the other ingredients. Speaking of pine nuts, I absolutely love toasting them and adding them to salads and soups for an extra layer of flavor and crunch. If you’re interested in learning more about this simple technique, check out How to Toast Pine Nuts from my other blog, Texanerin Baking.
- Pumpkin Seeds (Pepitas): These offer a delightful chewiness and a distinct, savory flavor, perfect for a fall-themed dish.
- Sunflower Seeds: A great allergy-friendly option that still provides a satisfying crunch and mild, earthy taste.
For an even more special addition that adds a burst of vibrant color and a tangy-sweet pop of flavor, I also think adding fresh pomegranate seeds just before serving would be absolutely fantastic, especially for a holiday presentation.
The Remarkable Health Benefits of Butternut Squash
Incorporating butternut squash into your diet is a fantastic choice for overall health and wellness, whether you roast, toast, sauté, or puree it. This versatile fall and winter vegetable is not only delicious but also packed with nutrients, making it a wonderful way to add flavor and goodness to many cold-weather meals, like this comforting High Protein Butternut Squash Soup. Plus, it boasts an impressive array of benefits that truly justify making it a regular part of your meals.
- Rich in Antioxidants: Butternut squash is an excellent source of powerful antioxidants, including beta-carotene (which converts to Vitamin A in the body), Vitamin C, and various polyphenols. These compounds help combat oxidative stress, protect cells from damage, and reduce the risk of chronic diseases.
- Vitamin Powerhouse: It’s particularly high in Vitamin A, crucial for vision, immune function, and skin health, and Vitamin C, another essential nutrient for immunity and collagen production.
- Fiber-Filled: With one cup containing a significant amount of both soluble and insoluble fiber, butternut squash is fantastic for digestive health. Fiber aids in regulating blood sugar levels, promoting satiety, and maintaining healthy bowel movements. This also contributes to lowering blood pressure and cholesterol levels, further supporting heart health.
- Heart Health Hero: Beyond its fiber content, butternut squash is known to contribute to cardiovascular wellness. It’s rich in potassium (a single cup can contain 582mg, more than a banana!), an essential mineral that helps regulate blood pressure. By increasing potassium intake and reducing sodium, you can significantly lower your risk of cardiovascular disease. The antioxidants and anti-inflammatory properties of squash also play a role in reducing overall inflammation, a key factor in heart disease.
- Low in Calories, High in Nutrients: While butternut squash does contain carbohydrates, it’s a nutrient-dense food. A cup only contains about 82 calories, yet it’s packed with vitamins, minerals, and fiber, making it an excellent choice for managing weight while ensuring adequate nutrient intake.
Butternut Squash vs. Sweet Potato: Both butternut squash and sweet potatoes are nutritional powerhouses, offering excellent sources of vitamins, minerals, and antioxidants. However, there are some differences. Sweet potatoes tend to have roughly double the calories, carbohydrates, and sugar per serving compared to butternut squash, though they often boast slightly higher fiber and protein content. Ultimately, both are incredibly healthy and beneficial additions to a balanced diet. This Thanksgiving, perhaps consider shaking things up a bit and swapping out the traditional sweetened sweet potato casserole for this savory, roasted butternut squash – a flavorful, lighter option that your body will thank you for! 😉
Beyond Roasting: Other Delicious Ways to Cook Butternut Squash
While roasting brings out the best in butternut squash, its versatility means you can prepare it using a variety of cooking methods, each offering a unique flavor and texture profile. You are by no means limited to just roasting!
- Sautéed Butternut Squash: For a quick and easy preparation, sautéing is a fantastic option. Heat one tablespoon of olive oil over medium heat in a large pan or skillet. Add your peeled and cut butternut squash pieces to the pan. Stir frequently for about 15 minutes until the squash is lightly browned and tender, developing a lovely caramelized sweetness. Season with salt to taste, and it’s ready to serve. For an extra touch of flavor, you can add two minced garlic cloves to the oil a minute before the squash is done and garnish with fresh parsley.
- Steamed Butternut Squash: Steaming offers a lighter, softer texture, perfect for pureeing or mashing. Simply place cubed squash in a steamer basket over boiling water and cook until fork-tender, usually 10-15 minutes.
- Boiled Butternut Squash: Similar to steaming, boiling produces very soft squash, ideal for soups, purees, or baby food. Cube the squash and boil in lightly salted water until tender.
- Butternut Squash Puree: Whether steamed, boiled, or roasted, pureeing butternut squash creates a silky-smooth base for soups, sauces, risotto, or even as a healthy addition to baked goods.
- Grilled Butternut Squash: For a smoky flavor, brush thick slices or spears of butternut squash with oil and grill them until tender and beautifully charred.
Each method highlights different aspects of the squash, making it adaptable to almost any recipe or culinary preference.
What to Serve with Roasted Butternut Squash: Pairing Perfection
This baked butternut squash recipe is a true chameleon, fitting seamlessly into a wide array of meals, from elegant holiday spreads to simple weeknight dinners. As the holidays approach, it’s an ideal traditional-yet-elevated side dish. For everyday healthy eating, it pairs wonderfully with something light like this Simple Steamed Cauliflower with Herbs.
Holiday Feast Pairings:
- Turkey: The holidays often mean turkey, and this squash is a perfect companion. Consider pairing it with an Air Fryer Turkey Breast, which cooks in less than an hour, or an Instant Pot Turkey Breast for a quick and easy option (both recipes include conventional oven directions!).
- Pork: A savory choice like this Stove Top Pork Tenderloin would also be a fantastic match, with the squash’s sweetness balancing the richness of the pork.
- Ham: If you’re planning for a smaller holiday gathering, an Air Fryer Ham is incredibly easy and pairs beautifully with the squash. For glazed ham lovers, try this simple Maple Glazed Ham, made with just 3 ingredients in no time.
- Salads & Other Sides: This year, for a cozy holiday feel, instead of traditional stuffing, I’m opting for a Tuscan-style Panzanella Salad – a delicious and filling bread salad that offers a fresh counterpoint. This Baby Kale Salad with roasted chickpeas and apples also looks like a fantastic, vibrant addition. And for another colorful and delicious side, these Lemon Butter Green Beans with Almonds add a touch of brightness to any table.
- Dessert: No holiday meal is complete without dessert! Finish your feast with an easy and comforting Crustless Pumpkin Pie. 🙂
I sincerely hope you enjoy your holidays and this delightful Baked Butternut Squash recipe! Thank you for following along and being a part of this culinary journey. As always, I would absolutely love to hear from you. Please leave a comment below and share what delicious dishes you’re making for the holidays or any special occasion!
Baked Butternut Squash
Ingredients
- 1 large butternut squash peeled and sliced into half-moons about 1/3″ thick
- 1 tablespoon olive oil
- 10 fresh small sage leaves, coarsely chopped
- 1 teaspoon kosher salt
- ¼ teaspoon black pepper
- ¼ cup (28 grams) coarsely chopped walnuts
- 3 large cloves garlic, minced
Instructions
-
Preheat the oven to 425 °F (218 °C). Get out a large baking sheet and grease it a bit with olive oil.
-
Add the butternut squash, olive oil, sage leaves, salt and pepper to the baking sheet. Toss to combine.
-
Bake for 15 minutes and flip each piece over.
-
Sprinkle over the walnuts and garlic. Bake for another 10 minutes.
-
Serve warm. Refrigerate leftovers in an airtight container for up to 3 days.
