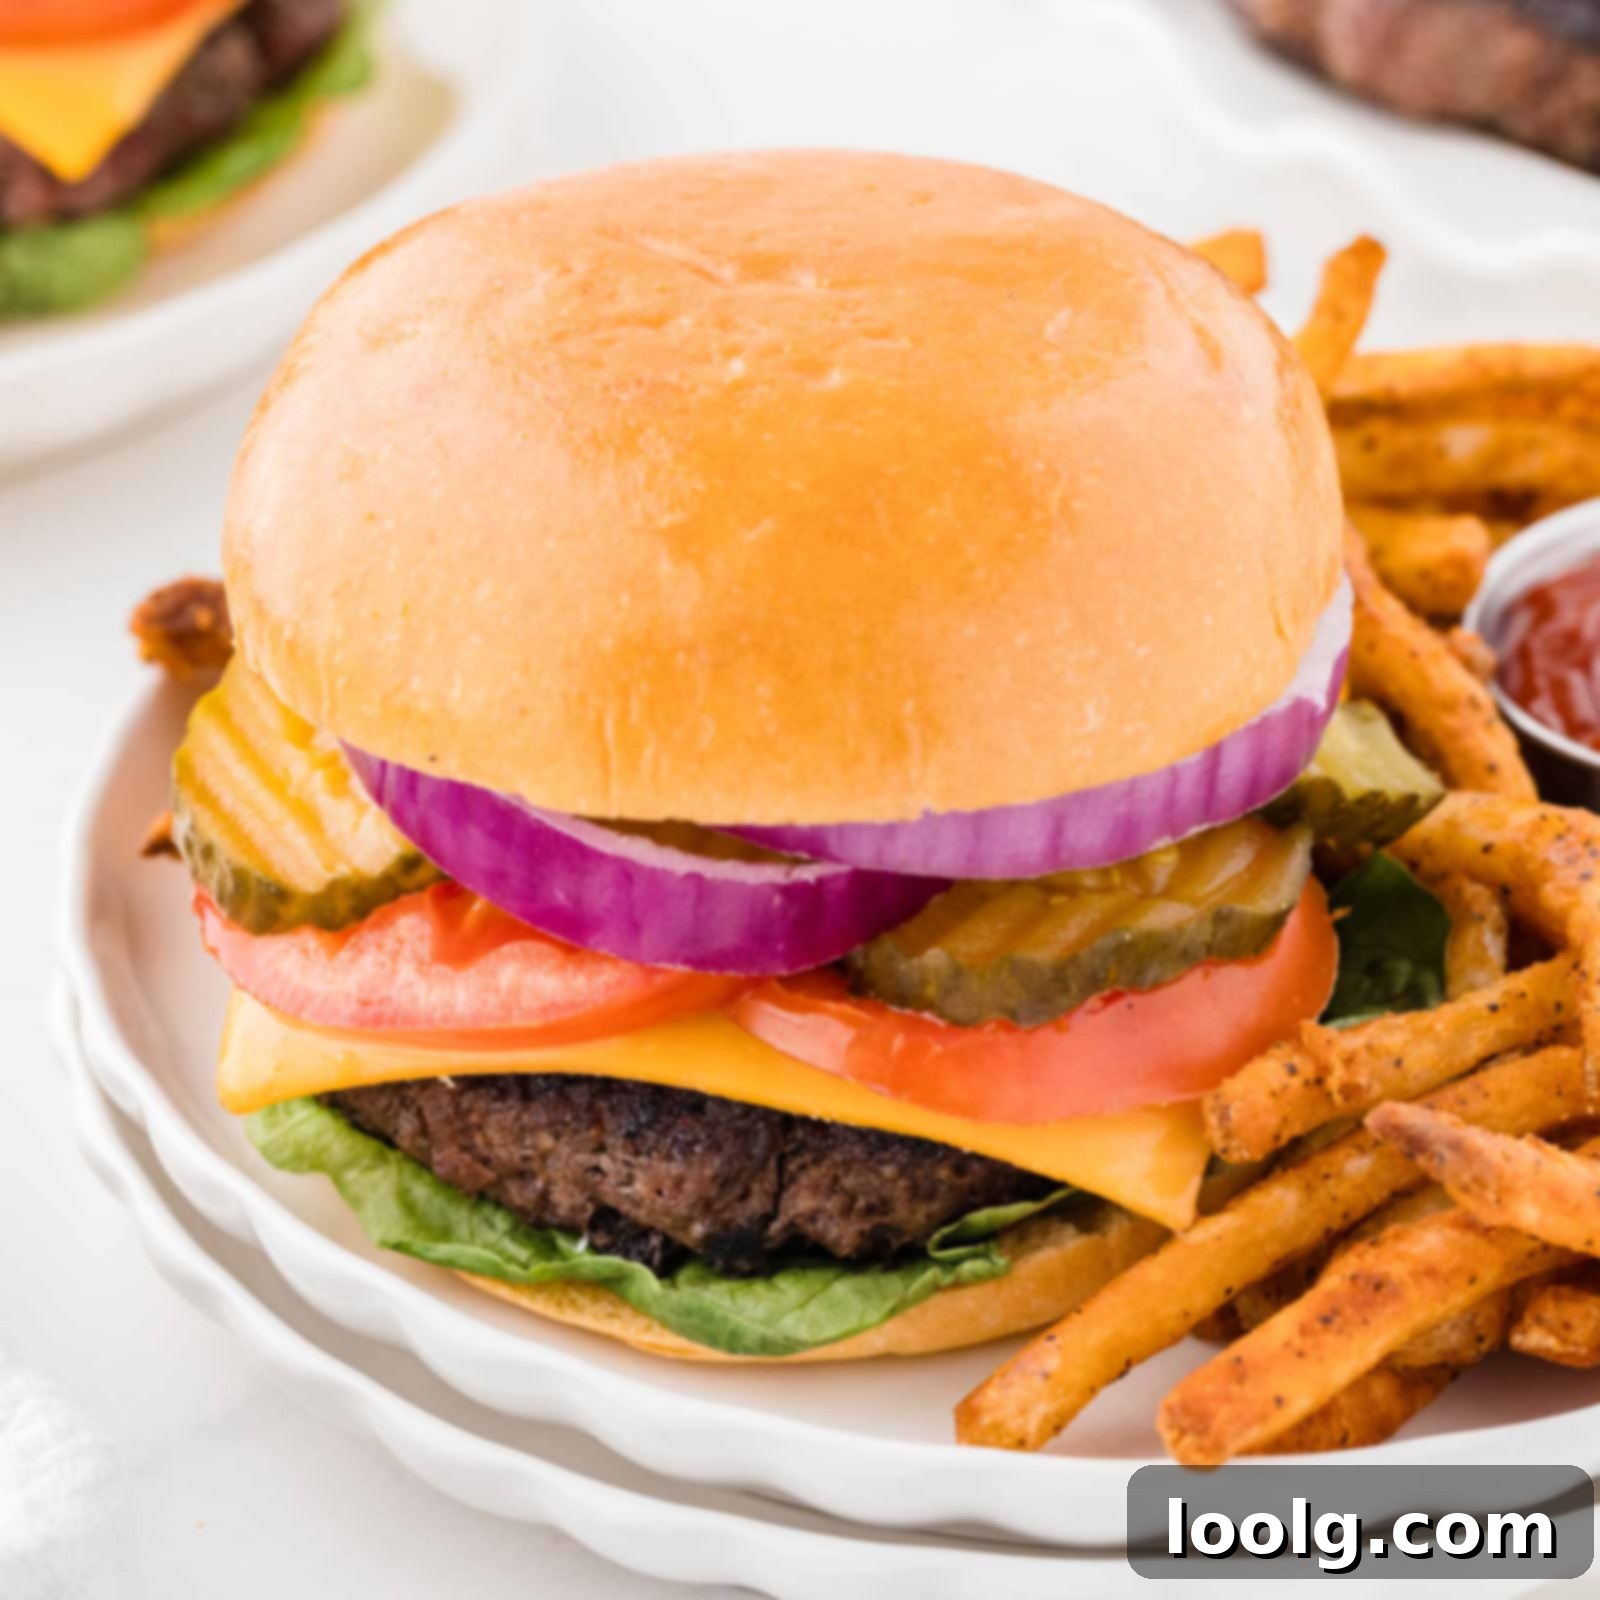
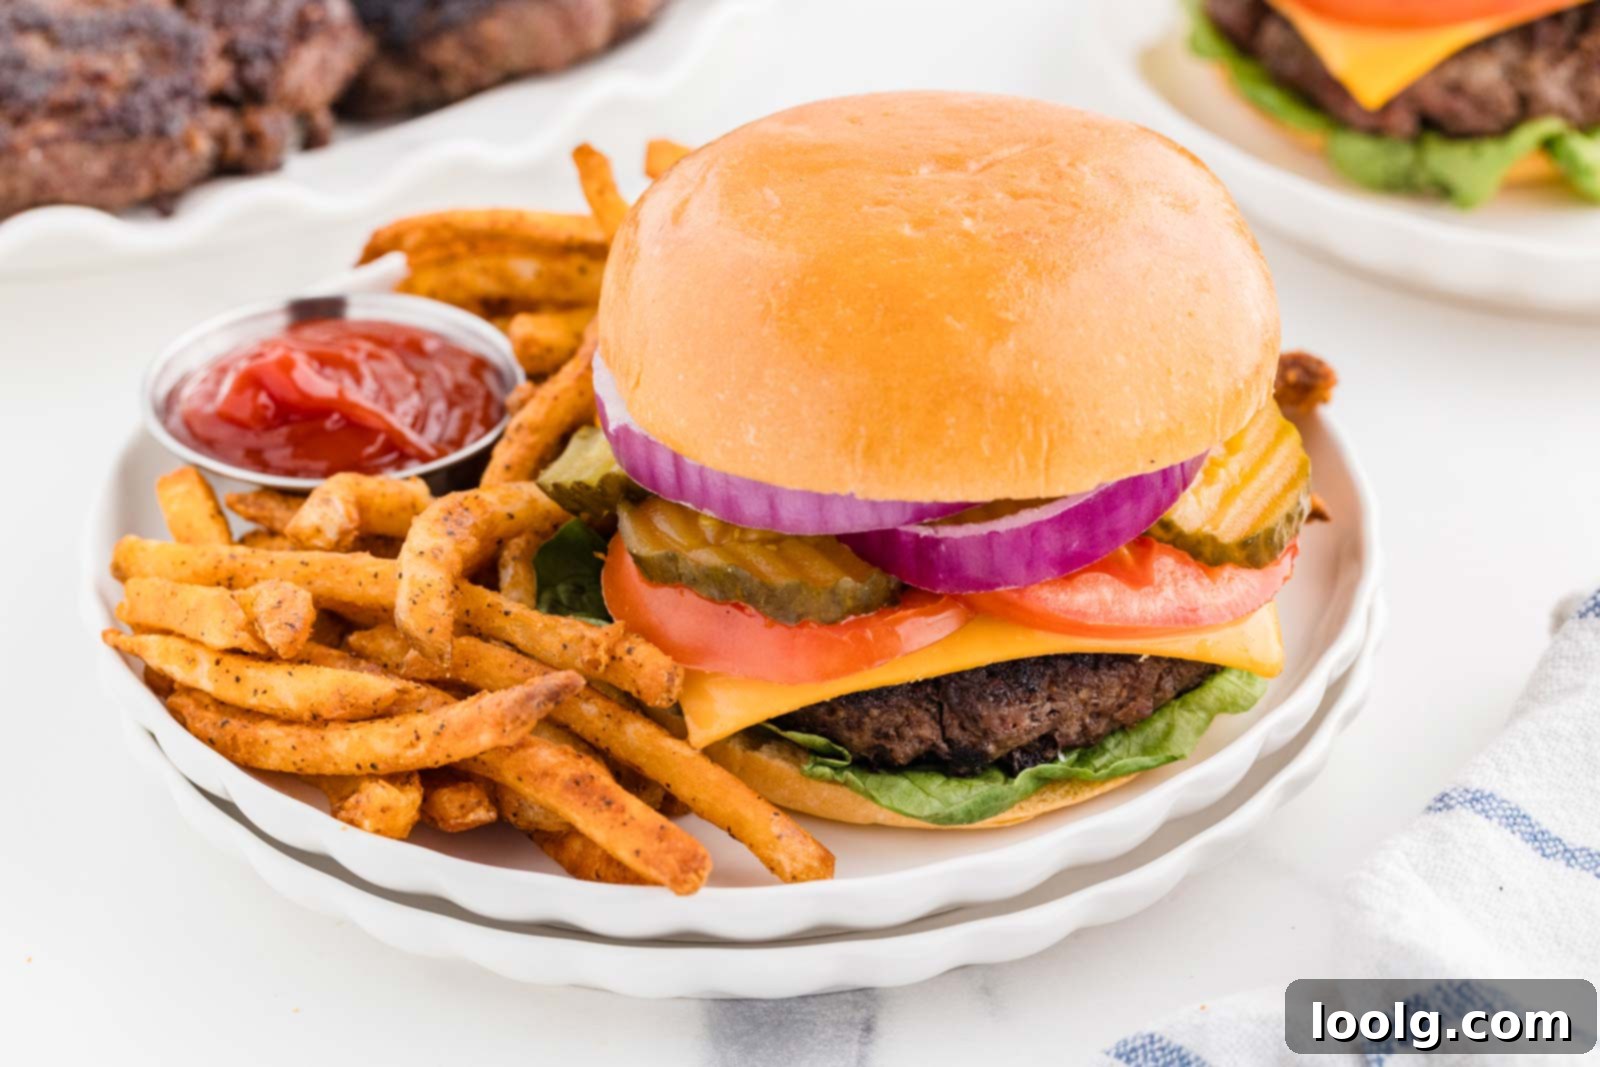
Juicy Venison Burgers: The Ultimate Cast Iron Skillet Recipe for Flavorful Wild Game
If you’re looking for the best way to transform ground venison into a truly unforgettable meal, look no further than these homemade venison burgers. This recipe delivers everything you crave in a perfect burger: incredible juiciness, rich flavor, and a beautifully seared crust, all cooked to perfection in a hot cast-iron skillet. It’s a simple, no-fuss method that requires no grill and is perfect for turning your freezer-stashed ground venison into a delicious, high-protein family favorite.
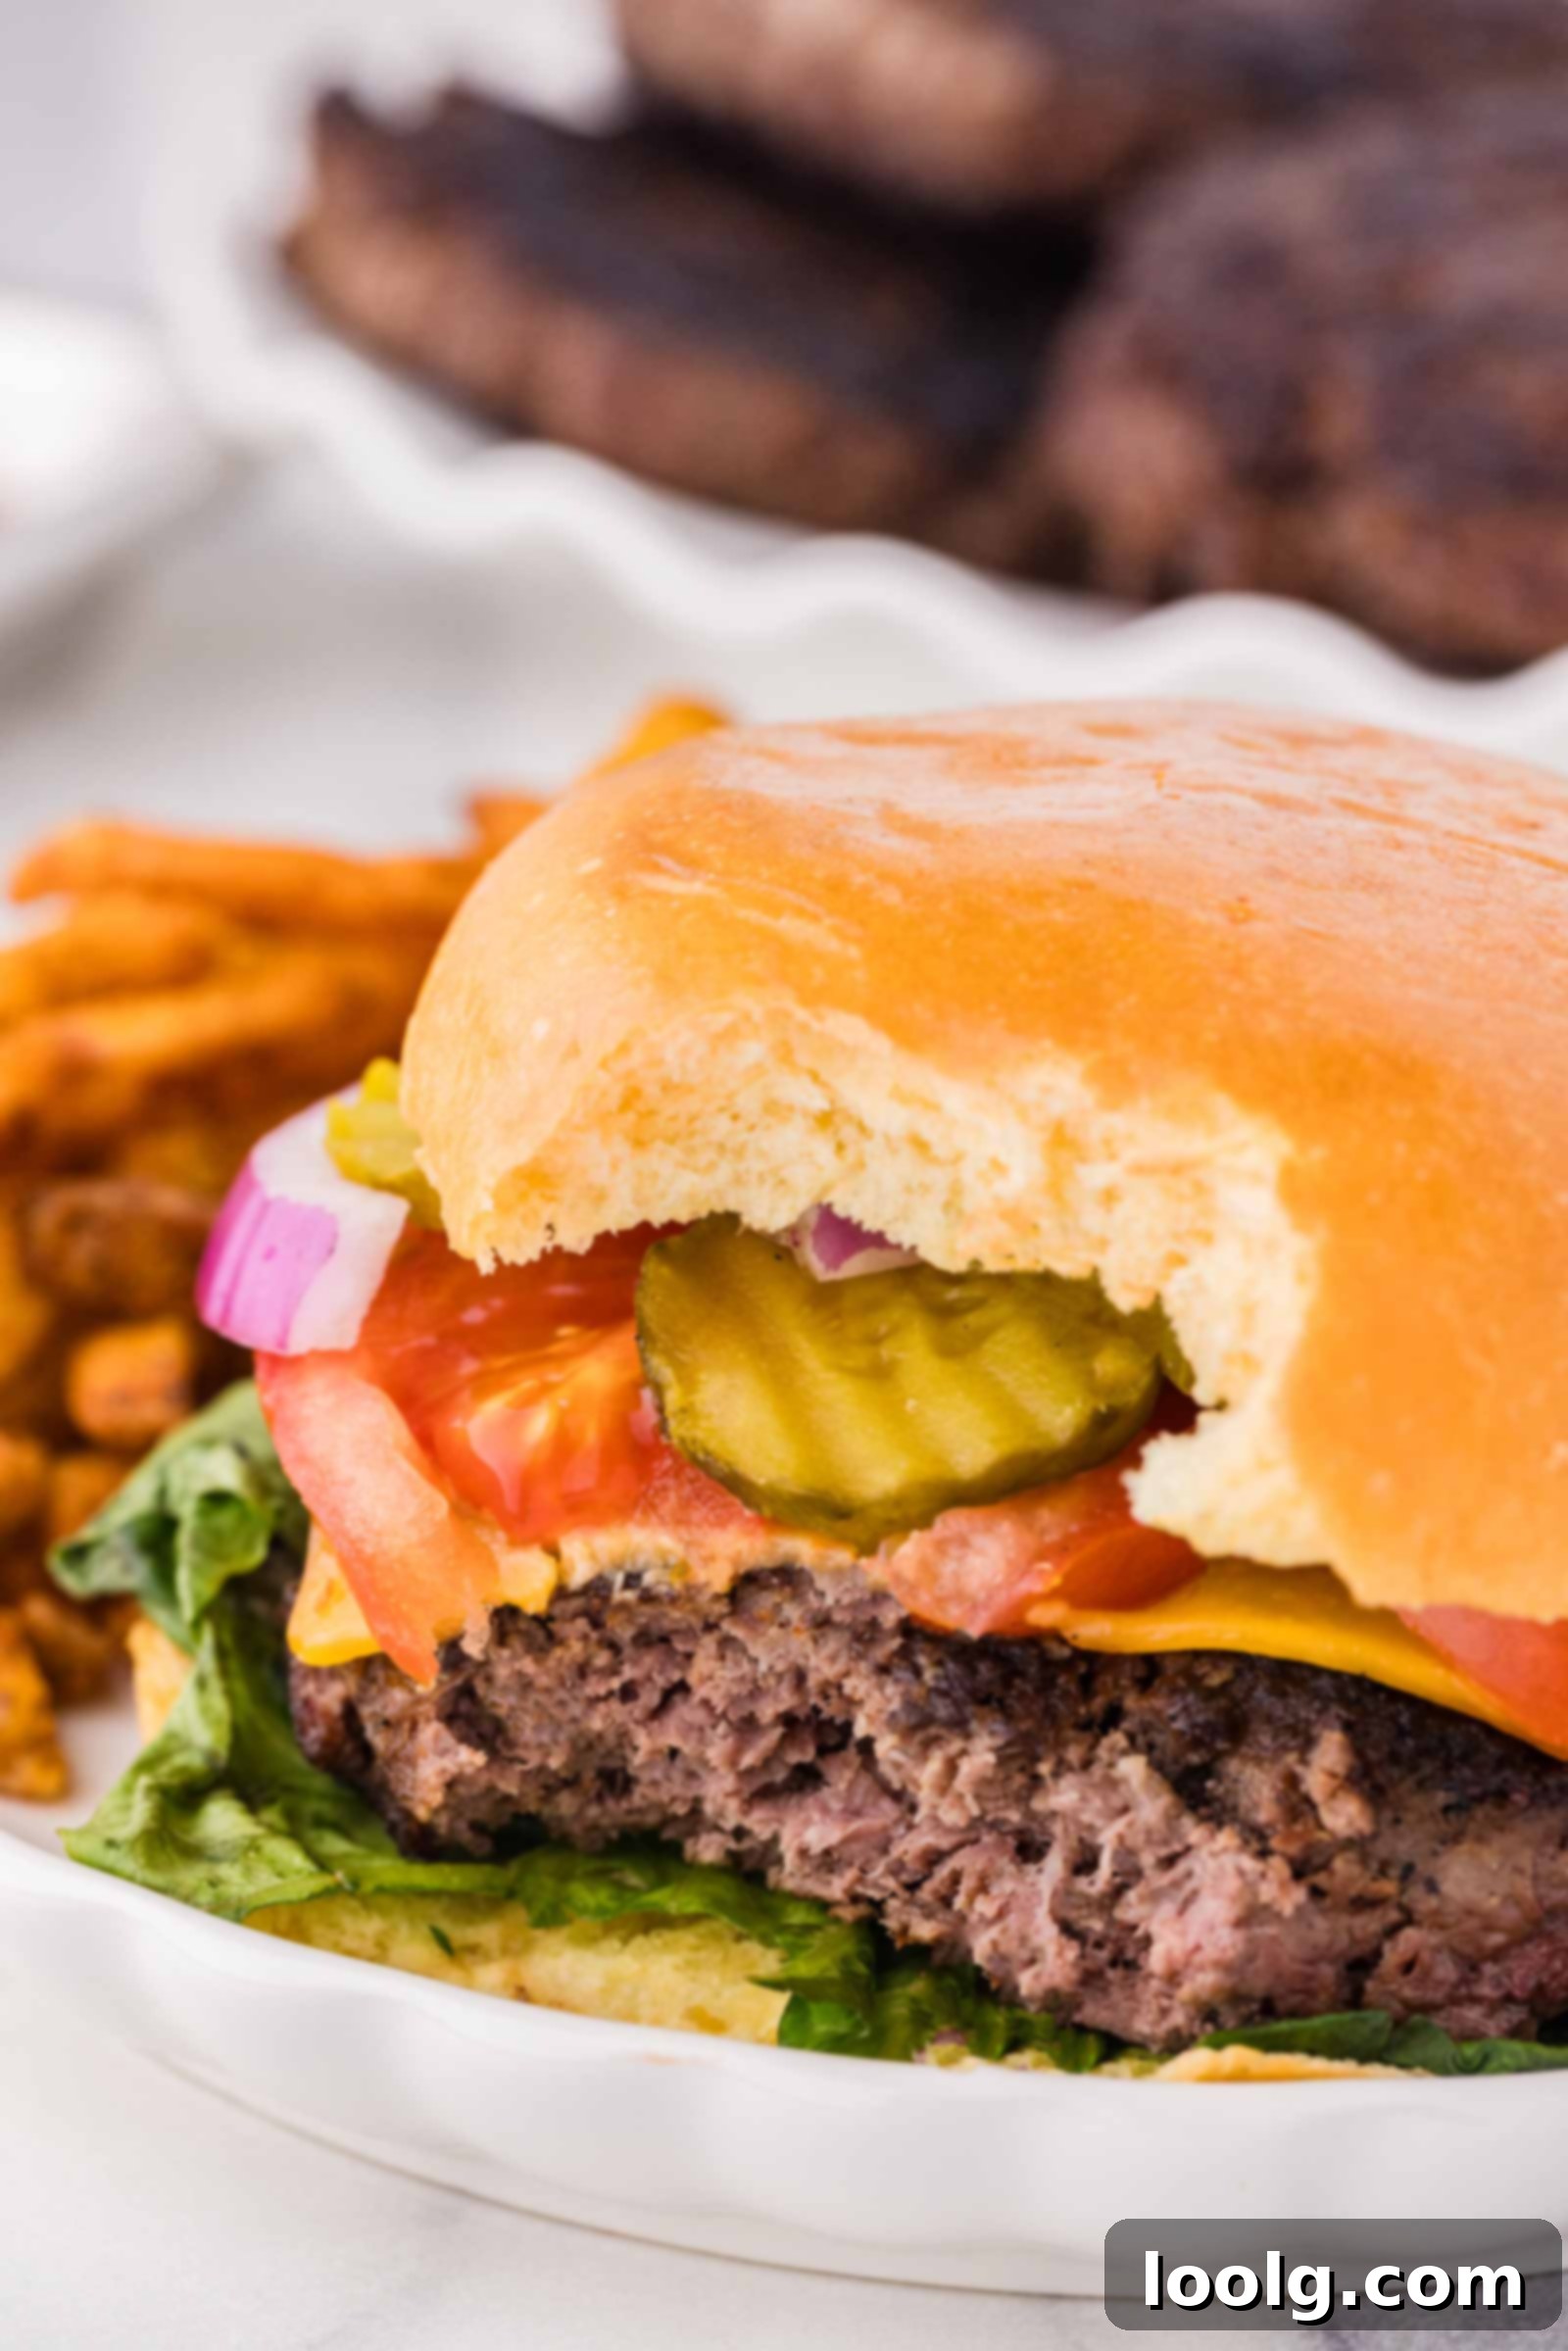
Venison is naturally lean, which can sometimes lead to dry burgers. However, with a few clever pantry ingredients, we lock in moisture and enhance the natural taste of the deer meat. A properly heated cast iron skillet then works its magic, creating that irresistible crispy exterior and tender, juicy interior that will have everyone asking for seconds. Get ready to elevate your burger night with this exceptional wild game recipe.
Looking for more ways to enjoy your wild game? Be sure to explore my other venison recipes for easy and delicious meal ideas, such as this tender Venison Tenderloin or a hearty Venison Bolognese. But for now, let’s dive into making these incredible venison burgers!
What Makes These Venison Burgers So Special?
-
- Effortless Cooking, No Grill Needed — Achieve perfectly cooked, flavorful venison burgers right on your stovetop using a trusty cast-iron skillet. This method ensures a fantastic sear and consistent results without the need for outdoor grilling.
- Guaranteed Juiciness with Simple Ingredients — Venison is known for being lean, but our secret blend of everyday pantry staples, like egg and breadcrumbs, ensures each patty remains incredibly moist and tender. These additions bind the meat without masking the distinct, delicious flavor of the venison.
- Ideal for Meal Prep and Freezer Storage — Prepare a batch of these burgers in advance for quick weeknight dinners or freeze them for convenient future meals. They reheat beautifully, making healthy and delicious wild game an accessible option anytime.
- Exceptional Flavor Profile — The carefully selected seasonings complement the robust taste of venison, enhancing its natural depth without overpowering it. Every bite is packed with savory goodness that satisfies even the most discerning burger connoisseur.
- Quick & Easy Preparation — From mixing to serving, this recipe is designed for efficiency. With minimal prep time and straightforward cooking steps, you can have a gourmet-quality venison burger on your table in under 30 minutes.
-
Ingredient Spotlight: Achieving the Perfect Venison Burger
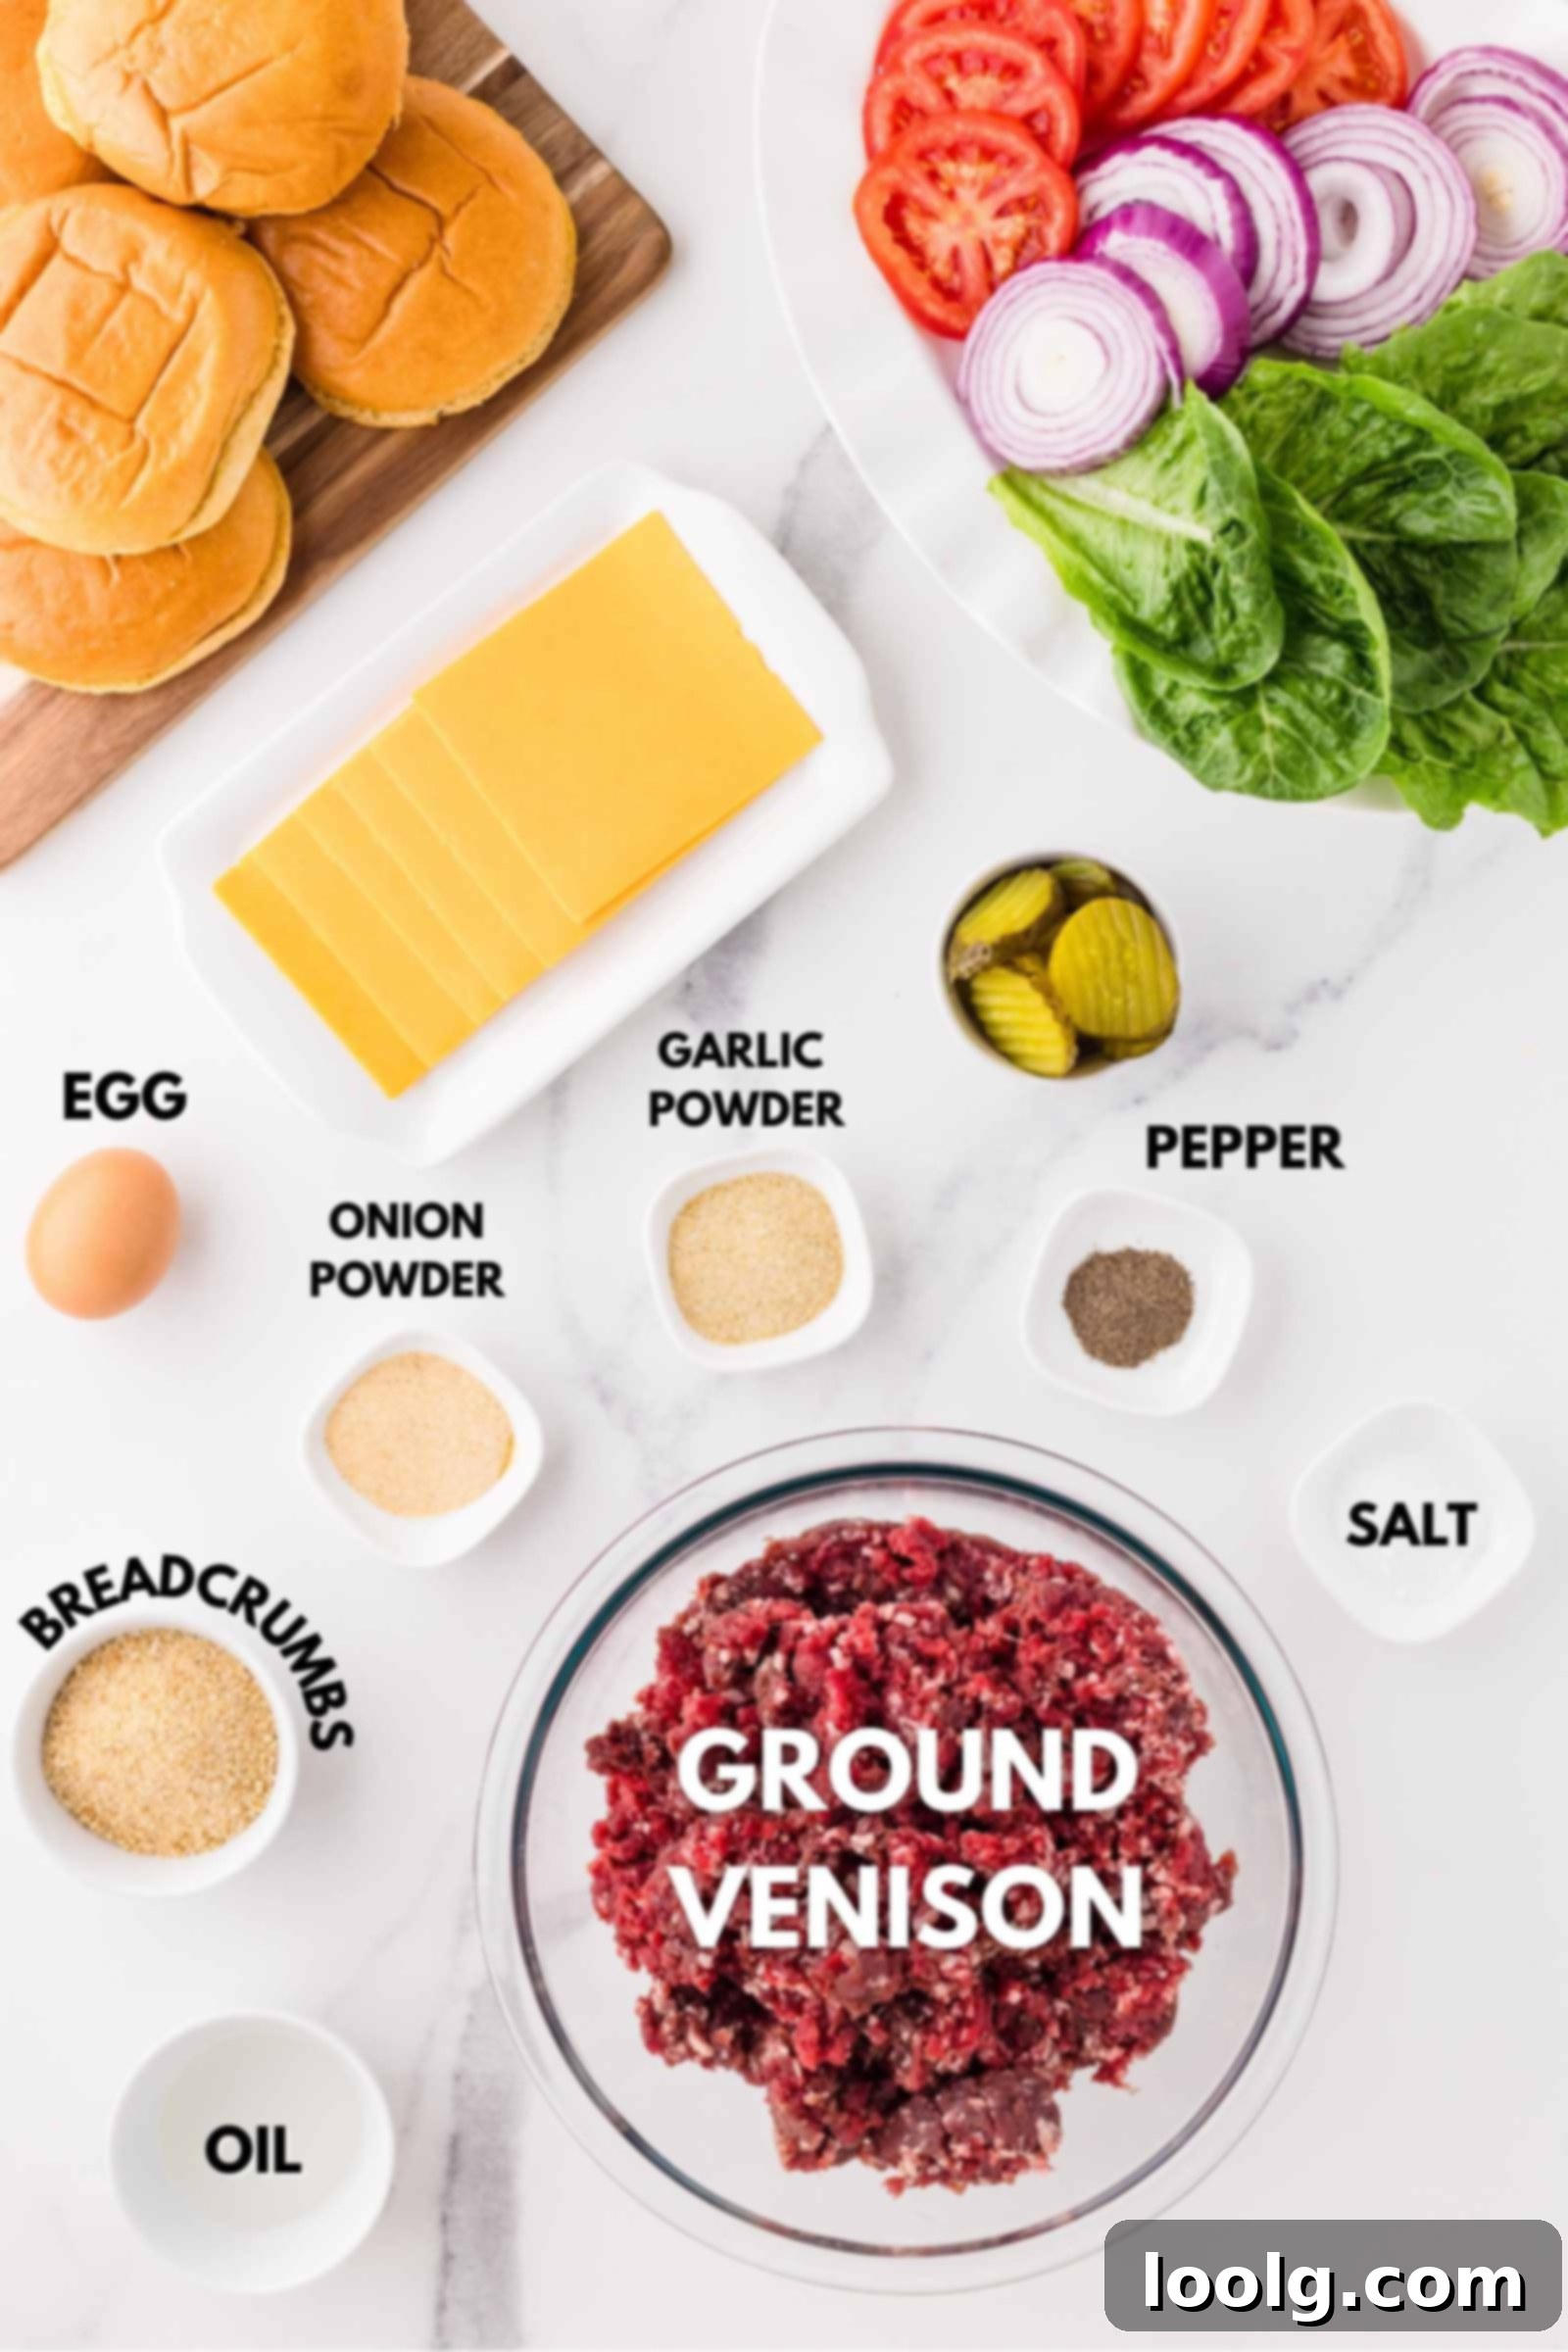
While the full recipe with precise measurements is provided below, understanding the role of each key ingredient will help you achieve the best venison burgers every time. These notes offer insights into why certain components are essential for flavor and texture.
- Ground Venison – The star of our show! Venison is naturally very lean, which is why it’s crucial to use binders and moisture-locking ingredients. This recipe specifically addresses the leanness to prevent the patties from drying out during cooking. You can use ground venison from any cut, ensuring it’s fresh or properly thawed.
- Large Egg – This acts as a primary binder, helping all the ingredients stick together so your patties don’t fall apart in the skillet or on the grill. It also contributes a subtle amount of moisture, crucial for lean venison. Using a room-temperature egg helps it incorporate more smoothly into the meat mixture.
- Breadcrumbs – Whether plain, seasoned, or gluten-free, breadcrumbs are essential for moisture retention and texture. They absorb some of the liquid from the egg and venison, preventing a dense, rubbery patty, and instead creating a tender, cohesive burger. For those with dietary restrictions, gluten-free breadcrumbs work perfectly.
- Garlic Powder & Onion Powder – These foundational seasonings provide a savory depth that beautifully complements the unique flavor of venison without overwhelming it. They offer consistent flavor distribution throughout the burger mixture.
- Salt & Black Pepper – Simple yet indispensable. Salt enhances all the other flavors, while black pepper adds a hint of pungent warmth. Adjust to your personal taste, but these amounts provide a well-balanced seasoning base.
- Canola Oil (or other neutral, high-heat oil) – Essential for searing the patties to perfection in the cast-iron skillet. Oils like canola, grapeseed, or avocado oil have high smoke points, allowing the pan to get hot enough for a beautiful crust without burning.
How To Make Them: Skillet Method
Cooking venison burgers in a cast-iron skillet is incredibly rewarding. The high heat creates a fantastic crust, while the interior remains juicy and tender. Follow these simple steps for a perfect burger every time.
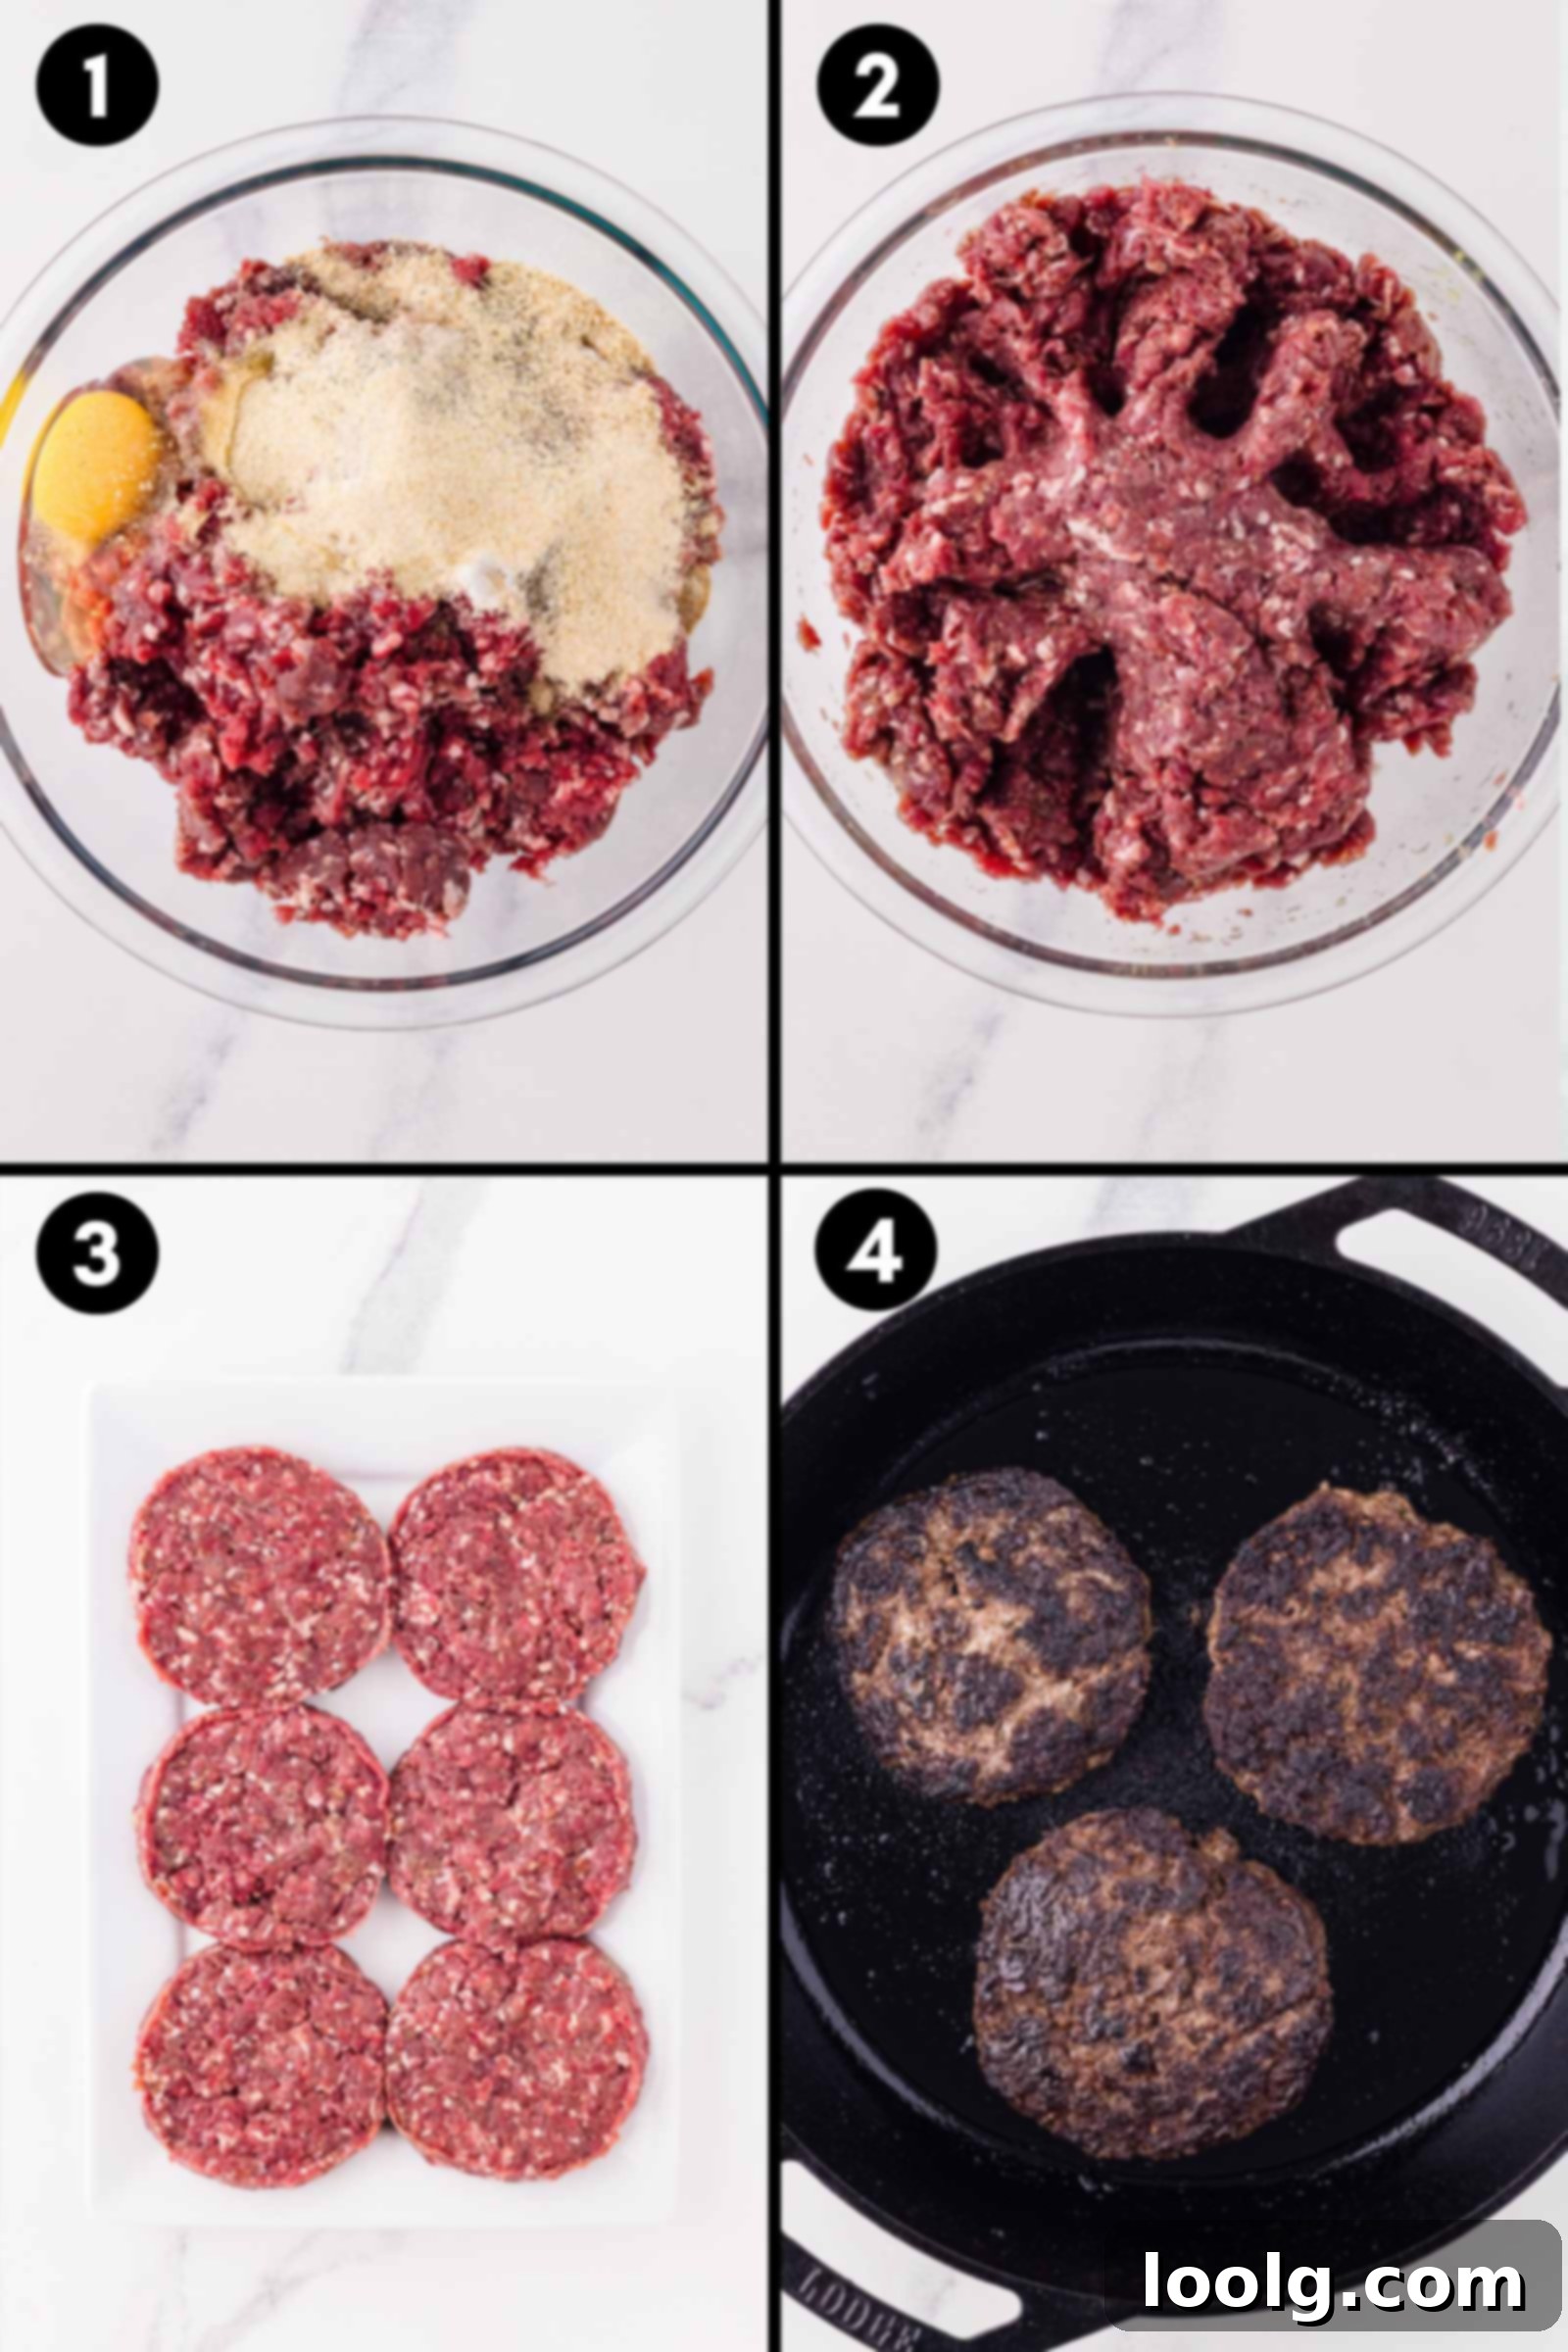
- Prepare the Mixture: In a large mixing bowl, combine the ground venison, large egg, breadcrumbs, garlic powder, onion powder, salt, and pepper.
- Gentle Mixing is Key: Using your hands or a fork, gently mix all the ingredients until they are just combined. Overmixing can lead to tough burgers, so stop as soon as everything is evenly incorporated.
- Form the Patties: Divide the mixture into 6 equal portions for standard-sized burgers, or 4 for larger, heartier patties. Shape each portion into a patty slightly wider than your burger buns, as they will shrink a bit during cooking. Aim for about 3/4 to 1 inch thick.
- Preheat the Skillet: Place your cast-iron skillet over medium-high heat on the stove. Allow it to preheat for several minutes until it’s very hot and a drop of water sizzles immediately. Add 1 tablespoon of canola oil, swirling to coat the bottom evenly.
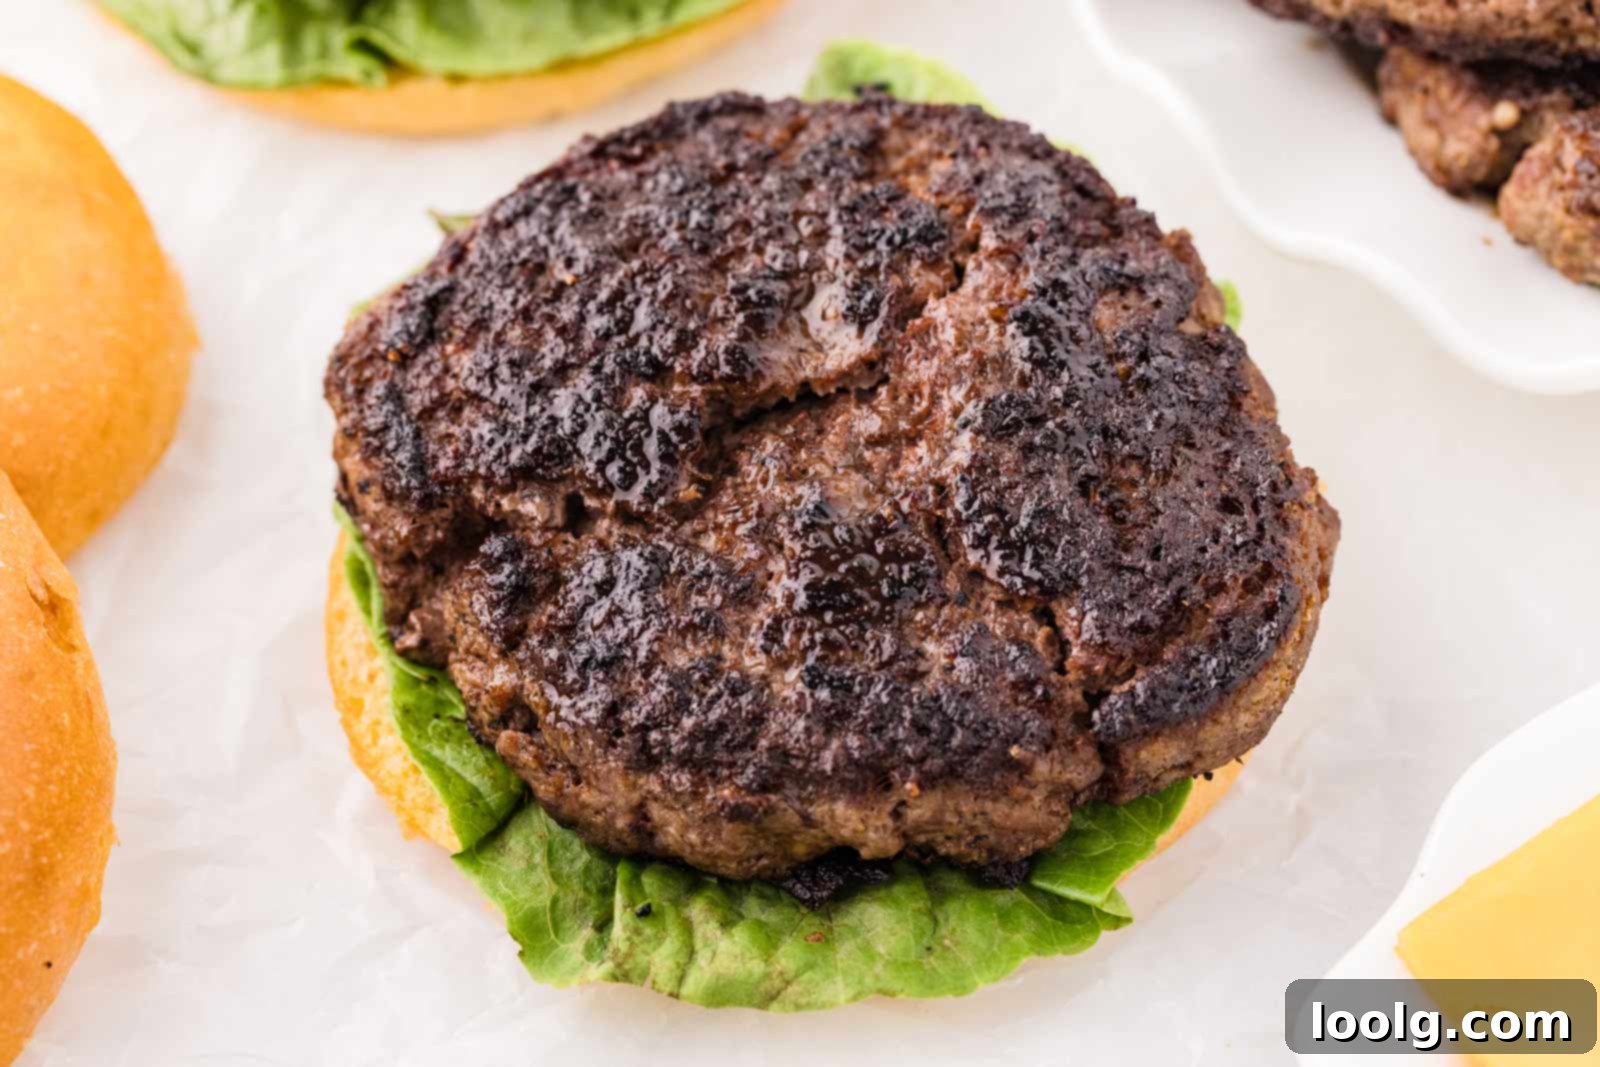
- Sear for Flavor: Carefully place the venison patties into the hot, oiled skillet. Ensure you don’t overcrowd the pan; cook in batches if necessary to maintain consistent heat. Sear for 4–5 minutes per side until a deep brown crust forms. This initial high-heat sear is crucial for flavor and texture.
- Finish Cooking: After searing both sides, reduce the heat to medium-low. Continue to cook the burgers for an additional 3–5 minutes per side, depending on their thickness, until the internal temperature reaches 160°F (71°C) with a meat thermometer.
- Rest Before Serving: Once cooked, remove the burgers from the skillet and let them rest on a plate or cutting board for 5 minutes. This resting period allows the juices to redistribute throughout the patty, resulting in a more succulent and flavorful burger.
How To Grill Them: Alternative Method
If you prefer the smoky flavor and outdoor experience of grilling, cooking these venison burgers on the grill is just as easy and yields fantastic results. Here’s how to do it:
First, preheat your grill to medium-high heat. While it’s heating up, lightly oil the grill grates to prevent sticking. This is especially important for lean venison. Once the grill is hot, carefully place the formed patties directly over the heat. Grill for approximately 4–5 minutes per side, just as you would in a skillet, to get those beautiful grill marks and a good sear. Once both sides are nicely seared, move the burgers to an area of indirect heat on the grill. Close the lid and continue cooking until the internal temperature reaches 160°F (71°C). Use a meat thermometer to ensure accuracy. When done, remove them from the grill and let them rest for 5 minutes before assembling your delicious venison burgers on buns with your favorite toppings.
Pro Tips for Venison Burger Success
- Always Use a Meat Thermometer – For both safety and optimal texture, venison should be cooked to an internal temperature of 160°F (71°C). This ensures the burgers are thoroughly cooked without becoming overdone and dry, which is a common pitfall with lean game meat.
- Avoid Overmixing the Meat – When combining your ingredients, mix gently and only until just combined. Overworking the meat can compress the proteins, leading to a dense, tough, and less tender burger.
- Allow the Patties to Rest – This step is crucial! After cooking, remove the burgers from the heat and let them sit for 5 minutes. This allows the juices, which migrate to the center during cooking, to redistribute throughout the entire patty, keeping it incredibly moist and flavorful.
- Properly Preheat Your Skillet (or Grill) – A hot cooking surface is essential for creating that coveted seared crust. A sizzling hot pan or grill locks in moisture and adds a layer of delicious texture to your venison burgers. Don’t rush this step.
- Shape Patties Wider Than Buns – Remember that burgers, especially lean ones like venison, will shrink as they cook. To ensure your patties fit your buns perfectly, shape them slightly wider than the buns themselves.
- Don’t Flatten Patties During Cooking – Resist the urge to press down on your burgers with a spatula while they’re cooking. This squeezes out all the precious juices, resulting in dry, less flavorful patties.
- Consider Adding a “Dimple” – For thicker patties, creating a small indentation (dimple) in the center of one side can help prevent the burger from bulging in the middle, ensuring a flatter, more evenly cooked patty.
Serving Suggestions: What to Pair with Your Venison Burgers
Venison burgers are incredibly versatile and pair well with a wide variety of toppings and sides. Here are some ideas to make your meal complete:
Classic Toppings & Condiments:
- Cheese: Cheddar, provolone, Swiss, or a smoky gouda melt beautifully on a venison patty.
- Fresh Vegetables: Crisp lettuce, ripe tomato slices, red onion rings, pickles, and avocado slices add freshness and crunch.
- Sauces: Classic ketchup and mustard are always a hit. Elevate your burger with a tangy BBQ sauce, creamy aioli, a spicy sriracha mayo, or a homemade special sauce.
- Caramelized Onions or Mushrooms: These savory additions bring a depth of flavor that complements venison wonderfully.
- Bacon: Crispy bacon strips add a salty, smoky crunch that’s irresistible.
Bun Choices:
- Brioche Buns: Soft, slightly sweet, and buttery, brioche buns provide a luxurious texture.
- Potato Buns: These are wonderfully soft and hold up well to juicy burgers.
- Whole Wheat Buns: A healthier option that offers a nutty flavor.
- Lettuce Wraps: For a low-carb alternative, serve your venison burger wrapped in crisp lettuce leaves.
Perfect Side Dishes:
- Crispy French Fries or Sweet Potato Fries: The ultimate classic burger accompaniment.
- Coleslaw: A creamy, tangy coleslaw offers a refreshing contrast to the rich venison.
- Roasted Vegetables: Asparagus, broccoli, or Brussels sprouts make a healthy and flavorful side.
- Side Salad: A simple green salad with a light vinaigrette is a refreshing choice.
- Onion Rings: Another beloved fried side that pairs perfectly with any burger.
How To Make Ahead And Store Your Venison Burgers
Venison burgers are exceptionally convenient for meal planning. Whether you want to prepare patties in advance, cook them for later, or freeze them for long-term storage, here’s how to ensure they remain delicious and safe.
- Raw Patties (Make Ahead) – You can form the venison patties up to 1 day in advance. Arrange them on a plate separated by parchment paper, cover tightly with plastic wrap, and refrigerate. This makes cooking time even quicker on busy weeknights.
- Cooked Burgers (Refrigeration) – Once your venison burgers are cooked and have cooled completely, store them in an airtight container in the refrigerator for up to 3 days. They’re perfect for quick lunches or dinners.
- Freezing for Longer Storage – For extended storage, wrap cooled, cooked patties individually in plastic wrap, then place them in a freezer-safe bag or container. They will maintain their quality in the freezer for up to 3 months. For raw patties, you can also freeze them individually wrapped, then transfer to a freezer bag. Thaw in the refrigerator before cooking.
- Reheating Instructions – To reheat cooked venison burgers, warm them gently in a skillet over medium-low heat until heated through, adding a splash of water or broth to create steam if desired to prevent drying. Alternatively, cover them loosely and microwave until hot, being careful not to overcook.
🍔🦌🔥 Have you tried these incredibly juicy venison burgers? 🔥🦌🍔
Your feedback is invaluable! Please share your experience by leaving a ✍️ review and 🌟 rating – it truly helps me and other home cooks discover new favorites! I so appreciate it. 💖
Venison Burgers
Ingredients
- 2 pounds (907 grams) ground venison
- 1 large egg room temp, 50 grams out of shell
- 1/3 cup (36 grams) bread crumbs use gluten-free crumbs if you’re GF
- 1 1/2 teaspoons garlic powder
- 2 teaspoons onion powder
- 1/2 teaspoon salt
- 1/2 teaspoon pepper
- 1 tablespoon canola oil
Instructions
-
In a large bowl, combine all the burger ingredients. Use your hands or a fork to gently mix until everything is evenly distributed. Be careful not to overmix, as this can make the burgers tough.
-
Divide into 6 portions and shape each into a patty a bit wider than your burger buns (if you need to only make 4 burgers because of the size of your buns, that’s totally fine!).
If pan-frying:
-
Preheat your cast iron skillet on the stove over medium-high heat for a few minutes. You want it to be hot enough that the burgers sizzle when they hit the pan.
-
Add 1 tablespoon of canola oil or another high-heat oil to the skillet. Swirl it around to evenly coat the bottom of the pan.
-
Once the skillet is hot and the oil is shimmering, add the burger patties. Don’t overcrowd the pan and cook in batches if needed. Sear the burgers for about 4-5 minutes per side until they’re nicely browned and develop a crust. You may need to adjust the heat slightly to prevent burning.
-
After both sides are seared, reduce the heat to medium and continue cooking the burgers for 3-5 more minutes per side, depending on thickness. Use a meat thermometer to check the internal temperature — it should reach 160°F (71°).
-
Remove the burgers from the skillet and let them rest for 5 minutes before serving. This allows the juices to redistribute and keeps the burgers moist.
If grilling:
-
Preheat the grill to medium-high heat and lightly oil the grates.
-
Place the patties on the grill and cook for about 4–5 minutes per side. Once both sides are nicely seared, move them to indirect heat and continue cooking until the internal temperature reaches 160°F (71°). Let them rest for 5 minutes before assembling your burgers.
How to store:
-
Refrigerate cooked burgers for up to 3 days or freeze for longer storage.
Notes
- The nutrition information provided is calculated as a courtesy and is only an estimate. I am not a licensed nutritionist or dietitian. For the most accurate nutritional data, consult a professional or use your preferred calculator.
