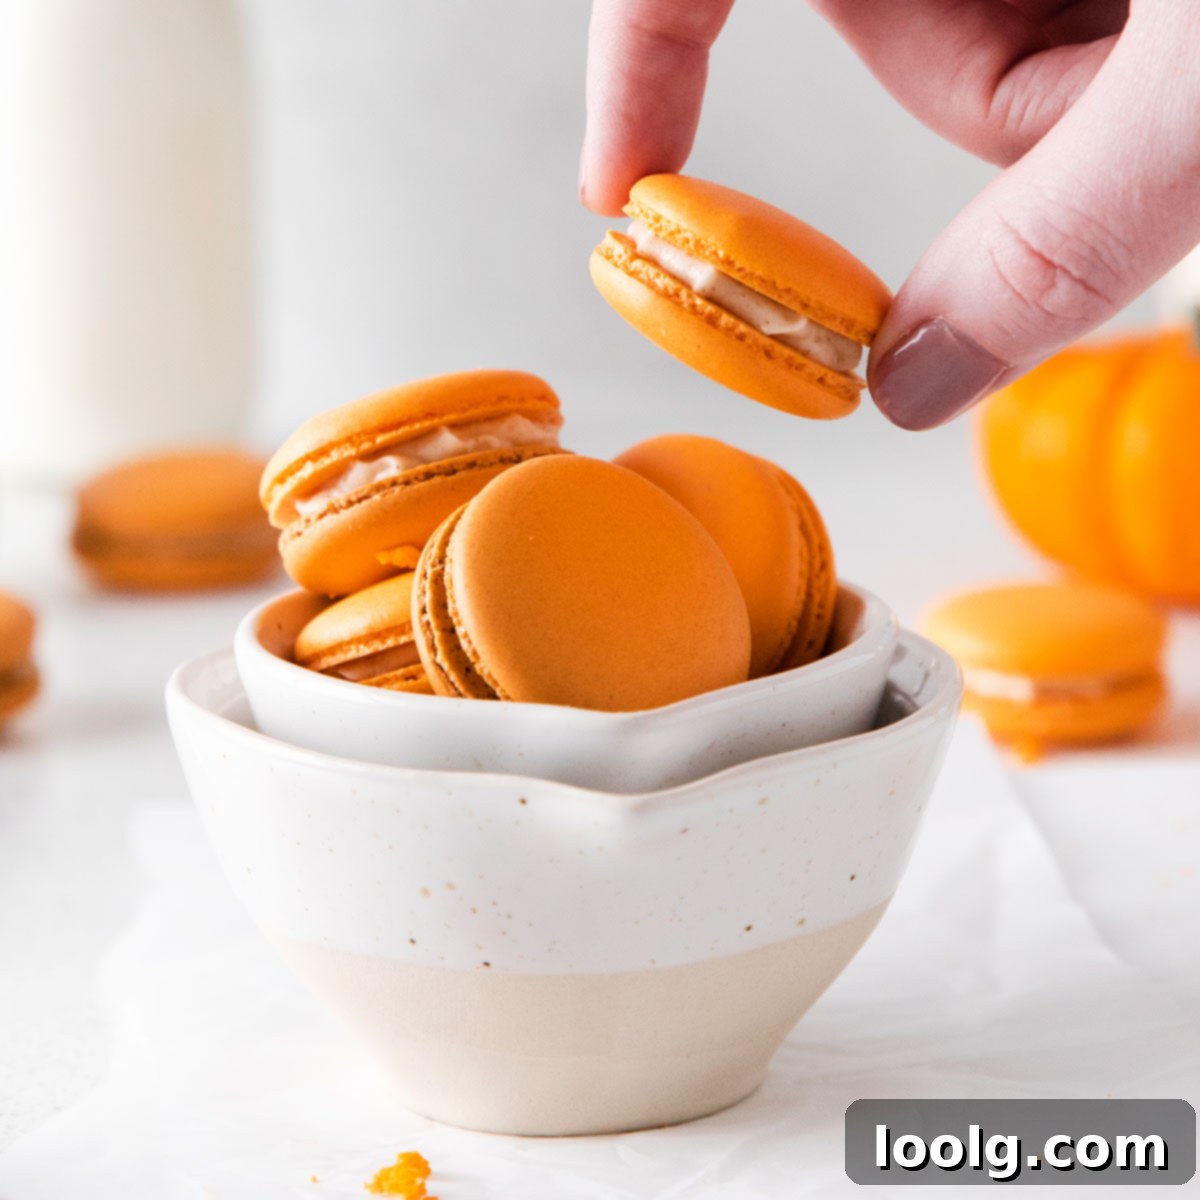
Spooky & Sweet: Perfect Pumpkin Spice Halloween Macarons (Naturally Gluten-Free Recipe!)
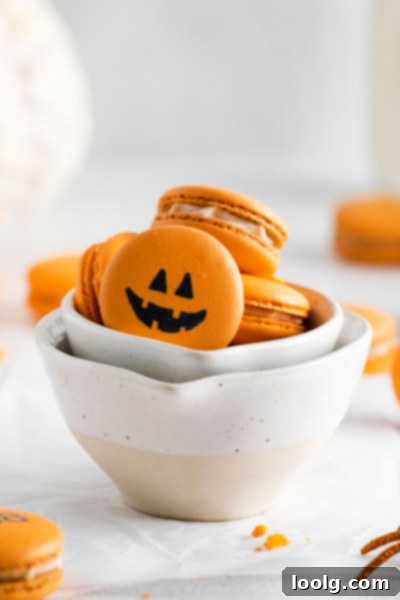
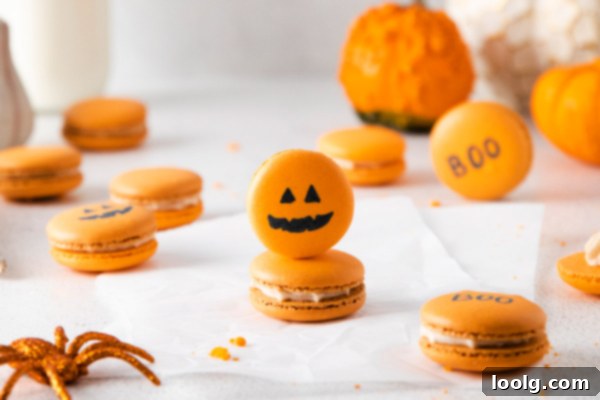
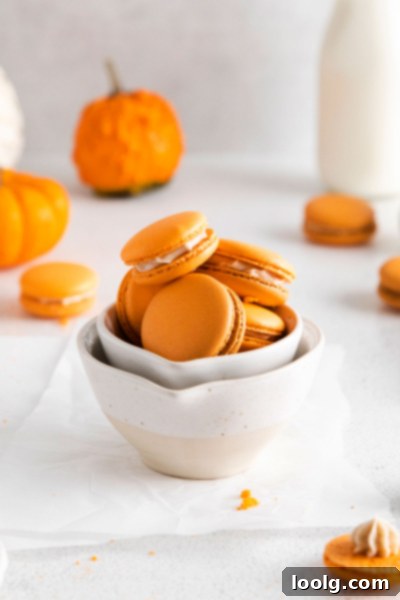
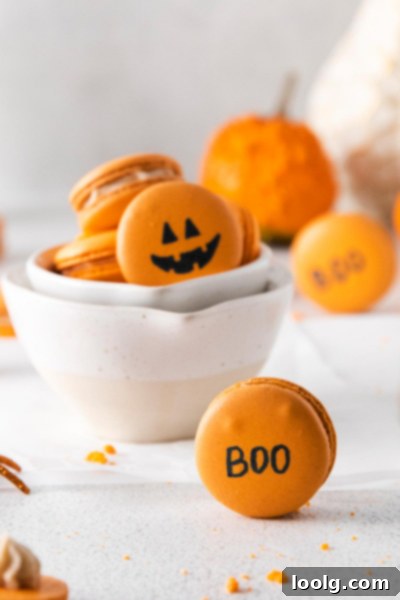
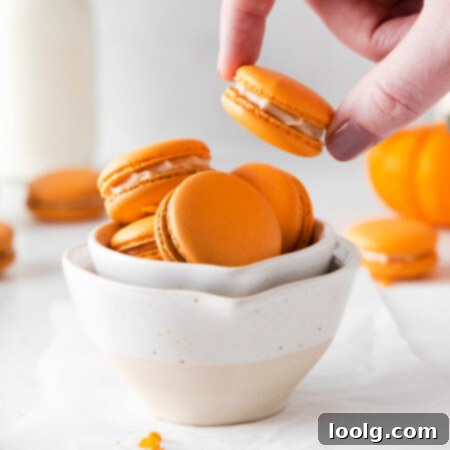
Get ready to enchant your taste buds and impress your Halloween guests with these delightful Pumpkin Spice Macarons! These elegant, almond flour-based meringue cookies feature a rich, pumpkin-spiced creamy filling and are playfully decorated with adorable Jack-o’-lantern faces, making them the ultimate Halloween treat. As an added bonus, they are naturally gluten-free, so everyone can enjoy these festive confections.
While these sweet, bite-sized almond pastries are undoubtedly adorable and utterly delicious, the art of macaron making has a reputation for being a bit challenging, especially for beginners. It’s common to encounter issues like hollow shells, crackly tops, or lopsided cookies. However, don’t let that deter you! This comprehensive guide is packed with expert tips and proven tricks to help you navigate the nuances of macaron baking, ensuring you achieve perfectly shaped, amazing Halloween cookies every time.
The journey to mastering macarons might seem a little daunting at first, but with patience and practice, you’ll quickly get the technique down. Once you’ve unlocked the secrets to successful macaronage, you’ll find yourself confidently whipping up these exquisite treats for all your special occasions, from festive holidays to elegant gatherings.
If you’re new to meringue-based desserts and want a little practice before tackling these charming macarons, you might consider starting with simpler meringue creations like Ghost Meringues. They’re incredibly adorable and would make a fantastic complementary treat alongside these cute pumpkin macarons, helping you build confidence in handling meringue. Even if this is your first time making macarons, rest assured, you’ll gain the necessary experience and confidence to become a macaron maestro, ready to create these special delights throughout the holiday season.
Understanding the Macaron Magic: Macaron vs. Macaroon
Before we delve deeper into the intricacies of creating these delightful Pumpkin Spice Macarons, let’s clarify a common point of confusion: the difference between a macaron and a macaroon. While their names sound strikingly similar, these two confections are distinct in pronunciation, ingredients, preparation complexity, and overall appearance.
Macarons, the exquisite French pastries we are making today, are delicate meringue-based sandwich cookies. They are characterized by their perfectly round, smooth shells, a distinctive “foot” (a ruffled edge at the base), and their vibrant, often pastel, colors. These elegant shells are typically paired together with a rich, creamy, jam, or ganache filling. The texture of a macaron is a symphony of contrasts: a crisp, thin exterior gives way to a slightly chewy, airy, and moist interior that practically melts in your mouth, leaving a sweet, sophisticated aftertaste.
Macaroons, on the other hand, are an entirely different type of cookie. These are typically large, dense, and distinctly coconut-based drop cookies. Their appearance is more rustic, often resembling small coconut mounds rather than perfectly uniform shells. Macaroons boast a flakier, often toasted coconut exterior and an irregular shape. Their sweetness primarily comes from coconut and sugar, and they generally do not feature a filling, though some variations might be dipped in chocolate. You can easily spot the difference by taking a look at recipes for Chocolate Peanut Butter Macaroons or Paleo Coconut Macaroons – the visual contrast is undeniable when seen side-by-side.
Beyond their visual differences, the complexity of their preparation also sets them apart. Making macaroons usually ranges from easy to exceptionally easy, often requiring minimal baking experience. Macarons, however, demand a higher degree of precision, attention to detail, and adherence to specific techniques. The true art of the macaron lies in the exactitude required to achieve those perfectly round, smooth, and melt-in-your-mouth delights. While it certainly requires more effort and patience, the reward of a perfectly executed macaron is absolutely worth it. Once you master the fundamental techniques, you’ll undoubtedly enjoy exploring a vast array of flavors, colors, and fillings, transforming these versatile jewels into your signature creations.
Ingredients for Your Pumpkin Spice Macarons
Crafting perfect macarons starts with understanding the role of each ingredient. Precision is key in macaron baking, so we recommend using a kitchen scale for accurate measurements, especially for the dry ingredients.
For the Macaron Shells
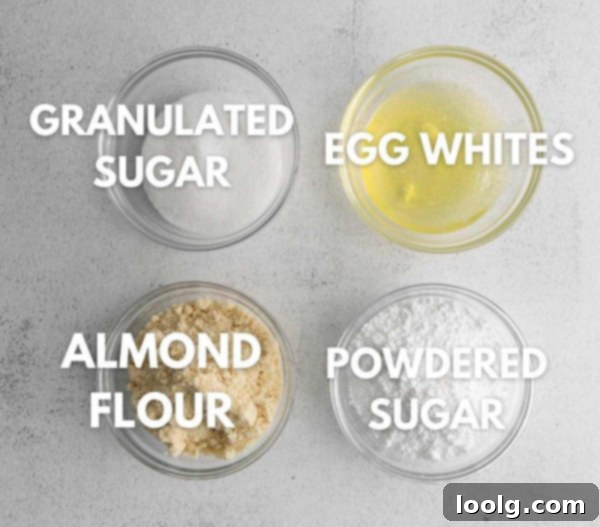
- Egg Whites – These are the absolute cornerstone of macarons, forming the stable meringue structure. There are no substitutes. Ensure your egg whites are at room temperature, as this significantly aids in whipping them to stiff peaks. Crucially, they must be completely free of any traces of egg yolk or water, which can prevent proper aeration.
- Granulated Sugar – This isn’t just for sweetness; it plays a vital role in stabilizing the egg whites during whipping, creating a strong, glossy meringue that holds its shape.
- Powdered Sugar (Confectioners’ Sugar) – Contributes to the macaron’s delicate texture and sweetness. Sifting it multiple times with the almond flour is essential for achieving smooth shells.
- Almond Flour – Provides the distinct structure and slightly chewy texture of the macaron shells. It must be very finely ground and blanched (skins removed). Coarse almond flour will result in grainy or rough shells. Sifting it thoroughly is paramount.
- Wilton Orange Gel Food Coloring – This gives our Halloween macarons their vibrant, fiery orange color. Gel food coloring is preferred over liquid as it adds minimal moisture. Feel free to adjust the amount, omit it for a natural color, or use a different shade entirely!
For the Delicious Pumpkin Spice Filling
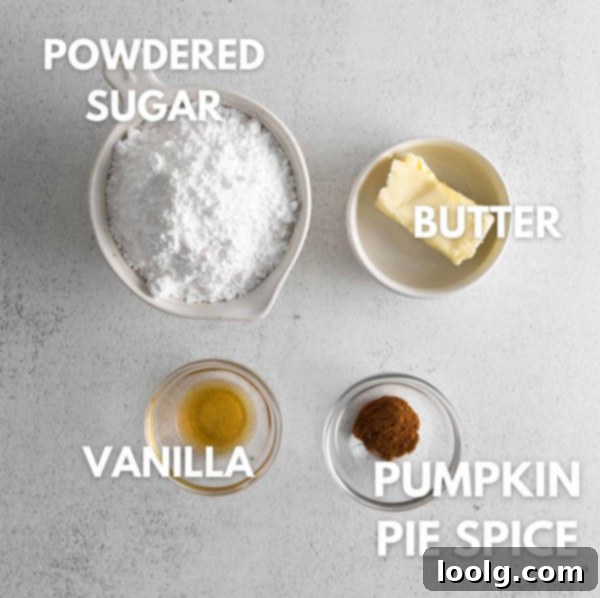
- Softened Unsalted Butter – The base of our creamy buttercream filling. Ensure it’s truly softened, not melted, for a smooth, airy consistency.
- Powdered Sugar (Confectioners’ Sugar) – Sweetens and thickens the filling, providing that classic buttercream texture. Sifting it will prevent lumps.
- Pure Vanilla Extract – Enhances the overall flavor profile, adding a warm, aromatic note that complements the pumpkin spice beautifully.
- Pumpkin Pie Spice – The star of our filling, infusing it with that quintessential autumn flavor. You can use a store-bought blend or easily make your own Homemade Pumpkin Pie Spice if you have the individual spices on hand (cinnamon, nutmeg, ginger, cloves, allspice). If you don’t have pumpkin pie spice, cinnamon can be used as a simple substitute, though the flavor profile will be slightly different.
For Festive Decoration:
Wilton Black Food Marker – This is your artistic tool for drawing those adorable Jack-o’-lantern faces, transforming simple macarons into Halloween masterpieces. Make sure it’s a food-safe marker!
How to Make These Spooktacular Macarons
Let’s break down the process into easy-to-follow steps. While precision is key, the process itself is quite straightforward once you understand the stages.
For the Shell (Overview):
- Prepare a Swiss meringue by gently heating egg whites and granulated sugar over a double boiler until the sugar dissolves, then whipping until stiff, glossy peaks form.
- Carefully sift and fold the dry ingredients (powdered sugar and almond flour) into the meringue in stages.
- Incorporate food coloring and continue folding until the batter reaches the perfect “lava stage” or “figure 8” consistency.
- Pipe uniform 1-inch circles onto prepared baking sheets and tap the sheets vigorously to release air bubbles.
- Allow the piped macarons to rest at room temperature until a “skin” forms.
- Bake until they develop their signature “feet” and are set, then cool completely.
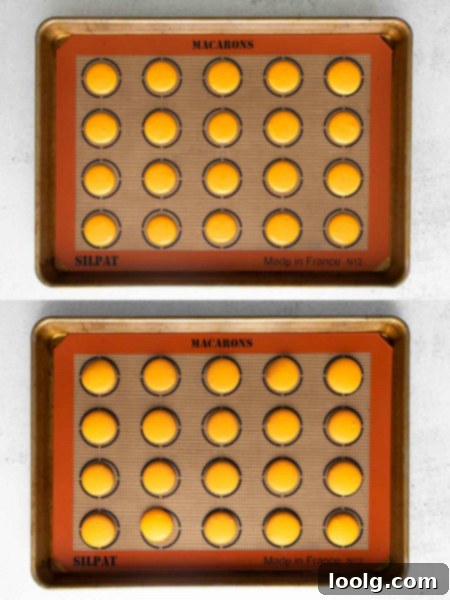
The photograph above beautifully illustrates the macaron shells before and after baking. As you can observe, a properly prepared macaron batter will maintain its piped shape remarkably well, spreading very little during the baking process – a testament to correct macaronage!
For the Creamy Pumpkin Spice Filling:
- In a stand mixer, beat the softened butter until creamy.
- Gradually add powdered sugar, mixing slowly until incorporated, then increase speed to achieve a smooth consistency.
- Stir in pumpkin pie spice and pure vanilla extract.
- Beat on high speed until the icing is light, fluffy, and perfectly smooth.
- Transfer the prepared filling to a piping bag.
- Pipe a dollop of filling onto the flat side of one macaron shell, then gently sandwich it with another similarly sized shell. Repeat for all macarons.
- Refrigerate the assembled macarons overnight to allow them to “age,” which improves their texture and flavor.
- Before serving, bring the macarons to room temperature and then draw on the Jack-o’-lantern faces for a final festive touch. Of course, they are also wonderfully delicious undecorated if you prefer a simpler look!
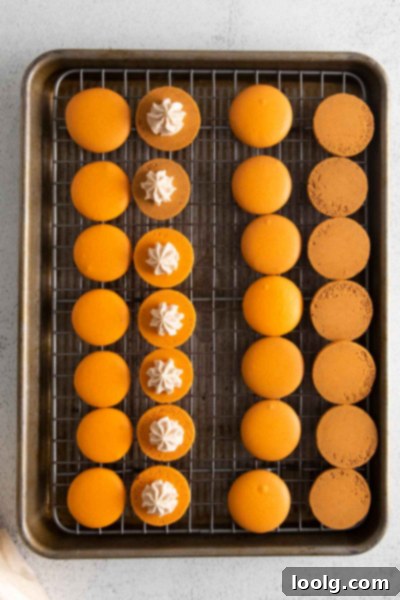
All things considered, preparing these enchanting pumpkin spice macarons typically involves about 20 minutes of active prep time, 15 minutes for baking, and approximately 30 minutes for resting the piped shells. However, one might also factor in a couple of days for mental preparation! 😉 While they aren’t the easiest cookies to master, the journey is incredibly rewarding. Once you grasp the technique, the satisfaction of creating these delicate masterpieces is unparalleled. This recipe will yield approximately 24 adorable little pumpkin face macarons, perfect for sharing or savoring yourself.
Essential Macaron Tips and Tricks for Success
Macaron baking is often described as a science mixed with art, and indeed, attention to detail is crucial. To ensure a positive experience and the best possible cookies, please read through the entire recipe instructions a few times, especially if this is your first attempt. There is not a large margin for error with macarons, so being clear on each step will greatly increase your chances of success.
- Room Temperature Egg Whites: Always ensure your egg whites are at room temperature before you begin whipping them. Cold egg whites simply won’t whip as effectively or achieve the same volume and stability as warmer ones. Letting them sit out for an hour or two can make a significant difference.
- Constant Whisking: When preparing the Swiss meringue (egg whites and granulated sugar over a double boiler), make sure to whisk the mixture constantly. This prevents the egg whites from cooking and ensures the sugar fully dissolves.
- Stabilize Your Meringue: For an extra layer of stability and to help prevent cracking, consider adding ¼ teaspoon of cream of tartar to your egg whites and sugar mixture before whipping.
- Achieve Stiff Peaks – But Don’t Overmix! It is critically important to whisk your meringue just until it reaches stiff, glossy peaks. The meringue should be firm enough to hold its shape when the whisk is lifted, with a slight curl at the tip. Undermixing your meringue will result in runny batter and flat macarons, but overmixing it is just as detrimental, leading to a dry, crumbly meringue that’s hard to fold and can cause hollow shells or cracked tops.
- Master the Macaronage (Folding): This is arguably the most crucial step! You need to fold, fold, fold, but definitely don’t stir-crazy, or you’ll have a disaster. The goal is to deflate some air while still maintaining a thick, flowing consistency. In fact, the folding technique is so vital that I’ve dedicated a separate, detailed section below to ensure you have a tried and true technique.
- Use a Piping Template: For consistently sized and perfectly round macaron shells, using a template is incredibly helpful. You can find many printable options online or try this one here. Place the template under your parchment paper (you should be able to see through it). You’ll pipe the meringue in 1-inch circles. Templates truly keep everything nice and tidy, preventing mismatched cookies.
- Tap Out Air Bubbles: Don’t be shy! After piping your meringue circles onto the baking sheet, vigorously slap the sheet flat onto your counter a few times (4-5 firm taps). This crucial step ensures all large air bubbles have been released, which helps prevent cracked shells and promotes the formation of perfect “feet.”
- The “Skin” Test: You’ll know the macarons have rested enough if you can gently touch the surface of a piped shell without the meringue sticking to your finger. This thin “skin” is essential for the macaron feet to develop properly during baking.
- Even Baking: If your oven bakes unevenly or has hot spots, you may need to rotate your macaron trays halfway through baking. This prevents uneven rising or browning and ensures all your shells bake consistently.
- Precision with a Kitchen Scale: As I would wholeheartedly recommend for all your baking endeavors, especially macarons, use a kitchen scale. Volume measurements can vary significantly depending on the user, the ingredient, and how it’s packed. Weighing your ingredients ensures exactitude, which is an absolute must for macaron success.
Mastering the Macaronage: How to Fold the Macaron Mixture
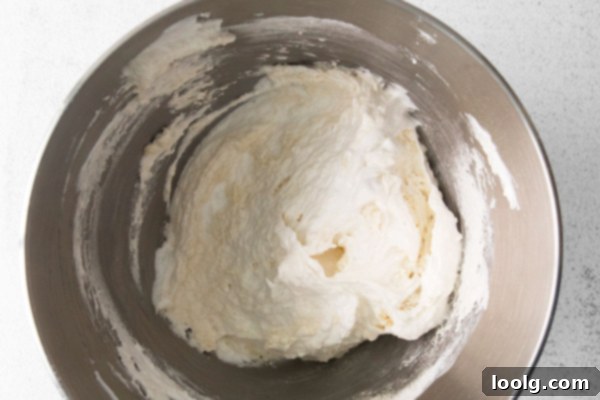
This step, known as “macaronage,” is incredibly important, which is why I’ve dedicated a separate section to it. If you rush this process and simply mix everything together without a methodical folding technique, you risk ending up with lopsided, cracked shells, and I certainly don’t want you to be disappointed with these fun cookies. So, take a deep breath and read on – patience here will truly pay off.
The goal of macaronage is to gently fold and combine the dry ingredients (sifted almond flour and powdered sugar) into the meringue until the batter reaches a specific consistency. You want to use a spatula to fold the mixture, moving it around the bowl, pressing it gently against the sides. The technique involves a “fold and scrape” motion: bring the spatula down through the center of the batter, scoop up some batter from the bottom, and fold it over the top. Then, use the edge of the spatula to scrape the batter from the side of the bowl. Rotate the bowl as you go.
Initially, it might look like the ingredients aren’t mixing well, or that you have an overwhelming amount of almond flour. Trust the process; keep folding. As you continue, the batter will start to come together. This process deliberately aims to deflate the meringue a bit while simultaneously ensuring the dry ingredients are fully incorporated and the air is evenly distributed. Some recipes might tell you *not* to deflate the batter, but this is a common misconception; a slight controlled deflation is necessary to achieve the desired texture, much like knocking down bread dough after its first rise to redistribute the yeast and gluten.
Achieving the right “marshmallowy” consistency, often referred to as the “lava stage” or “ribbon stage,” takes some practice, but once you experience it, you’ll instinctively recognize the proper technique. The perfect test to determine if your batter is ready to pipe is the “figure 8” test. Scoop up some batter with your spatula and let it fall back into the bowl in a continuous stream. If you can draw a figure “8” pattern several times over the top of the batter without the stream breaking, and the ribbons slowly reincorporate into the main batter (like slow-moving lava), then your batter has reached the ideal consistency and is ready to pipe!
Precise Piping: How to Pipe Macarons
Once your macaron batter has reached the perfect “lava stage” consistency, it’s time for piping. Carefully transfer the cookie shell mixture into a piping bag fitted with a small, round tip (a Wilton 1A or Ateco 804 are good choices). Twist the top of the bag to seal the batter and prevent it from escaping upwards.
Hold the piping bag vertically, about 1-inch above your prepared baking sheet. You can line your baking sheet with parchment paper or a silicone baking mat (Silpat). If you’re using a printed template to achieve perfectly circular shells, simply place the template underneath your parchment paper. There’s no need to trace it directly onto the paper, as you should be able to clearly see the template’s guidelines through the parchment.
I personally prefer using templates that feature two concentric circles – a smaller inner circle and a slightly larger outer circle. As you release the batter, you pipe to fill the smaller circle, and the batter will naturally spread outwards to fill the larger one, helping you achieve consistent sizes and work towards macaron perfection. Apply steady, even pressure, piping in a continuous motion until the circle is formed, then quickly flick your wrist to stop the flow of batter and create a neat finish.
For those who are visual learners and would benefit from seeing the technique in action, I highly recommend taking a look at this video on YouTube, which offers excellent guidance on how to pipe macarons effectively.
If you don’t have a specialized piping bag on hand, absolutely no worries! You can easily improvise by using a sturdy plastic Ziploc bag. Simply fill the bag with your macaron batter, push the batter towards one corner, and then snip off a small portion of that corner with scissors to create a small hole for piping. While not as precise as a dedicated piping bag, it works wonderfully in a pinch!
Choosing the Best Surface to Pipe Macarons
When it comes to the baking surface for macarons, I like to keep things simple and accessible. In my experience, good quality parchment paper works just as effectively, if not better, than a silicone baking mat (often referred to as a Silpat) for many bakers.
Silicone mats, while reusable, can sometimes be a bit too sticky for macaron batter, occasionally leading to shells that are difficult to release without damage. Parchment paper, on the other hand, is inexpensive, widely available, and you probably already have it at home. It provides a non-stick surface that allows the macaron feet to rise correctly and the shells to release cleanly once cooled.
Regardless of whether you choose parchment or a silicone mat, I would definitely recommend printing off and using a template. This invaluable tool helps you better judge the size of your cookie shells, ensuring they are symmetrical and uniform, which is key for a professional-looking finished product.
A crucial word of caution: **Do not use wax paper**, as it is not designed for high heat and will stick to your macarons. Additionally, **never butter or grease your baking surface** when making macarons, as this will prevent the feet from forming and cause the shells to spread excessively.
Storage, Make-Ahead, and Freezing Your Macarons
Macarons are not only beautiful but also incredibly versatile when it comes to preparation and storage, making them an ideal treat for planning ahead for events or simply enjoying over several days.
How Long Do Macarons Last?
For optimal freshness and texture, assembled macarons are best stored in the fridge in an airtight container for up to three days. This allows the flavors to meld and the filling to soften the internal shell, creating that highly desired melt-in-your-mouth distinction. Beyond three days, while still safe to eat, their texture may start to degrade slightly.
Can You Make Them Ahead?
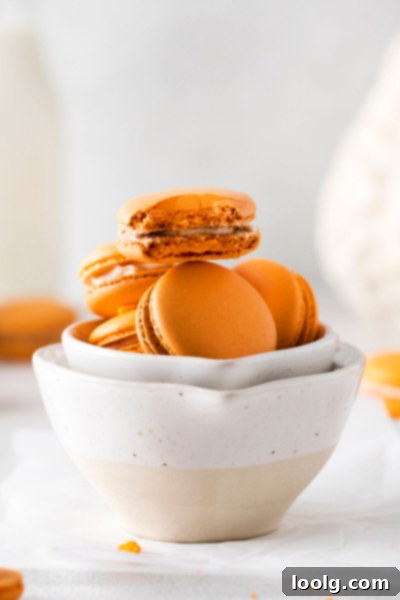
Yes, absolutely! Macarons are one of those rare treats that actually improve with a little time. Fully assembled (but not yet decorated with the food marker) macarons are even better after they have “aged” for a day or two in the fridge. This aging process allows the moisture from the creamy filling to permeate and slightly soften the internal part of the shell, while the exterior remains delightfully crisp. This creates that magical textural contrast and flavor melding that is the hallmark of a perfect macaron.
So, feel free to prepare these Pumpkin Spice Macarons a day or two ahead of your Halloween celebrations. Just be sure to store them properly stacked in an airtight container in the refrigerator. You might even consider placing them in an opaque container to prevent them from mysteriously disappearing overnight! 😉
Can You Freeze Macarons?
Yes, you certainly can! Freezing macarons is a fantastic way to extend their shelf life and reduce stress, especially when you’re preparing for a special event like Halloween. It allows you to bake in batches and have them ready when needed.
- Freezing Assembled Macarons: For best results with creamy fillings like our pumpkin spice buttercream, I recommend assembling the macarons before freezing. Let them age for 12 to 24 hours in the fridge first to allow the flavors to meld and the shell to soften slightly. After aging, stack them carefully in an airtight freezer-safe container, separating layers with parchment paper to prevent sticking. Place them in the freezer. This method helps prevent the filling from releasing too much moisture during thawing.
- Thawing Assembled Macarons: The day before you plan to serve them, transfer the frozen macarons from the freezer to the refrigerator to thaw slowly for a few hours (or overnight). Once thawed, they will stay fresh for another 2 to 3 days in the fridge. Bring them to room temperature before serving and decorate as desired.
- Freezing Macaron Shells Separately: If you prefer to freeze just the shells and assemble the macarons later, you can do so after baking and cooling them completely. Transfer the cooled shells to an airtight container, again, separating layers with parchment paper. When you’re ready to assemble, simply move the shells from the freezer to the fridge a few hours ahead of time to thaw. Once thawed, you can add your pumpkin spice filling and sandwich them together. This method works particularly well with jelly-type or more stable fillings.
Regardless of whether you freeze assembled or unassembled, remember that the “aging” process is key for optimal texture. For these creamy-filled pumpkin spice macarons, assembling them before freezing is generally recommended for the best flavor integration and texture.
Macaron Troubleshooting: Common Mishaps and Solutions
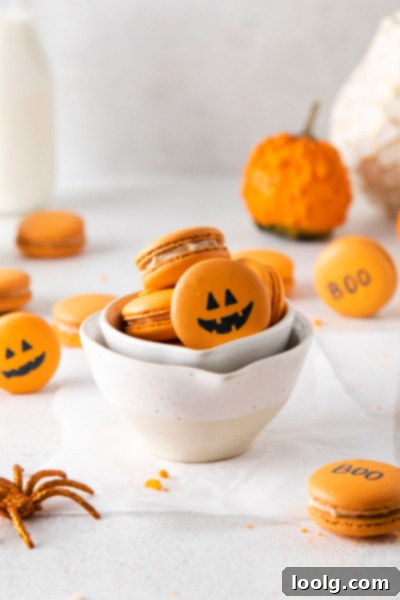
The journey to becoming a master macaron maker often involves a few learning curves. There are many intricate details to pay attention to, and one small mishap can indeed be the difference between a smooth, perfect cookie shell and one that is cracked or lopsided. If you’re serious about mastering these delicate treats, watching videos can be an invaluable resource to guide you through the process. I encourage you to dive in and indulge in the learning process!
Let’s take a look at some of the most common issues you might encounter and how to circumvent them:
Why are the feet cracked?
If the distinctive “feet” (the ruffled edge at the bottom of the shell) are cracked, one common culprit is the oven temperature. Ovens can bake unevenly; some run hotter than their set temperature, while others lose heat. If you typically make adjustments for other baked goods, such as flipping or turning the tray halfway through baking, you should definitely apply the same strategy here. Additionally, if your oven struggles to maintain a consistent temperature, investing in one or two oven thermometers can be incredibly helpful. Ovens often oscillate around an average temperature, so knowing the true temperature fluctuations is crucial. I found that using thermometers was an excellent way to test my oven’s temperature thoroughly before attempting macarons. You may need to make minor temperature or timing adjustments based on your specific oven’s performance. This all takes practice and patience, but ultimately leads to success!
Why are my macarons spreading out too much?
If you find that your piped macarons are spreading out excessively, it’s a strong indicator that your meringue was not stiff enough, or that you likely overmixed the batter during the macaronage stage. Overmixing incorporates too much air or deflates the meringue too much, making the batter too runny. For your next batch, be extra diligent about folding the ingredients precisely until you achieve that perfect “figure 8” consistency – where the batter flows slowly and continuously from your spatula, forming a figure eight without breaking.
Why are the shells grainy with pointy tops?
This issue points directly to your dry ingredients. The almond flour used was likely too coarse and/or not sifted thoroughly enough. For smooth macaron shells, the almond flour must be incredibly fine. Sifting the almond flour and powdered sugar together not just once, but 3 or even 4 times, will help ensure you achieve the right, super-fine consistency for your dry ingredients.
Why are the shells cracked?
Cracked shells can be a tough one to diagnose, as several factors can contribute to this common problem. Possible reasons include too much air trapped in the shells, insufficient resting time, a weak meringue, or an oven temperature that was too high.
- Air Bubbles: You really need to vigorously tap the baking sheet with the piped batter on the counter. While it feels counterintuitive for such a delicate cookie, I highly recommend doing this a couple of times – not just once – to ensure that virtually all large air bubbles are released. Trapped air bubbles are a primary cause of cracking during baking.
- Resting Time: If the macarons haven’t rested long enough to form a proper “skin” on their surface, they are prone to cracking. The skin allows the internal steam to push the batter upwards, creating the feet, rather than bursting through the top.
- Meringue Stability: A weak or overmixed meringue won’t provide the necessary structure to withstand the heat, leading to cracks.
- Oven Temperature: An oven that’s too hot can cause the shells to set too quickly on the outside before the inside has a chance to catch up and rise properly, resulting in cracks.
- Food Coloring: Excessive liquid food coloring can introduce too much moisture into the batter, which can also contribute to cracking. Gel food coloring is always recommended for macarons.
Why do I have bulging feet?
The feet of a perfect macaron shell should be relatively flat, with a smooth, rounded top. If the feet are bulging significantly, it’s almost always an indication that the oven temperature was too high. The rapid rise caused by excessive heat makes the feet expand quickly and unevenly. Another less common reason can be a baking surface that is too thick or insulative, such as some very thick silicone mats, which is one reason why I sometimes prefer parchment paper for these cookies, as it allows for more even heat distribution.
Why are the shells lopsided?
Lopsided macaron shells can be quite frustrating. This usually points to uneven heat distribution in your oven. It’s possible that your oven isn’t circulating air properly, or that a convection oven’s forced air is too strong, creating hot spots. If this is the case, try these solutions: rotate your baking sheet halfway through baking, use only one baking sheet at a time to ensure even exposure to heat, and consider switching your oven to a conventional baking setting where heat comes from both the bottom and top (but remember to reduce the temperature by 25°F / 15°C if you do this, as conventional baking is generally hotter than convection). Calibrating your oven and understanding its quirks is essential for consistent macaron results.
These are just a few of the most common mishaps encountered when making macarons, but many excellent online guides and video tutorials are available to help you troubleshoot any other issues. Remember, practice truly makes perfect when it comes to macarons!
The most important thing to consider when making macarons is to enjoy the process, regardless of minor imperfections. If you end up with a few cracks, hollow shells, pointed tops, or slightly weird shapes, it’s absolutely okay! Every batch, every mishap, is an opportunity to learn more about baking, and that in itself is a success. You’ve rewarded yourself with invaluable knowledge that will contribute to your next perfect batch. Besides, I’m sure no one will gasp in horror if these delicious Pumpkin Spice Macarons have a few charming flaws – they’ll still be devoured with delight!
Other Spooktacular Halloween Treats to Try!
If you’ve made it this far, hurray! I sincerely hope you’ve been inspired to embark on the delightful journey of making these festive pumpkin spice macarons. They are truly a special treat. But the Halloween fun doesn’t have to stop there! Here are a few of my other favorite recipes perfect for adding more spooky sweetness to your celebrations:
- These adorable mummy Halloween Hot Chocolate Bombs are not only a cozy and comforting treat but also make fantastic party favors for the young and young at heart.
- For a truly bewitching and fantastic snack, try these Whole Wheat Witch Fingers. They even come with a gluten-free option so everyone can enjoy the magic!
- These Creepy Whole Wheat Spider Chocolate Chip Cookies are wonderfully soft and chewy, perfectly embodying the spirit of the season with their playful, spooky design.
- If you’re looking for the scariest homemade treat on the block, these spooky Eyeball Cupcakes for Halloween are a must-make. They feature a moist chocolate cake base, luscious cream cheese frosting, and startling “eyeballs” crafted from canned lychees and blueberries.
- Or, for a larger, equally creepy cake version, give this Halloween Cake with Eyeballs a try. Both the cupcakes and the cake offer gluten-free options, and the cake even includes an egg-free alternative, making them accessible to more guests.
- And to quench everyone’s thirst at your Halloween bash, get the punch bowl ready for this vibrant and eerie Halloween Punch with Eyeballs. Made with fruit juice and no added sweeteners, it’s both spooky and terrific! It can be prepared with or without alcohol, catering to all ages and preferences.
That’s all for me! I hope everyone has a safe, fun, and delicious Halloween! If you decide to make these delightful pumpkin spice macarons, please do take photos – I would absolutely love to hear how they turned out and see your creations! If you share your pictures on social media, remember to tag #fooddoodlesrecipes so I can be sure to see them. Have a spooktacular time baking and celebrating!
Pumpkin Spice Macarons
Ingredients
For the Shell
- 90 grams egg whites
- 90 grams granulated sugar
- 95 grams powdered sugar
- 95 grams blanched almond flour
- 1/2 teaspoon Wilton orange gel food coloring
For the Filling
- 1/4 cup unsalted butter, softened
- 1 cup (120 grams) powdered sugar
- 1/2 teaspoon pumpkin pie spice
- 1/2 teaspoon pure vanilla extract
Instructions
For the shells
-
Start by placing a heatproof bowl over a small pot of simmering water (creating a double boiler).
-
Add the egg whites and granulated sugar to the bowl, ensuring the bowl does not touch the simmering water.
-
Whisk continuously until the sugar has completely dissolved and the mixture is warm to the touch (around 115-120°F / 46-49°C). This will take approximately 2 minutes.
-
Immediately transfer the warm egg white mixture to the bowl of a stand mixer fitted with the whisk attachment.
-
Whisk at medium-high speed until the meringue forms stiff, glossy peaks. This crucial step will take about 3-4 minutes. Do not rush; ensure the meringue is firm and holds its shape well when the whisk is lifted.
-
While the meringue is whipping, place a fine-mesh sieve over a separate mixing bowl.
-
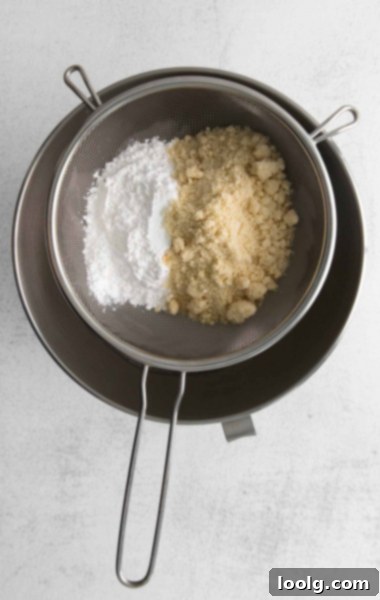
Add the powdered sugar and almond flour to the sieve. Give it a few stirs with a spoon to combine them loosely.
-
Carefully sift half of the combined powdered sugar and almond flour into the stiff meringue.
-
Using a rubber spatula, gently fold the sifted dry ingredients into the egg whites. Use a “J” motion: scrape down the side of the bowl, scoop up from the bottom, and fold over the top.
-
Continue carefully folding about 25 times, or until no large lumps of dry ingredients remain. The mixture will still be quite thick.
-
Now, sift in the second half of the powdered sugar and almond flour, and add your orange gel food coloring.
-
Continue folding, pressing the batter gently against the sides of the bowl, until the meringue reaches the “lava stage.” This typically takes another 1-2 minutes of careful folding. The lava stage means the batter is thick but flows slowly and continuously, resembling molten lava. You’ll know the meringue is perfectly ready to be piped once you can draw a figure 8 with a continuous stream of batter from your spatula without it breaking. Stop folding immediately once this consistency is achieved.
-
Transfer the macaron batter to a piping bag that has been fitted with a small, round piping tip (e.g., Wilton 1A).
-
Pipe 1-inch circles onto a parchment-paper-lined or Silpat-lined baking sheet, ensuring you pipe them at least 1.5 inches apart to allow for proper airflow. Use a macaron template placed under your parchment paper for uniform sizing.
-
After you’ve piped a full tray of macarons, hold the tray approximately 6 inches off the counter and firmly drop it straight down onto the counter. Repeat this process about 4-5 times, or until you see any large air bubbles rise to the surface and pop. This crucial step prevents cracked shells.
-
Let the piped macarons dry at room temperature for about 30 minutes, or until they have developed a thin, non-sticky “skin” on the surface (you should be able to gently touch them without batter sticking to your finger). While the macarons are resting, preheat your oven to 325 °F (163 °C).
-
Bake the dried macarons in the preheated oven for 12-14 minutes. The macarons are done when they have developed their characteristic “feet” and are just starting to turn a very light golden brown around the edges. They should not wiggle on their feet when gently nudged.
-
Remove the baking tray from the oven and allow the macaron shells to cool fully on the tray before attempting to remove them. This is essential for them to firm up and release easily.
-
Once the macaron shells have completely cooled, carefully peel them off the parchment paper. Match them into similar-sized pairs, and then prepare the delicious filling.
For the filling
-
To the bowl of a stand mixer fitted with the paddle attachment, add the softened unsalted butter. Beat on medium speed until smooth and creamy.
-
With the mixer set to low speed, gradually add in the powdered sugar, a little at a time, until it is fully incorporated into the butter. This prevents a cloud of sugar from forming.
-
Once all the sugar is incorporated, add the pumpkin pie spice and pure vanilla extract to the mixture.
-
Increase the mixer speed to medium-high and beat for several minutes until the icing is totally smooth, light, and wonderfully fluffy.
-
Transfer the prepared pumpkin spice buttercream icing to a piping bag fitted with your desired tip (a round tip or star tip works well for macaron filling).
To decorate and assemble
-
Take one macaron shell, pipe a small dollop of the pumpkin spice filling onto its flat side, then gently place another macaron shell of similar size on top, pressing lightly to sandwich the filling. Repeat this process with all the remaining macaron shells and filling.
-
Store the assembled macarons in an airtight container and place them in the fridge to “age” overnight (at least 12-24 hours). This step is crucial for the optimal texture and flavor development.
-
Before serving, remove the macarons from the fridge and allow them to come to room temperature for at least 30 minutes to an hour.
-
No more than 2 hours before serving, use your Wilton black food marker to draw on adorable Jack-o’-lantern faces or any other festive designs you desire. Be mindful of the timing, as prolonged exposure to the filling’s moisture can cause the marker ink to slightly bleed over time.
-
Refrigerate any leftover macarons in an airtight container for up to three days.
